Love this? Save it for later!
Share the inspiration with your friends
My neighbor, Mrs. Kowalski, wasn’t trying to impress anyone. I’d stopped by to borrow a cup of sugar—a cliché, I know, but my baking stash was depleted—and this weird, sweet, almost tropical smell hit me before I even got through her screen door. There she was, nonchalantly rolling these perfectly round, ghostly white truffles on her kitchen counter, a tray of them already staring up at me with these creepy, bloodshot eyes. She just shrugged and said, “Oh, those? Just a little something for the grandkids on Halloween.”
Let me tell you, I stood there, sugar completely forgotten, watching her work. It was mesmerizing. She wasn’t following a fancy recipe card; she was just moving with a rhythm that came from years of making things from scratch. The casualness of it all was the whole point. She wasn’t hosting a party or trying to win a baking contest. She was just making a treat, and it looked like the most fun you could have in a kitchen. Honestly, I felt a little envious of her effortless cool.
I practically begged her for the gist of it, and she waved her hand, saying, “It’s just coconut and some sweet stuff, rolled into a ball. The eyes are the fun part.” That was it. No big secret, no complicated technique. Just simple ingredients turned into something utterly delightful and perfectly spooky for Halloween. You know that feeling when you see someone do something amazing and they act like it’s no big deal? That was this moment. I knew right then I had to recreate it, and I’ve been making these Spooky No-Bake Monster Eyeball Truffles every October since. They’re the treat that keeps on giving—mostly because they’re so ridiculously easy and everyone loses their mind over them.
Why You’ll Love This Recipe
These aren’t just another Halloween candy. These Spooky No-Bake Monster Eyeball Truffles are a whole experience wrapped in a delicious, creamy bite. I’ve tested this recipe more times than I can count (my family is sick of them by November), and I can confidently say this is the best version. It hits every single note you want in a Halloween treat.
- Quick & Easy: This is a no-bake recipe, meaning zero oven time. You can have these ready for your Halloween party in under 30 minutes of active work. The hardest part is waiting for them to chill!
- Simple Ingredients: You likely have most of these items in your pantry right now. No weird, hard-to-find candy melts or specialty items. Just good, honest ingredients you can grab at any grocery store.
- Perfect for Halloween: They look terrifyingly awesome but are 100% kid-friendly. They’re the star of any Halloween party, school bake sale, or spooky movie night. They fit the holiday spirit perfectly.
- Crowd-Pleaser: I’ve brought these to work parties, family gatherings, and neighborhood get-togethers. They disappear faster than anything else on the table. Kids love the gory look, and adults love the nostalgic, sweet coconut flavor.
- Unbelievably Delicious: The texture is what gets me every time. The creamy, slightly chewy coconut center paired with the crisp white chocolate shell and that burst of red gel for the bloodshot veins is just a perfect combination. It’s next-level comfort food disguised as a monster.
What makes this recipe different from the rest? It’s the perfect balance of flavor and texture. I’ve tried versions that were too sweet, too dry, or the “eyeball” effect looked more like a sad, melted snowman. This version uses a touch of corn syrup to keep the truffles perfectly moist and a solid chill time to ensure they hold their shape when dipped. It’s not just another eyeball truffle—it’s my best version, tested and approved by the toughest critics (my nieces and nephews). It’s the kind of treat that makes you close your eyes after the first bite, and then open them wide to show your friends the creepy masterpiece you just made.
What Ingredients You Will Need
This recipe uses a handful of simple, wholesome ingredients to deliver big, bold Halloween flavor without any stress. Everything is easy to find and likely already in your kitchen. Let’s break down what you need and why it works.
- For the Truffle Base:
- 3 cups sweetened shredded coconut: This is the star of the show. It gives the truffles their signature texture and sweetness. I recommend using a finely shredded coconut for the best, most cohesive texture. You can find this in the baking aisle.
- 1 can (14 ounces) sweetened condensed milk: This acts as the binder and the sweetener. It creates that dense, fudge-like, creamy center that holds everything together. Don’t use evaporated milk—they are not the same thing.
- 1 teaspoon vanilla extract: Pure vanilla extract adds a warm, comforting depth of flavor that balances the sweetness. It’s a small addition that makes a big difference.
- 1 cup powdered sugar: This helps to firm up the mixture and gives the truffles a smoother, less sticky texture that’s easier to roll. Sift it to avoid lumps.
- Pinch of salt: A tiny pinch of salt is crucial. It cuts through the sweetness and enhances all the other flavors, making the truffles taste more complex and less one-note.
- For the Coating & Decoration:
- 2 cups white chocolate chips or melting wafers: This is what gives the truffles their spooky, ghostly white outer shell. I prefer using Ghirardelli white chocolate chips for the best flavor and smooth melting, but any high-quality brand will work. Melting wafers (like Wilton) are also great because they temper easily and don’t require any special treatment.
- 1 tablespoon coconut oil or vegetable shortening: This is the secret to a perfectly smooth, thin, and crack-free white chocolate coating. It helps the chocolate flow better and gives it a beautiful shine.
- Mini semi-sweet chocolate chips: These become the pupils of the eyeballs. The dark color provides a great contrast against the white truffle.
- Red decorating gel: This is for creating the creepy, bloodshot veins that make the truffles look like real monster eyeballs. You can find this in the baking aisle of most grocery stores.
Ingredient Selection Tips: For the best texture, look for a brand of sweetened condensed milk that is thick and creamy. I’ve found that Eagle Brand works perfectly every time. If you are using a different brand of white chocolate, the amount of coconut oil you need might vary slightly. Start with 1 tablespoon and add a little more if the chocolate seems too thick after melting. For a dairy-free version, you can use a dairy-free sweetened condensed milk and white chocolate, though the texture might be slightly different.
Equipment Needed
You don’t need any fancy, specialized equipment for this recipe, which is part of its charm. Here’s what you’ll need to have on hand:
- Large mixing bowl: For combining the truffle base ingredients. A standard glass or stainless steel bowl works great.
- Electric hand mixer or stand mixer: While you could mix by hand, a mixer makes the process much faster and ensures the coconut is evenly distributed. I’ve done it by hand before—it’s a good arm workout, but the mixer is easier.
- Small cookie scoop or tablespoon: This is essential for creating uniform truffle balls. A #60 cookie scoop (about 1 tablespoon) is perfect. It makes the process so much faster and ensures they all bake (well, chill) evenly.
- Baking sheet lined with parchment paper or a silicone baking mat: This is where you’ll place the rolled truffles to chill. The parchment prevents them from sticking.
- Microwave-safe bowl: For melting the white chocolate. Glass or ceramic works best.
- Fork or dipping tool: For dipping the truffles into the melted chocolate. A regular dinner fork works perfectly. You can also use a specialized chocolate dipping tool if you have one.
- Piping bag or small zip-top bag: For applying the red decorating gel. A small zip-top bag with a tiny corner snipped off works just as well as a piping bag.
Budget-Friendly Options: Don’t have a cookie scoop? A regular tablespoon from your silverware drawer works fine. No parchment paper? You can use wax paper in a pinch, though the truffles might stick a little more. A fork is a perfectly acceptable dipping tool—I’ve used one for years and it works great.
Preparation Method
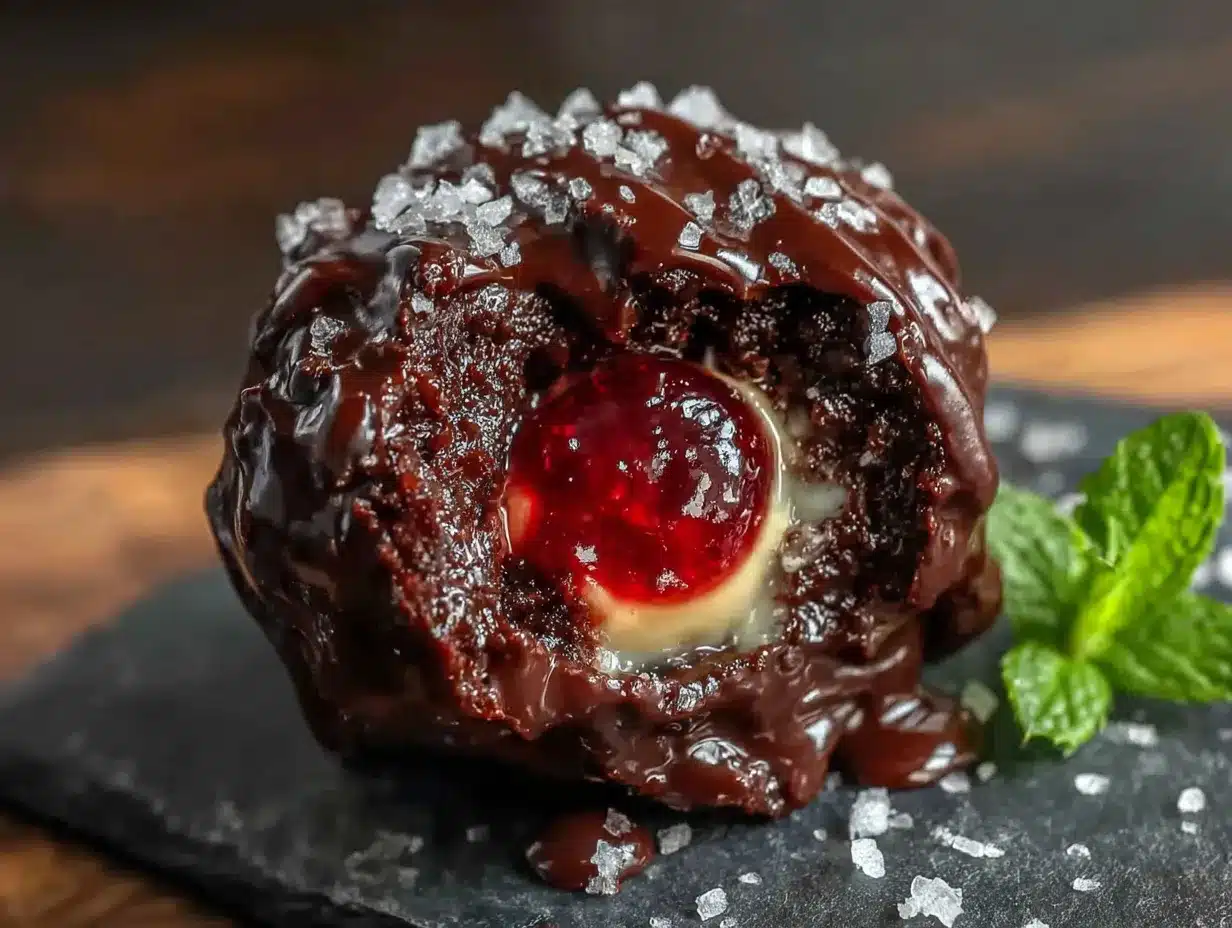
Alright, let’s get to the fun part—making these spooky treats! Follow these steps carefully, and you’ll have a tray of terrifyingly delicious monster eyeballs in no time.
- Make the Truffle Base (10 minutes): In your large mixing bowl, combine the 3 cups of sweetened shredded coconut, the full can of sweetened condensed milk, 1 teaspoon of vanilla extract, 1 cup of sifted powdered sugar, and a pinch of salt. Using your hand mixer or stand mixer on low speed, mix everything together until it forms a thick, cohesive, and slightly sticky dough. It should hold together when you press it between your fingers. If it seems too wet, add a tablespoon more of powdered sugar. If it’s too dry, add a teaspoon more of condensed milk.
- Roll the Truffles (15 minutes): Using your small cookie scoop or a level tablespoon, scoop out portions of the coconut mixture. Roll each portion firmly between your palms to form a smooth, round ball. The smoother the ball, the more realistic the eyeball will look. Place each rolled truffle onto your parchment-lined baking sheet. You should get about 30-36 truffles from this batch.
- Chill the Truffles (30-60 minutes): This step is non-negotiable. Place the baking sheet with the rolled truffles in the refrigerator for at least 30 minutes, or up to 1 hour. Chilling them solid is the key to a successful dip. If they are at all soft, they will fall apart or slide off the fork into the melted chocolate. Trust me on this—I’ve learned the hard way.
- Melt the White Chocolate (5 minutes): When the truffles are almost done chilling, prepare your white chocolate coating. Place the 2 cups of white chocolate chips and 1 tablespoon of coconut oil in a microwave-safe bowl. Microwave in 30-second intervals, stirring well after each interval, until the chocolate is completely smooth and melted. Be careful not to overheat it, or it will seize and become lumpy. If you need to, you can add another ½ teaspoon of coconut oil to thin it out.
- Dip the Truffles (20 minutes): Remove the chilled truffles from the fridge. Working with one truffle at a time, drop it into the melted white chocolate. Using your fork, gently push the truffle under the surface to coat it completely. Lift the truffle out on the fork, gently tap the fork on the edge of the bowl to let the excess chocolate drip off, and then carefully slide the truffle off the fork and back onto the parchment-lined baking sheet. Repeat with the remaining truffles.
- Add the Pupils (5 minutes): While the white chocolate coating is still wet, it’s time to add the pupils. Gently press one mini semi-sweet chocolate chip into the center of each truffle, pointy side down, so it looks like a pupil. The wet chocolate will help it stay in place.
- Create the Bloodshot Veins (10 minutes): Once all the truffles have their pupils, it’s time for the creepy details. If using a piping bag, fill it with the red decorating gel. If using a zip-top bag, snip a tiny corner off. Starting from the chocolate chip pupil, pipe a few thin, wiggly lines of red gel outward toward the edges of the truffle. Don’t be neat—the messier, the more realistic and spooky the “bloodshot” effect will be. Let your inner monster artist loose!
- Final Chill (15 minutes): Place the decorated truffles back in the refrigerator for at least 15 minutes to allow the white chocolate coating to set completely. Once set, they are ready to serve!
Sensory Cues: When you roll the truffle base, it should feel like slightly damp, sugary cookie dough. When you dip the chilled truffle, you should hear a soft “plop” as it hits the warm chocolate. The finished truffle should have a satisfying, clean snap when you bite into the white chocolate shell, followed by the soft, creamy, chewy coconut center.
Cooking Tips & Techniques
I’ve made a lot of mistakes in the kitchen so you don’t have to. Here are my best tips for perfect Spooky No-Bake Monster Eyeball Truffles every single time.
- The Chill is Crucial: This is the number one tip. Do not skip the initial chill time. If the truffle base is even slightly warm, it will disintegrate in the warm white chocolate, leaving you with a goopy mess. I once tried to rush this step, and I ended up with a bowl of coconut-flecked white chocolate sludge. It was not a good day. Give them a full hour if you have the time.
- Don’t Overheat the White Chocolate: White chocolate is more delicate than dark or milk chocolate. It can seize and become grainy if overheated. Always use low power and stir frequently. If you see any lumps forming, stop immediately and stir vigorously. A little coconut oil can help smooth it out.
- Work in Batches: Don’t take all the truffles out of the fridge at once. They will start to warm up and sweat, making them harder to dip. Take out 5-6 at a time, dip them, and then grab the next batch from the fridge.
- The Fork Dip Trick: When you lift the truffle out of the chocolate on the fork, gently tap the fork on the edge of the bowl a few times. This helps shake off the excess chocolate and prevents a thick, lumpy coating. For an even smoother finish, you can then gently scrape the bottom of the fork against the rim of the bowl to remove any excess.
- Messy is Better: When piping the red gel, don’t try to be perfect. The whole point is to make them look like creepy, bloodshot eyeballs. Wobbly, uneven lines are what make them look real. Embrace the chaos!
Variations & Adaptations
One of the best things about this recipe is how easy it is to adapt. Here are a few of my favorite ways to change it up.
- Spooky Spider Bites: Instead of making eyeballs, turn them into spiders! After dipping in white chocolate, press four mini pretzel sticks into each side of the truffle for legs. Use two mini chocolate chips for eyes. It’s a fun, crunchy twist.
- Chocolate Monster Eyes: For a richer flavor, swap the white chocolate for dark or milk chocolate. Follow the same dipping instructions. The dark chocolate coating with the red gel veins creates a completely different, almost gothic look. It’s delicious and a little less sweet.
- Peppermint Zombie Eyes: Add ½ teaspoon of peppermint extract to the truffle base for a cool, refreshing flavor. After dipping in white chocolate, you can crush a few candy canes and sprinkle them on top for a “gore” effect. It’s a festive twist that works great for a Christmas-themed horror movie night.
- Vegan & Dairy-Free Version: It’s totally possible! Use a dairy-free sweetened condensed coconut milk (like Nature’s Charm) and a high-quality dairy-free white chocolate. The texture might be a little softer, so make sure to chill them well. The taste is still incredible.
- Colorful Eyeballs: Instead of white chocolate, dye your melted white chocolate with a few drops of gel food coloring. Green or purple eyeballs are especially creepy and fun. Just add the color after the chocolate is melted and stir until combined.
I’ve tried the chocolate monster eyes version myself, and it’s a huge hit with the dark chocolate lovers in my family. The bitterness of the dark chocolate is a fantastic contrast to the sweet, creamy coconut center. It’s a more sophisticated take on a classic Halloween treat.
Serving & Storage Suggestions
These truffles are best served cold, straight from the refrigerator. The firm white chocolate shell and the cool, creamy center are a perfect textural combination. They look fantastic piled high on a spooky platter or arranged in a small, lined box for a Halloween party favor.
What to Serve With Them: These are a dessert all on their own, but they pair wonderfully with a glass of cold milk or a warm cup of apple cider. For a full Halloween dessert spread, serve them alongside other no-bake treats like spiderweb dip or pumpkin pie bites for a perfectly coordinated, stress-free party table.
Storage Instructions: Store the finished truffles in an airtight container in the refrigerator. They will stay fresh for up to one week. The flavors actually meld together and become even better after a day or two.
Freezing Instructions: These truffles freeze beautifully. Place the fully set truffles in a single layer in a freezer-safe, airtight container, separating the layers with parchment paper. They can be frozen for up to 3 months. To thaw, simply transfer them to the refrigerator for a few hours or overnight. Do not thaw them at room temperature, as they can get too soft and the chocolate might sweat.
Reheating: There’s no need to reheat these! They are meant to be enjoyed cold. If you prefer a slightly softer center, you can let them sit at room temperature for 5-10 minutes before serving.
Nutritional Information & Benefits
While these are a treat, it’s good to know what’s in them. Here is an approximate nutritional breakdown for one truffle (based on a recipe yielding 32 truffles). Please note that these values are estimates and can vary based on the specific brands of ingredients you use.
| Nutrient | Amount per Truffle |
|---|---|
| Calories | 180-220 |
| Fat | 10-14g |
| Saturated Fat | 8-10g |
| Carbohydrates | 22-26g |
| Sugar | 20-24g |
| Protein | 2-3g |
Health Benefits of Key Ingredients: Coconut, the main ingredient, contains healthy fats called medium-chain triglycerides (MCTs), which can provide a quick source of energy. It also contains fiber and minerals like manganese and copper. While these truffles are not health food, using real, whole ingredients like coconut is always a better choice than highly processed, artificial candies.
Dietary Considerations: This recipe is naturally gluten-free, making it a safe option for those with celiac disease or gluten sensitivity. It can also be made dairy-free and vegan with simple substitutions (see Variations section). The main allergens to be aware of are dairy (from the condensed milk and white chocolate) and tree nuts (coconut is a tree fruit, but it’s often grouped with tree nut allergies).
From a wellness perspective, I believe in balance. These truffles are a special occasion treat, perfect for a holiday like Halloween. They’re made from real ingredients, and you control what goes into them. That, to me, is a much healthier approach than buying a bag of mystery candies from the store.
Conclusion
These Spooky No-Bake Monster Eyeball Truffles are everything a Halloween treat should be: incredibly fun to make, terrifyingly cool to look at, and absolutely delicious to eat. They capture the spirit of the holiday without the stress of complicated baking, and they’re guaranteed to be the star of any spooky gathering.
I love this recipe because it’s a perfect example of how simple ingredients can create something truly magical. It’s not about being a pastry chef or having fancy tools. It’s about having fun, getting a little messy, and making something that brings joy to the people you share it with. Whether you make them for a party, a class, or just a fun night in with the family, they are a guaranteed hit.
So, go ahead and get creative! Make them as gory or as cute as you like. Try a variation, or stick to the classic monster eyeball look. Whatever you do, I’d love to hear about it. Drop a comment below and tell me how your truffles turned out, or share a picture of your spooky creations. And if you’re looking for more easy, no-fuss Halloween fun, be sure to check out our mummy meatballs for a savory spooky treat. Happy Halloween, and happy snacking!
Frequently Asked Questions (FAQs)
Can I use unsweetened coconut instead of sweetened?
I wouldn’t recommend it. The sweetened condensed milk provides sweetness, but the sweetened coconut adds a crucial layer of moisture and texture. Using unsweetened coconut will result in a much drier, less cohesive truffle that is harder to roll. If that’s all you have, you might need to add a few extra tablespoons of condensed milk to compensate, but the flavor will be different.
My white chocolate seized up. What did I do wrong?
This usually happens when the chocolate gets too hot or when a tiny bit of water gets into the bowl. Always melt white chocolate on low power in short bursts. Make sure your bowl and utensils are completely dry. If it seizes, you can try to save it by adding a teaspoon of coconut oil or vegetable shortening and stirring vigorously. Sometimes it helps, sometimes it doesn’t. Prevention is the best cure!
Can I use a different type of chocolate for the coating?
Absolutely! Dark chocolate, milk chocolate, or even colored candy melts all work beautifully. Just follow the same melting instructions. Dark chocolate will give a richer, less sweet flavor, while colored candy melts are perfect for a more vibrant, themed look (like green or purple monster eyes).
How far in advance can I make these truffles?
You can make them up to a week ahead of time. Store them in an airtight container in the refrigerator. They actually taste better after a day or two as the flavors meld together. You can also freeze them for up to 3 months, making them a perfect make-ahead treat for a busy Halloween week.
My truffles are too sticky to roll. What should I do?
If the mixture is too sticky to handle, it likely needs a bit more dry ingredient. Try adding another tablespoon or two of powdered sugar until the dough becomes manageable. You can also lightly grease your hands with a little bit of coconut oil or butter to prevent the mixture from sticking to your palms while rolling.
Pin This Recipe!
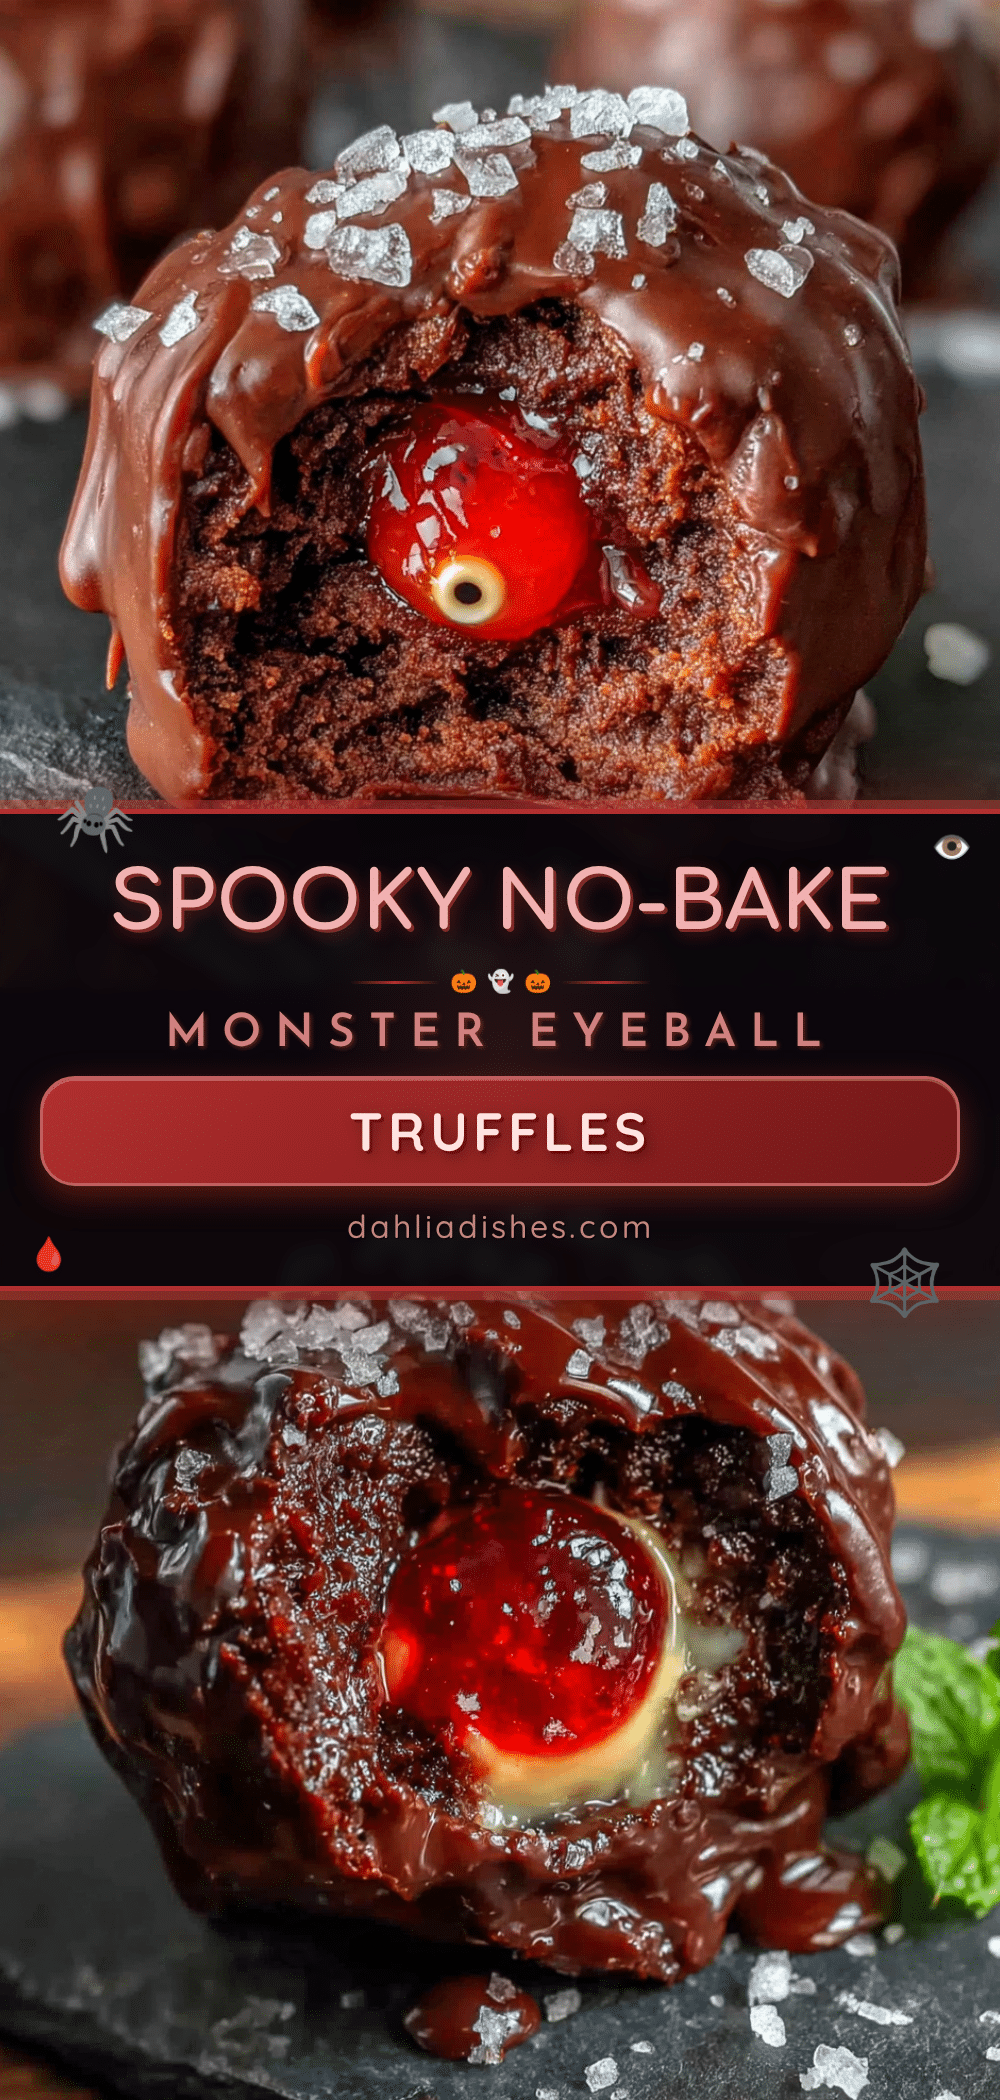
Spooky No-Bake Monster Eyeball Truffles: Best Halloween Treat
These no-bake monster eyeball truffles are a fun and easy Halloween treat made with sweetened shredded coconut, white chocolate, and a creepy bloodshot eye design. Perfect for parties and guaranteed to be a crowd-pleaser.
- Prep Time: 30 minutes
- Cook Time: 0 minutes
- Total Time: 1 hour 30 minutes (includes chilling)
- Yield: 30-36 truffles 1x
- Category: Dessert
- Cuisine: American
Ingredients
- 3 cups sweetened shredded coconut
- 1 can (14 ounces) sweetened condensed milk
- 1 teaspoon vanilla extract
- 1 cup powdered sugar, sifted
- Pinch of salt
- 2 cups white chocolate chips or melting wafers
- 1 tablespoon coconut oil or vegetable shortening
- Mini semi-sweet chocolate chips (for pupils)
- Red decorating gel (for bloodshot veins)
Instructions
- Make the Truffle Base: In a large mixing bowl, combine the sweetened shredded coconut, sweetened condensed milk, vanilla extract, sifted powdered sugar, and salt. Mix with an electric hand mixer or stand mixer on low speed until a thick, cohesive, slightly sticky dough forms.
- Roll the Truffles: Using a small cookie scoop or tablespoon, scoop portions of the coconut mixture and roll firmly between your palms into smooth, round balls. Place on a parchment-lined baking sheet. You should get about 30-36 truffles.
- Chill the Truffles: Refrigerate the rolled truffles for at least 30 minutes, or up to 1 hour, until firm.
- Melt the White Chocolate: In a microwave-safe bowl, combine white chocolate chips and coconut oil. Microwave in 30-second intervals, stirring after each, until smooth and melted. Do not overheat.
- Dip the Truffles: Remove chilled truffles from the fridge. Working one at a time, drop a truffle into the melted white chocolate. Use a fork to coat completely, then lift out, tap off excess chocolate, and slide back onto the parchment-lined sheet.
- Add the Pupils: While the white chocolate coating is still wet, gently press a mini semi-sweet chocolate chip into the center of each truffle, pointy side down.
- Create the Bloodshot Veins: Using a piping bag or small zip-top bag with a tiny corner snipped off, pipe thin, wiggly lines of red decorating gel outward from the pupil to create a bloodshot effect.
- Final Chill: Refrigerate the decorated truffles for at least 15 minutes to set the coating. Serve cold.
Notes
Chilling the truffles before dipping is crucial to prevent them from falling apart in the warm chocolate. Do not overheat white chocolate as it can seize. Work in batches, keeping remaining truffles chilled. For a smoother coating, tap the fork on the bowl edge to remove excess chocolate. Messy red gel lines make the eyeballs look more realistic.
Nutrition
- Serving Size: 1 truffle
- Calories: 200
- Sugar: 22
- Sodium: 60
- Fat: 12
- Saturated Fat: 9
- Carbohydrates: 24
- Fiber: 1
- Protein: 2.5
Keywords: Halloween treats, no-bake truffles, monster eyeballs, coconut truffles, spooky desserts, easy Halloween recipe


