Love this? Save it for later!
Share the inspiration with your friends
Introduction
This was supposed to be a simple attempt at refrigerator pickles, but honestly, it turned into a bit of a kitchen chaos. I grabbed the wrong jar lid, the garlic cloves were way bigger than I expected, and I was already juggling a zoom call about an hour away. What came out was nothing like the mild, mellow pickles I planned — and honestly, better. The pickles were punchy, tangy, with just the right hit of garlic and dill that made me stop mid-sip of my afternoon tea to grab another bite.
Let me tell you, I didn’t expect to find myself so obsessed with something that took less than 24 hours to be ready. Maybe you’ve been there — that moment when a last-minute snack turns into a full-on craving. I still remember the cracked ceramic bowl I dropped while trying to chop dill in a hurry and the frantic search for a clean jar because the first one was too small. It was messy, a little stressful, but it taught me that you don’t need to wait weeks to get delicious homemade pickles. This recipe stuck with me because it’s proof that quick, tangy, garlic dill pickles can be made easily, and they actually taste like they’ve been brined forever.
Why You’ll Love This Recipe
Trust me, after testing this recipe over a dozen times (sometimes in the middle of the night, don’t ask), I know it’s a keeper. Here’s why you’ll want to make these quick tangy garlic dill pickles your go-to:
- Quick & Easy: Ready in just 24 hours, perfect for when you want fast homemade pickles without the long wait.
- Simple Ingredients: Uses everyday pantry staples and fresh garden dill (or store-bought if you’re like me on a busy Thursday).
- Perfect for Snacking or Meals: Adds a crunchy, flavorful punch to sandwiches, burgers, or just straight from the jar.
- Crowd-Pleaser: Friends and family always ask for the recipe — even the pickle skeptics!
- Unbelievably Delicious: The tangy bite combined with robust garlic and fresh dill is just next-level comfort food.
This isn’t your typical pickle recipe. The secret is in a brine that balances the sharpness of vinegar with a hint of sugar and a generous dose of garlic cloves smashed just enough to release their flavor. Also, letting the cucumbers sit at room temperature for a bit before refrigerating helps the flavors soak in faster than usual. Honestly, if you thought pickles needed weeks to taste good, this recipe will pleasantly surprise you.
What Ingredients You Will Need
This recipe uses simple, wholesome ingredients to deliver bold flavor and satisfying crunch without fuss. Most of these are pantry staples, and you might already have them on hand.
- Fresh cucumbers: About 1 pound (450 grams) of small to medium pickling cucumbers, washed and sliced into spears or rounds (choose firm, crisp cucumbers for best results).
- Garlic cloves: 4-5 large cloves, peeled and lightly smashed (this releases more aroma and flavor).
- Fresh dill sprigs: 3-4 sprigs (fragrant and essential for that classic dill pickle taste; if fresh isn’t available, you can use 1 tablespoon dried dill).
- White vinegar: 1 cup (240 ml), preferably distilled white vinegar for a clean tang.
- Water: 1 cup (240 ml), filtered or bottled water recommended for best flavor.
- Salt: 1 tablespoon kosher salt or pickling salt (avoid iodized salt as it can cloud the brine).
- Sugar: 1 teaspoon granulated sugar (balances the tanginess without sweetness).
- Black peppercorns: 1 teaspoon whole peppercorns (adds subtle spice).
- Red pepper flakes: Optional, ¼ teaspoon for a little heat (adjust to taste).
For best texture, I recommend using Mt. Olive kosher salt, but any reliable brand will work fine. If you want to try a twist, swapping white vinegar with apple cider vinegar gives a fruitier note, but it might darken the cucumbers slightly.
Equipment Needed
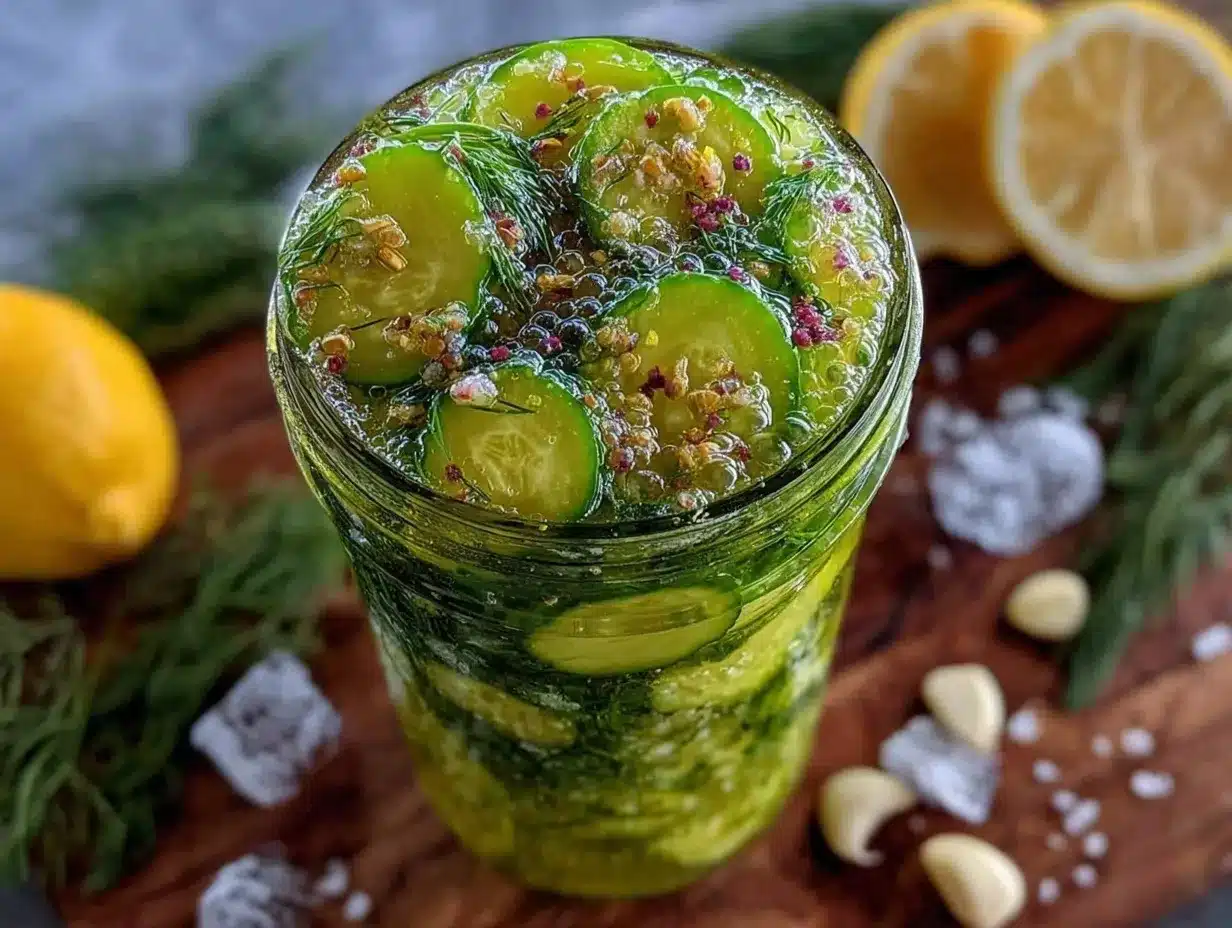
- Glass jars with lids: A pint (16 oz / 475 ml) mason jar or similar. I prefer glass because it doesn’t react with the vinegar.
- Small saucepan: For heating the brine — any size that comfortably fits 2 cups of liquid works.
- Measuring cups and spoons: For accurate brine ratios.
- Cutting board and sharp knife: For slicing cucumbers and smashing garlic.
- Mixing bowl: Optional, useful for tossing cucumbers with salt before packing into jars.
If you don’t have a mason jar, any clean glass container with a tight-fitting lid will do. Avoid plastic containers because vinegar can sometimes interact with plastic and alter flavors. Also, I’ve found that a non-reactive stainless steel saucepan makes heating the brine easier to clean afterward. Budget-wise, you don’t need fancy tools to get this right — just sturdy basics.
Preparation Method
- Prep the cucumbers: Wash and dry 1 pound (450 grams) of small pickling cucumbers. Slice into spears or rounds about ¼ inch (0.6 cm) thick. This should take about 10 minutes. If you prefer, you can leave some whole if they’re small enough, but slicing helps the brine reach all sides.
- Salt the cucumbers: Place the sliced cucumbers in a mixing bowl and sprinkle 1 tablespoon kosher salt over them. Toss gently to coat. Let them sit for 30 minutes at room temperature. This step draws out excess moisture, keeping your pickles crisp. You’ll notice water pooling — drain and pat dry with a clean towel before packing.
- Prepare the brine: In a small saucepan, combine 1 cup (240 ml) white vinegar, 1 cup (240 ml) water, 1 teaspoon sugar, 1 teaspoon kosher salt, 1 teaspoon black peppercorns, and optional ¼ teaspoon red pepper flakes. Bring to a simmer over medium heat, stirring until sugar and salt dissolve. Remove from heat and let cool slightly for 5 minutes.
- Pack the jar: In your clean pint jar, layer the smashed garlic cloves and fresh dill sprigs. Pack the drained cucumbers snugly but without crushing. Pour the warm brine over the cucumbers, making sure they are fully submerged. Leave about ½ inch (1.3 cm) of headspace at the top. Tap the jar gently to release air bubbles.
- Seal and rest: Screw the lid on tightly and leave the jar at room temperature for 12-24 hours. This step lets the cucumbers soak in the tangy, garlicky brine quickly. After the initial resting, move the jar to the refrigerator.
- Enjoy: After chilling at least 24 hours total, your quick tangy garlic dill pickles are ready to eat! They’ll keep in the refrigerator for up to 3 weeks but honestly never last that long in my house.
Quick tip: If you notice the pickles aren’t as tangy as you like after 24 hours, give them another 12 hours in the fridge. The flavors deepen with time, but the magic is that you don’t have to wait forever.
Cooking Tips & Techniques
Let me share some lessons learned from my pickle-making adventures:
- Don’t skip the salting step: It’s tempting to rush, but salting the cucumbers first is key to keeping them crunchy. Skipping it often led to soggy pickles in my early tries.
- Use fresh dill sprigs: Fresh dill gives the best aroma and flavor. Dried dill works but isn’t quite the same punch.
- Smashed garlic releases more flavor: You don’t want minced garlic here — smashed cloves infuse the brine gently and add subtle garlic notes.
- Room temperature rest: Leaving the jar out for the first 12-24 hours helps the cucumbers absorb flavors fast, unlike traditional methods that need weeks.
- Avoid metal lids: If you have metal lids, line the jar rim with a little wax paper or use plastic lids to prevent any metallic taste.
- Watch your vinegar: Use distilled white vinegar for a clean, bright tang. Apple cider vinegar changes color and flavor but is a fun variation to try.
Honestly, one of my biggest early mistakes was using regular table salt, which made the brine cloudy and the pickles mushy. Switching to kosher or pickling salt was a game-changer. Also, don’t overcrowd the jar — give those cucumbers breathing room to soak evenly.
Variations & Adaptations
Quick tangy garlic dill pickles are super versatile, and you can tweak them to suit your taste or dietary needs:
- Spicy variation: Add more red pepper flakes or a sliced jalapeño to the jar for a fiery kick.
- Low-sodium option: Reduce salt by half and extend the resting time to 36 hours to compensate for flavor uptake.
- Herb twist: Swap dill for fresh tarragon or add mustard seeds for a different flavor profile.
- Vinegar alternatives: Use apple cider vinegar or white wine vinegar for a fruitier or milder tang.
- Whole pickles: Use small Kirby cucumbers whole if you prefer classic whole pickles; just increase brine accordingly.
Personally, I once tried adding a few slices of fresh ginger for a subtle warmth — it was surprisingly good! Feel free to experiment but keep the core garlic and dill intact for that unmistakable pickle punch.
Serving & Storage Suggestions
These quick tangy garlic dill pickles are best served chilled straight from the fridge. They make a fantastic crunchy side with sandwiches, burgers, or even as a zesty snack on their own. Try pairing them with creamy dips or alongside your favorite crispy garlic chicken for a flavor contrast that works wonders.
Store pickles in the refrigerator for up to 3 weeks. Make sure they remain submerged in brine to prevent spoilage. When reheating dishes that include these pickles, I recommend adding them fresh afterward to maintain their crunchy texture. Over time, the flavors deepen, and the pickles become even more tangy, but they never lose that fresh garlic and dill brightness.
Nutritional Information & Benefits
These quick tangy garlic dill pickles are low in calories and fat, making them a guilt-free addition to many meals. Per serving (about 2 spears), they contain approximately 10 calories, minimal carbohydrates, and no fat. The cucumbers provide hydration and fiber, while garlic offers antioxidants and potential immune support.
If you’re watching sodium intake, remember that pickles do contain salt, so enjoy in moderation. This recipe can be adjusted to lower sodium as needed. They’re naturally gluten-free and suitable for vegan and paleo diets, making them a versatile condiment for many eating preferences.
Conclusion
If you’ve been hesitating to try homemade pickles because you thought it took forever or was complicated, this quick tangy garlic dill pickles recipe will change your mind. It’s straightforward, fast, and full of flavor — perfect for anyone who loves that satisfying crunch with a punch of garlicky tang. Honestly, I keep coming back to this recipe because it’s flexible, forgiving, and just downright delicious.
Feel free to make it your own by tweaking herbs or heat levels, and don’t be shy about sharing your pickle experiments — I’d love to hear how you make it yours. Go ahead and give it a try, then come back and leave a comment with your favorite twist or your first crunchy bite story. Happy pickling!
Frequently Asked Questions
How long do these quick tangy garlic dill pickles last in the fridge?
They typically last up to 3 weeks when kept refrigerated and submerged in the brine. Always check for off smells or mold before eating.
Can I use regular cucumbers instead of pickling cucumbers?
While you can, pickling cucumbers are firmer and have fewer seeds, which makes for crisper pickles. Regular cucumbers may become softer faster.
Do I need to boil the brine for this recipe?
Yes, warming the brine helps dissolve the salt and sugar and infuses the flavors better, but it should cool slightly before pouring over cucumbers.
Can I make this recipe without garlic?
Absolutely, but garlic is key for the classic dill pickle flavor. You could substitute with shallots or onion slices for a different twist.
Is it necessary to keep the pickles at room temperature before refrigerating?
Yes, leaving them out for 12-24 hours kickstarts the pickling process and helps develop flavor quickly. After that, refrigeration slows fermentation and preserves freshness.
Pin This Recipe!
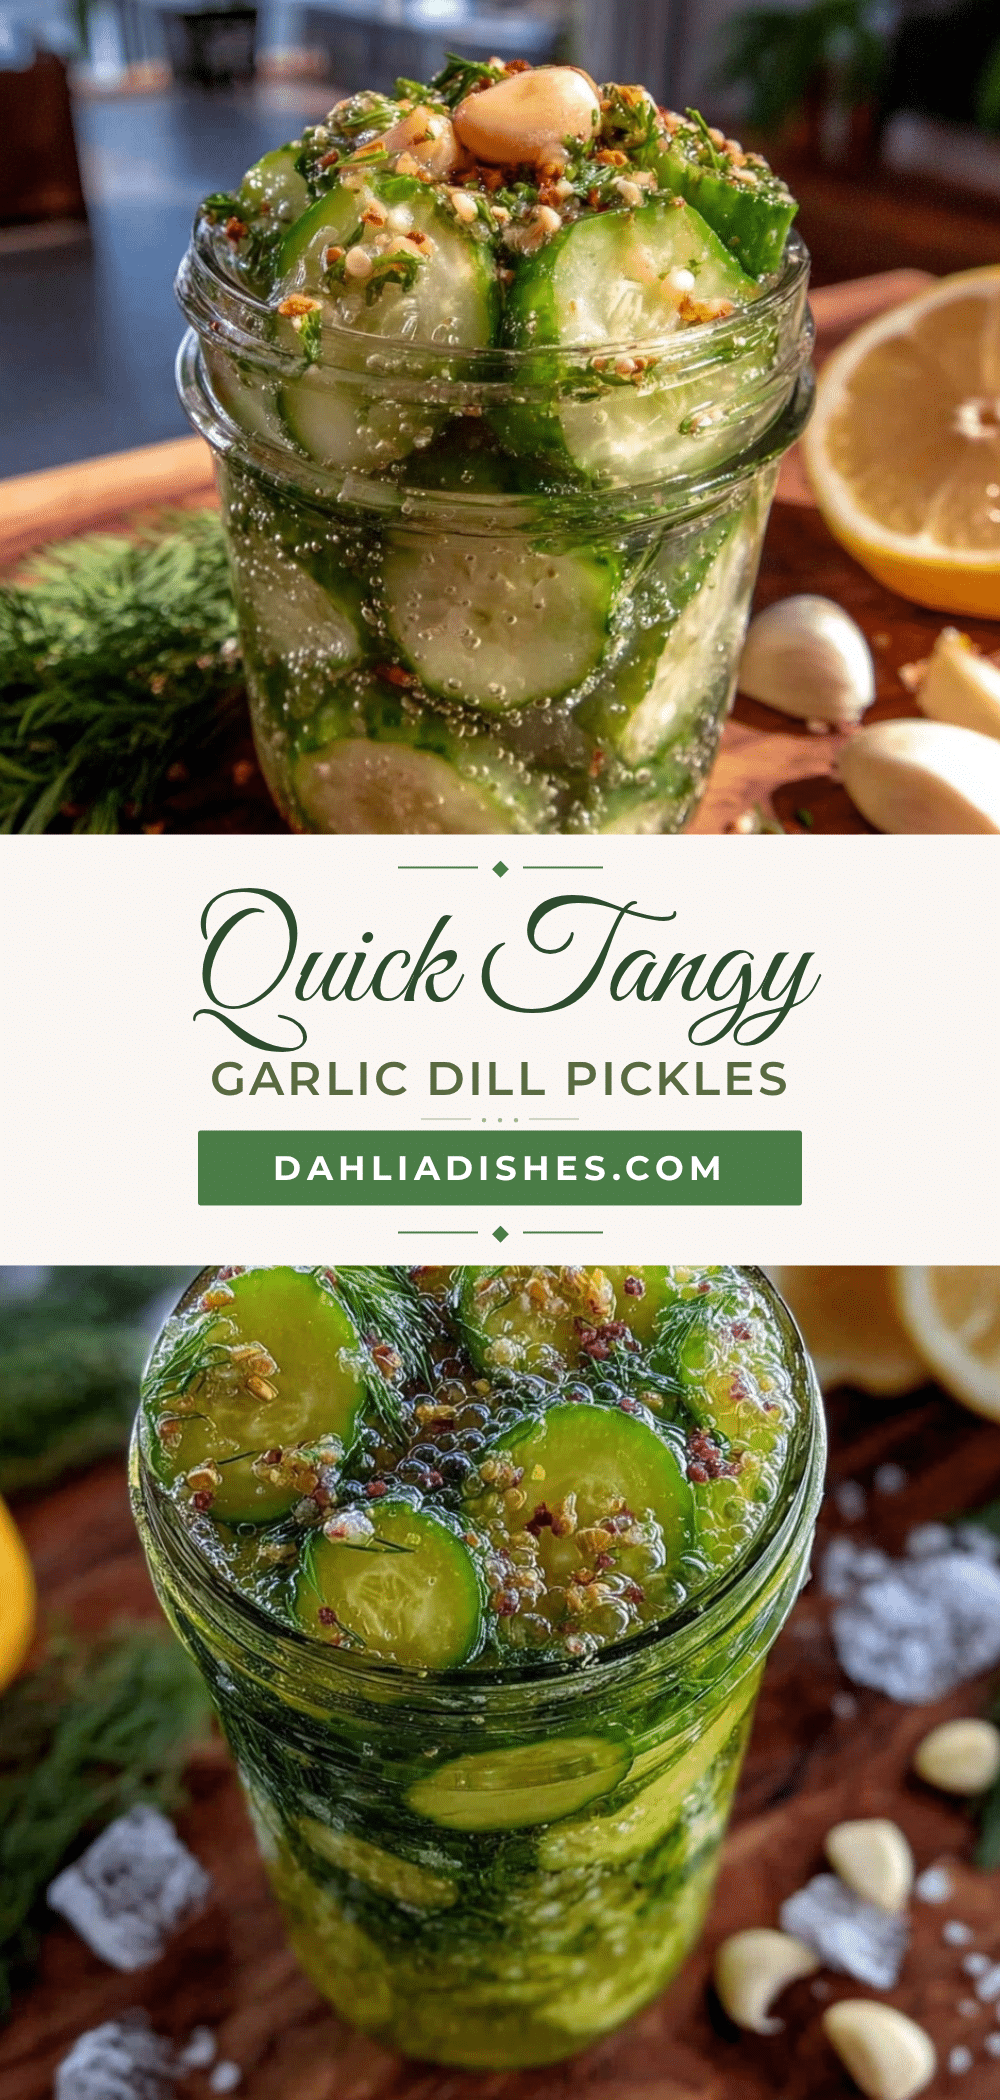
Quick Tangy Garlic Dill Pickles Recipe Ready in 24 Hours Easy Homemade Pickles
A quick and easy recipe for tangy garlic dill pickles that are ready in just 24 hours, delivering a punchy, flavorful crunch perfect for snacking or meals.
- Prep Time: 10 minutes
- Cook Time: 10 minutes
- Total Time: 24 hours
- Yield: About 1 pint jar (approximately 4 servings) 1x
- Category: Condiment
- Cuisine: American
Ingredients
- 1 pound (450 grams) small to medium pickling cucumbers, washed and sliced into spears or rounds
- 4–5 large garlic cloves, peeled and lightly smashed
- 3–4 fresh dill sprigs (or 1 tablespoon dried dill)
- 1 cup (240 ml) white vinegar (distilled preferred)
- 1 cup (240 ml) water (filtered or bottled recommended)
- 1 tablespoon kosher salt or pickling salt
- 1 teaspoon granulated sugar
- 1 teaspoon whole black peppercorns
- ¼ teaspoon red pepper flakes (optional)
Instructions
- Wash and dry 1 pound (450 grams) of small pickling cucumbers. Slice into spears or rounds about ¼ inch (0.6 cm) thick.
- Place the sliced cucumbers in a mixing bowl and sprinkle 1 tablespoon kosher salt over them. Toss gently to coat. Let sit for 30 minutes at room temperature. Drain and pat dry with a clean towel.
- In a small saucepan, combine 1 cup white vinegar, 1 cup water, 1 teaspoon sugar, 1 teaspoon kosher salt, 1 teaspoon black peppercorns, and optional ¼ teaspoon red pepper flakes. Bring to a simmer over medium heat, stirring until sugar and salt dissolve. Remove from heat and let cool slightly for 5 minutes.
- In a clean pint jar, layer smashed garlic cloves and fresh dill sprigs. Pack drained cucumbers snugly without crushing. Pour warm brine over cucumbers, ensuring they are fully submerged. Leave about ½ inch of headspace. Tap jar gently to release air bubbles.
- Screw the lid on tightly and leave the jar at room temperature for 12-24 hours to soak in the brine quickly. Then move the jar to the refrigerator.
- After chilling at least 24 hours total, the pickles are ready to eat. Store in the refrigerator for up to 3 weeks.
Notes
Do not skip the salting step to keep pickles crunchy. Use fresh dill for best flavor. Smashed garlic releases more aroma than minced. Let the jar rest at room temperature for 12-24 hours before refrigerating to speed flavor absorption. Avoid metal lids or line with wax paper to prevent metallic taste. Use distilled white vinegar for a clean tang; apple cider vinegar can be used for a fruitier note but may darken cucumbers.
Nutrition
- Serving Size: About 2 pickle spear
- Calories: 10
- Sugar: 1
- Sodium: 800
- Carbohydrates: 2
- Fiber: 1
Keywords: quick pickles, garlic dill pickles, refrigerator pickles, homemade pickles, easy pickles, tangy pickles, crunchy pickles


