Love this? Save it for later!
Share the inspiration with your friends
“The summer I turned thirty, I dropped by my neighbor’s place just to borrow a cup of sugar, and honestly, I wasn’t prepared for what hit me at the door.” That unmistakable smell of sweet vanilla and cream cheese greeted me before I even stepped inside. My neighbor, Linda, wasn’t making a big deal out of it—just casually frosting a cake on her worn wooden kitchen table like it was the easiest thing in the world. No fancy decorations, no fuss. Just three layers of red, white, and blue cake stacked with a thick, creamy frosting. It was one of those moments where you realize something ordinary can be quietly extraordinary.
Linda shrugged when I complimented the cake, like she’d whipped it up a hundred times before without thinking twice. But let me tell you, that perfect red white & blue layer cake with cream cheese frosting stuck with me. Maybe you’ve been there—catching a whiff of something homey and irresistible that makes you want to dig right in. Since that day, I’ve been perfecting this recipe in my own kitchen, trying to capture that effortless magic. It’s not just a dessert; it’s a little celebration on a plate, perfect for summer afternoons, holiday barbecues, or anytime you want to feel a bit festive without the stress.
So, if you’re looking for a homemade 4th of July dessert that’s both stunning and surprisingly easy, stick around. I’ll share all the tips and tricks I learned (including Linda’s no-fuss approach), so you can make this showstopper with zero hassle but all the flavor.
Why You’ll Love This Recipe
This perfect red white & blue layer cake recipe is more than just a pretty face. From my kitchen trials to family gatherings, this cake has earned its spot as a go-to celebration treat. It’s tested, trusted, and kid-approved!
- Quick & Easy: Comes together in about 1 hour and 15 minutes, making it ideal for last-minute holiday plans or casual get-togethers.
- Simple Ingredients: You probably have most of what you need in your pantry—no complicated trips to specialty stores.
- Perfect for 4th of July & Summer Parties: The vibrant red, white, and blue layers bring instant festive vibes without extra effort.
- Crowd-Pleaser: The creamy, tangy cream cheese frosting balances the sweet, fluffy cake, making it a unanimous hit across all ages.
- Unbelievably Delicious: The moist texture combined with a perfectly smooth frosting gives you that melt-in-your-mouth feeling you didn’t know you needed.
- Unique Twist: Instead of the usual heavy buttercream, the cream cheese frosting adds a subtle tang that cuts through the sweetness, keeping each bite light and fresh.
Honestly, this recipe isn’t just another red white & blue cake—it’s the kind of dessert that makes you pause and smile after the first bite. Whether you’re impressing guests or just treating yourself, it’s a stress-free way to bring a little celebration into your kitchen.
What Ingredients You Will Need
This recipe uses straightforward, wholesome ingredients to create bold flavor and a satisfying texture without fuss or fancy tricks. Most are classic pantry staples, with a few easy-to-find items to keep things interesting.
- For the Cake Batter:
- 2 ½ cups (315 g) all-purpose flour – for tender crumb
- 2 ½ tsp baking powder
- ½ tsp salt
- 1 cup (230 g) unsalted butter, softened – I like Kerrygold for its rich flavor
- 1 ¾ cups (350 g) granulated sugar
- 4 large eggs, room temperature – helps with better rise
- 1 tbsp vanilla extract
- 1 cup (240 ml) whole milk, room temperature – you can swap with buttermilk for extra tang
- Red and blue gel food coloring – gel colors give deeper hues without thinning batter
- For the Cream Cheese Frosting:
- 8 oz (225 g) cream cheese, softened – Philadelphia brand works great
- ½ cup (115 g) unsalted butter, softened
- 4 cups (480 g) powdered sugar, sifted
- 1 tsp vanilla extract
- Pinch of salt (balances sweetness)
Substitution tips: Use almond flour blend for a gluten-free option, though texture will be slightly different. Swap dairy milk with oat milk for a dairy-free cake, but keep cream cheese frosting traditional or try a coconut cream frosting for a vegan twist.
Equipment Needed
- Three 8-inch (20 cm) round cake pans – I recommend lightweight aluminum pans for even baking
- Electric mixer (stand or hand) – makes beating butter and cream cheese frosting a breeze
- Mixing bowls – medium and large sizes
- Rubber spatula – for scraping batter and folding colors
- Cooling racks – to cool layers evenly without sogginess
- Offset spatula or butter knife – for smooth frosting application
- Measuring cups and spoons – accuracy matters here
If you don’t have three pans, you can bake layers one at a time, but expect longer baking time. For budget-friendly options, simple non-stick pans work fine, just watch your baking times closely. Also, I’ve found that chilling the pans slightly before adding batter helps prevent sticking.
Preparation Method
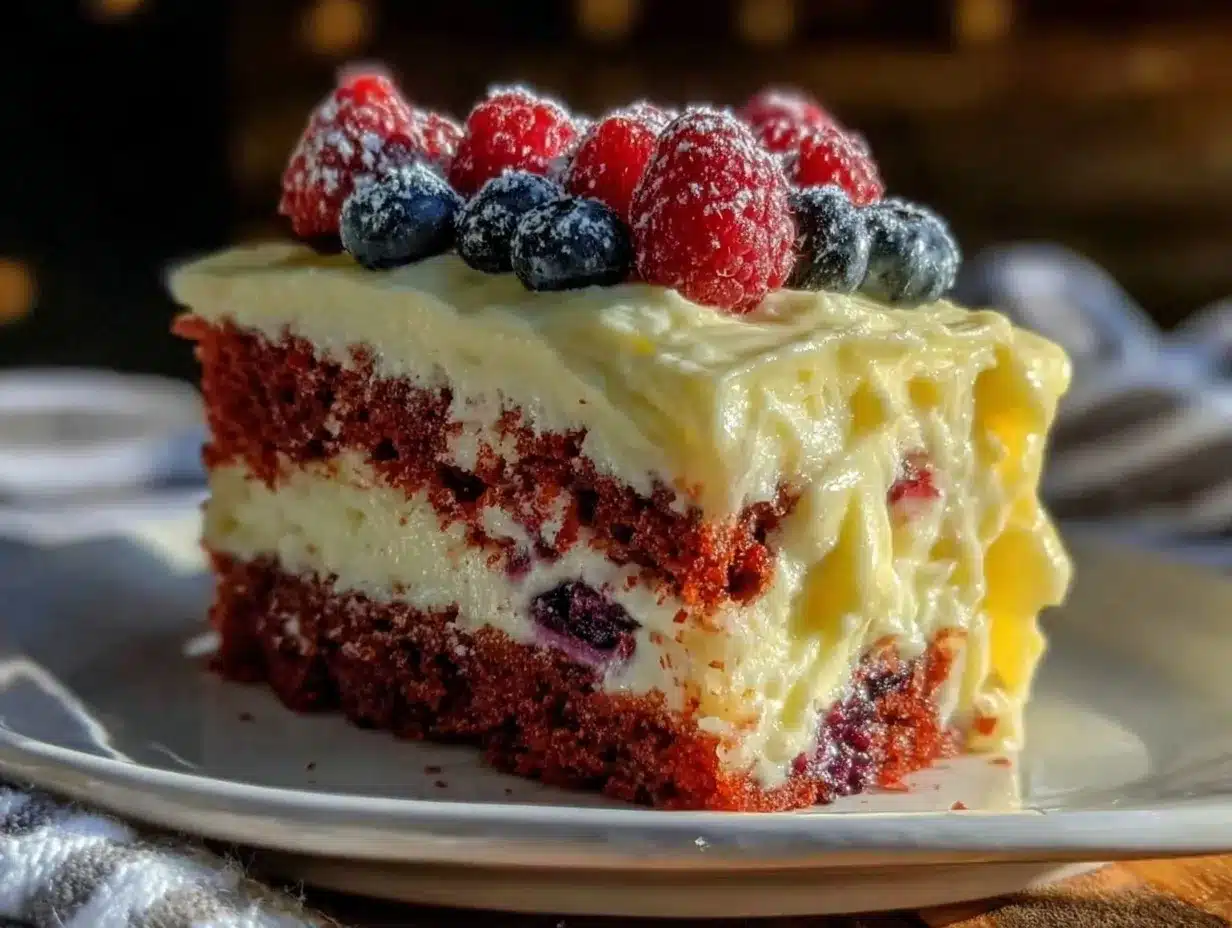
- Preheat and prep pans: Heat your oven to 350°F (175°C). Grease and flour three 8-inch pans or line with parchment paper for easy release. (5 minutes)
- Mix dry ingredients: In a bowl, sift together 2 ½ cups flour, 2 ½ tsp baking powder, and ½ tsp salt. Set aside. (5 minutes)
- Cream butter and sugar: Using an electric mixer, beat 1 cup butter and 1 ¾ cups sugar on medium-high speed until light and fluffy (about 4-5 minutes). This step ensures a tender crumb. (5 minutes)
- Add eggs and vanilla: Beat in eggs one at a time, mixing well after each addition. Stir in 1 tbsp vanilla extract. (3 minutes)
- Combine wet and dry: Alternately add dry ingredients and 1 cup milk to the butter mixture, starting and ending with dry ingredients. Mix on low speed just until combined—don’t overmix or cake gets dense. (5 minutes)
- Divide and color batter: Evenly split batter into three bowls. Leave one plain (white), add red gel food coloring to one bowl, and blue to another. Stir gently until color is uniform. (5 minutes)
- Pour and bake: Pour each colored batter into prepared pans. Smooth tops with spatula. Bake for 25-30 minutes or until a toothpick inserted in the center comes out clean. (30 minutes)
- Cool layers: Let cakes cool in pans for 10 minutes, then turn out onto cooling racks until completely cool. (45 minutes)
- Make frosting: Beat 8 oz cream cheese and ½ cup butter together until smooth. Gradually add 4 cups powdered sugar, mixing on low speed until combined, then add 1 tsp vanilla and pinch of salt. Beat on medium-high for 2 minutes until fluffy. (10 minutes)
- Assemble cake: Place blue cake layer on serving plate. Spread a generous layer of frosting on top. Add white cake layer, repeat frosting, then top with red cake layer. Cover entire cake with remaining frosting, smoothing sides and top. Chill cake 30 minutes before serving for best slicing. (20 minutes active; 30 minutes chilling)
Pro tip: If frosting feels too soft, chill it briefly before spreading. For cleaner layers, trim the tops of cakes if they domed during baking. Don’t rush cooling—warm cake can melt frosting and make a mess.
Cooking Tips & Techniques
Let me tell you, the secret to a perfect red white & blue layer cake lies in some small but mighty details. First, using gel food coloring is a game-changer; it gives those vibrant colors without thinning the batter. I’ve tried liquid food coloring before, and the colors never popped as beautifully.
Another tip? Don’t skip sifting your dry ingredients. It helps keep the layers light and airy. And, honestly, beating your butter and sugar until pale and fluffy is worth every extra minute—this step adds air that makes the cake tender.
One common mistake is overmixing after adding flour. This can make the cake tough. So, mix just until combined and keep the batter lumpy if you need to.
When assembling, an offset spatula is your best friend for smooth frosting. If you’re multitasking during baking, try chilling the frosting so it’s easier to work with later. I once tried frosting immediately after making it—it was a sticky mess!
Lastly, patience is key. Let the cake layers cool completely before frosting, or you’ll end up with melting frosting and a crumbly mess. Trust me, I learned that the hard way during my first attempt.
Variations & Adaptations
- Dietary Adjustments: Swap all-purpose flour with gluten-free flour blend for a gluten-free cake. Use dairy-free cream cheese and coconut cream for a vegan-friendly frosting.
- Flavor Twists: Add lemon zest to the batter for a subtle citrus note that brightens the flavor. Or fold fresh blueberries into the white layer for little bursts of summer.
- Cooking Methods: Try baking the layers as cupcakes for easier portion control and faster baking time (about 18-20 minutes). Adjust frosting accordingly.
- Allergen Substitutions: Replace eggs with flax eggs (1 tbsp flaxseed meal + 3 tbsp water per egg) if needed. Use almond or oat milk instead of dairy milk.
- Personal Favorite: One summer, I swapped the blue layer for a blueberry compote swirl inside the batter—it was a happy accident that added a bit of tang and texture.
Serving & Storage Suggestions
This red white & blue layer cake is best served chilled or at room temperature. The cream cheese frosting firms up nicely in the fridge, giving clean slices. I like to serve it with fresh berries on the side—strawberries and blueberries tie into the theme and add a refreshing contrast.
For beverages, a cold glass of lemonade or iced tea pairs wonderfully, especially on warm summer days. If you’re entertaining, this cake also makes a delightful finish after dishes like grilled chicken or a fresh garden salad.
Store leftovers covered in the refrigerator for up to 4 days. The flavors meld beautifully overnight, so sometimes it tastes even better the next day. You can freeze individual slices wrapped tightly in plastic wrap for up to 2 months—just thaw in the fridge before serving.
When reheating, avoid the microwave if possible as it can soften the frosting too much. Instead, let the cake come to room temperature naturally for about 30 minutes before enjoying.
Nutritional Information & Benefits
This red white & blue layer cake with cream cheese frosting is a treat that offers more than just flavor. Each slice (about 1/12th of the cake) contains roughly 400 calories, with 25 grams of fat and 45 grams of carbs. The cream cheese provides a bit of calcium and protein, while the milk adds some vitamin D.
Using real butter and cream cheese means this isn’t a low-fat dessert, but it’s made with recognizable ingredients without artificial fillers. If you choose whole milk and real vanilla, you get a richer flavor and some nutritional perks compared to processed alternatives.
For those watching gluten or dairy, the recipe adapts easily to gluten-free and dairy-free versions without losing much of the classic taste and texture.
Conclusion
If you’re searching for a homemade 4th of July dessert that feels festive but isn’t complicated, this perfect red white & blue layer cake with cream cheese frosting is your new best friend. Its vibrant colors, moist crumb, and tangy frosting strike just the right balance between show-stopping and simple.
Feel free to make it your own—tweak the flavors, try different frostings, or add your favorite berry twists. I love this cake because it reminds me of those easy summer afternoons when good food and good company just come together without fuss.
Give it a try, and please share your thoughts or your own creative spins in the comments. Let’s keep the celebration going, one delicious slice at a time!
Frequently Asked Questions
Can I make this cake ahead of time?
Absolutely! You can bake the layers a day in advance and keep them wrapped tightly in the fridge. Assemble and frost the cake the next day for best results.
What’s the best way to get bright red and blue colors?
Use gel food coloring instead of liquid. It’s more concentrated and won’t thin your batter, giving you those vibrant, rich hues.
Can I freeze this cake?
Yes, you can freeze the cake fully assembled or in slices. Wrap tightly in plastic wrap and foil. Thaw in the fridge overnight before serving.
How do I prevent the cake from drying out?
Don’t overbake, and be sure to cool the layers completely before frosting. Storing the cake covered helps retain moisture.
Is cream cheese frosting necessary?
While it adds a wonderful tang and creaminess, you can swap it for classic buttercream or whipped cream frosting if you prefer something lighter.
Pin This Recipe!
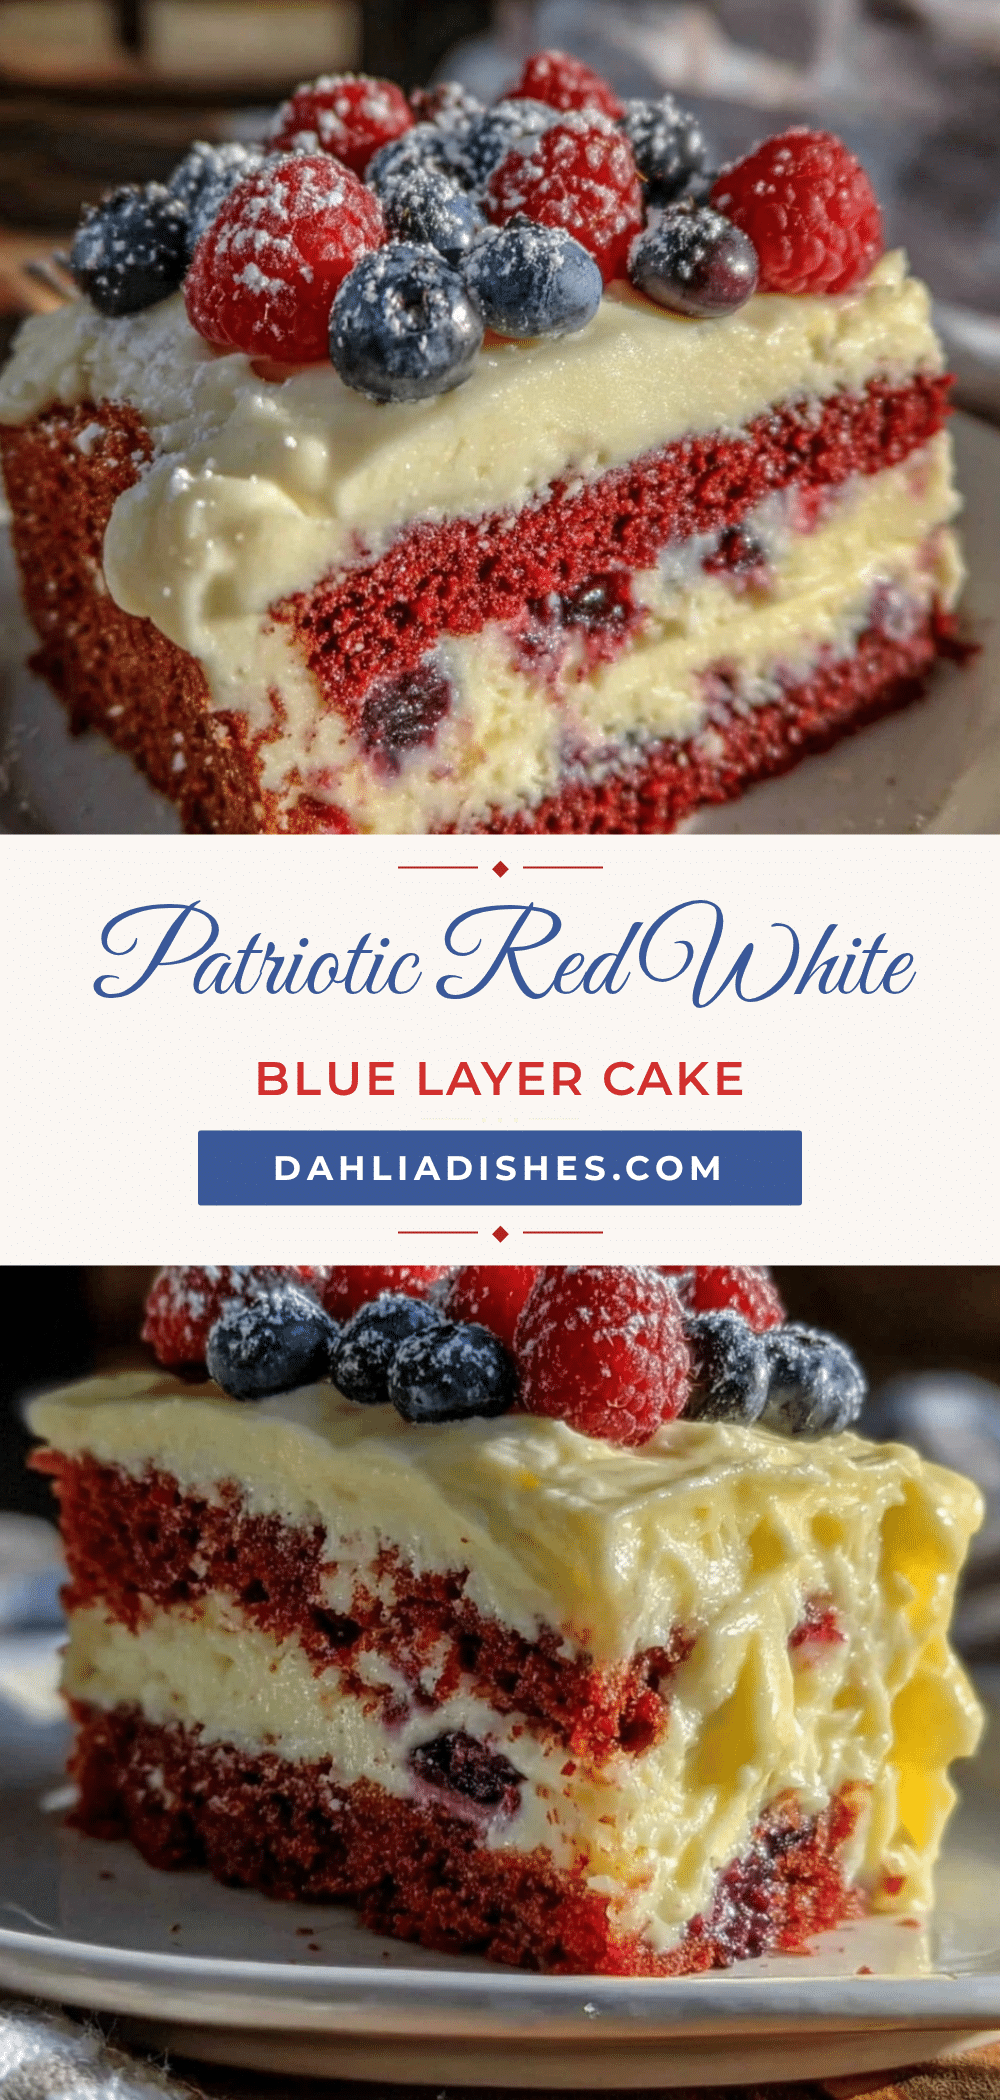
Perfect Red White & Blue Layer Cake Recipe Easy Homemade 4th July Dessert
A festive and easy-to-make red, white, and blue layer cake with tangy cream cheese frosting, perfect for summer parties and 4th of July celebrations.
- Prep Time: 25 minutes
- Cook Time: 30 minutes
- Total Time: 1 hour 15 minutes
- Yield: 12 servings 1x
- Category: Dessert
- Cuisine: American
Ingredients
- 2 ½ cups (315 g) all-purpose flour
- 2 ½ tsp baking powder
- ½ tsp salt
- 1 cup (230 g) unsalted butter, softened
- 1 ¾ cups (350 g) granulated sugar
- 4 large eggs, room temperature
- 1 tbsp vanilla extract
- 1 cup (240 ml) whole milk, room temperature
- Red gel food coloring
- Blue gel food coloring
- 8 oz (225 g) cream cheese, softened
- ½ cup (115 g) unsalted butter, softened
- 4 cups (480 g) powdered sugar, sifted
- 1 tsp vanilla extract
- Pinch of salt
Instructions
- Preheat oven to 350°F (175°C). Grease and flour three 8-inch pans or line with parchment paper.
- Sift together 2 ½ cups flour, 2 ½ tsp baking powder, and ½ tsp salt in a bowl. Set aside.
- Using an electric mixer, beat 1 cup butter and 1 ¾ cups sugar on medium-high speed until light and fluffy, about 4-5 minutes.
- Beat in eggs one at a time, mixing well after each addition. Stir in 1 tbsp vanilla extract.
- Alternately add dry ingredients and 1 cup milk to the butter mixture, starting and ending with dry ingredients. Mix on low speed just until combined.
- Divide batter evenly into three bowls. Leave one plain (white), add red gel food coloring to one bowl, and blue to another. Stir gently until color is uniform.
- Pour each colored batter into prepared pans. Smooth tops with spatula. Bake for 25-30 minutes or until a toothpick inserted in the center comes out clean.
- Let cakes cool in pans for 10 minutes, then turn out onto cooling racks until completely cool.
- Beat 8 oz cream cheese and ½ cup butter together until smooth. Gradually add 4 cups powdered sugar, mixing on low speed until combined, then add 1 tsp vanilla and pinch of salt. Beat on medium-high for 2 minutes until fluffy.
- Place blue cake layer on serving plate. Spread a generous layer of frosting on top. Add white cake layer, repeat frosting, then top with red cake layer. Cover entire cake with remaining frosting, smoothing sides and top.
- Chill cake 30 minutes before serving for best slicing.
Notes
Use gel food coloring for vibrant colors without thinning batter. Chill frosting if too soft before spreading. Let cake layers cool completely before frosting to prevent melting. Trim domed tops for cleaner layers. For gluten-free, use almond flour blend; for dairy-free, substitute oat milk and use coconut cream frosting.
Nutrition
- Serving Size: 1 slice (1/12th of c
- Calories: 400
- Fat: 25
- Carbohydrates: 45
Keywords: red white and blue cake, 4th of July dessert, layer cake, cream cheese frosting, patriotic cake, summer party dessert


