Love this? Save it for later!
Share the inspiration with your friends
Introduction
“I don’t do pickles.” That’s what my friend Alex used to say every time I pulled out a jar at a picnic or potluck. For years, he claimed to hate pickles, especially the soggy, overly vinegary kind that seemed to lurk in every deli sandwich. Then, one lazy Sunday afternoon, I decided to whip up a batch of these crispy easy 24-hour refrigerator dill pickles just for myself, figuring I’d snack on them over the week. Imagine my surprise when, the very next day, I caught Alex sneaking back for a second handful while no one was looking—crunching away with a grin that said it all. It wasn’t some magic trick, honestly—it was the perfect blend of crispness, tang, and fresh dill that turned his pickle prejudice upside down.
Maybe you’ve been there before, stuck with jars of limp pickles that just don’t hit the mark. I mean, I get it, because I was there too. But this recipe? It’s a game changer. It’s quick, it’s simple, and it stays crunchy like you’d expect from a pickle you’d find at a summer farmers’ market stall. I still remember the cracked bowl I had to clean up that day—Alex had been so eager he spilled a few briny drops all over the counter while grabbing his snack. That recipe stuck with me because it proved you don’t need fancy canning or days of waiting to get pickles that truly satisfy. And honestly, I keep making it because it’s the kind of pickle that turns skeptics into fans, one crunchy bite at a time.
Why You’ll Love This Recipe
Having tested this recipe countless times in my kitchen, I can tell you it’s the real deal. Not only is it approachable for anyone who’s ever felt intimidated by pickling, but it also nails that elusive pickle crunch and tang without the fuss.
- Quick & Easy: Ready in just 24 hours—no waiting weeks or special equipment needed.
- Simple Ingredients: You probably have all the essentials in your fridge and pantry already.
- Perfect for Snacking & BBQs: These pickles bring that perfect pop of flavor to any sandwich, burger, or charcuterie board.
- Crowd-Pleaser: Even pickle skeptics (yes, like Alex) end up munching happily.
- Unbelievably Delicious: The balance of fresh dill, garlic, and just the right amount of brine makes these irresistibly flavorful.
What sets this recipe apart? It’s the way the cucumbers stay crisp thanks to a simple salt soak before brining, combined with the fresh dill and garlic infusion that doesn’t overwhelm but instead complements the natural cucumber flavor. No weird preservatives or mystery ingredients, just honest-to-goodness pickles you’ll want to make again and again. Honestly, it’s the kind of pickle that makes you close your eyes after the first bite and nod in approval—comfort food, but bright and fresh.
What Ingredients You Will Need
This recipe uses simple, wholesome ingredients to deliver bold flavor and satisfying texture without the fuss. Most are pantry staples, and you can find fresh dill easily at farmers’ markets or grocery stores.
- Fresh cucumbers: 4-5 medium Kirby or pickling cucumbers (about 1.5 lbs / 700 g), washed and sliced into spears or rounds
- Coarse kosher salt: 2 tablespoons (helps draw out moisture for crispness)
- Fresh dill: 3-4 sprigs (look for bright green, fragrant fronds)
- Garlic cloves: 3, peeled and smashed (adds pungent depth)
- White distilled vinegar: 1 cup (240 ml) (you can swap with apple cider vinegar for a milder tang)
- Water: 1 cup (240 ml) (filtered or bottled if your tap water is chlorinated)
- Granulated sugar: 1 teaspoon (balances acidity)
- Pickling spices: 1 tablespoon (optional, but recommended for extra flavor complexity; I like using a blend with mustard seeds, coriander, and peppercorns)
- Black peppercorns: 1 teaspoon whole (adds subtle heat)
- Red pepper flakes: 1/4 teaspoon (optional, for a gentle kick)
If you want to try a gluten-free or paleo-friendly version, just double-check your pickling spices don’t contain any fillers. For a vegan-friendly twist, this recipe is naturally plant-based. In summer, swapping in fresh cucumber varieties like lemon cucumbers can bring a fun, subtly sweet twist to the pickles.
Equipment Needed
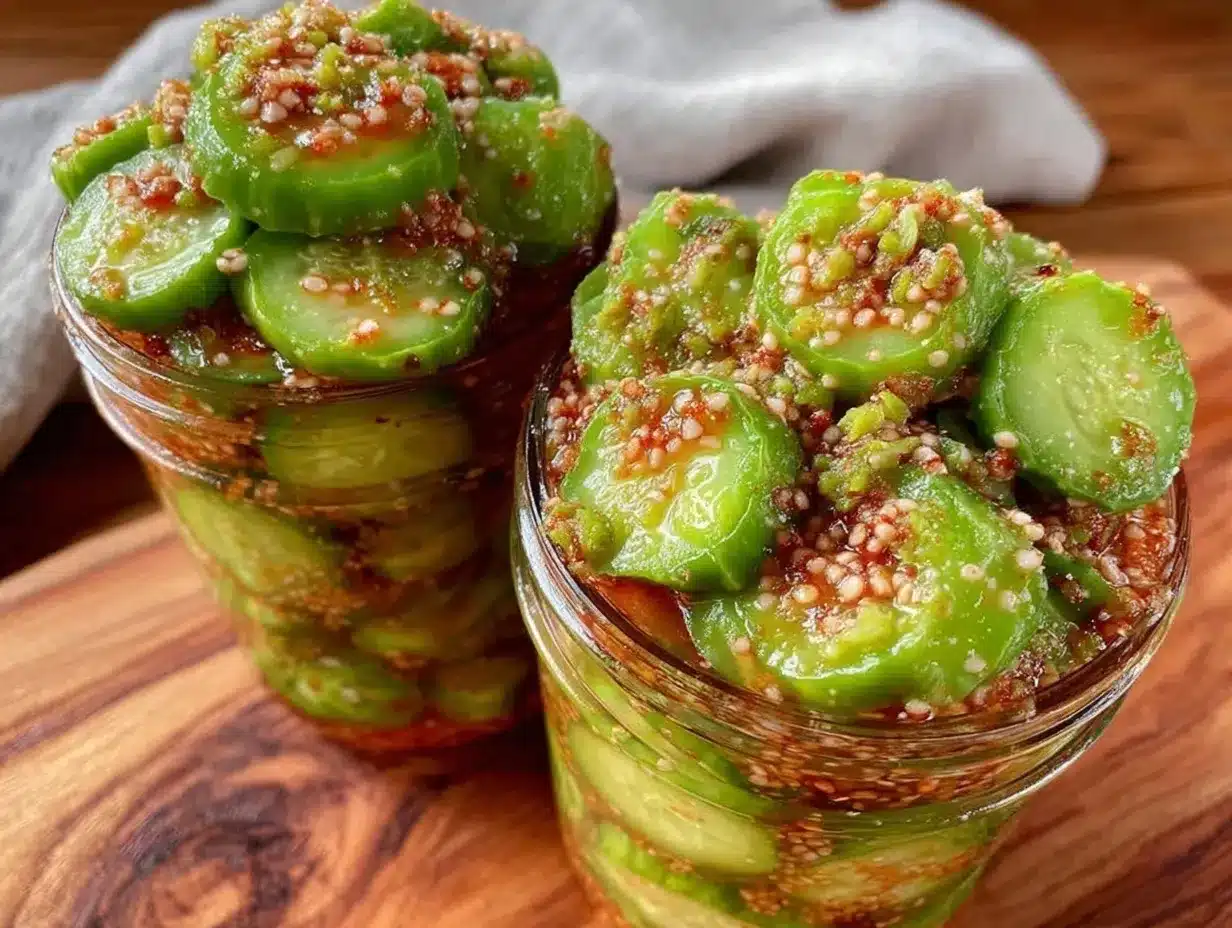
To make these crispy easy 24-hour refrigerator dill pickles, you won’t need anything fancy:
- Large mixing bowl: For the initial salt soak. I prefer glass or stainless steel to avoid any reaction with vinegar later.
- Measuring cups and spoons: Precise measurements help keep the brine balanced.
- Sharp knife and cutting board: To slice the cucumbers evenly for consistent pickling.
- Clean glass jars or containers: Ideally with airtight lids; I use 1-quart (1-liter) mason jars—perfect size for this batch.
- Spoon or tongs: To pack the cucumbers and press them down.
If you don’t have mason jars, any clean, food-safe container with a lid will work. Just make sure it seals well to keep the pickles fresh. I’ve tested this recipe with plastic containers too, but glass definitely keeps the flavors pure without any plastic taste. Also, always sterilize your jars by washing them in hot, soapy water and drying them completely—trust me, it makes a difference for freshness.
Preparation Method
- Prepare the cucumbers: Trim off the blossom ends of the cucumbers (about 1/4 inch or 0.5 cm) to prevent softening. Slice into your preferred shape—spears about 3-4 inches long or 1/4-inch thick rounds. This step takes about 10 minutes.
- Salt soak: Place cucumbers in a large bowl and sprinkle with 2 tablespoons of kosher salt. Toss to coat evenly, then add enough cold water to cover the cucumbers completely. Let them soak for 1-2 hours in the refrigerator. This draws out excess moisture and helps the cucumbers stay crispy. (If you forget and only do 1 hour, it’s still okay, but 2 hours is best.)
- Make the brine: In a separate bowl or measuring cup, combine 1 cup white vinegar, 1 cup water, 1 teaspoon granulated sugar, pickling spices, black peppercorns, and red pepper flakes if using. Stir until the sugar dissolves completely. This should take about 5 minutes.
- Drain and rinse: After soaking, drain the cucumbers and rinse well under cold water to remove excess salt. Pat dry with clean kitchen towels or paper towels to avoid watering down the brine. This step is crucial for crisp pickles.
- Pack the jars: Place fresh dill sprigs and garlic cloves at the bottom of your clean jar(s). Pack the cucumber slices snugly but without crushing. Add any leftover dill or garlic on top.
- Pour the brine: Pour the prepared brine over the cucumbers, making sure they are fully submerged. Use a small clean weight or another smaller jar to keep cucumbers under the brine if needed. Seal the jars tightly.
- Refrigerate: Place the jar(s) in the refrigerator and let them pickle for at least 24 hours before tasting. The flavors develop quickly, and the pickles will stay crisp for up to two weeks.
Pro tip: If you want extra crunch, add a couple of grape leaves or a pinch of alum to each jar—these traditional tricks really work! I learned that from an old-time pickle maker at a local market. Also, keep an eye on the pickles after the first day; if you see bubbles, that’s normal fermentation starting but always store in the fridge to slow it down.
Cooking Tips & Techniques
Perfecting these refrigerator dill pickles is all about attention to a few simple details:
- Salt soaking is key: This step might feel like an extra chore, but it’s what keeps the pickles from turning mushy. The salt pulls moisture out, firming up the cucumbers so they stay crispy after pickling.
- Use fresh, firm cucumbers: Older or soft cucumbers won’t crisp up well. I always pick smaller, firm Kirby cucumbers for this recipe—they’re the classic choice and hold up beautifully.
- Don’t skip the rinse: Rinsing off the salt soak prevents your pickles from tasting too salty, which is a common rookie mistake I made a few times.
- Brine balance matters: Too much vinegar can overpower, while too little leaves the pickles bland. I tested this ratio over a dozen times to get the tang just right for a balanced flavor that’s not too sharp.
- Storage temperature: Keep your pickles in the coldest part of the fridge. Warmer temps can lead to softer pickles and quicker spoilage.
Once, I accidentally used table salt instead of kosher salt during the soak and ended up with overly salty pickles—lesson learned! Also, I found that packing the cucumbers tightly but gently avoids bruising, which can cause watery pickles. Multitasking tip: set a timer during the salt soak so you don’t forget and end up with bitter cucumbers.
Variations & Adaptations
This recipe is wonderfully adaptable to your taste preferences or dietary needs:
- Spicy pickles: Add extra red pepper flakes or a sliced jalapeño to the jar for a fiery kick.
- Garlic lovers’ style: Double up on the garlic cloves and add a pinch of smoked paprika for a smoky twist.
- Low-sodium option: Reduce the salt in the soak by half and extend soaking time to 3 hours to still keep crunch without overpowering saltiness.
- Herbal variations: Swap dill for fresh tarragon or basil for a different flavor profile that’s just as fresh.
- Vinegar swap: Use apple cider vinegar for a milder, fruitier flavor or rice vinegar for a slightly sweet note.
Personally, I once tried this recipe using lemon slices alongside the dill, which gave the pickles a bright citrus note—perfect for summer barbecues. If you want to try a quick pickle with a smoky, BBQ-friendly flavor, adding a few drops of liquid smoke to the brine can be surprisingly good.
Serving & Storage Suggestions
These crispy easy 24-hour refrigerator dill pickles are best served chilled straight from the fridge. They make a fantastic tangy side for sandwiches, burgers, or fried chicken. Honestly, I love tossing them into a snack tray with sharp cheddar, crusty bread, and a glass of cold lemonade for a perfect summer afternoon nibble.
Store pickles in airtight jars or containers in the refrigerator for up to two weeks. The flavors deepen the longer they sit, but the crunch is best in the first week. When reheating is called for—say, in a warm sandwich or burger—add the pickle just before serving to keep that satisfying snap.
Also, if you’re packing lunches, these pickles hold up well and won’t turn soggy quickly, making them a great make-ahead addition. Just be sure to keep the brine covering them to avoid drying out.
Nutritional Information & Benefits
These pickles are low in calories (roughly 5-10 calories per spear), making them a guilt-free, flavorful snack. The vinegar provides a probiotic-friendly environment if you let them ferment slightly, which might support digestion. Plus, cucumbers themselves bring hydration and a small dose of vitamins K and C.
Since this recipe uses simple, whole ingredients without preservatives, it’s naturally gluten-free, vegan, and low-carb—great for many dietary preferences. Just watch out for any added sugar if you’re strictly avoiding carbs, though the teaspoon here is minimal.
From a wellness perspective, these pickles satisfy salty cravings without processed additives, making them a smart choice for mindful snacking.
Conclusion
Why should you try these crispy easy 24-hour refrigerator dill pickles? Because they combine simplicity, speed, and that unmistakable crunch and tang that most store-bought pickles just can’t match. Whether you’re a longtime pickle lover or a skeptic like my friend Alex, this recipe invites you to rethink what pickles can be—fresh, flavorful, and downright addictive.
Feel free to tweak the garlic, spice, or herbs to make it your own. I love how this recipe welcomes personalization without losing its core magic. Give it a go, and I’d love to hear how your batch turned out—drop a comment or share your variations below! Trust me, once you taste these, you might catch yourself sneaking back for one more bite too.
Happy pickling!
FAQs
- How long do these refrigerator dill pickles last? They keep well in the fridge for up to two weeks, maintaining crispness and flavor.
- Can I use regular cucumbers instead of Kirby cucumbers? Yes, but Kirby cucumbers are preferred for their firmness and smaller size, which helps keep the pickles crisp.
- Do I need to sterilize the jars? It’s recommended to wash jars in hot, soapy water and dry completely to prevent spoilage, but full sterilization isn’t necessary for refrigerator pickles.
- Can I make this recipe vegan and gluten-free? Absolutely! The recipe is naturally vegan and gluten-free as long as your pickling spices don’t contain gluten.
- Can I make these pickles without vinegar? Vinegar is key for the tang and preservation in this recipe, so it’s not recommended to omit it. However, you can experiment with different vinegar types for flavor variations.
Pin This Recipe!
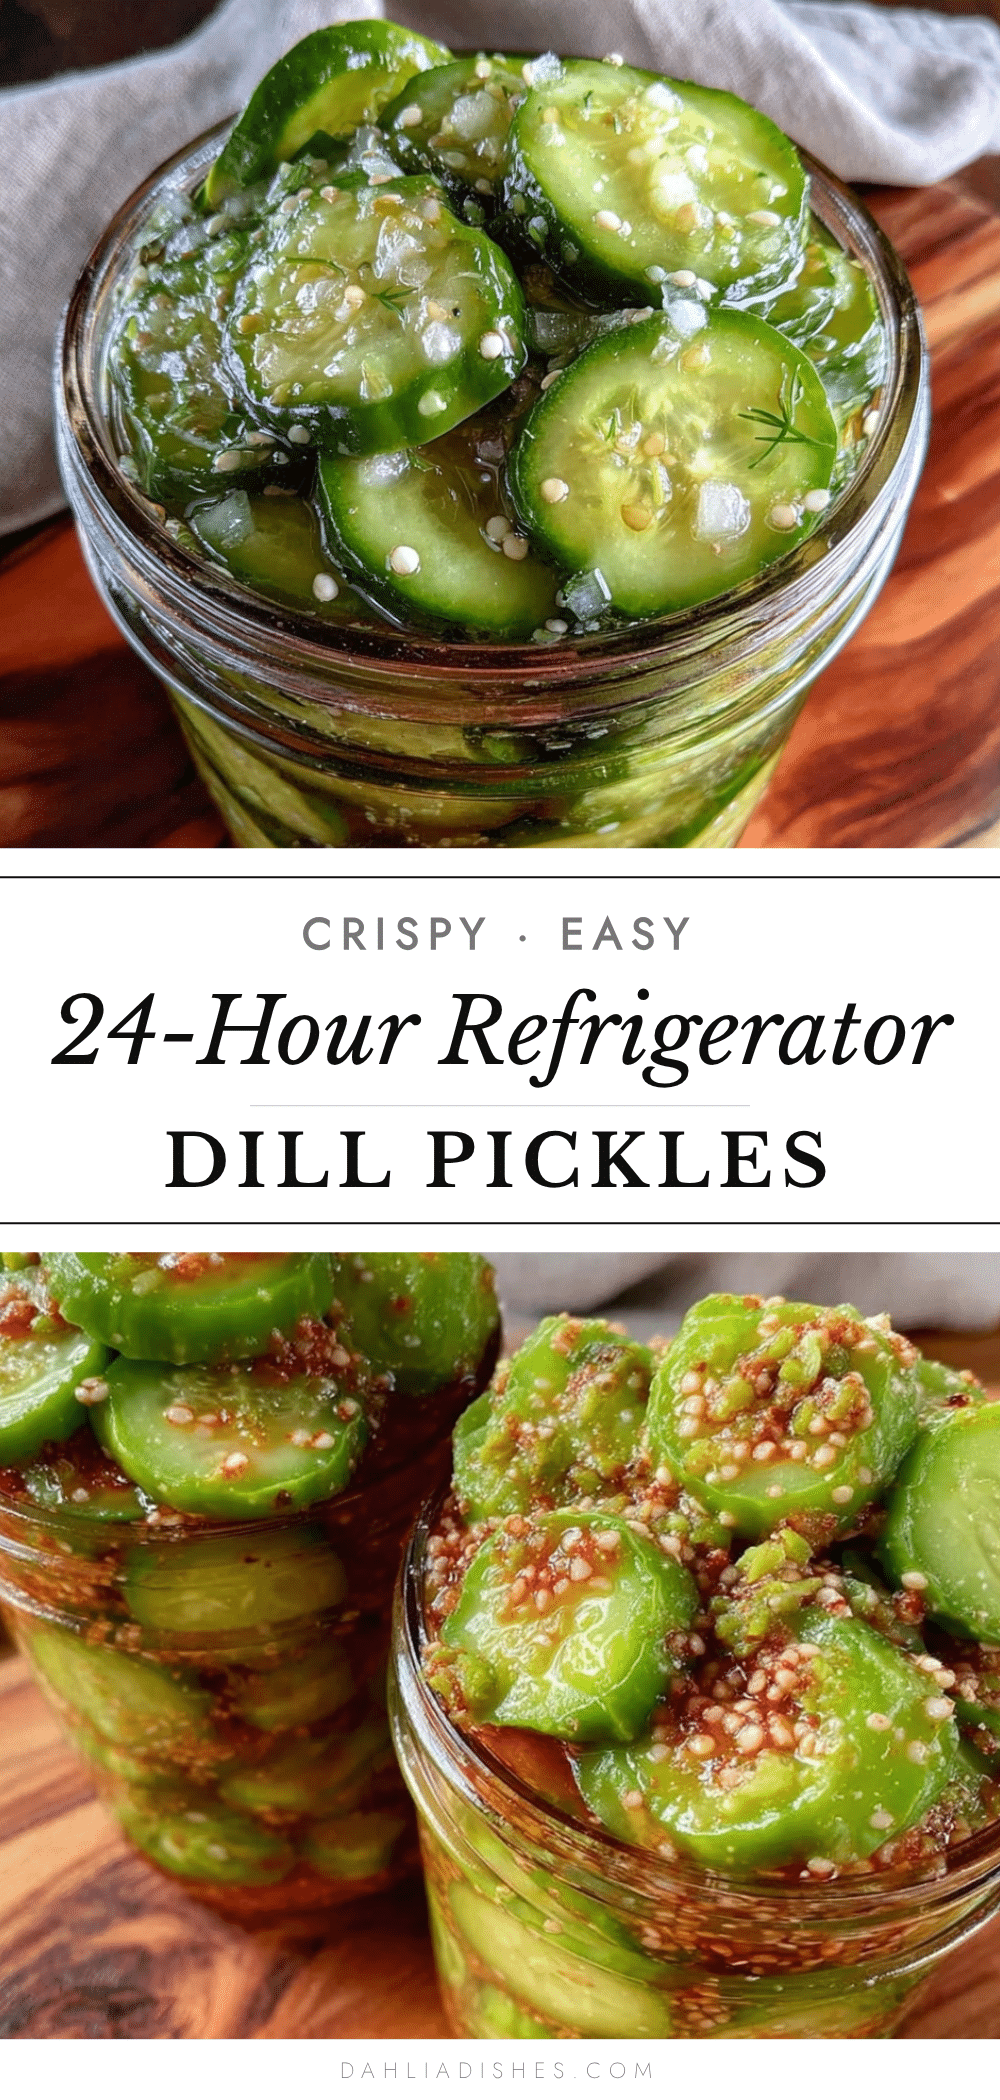
Crispy Easy 24-Hour Refrigerator Dill Pickles
A quick and simple recipe for crunchy, flavorful dill pickles ready in just 24 hours without special equipment or long wait times.
- Prep Time: 15 minutes
- Cook Time: 24 hours (refrigeration/pickling time)
- Total Time: 24 hours 15 minutes
- Yield: 4-5 servings 1x
- Category: Condiment
- Cuisine: American
Ingredients
- 4–5 medium Kirby or pickling cucumbers (about 1.5 lbs / 700 g), washed and sliced into spears or rounds
- 2 tablespoons coarse kosher salt
- 3–4 sprigs fresh dill
- 3 garlic cloves, peeled and smashed
- 1 cup (240 ml) white distilled vinegar (can substitute apple cider vinegar)
- 1 cup (240 ml) water (filtered or bottled if tap water is chlorinated)
- 1 teaspoon granulated sugar
- 1 tablespoon pickling spices (optional; blend with mustard seeds, coriander, peppercorns)
- 1 teaspoon whole black peppercorns
- 1/4 teaspoon red pepper flakes (optional)
Instructions
- Trim off the blossom ends of the cucumbers (about 1/4 inch or 0.5 cm) to prevent softening. Slice into spears about 3-4 inches long or 1/4-inch thick rounds.
- Place cucumbers in a large bowl and sprinkle with 2 tablespoons of kosher salt. Toss to coat evenly, then add enough cold water to cover the cucumbers completely. Let soak for 1-2 hours in the refrigerator.
- In a separate bowl or measuring cup, combine 1 cup white vinegar, 1 cup water, 1 teaspoon granulated sugar, pickling spices, black peppercorns, and red pepper flakes if using. Stir until sugar dissolves.
- Drain and rinse cucumbers well under cold water to remove excess salt. Pat dry with clean towels or paper towels.
- Place fresh dill sprigs and garlic cloves at the bottom of clean jars. Pack cucumber slices snugly but without crushing. Add any leftover dill or garlic on top.
- Pour the prepared brine over the cucumbers, ensuring they are fully submerged. Use a small clean weight or smaller jar to keep cucumbers under the brine if needed. Seal jars tightly.
- Refrigerate jars for at least 24 hours before tasting. Pickles will stay crisp for up to two weeks.
Notes
Salt soaking is key to keeping pickles crispy. Use fresh, firm Kirby cucumbers for best results. Rinse cucumbers after salt soak to avoid overly salty pickles. Store pickles in the coldest part of the fridge. For extra crunch, add grape leaves or a pinch of alum to jars. Pickles keep well up to two weeks refrigerated.
Nutrition
- Serving Size: 1 spear or 1/4 cup s
- Calories: 510
- Sugar: 0.5
- Sodium: 30040
- Carbohydrates: 1
- Fiber: 0.3
- Protein: 0.2
Keywords: dill pickles, refrigerator pickles, quick pickles, easy pickles, crunchy pickles, homemade pickles, dill, pickling


