Love this? Save it for later!
Share the inspiration with your friends
“You better grab that piping bag,” my neighbor whispered as I stood there, fumbling with a mound of frosting that had more air bubbles than smoothness. I was attempting a birthday cake for a friend born under the fierce Leo sign, and honestly, the whole gold drip idea was a bit intimidating. She didn’t say much at first, just smiled and handed me her worn, slightly cracked cake stand, the one she swore brought her luck every time she baked. We’d been chatting over the fence about birthdays and astrology, and somehow, the recipe for this Perfect Leo Birthday Gold Drip Cake with Salted Caramel Buttercream came up—not as a lesson, but as a natural part of our conversation.
That afternoon, with bits of buttercream on my sleeve and a distracted cat batting at the gold drip, I realized this wasn’t just a cake; it was a celebration of personality, warmth, and a touch of flair. Maybe you’ve been there—trying to make something special for someone who shines as brightly as a Leo. This cake recipe stuck with me because it’s not just about the layers or the drip—it’s about bringing a little golden magic to the table, honoring boldness, and sharing a sweet moment. Let me tell you, the salted caramel buttercream is the kind of frosting that makes you pause and savor, like a secret handshake between the baker and the birthday star.
Why You’ll Love This Recipe
After testing this recipe more times than I can count (including a few frantic midnight bakes), I’m confident this Perfect Leo Birthday Gold Drip Cake with Salted Caramel Buttercream is a winner for many reasons:
- Quick & Easy: The cake comes together in under 90 minutes, making it ideal for last-minute party plans or those busy days when you want to impress without stress.
- Simple Ingredients: No exotic items here—just pantry staples with a few luxe touches like edible gold dust and rich caramel sauce.
- Perfect for Celebrations: Whether it’s a birthday, anniversary, or a special gathering honoring someone radiant, this cake really steals the spotlight.
- Crowd-Pleaser: The combination of moist vanilla layers and salty-sweet buttercream always gets rave reviews from kids and adults alike.
- Unbelievably Delicious: The salted caramel buttercream has that silky, dreamy texture that makes each bite feel indulgent but balanced.
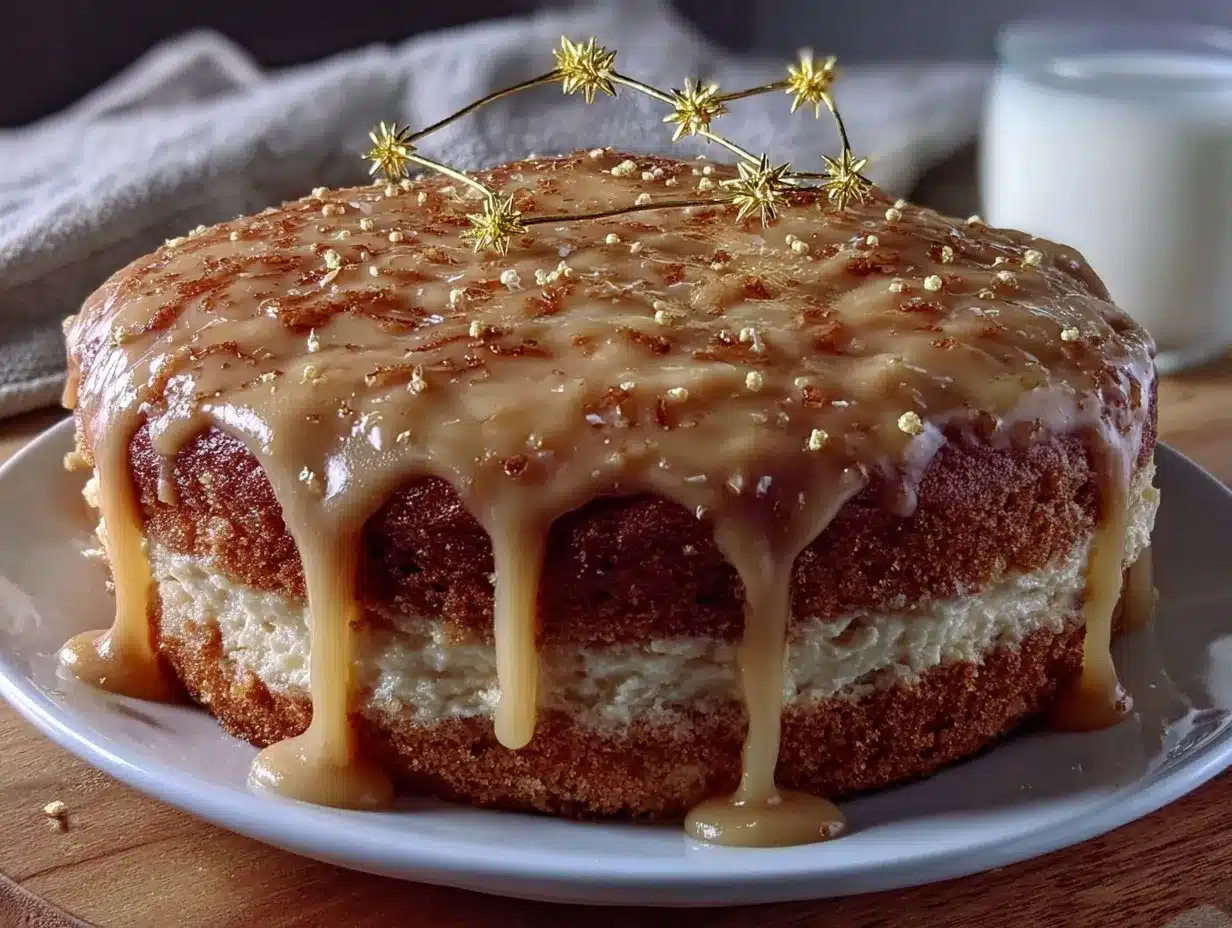
What sets this cake apart is the way the gold drip isn’t just decoration—it’s a statement. The drip is smooth, glossy, and just the right amount of flashy without going overboard. Plus, the salted caramel buttercream is whipped to a lightness that’s surprisingly easy to spread, even if you’re not a seasoned baker. Honestly, it’s the kind of cake that makes you close your eyes after the first bite and say, “Yep, that’s the one.”
What Ingredients You Will Need
This recipe uses straightforward, wholesome ingredients that come together to create a visually stunning and delicious cake. Most of these are pantry staples, but that little extra gold touch makes it special.
- For the Cake Layers:
- All-purpose flour – 2 ½ cups (320g)
- Baking powder – 2 ½ teaspoons
- Baking soda – ½ teaspoon
- Salt – ½ teaspoon
- Unsalted butter, softened – 1 cup (227g) (I prefer Land O’Lakes for great consistency)
- Granulated sugar – 2 cups (400g)
- Large eggs, room temperature – 4
- Vanilla extract – 2 teaspoons (pure vanilla makes all the difference)
- Buttermilk – 1 cup (240ml) (or whole milk with 1 tablespoon lemon juice as a substitute)
- For the Salted Caramel Buttercream:
- Unsalted butter, softened – 1 cup (227g)
- Powdered sugar – 4 cups (480g), sifted
- Salted caramel sauce – ½ cup (120ml) (homemade or store-bought, Trader Joe’s is a solid choice)
- Heavy cream – 2-3 tablespoons (30-45ml)
- Sea salt flakes – ½ teaspoon (for that finishing touch)
- For the Gold Drip:
- White chocolate chips – ½ cup (90g)
- Heavy cream – ¼ cup (60ml)
- Edible gold luster dust – 1 teaspoon
- Vegetable glycerin – 1 teaspoon (optional, for shine)
- Extras:
- Edible gold leaf or gold sprinkles (optional, for decoration)
- Wooden skewers or toothpicks (for testing cake doneness)
Tip: If you want a gluten-free version, swapping the all-purpose flour for a 1:1 gluten-free baking flour blend works well here. For a dairy-free twist, try coconut cream instead of heavy cream and a dairy-free butter substitute.
Equipment Needed
- Two 8-inch (20cm) round cake pans – non-stick or well-greased
- Mixing bowls – medium and large
- Electric mixer or stand mixer with paddle attachment (hand mixers work, but the stand mixer saves your arms!)
- Measuring cups and spoons – for accuracy
- Rubber spatula – for folding and scraping
- Wire cooling racks – to let your cakes cool evenly
- Piping bags and round piping tips – to apply the buttercream smoothly
- Offset spatula or bench scraper – for smoothing frosting
- Small saucepan – for making the gold drip ganache
- Kitchen scale (optional but recommended for precise measurements)
If you don’t have cake pans exactly 8 inches wide, 9-inch pans will work fine; just watch the baking time. For those new to piping, a simple zip-top bag with a corner snipped off is a perfectly fine budget-friendly option.
Preparation Method
- Preheat and Prep: Preheat your oven to 350°F (175°C). Grease two 8-inch round cake pans and line the bottoms with parchment paper for easy release. This step saves you from a potential cake-crumbling disaster later.
- Mix Dry Ingredients: In a medium bowl, sift together 2 ½ cups (320g) all-purpose flour, 2 ½ teaspoons baking powder, ½ teaspoon baking soda, and ½ teaspoon salt. Set aside.
- Cream Butter and Sugar: In a large bowl, use an electric mixer to beat 1 cup (227g) softened unsalted butter with 2 cups (400g) granulated sugar until light and fluffy, about 3-4 minutes. This step is key for that airy cake texture.
- Add Eggs and Vanilla: Beat in 4 large room-temperature eggs, one at a time, ensuring each is fully incorporated before adding the next. Stir in 2 teaspoons vanilla extract.
- Alternate Adding Dry Ingredients and Buttermilk: With the mixer on low, add the dry ingredients in three additions, alternating with 1 cup (240ml) buttermilk, starting and ending with the dry mix. Mix until just combined—overmixing can make the cake tough.
- Divide and Bake: Evenly divide the batter between the prepared pans. Smooth the tops gently with a spatula. Bake for 30-35 minutes, or until a toothpick inserted in the center comes out clean. Don’t open the oven door too often—trust me, patience helps the rise.
- Cool Down: Let the cakes cool in their pans for 10 minutes, then transfer to wire racks to cool completely. This is a good time to clean up your workspace before the frosting fun begins.
- Make Salted Caramel Buttercream: Beat 1 cup (227g) softened unsalted butter until creamy. Gradually add 4 cups (480g) sifted powdered sugar. Mix in ½ cup (120ml) salted caramel sauce and 2-3 tablespoons (30-45ml) heavy cream until fluffy. Adjust consistency with more cream or powdered sugar as needed. Finish by folding in ½ teaspoon sea salt flakes for that perfect sweet-salty balance.
- Assemble the Cake: Place one cake layer on your cake stand or plate. Pipe or spread a generous amount of buttercream on top. Add the second cake layer and cover the entire cake with a thin crumb coat. Chill for 20 minutes in the fridge.
- Final Frosting: Apply a smooth, even layer of buttercream all around the chilled cake. Use a bench scraper to get sharp edges—this is where that extra patience pays off.
- Prepare Gold Drip: Heat ¼ cup (60ml) heavy cream until just simmering. Pour over ½ cup (90g) white chocolate chips in a small bowl. Stir until smooth. Mix in 1 teaspoon edible gold luster dust and 1 teaspoon vegetable glycerin if using, for shine. Let cool slightly but not harden.
- Apply Gold Drip: Using a spoon or small piping bag, carefully drizzle gold ganache around the edges of the cake, allowing it to drip naturally down the sides. You can add more or less depending on your style, but the key is a slow, steady hand.
- Decorate: Garnish with edible gold leaf or sprinkles if desired. Chill the cake for at least 30 minutes to set the drip before serving.
Pro tip: If your buttercream feels too soft while frosting, pop it in the fridge for 10 minutes to firm up—but don’t let it harden completely, or it’ll be tough to spread.
Cooking Tips & Techniques
Baking and decorating a cake like this can feel like a balancing act, but a few tips from my kitchen mishaps might help smooth the way:
- Room Temperature Ingredients: Always bring eggs and butter to room temperature. Cold ingredients can cause the batter to curdle, and honestly, no one wants lumpy frosting.
- Measuring Flour Properly: Spoon the flour into your measuring cup instead of scooping directly—this avoids dense, heavy cakes.
- Don’t Overmix: Once dry and wet ingredients combine, mix just enough to blend. Overmixing develops gluten and makes the cake chewy.
- Crumb Coat Magic: The thin layer of frosting before the final coat traps crumbs so your final finish looks clean and professional.
- Gold Drip Consistency: Too hot and the drip will run too fast; too cool and it won’t drip at all. Aim for a warm, pourable ganache that moves slowly.
- Chill Between Steps: Patience is your friend. Chilling the cake after crumb coat and after applying the drip helps layers set perfectly.
- Practice Piping: If piping buttercream intimidates you, try practicing on parchment paper first. It’s a simple confidence booster.
From personal experience, rushing through the drip stage once led to a gold waterfall all over my counter—funny in hindsight, but not ideal for presentation!
Variations & Adaptations
This cake recipe is flexible enough to suit many occasions and preferences. Here are some ways you can switch it up:
- Flavor Twists: Swap vanilla for almond extract or add a touch of espresso powder to the batter for a mocha vibe.
- Seasonal Touch: Top with fresh berries or edible flowers to give it a fresh, summery look.
- Dietary Adaptations: Use almond flour for a gluten-free cake or substitute coconut oil and dairy-free cream for a vegan-friendly version.
- Decoration Alternatives: Instead of gold drip, try a dark chocolate ganache drip for a richer contrast.
- Personal Favorite: I once added a layer of salted caramel sauce between the cake layers for extra gooey delight—totally worth the mess!
Serving & Storage Suggestions
Serve this cake at room temperature for the best flavor and texture. The salted caramel buttercream softens beautifully, making each slice melt in your mouth. Pair it with a cup of strong coffee or a glass of sparkling wine for festive occasions.
If you’re not serving immediately, wrap the cake loosely with plastic wrap and store it in the refrigerator. It will keep fresh for up to 3 days. Before serving, let it sit out at room temperature for about 30 minutes to restore that perfect buttery softness.
For longer storage, slice the cake into portions, wrap each tightly, and freeze for up to 2 months. Thaw in the fridge overnight and bring to room temperature before enjoying.
Interestingly, the flavors develop more depth after a day or two, so if you can wait, this cake rewards patience.
Nutritional Information & Benefits
Here’s an estimate per serving (based on 12 slices): approximately 450 calories, 25g fat, 55g carbohydrates, 4g protein.
The salted caramel buttercream uses real butter and cream, offering a source of fat-soluble vitamins, while the vanilla and caramel add antioxidants. This cake isn’t exactly a health food, but it’s a joyful treat made with quality ingredients.
For those watching gluten or dairy, simple substitutions make this recipe accessible to many. Just keep in mind the caramel sauce source if you’re buying pre-made.
From a personal wellness perspective, I think of this cake as a way to connect and celebrate—it’s about balance, savoring moments, and making memories.
Conclusion
This Perfect Leo Birthday Gold Drip Cake with Salted Caramel Buttercream isn’t just a dessert; it’s a statement of joy, warmth, and a little bit of sparkle. Whether you’re honoring a Leo or just craving a cake that impresses without stress, this recipe invites you to bring your creativity and heart into the kitchen.
Feel free to tweak the flavors, play with decorations, or simplify the drip—what matters most is making it your own and sharing it with people you care about. Honestly, this cake has become one of my go-to celebrations, and I hope it finds a special place on your table too.
Don’t forget to leave a comment sharing how your cake turned out or any fun adaptations you tried—I’d love to hear your stories and tips. Happy baking, and may your kitchen always be filled with warmth and a little gold glitter!
FAQs
How do I prevent the cake layers from drying out?
Make sure not to overbake your layers and store the cake wrapped tightly if not serving immediately. Using buttermilk in the batter also helps keep the cake moist.
Can I make the salted caramel buttercream ahead of time?
Yes! You can prepare the buttercream a day in advance and keep it refrigerated. Before using, bring it to room temperature and re-whip for a fluffy texture.
What if I don’t have edible gold dust?
You can skip the gold dust or use gold-colored sprinkles or edible glitter for decoration. The cake will still look festive and delicious.
Is the cake suitable for freezing?
Absolutely. Slice and wrap portions tightly in plastic wrap and foil. Thaw in the refrigerator overnight before serving.
Can I use dark chocolate for the drip instead of white chocolate?
Yes, a dark chocolate ganache drip is a tasty alternative and creates a lovely contrast with the salted caramel buttercream.
Pin This Recipe!
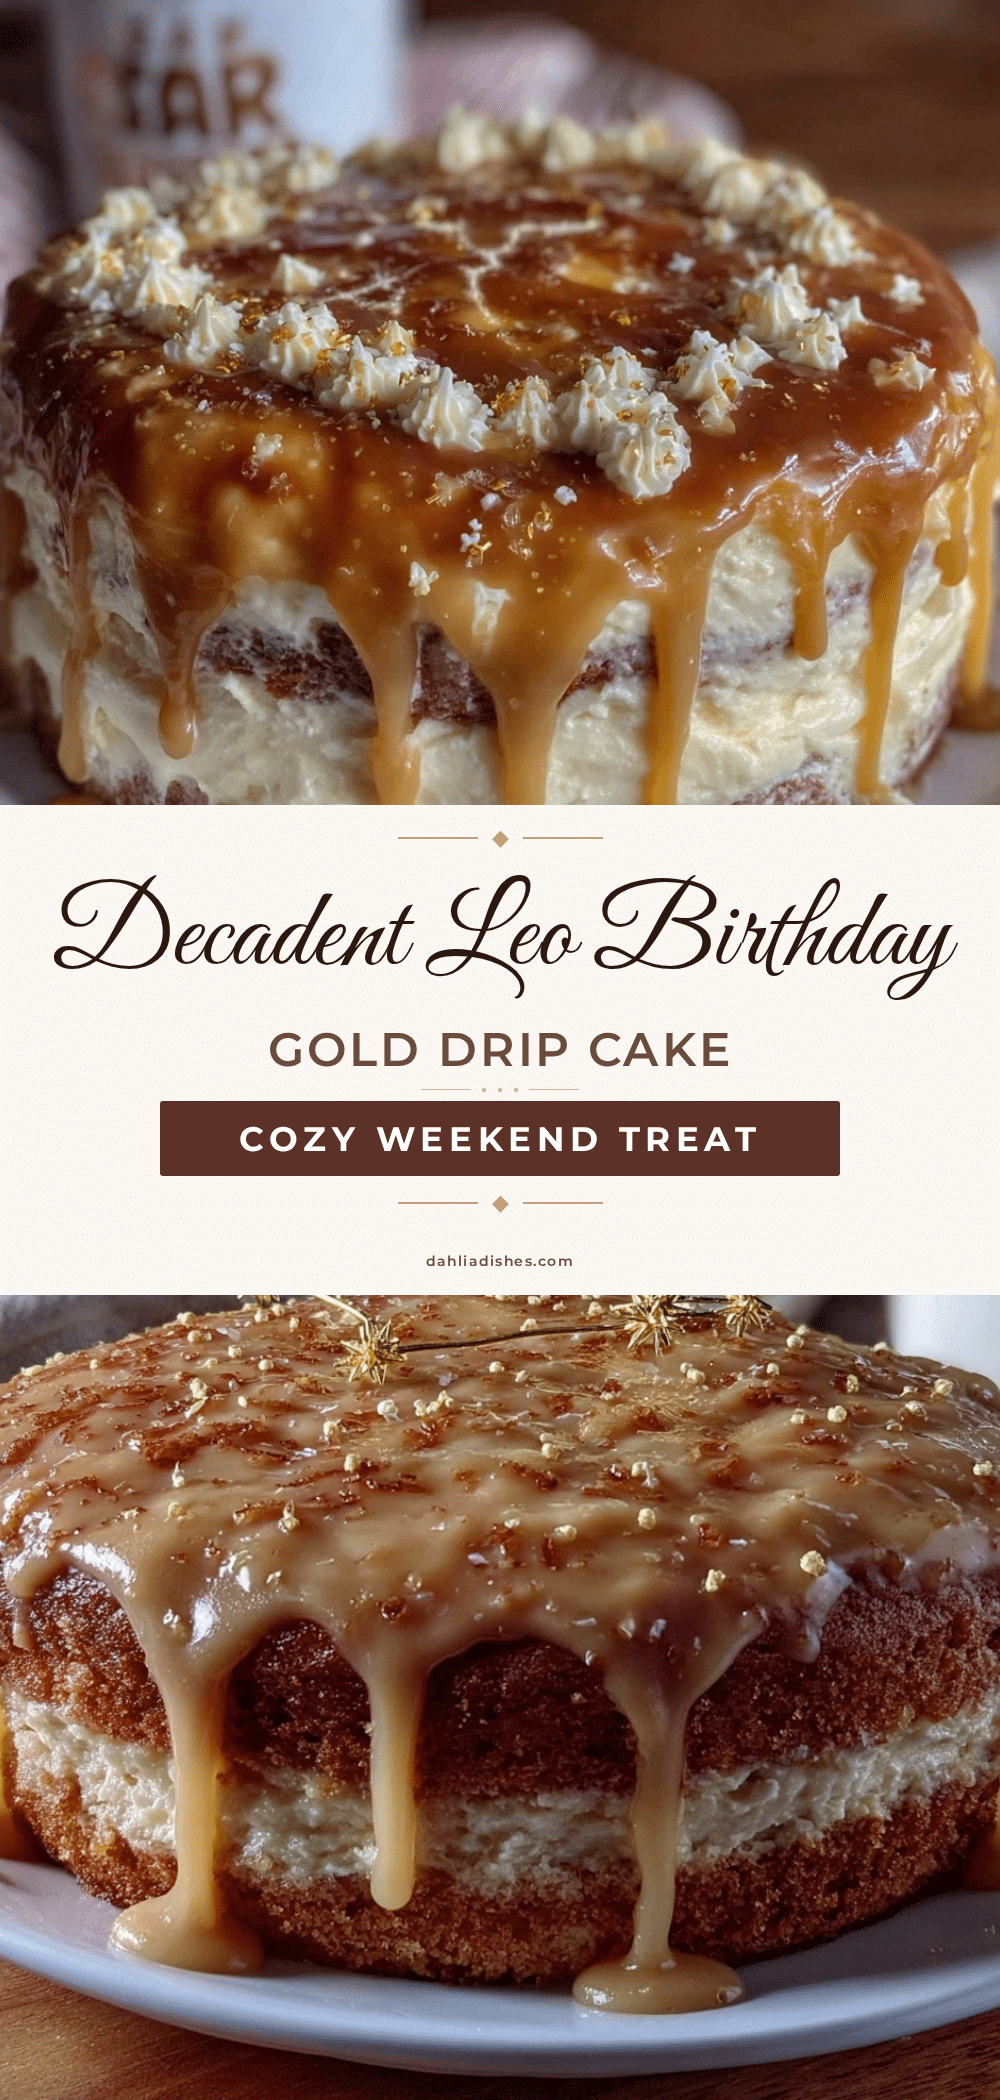
Perfect Leo Birthday Gold Drip Cake Recipe with Salted Caramel Buttercream
A celebration-worthy vanilla layer cake with a smooth gold drip and indulgent salted caramel buttercream, perfect for birthdays and special occasions.
- Prep Time: 20 minutes
- Cook Time: 30-35 minutes
- Total Time: 90 minutes
- Yield: 12 servings 1x
- Category: Dessert
- Cuisine: American
Ingredients
- 2 ½ cups (320g) all-purpose flour
- 2 ½ teaspoons baking powder
- ½ teaspoon baking soda
- ½ teaspoon salt
- 1 cup (227g) unsalted butter, softened
- 2 cups (400g) granulated sugar
- 4 large eggs, room temperature
- 2 teaspoons vanilla extract
- 1 cup (240ml) buttermilk (or whole milk with 1 tablespoon lemon juice as substitute)
- 1 cup (227g) unsalted butter, softened (for buttercream)
- 4 cups (480g) powdered sugar, sifted
- ½ cup (120ml) salted caramel sauce (homemade or store-bought)
- 2–3 tablespoons (30-45ml) heavy cream
- ½ teaspoon sea salt flakes
- ½ cup (90g) white chocolate chips
- ¼ cup (60ml) heavy cream (for gold drip)
- 1 teaspoon edible gold luster dust
- 1 teaspoon vegetable glycerin (optional, for shine)
- Edible gold leaf or gold sprinkles (optional, for decoration)
- Wooden skewers or toothpicks (for testing cake doneness)
Instructions
- Preheat oven to 350°F (175°C). Grease two 8-inch round cake pans and line bottoms with parchment paper.
- In a medium bowl, sift together flour, baking powder, baking soda, and salt. Set aside.
- In a large bowl, beat softened butter with granulated sugar until light and fluffy, about 3-4 minutes.
- Beat in eggs one at a time, fully incorporating each before adding the next. Stir in vanilla extract.
- With mixer on low, add dry ingredients in three additions alternating with buttermilk, starting and ending with dry ingredients. Mix until just combined.
- Divide batter evenly between prepared pans and smooth tops gently.
- Bake 30-35 minutes or until a toothpick inserted in center comes out clean. Avoid opening oven door frequently.
- Cool cakes in pans for 10 minutes, then transfer to wire racks to cool completely.
- For buttercream: Beat softened butter until creamy. Gradually add powdered sugar. Mix in salted caramel sauce and heavy cream until fluffy. Adjust consistency as needed. Fold in sea salt flakes.
- Assemble cake by placing one layer on stand or plate. Spread generous buttercream on top. Add second layer and cover entire cake with thin crumb coat. Chill 20 minutes.
- Apply smooth, even layer of buttercream all around chilled cake. Use bench scraper for sharp edges.
- For gold drip: Heat heavy cream until simmering. Pour over white chocolate chips and stir until smooth. Mix in edible gold luster dust and vegetable glycerin if using. Let cool slightly but not harden.
- Drizzle gold ganache around cake edges with spoon or small piping bag, allowing natural drips.
- Decorate with edible gold leaf or sprinkles if desired. Chill cake at least 30 minutes to set drip before serving.
Notes
Bring eggs and butter to room temperature before mixing. Spoon flour into measuring cup to avoid dense cake. Avoid overmixing batter. Chill cake after crumb coat and after applying drip for best results. Practice piping on parchment paper if new to it. If buttercream is too soft, refrigerate for 10 minutes but do not let harden.
Nutrition
- Serving Size: 1 slice (1/12 of cak
- Calories: 450
- Fat: 25
- Carbohydrates: 55
- Protein: 4
Keywords: birthday cake, gold drip cake, salted caramel buttercream, vanilla cake, celebration cake, easy cake recipe, party dessert


