Love this? Save it for later!
Share the inspiration with your friends
My neighbor, a nurse named Rosa, asked why I couldn’t just put whole garlic cloves in honey and let it sit on the counter. I started to explain why that wouldn’t work — something about botulism risks and proper fermentation protocols I’d read online. Then stopped. She’d been making this for her family for forty years, and none of them had ever gotten sick. I mean, who was I to argue with forty years of healthy kids?
Honestly, I felt a little ridiculous standing there with my fancy pH strips and sanitized jars while she described her grandmother’s method like it was the most natural thing in the world. Which, it turns out, it kind of is. The garlic honey tonic sits there on her counter, doing its thing, while she goes about her day. No special equipment. No complicated steps. Just garlic, honey, and time.
The first batch I made felt wrong, you know? Leaving raw garlic at room temperature for weeks goes against every modern kitchen instinct I have. But by day three, something magical started happening. The honey got thinner, more liquid, and that sharp garlic bite mellowed into something almost sweet. By day seven, I was putting it on everything — drizzling it over roasted vegetables, stirring it into tea, taking a spoonful straight when I felt a tickle in my throat.
That was three winters ago, and I haven’t gone a cold season without this Golden Garlic Honey Immune Tonic since. It’s become my secret weapon, the thing I make as soon as the leaves start turning. Maybe you’ve been there — tired of overpriced supplements and questionable immune boosters, looking for something that actually feels like it came from the earth. This tonic is that thing. It’s simple, it’s ancient, and honestly, it works.
Why You’ll Love This Recipe
This isn’t your typical wellness trend that disappears after a season. The Golden Garlic Honey Immune Tonic has been around for generations because it actually delivers. Here’s why this version has become my absolute favorite:
- Incredibly Simple : Two main ingredients and about five minutes of hands-on time. That’s it. No complicated fermentation schedules or special equipment needed.
- Kitchen Staple Ingredients : You probably already have garlic and honey in your pantry right now. No trips to specialty stores or ordering obscure ingredients online.
- Perfect for Cold Season : Having this ready in your kitchen when the sniffles start is like having a backup plan for your immune system. It’s there when you need it.
- Surprisingly Versatile : Beyond the immune benefits, this tonic works as a cooking ingredient, a salad dressing base, and a tea sweetener. It pulls triple duty.
- Naturally Preserved : Honey is a natural preservative, and garlic has antimicrobial properties. Together, they create something that lasts for months without refrigeration.
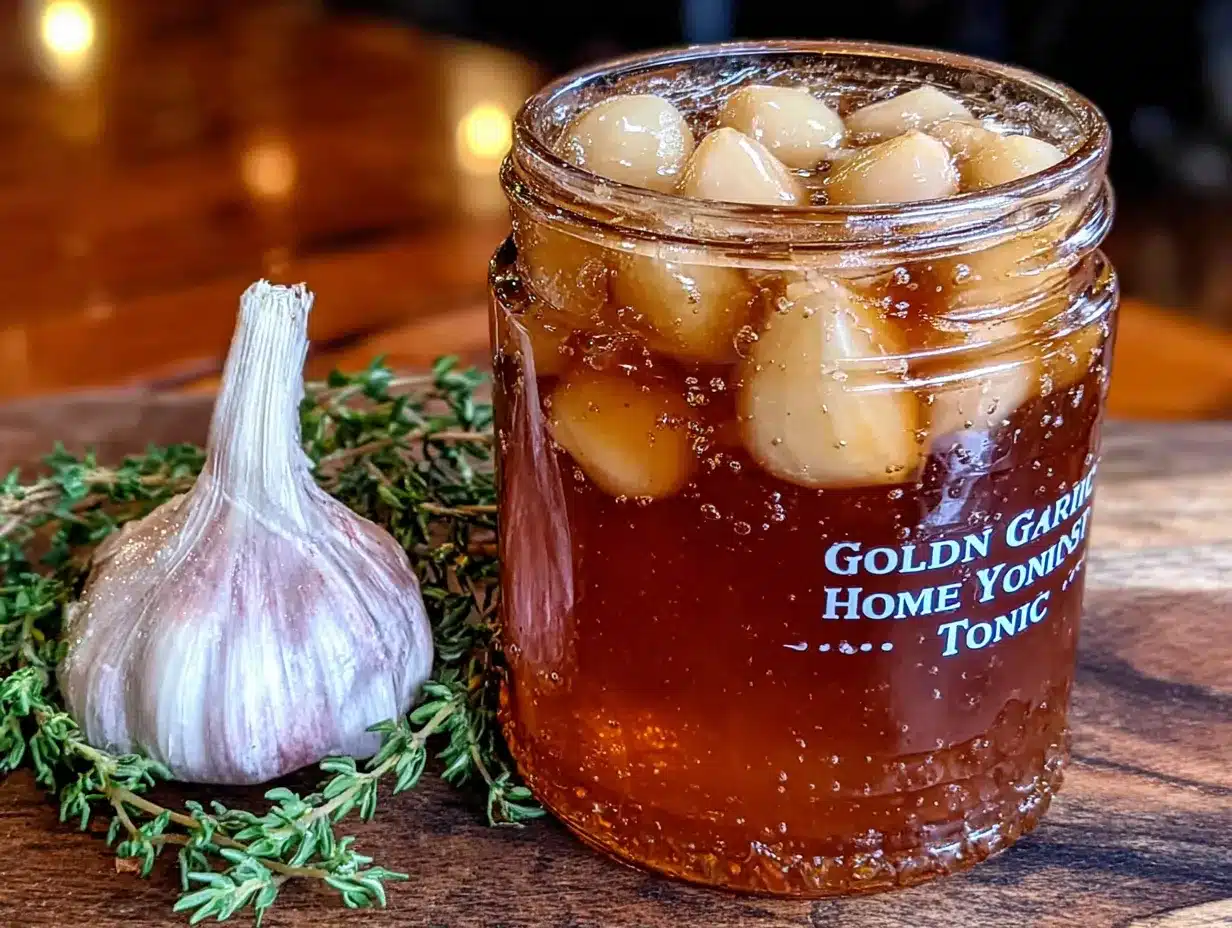
What makes this recipe different from other immune tonics I’ve tried is the transformation that happens over time. The first day, it tastes like honey with garlic chunks floating in it. But give it a week, and the honey becomes infused with garlic’s beneficial compounds while the garlic cloves soften and absorb the honey’s sweetness. The result is this gorgeous, amber-colored syrup that tastes completely different from its raw ingredients.
I’ve tested this with different honey varieties and garlic types, and I can tell you with confidence that the quality of your ingredients matters here. Use the good honey, the one from the farmer’s market that’s still raw and unfiltered. Use fresh, firm garlic cloves. This tonic is only as good as what you put into it, and taking that extra minute to pick quality ingredients pays off in every spoonful.
This recipe isn’t just good — it’s the kind of thing that makes you feel like you’re doing something genuinely beneficial for your body. It’s traditional wisdom meets modern convenience, and it works.
What Ingredients You Will Need
This recipe uses two main ingredients plus a few optional additions that take it from good to golden. Each component plays a specific role in creating a tonic that’s both effective and delicious.
Core Ingredients
- Fresh garlic bulbs : Look for firm, plump bulbs with tight skins. Avoid any with green sprouts in the center, as those can be bitter. One medium bulb typically yields 10-12 cloves. (I prefer organic garlic from the farmer’s market when available — it tends to have more flavor and fewer chemicals.)
- Raw honey : This is non-negotiable. Raw, unfiltered honey contains natural enzymes and beneficial compounds that processed honey lacks. Look for honey that’s labeled “raw” or “unpasteurized.” Local honey is ideal — it contains local pollen that may help with seasonal allergies. You’ll need about 1 cup for a standard batch.
- Fresh ginger : A 2-inch piece, peeled and thinly sliced. Ginger adds warmth and its own immune-supporting properties. It also balances garlic’s pungency beautifully.
- Turmeric : Fresh turmeric root gives the tonic its golden color and anti-inflammatory benefits. Use a 1-inch piece, peeled and thinly sliced. If you can’t find fresh, use 1 teaspoon of dried turmeric powder.
- Black peppercorns : A surprising addition, but important. Black pepper contains piperine, which helps your body absorb curcumin from turmeric more effectively. Just 5-6 whole peppercorns make a difference.
- Lemon : One organic lemon, thinly sliced. The vitamin C adds an immune boost, and the acidity helps balance the sweetness of the honey. Use organic since you’ll be including the peel.
Optional Additions
- Cinnamon stick : Adds warmth and antimicrobial properties. Plus, it makes the tonic smell incredible.
- Whole cloves : Just 2-3 for a subtle spicy note that complements the ginger beautifully.
- Chili pepper : A small dried chili adds heat and can help clear congestion. Skip if you prefer a milder tonic.
I recommend using a jar that holds at least 16 ounces. You want enough room for the ingredients plus space to shake or stir the mixture as it infuses. A wide-mouth mason jar works perfectly — it’s easy to fill and easy to remove ingredients from later.
Equipment Needed
You don’t need much for this recipe, which is part of its beauty. Here’s what you’ll need:
- A clean glass jar : A 16-ounce mason jar with a tight-fitting lid works perfectly. Make sure it’s thoroughly washed and dried before you start. I’ve used repurposed pickle jars too — just make sure they’re scrupulously clean and odor-free.
- A sharp knife : For slicing garlic, ginger, turmeric, and lemon. A chef’s knife or a paring knife both work fine.
- A cutting board : Preferably one that won’t stain from turmeric. Trust me on this — turmeric stains everything it touches, so consider using a board you don’t mind turning yellow.
- A wooden skewer or chopstick : For poking air bubbles out of the jar and making sure all the garlic cloves are submerged in honey. This is more important than you’d think.
- Optional: A vegetable peeler : For peeling ginger and turmeric. A spoon also works for scraping ginger skin off.
If you don’t have a glass jar, you can use a ceramic container with a tight lid. Avoid metal containers, as the honey can react with certain metals over time. Plastic containers aren’t ideal either — the honey can absorb flavors from the plastic, and some compounds in garlic can interact with plastic during long-term storage.
I’ve made this tonic in everything from fancy Weck jars to repurposed jam jars, and honestly, they all work the same. The key is a good seal. You want the jar to be airtight to prevent any unwanted bacteria or mold from getting in. If you’re using a jar with a rusty lid or a compromised seal, get a new one. Your health is worth the two-dollar investment.
Preparation Method
Making this Golden Garlic Honey Immune Tonic is straightforward, but the details matter. Follow these steps carefully, and you’ll have a potent, delicious tonic ready in about a week.
- Prepare your garlic : Separate the cloves from one medium garlic bulb. Peel each clove by pressing down gently with the flat side of your knife — the skin will slip right off. Trim off any brown spots or green sprouts. Leave the cloves whole; slicing them releases too much sulfur and can make the tonic overly pungent. You should have about 10-12 cloves.
- Prepare your aromatics : Peel and thinly slice a 2-inch piece of ginger. Peel and thinly slice a 1-inch piece of fresh turmeric. (Wear gloves for this if you don’t want yellow fingers for a week.) Wash your lemon thoroughly and slice it into thin rounds. Remove any seeds.
- Layer in the jar : Start with a layer of garlic cloves at the bottom of your clean jar. Add the ginger slices, turmeric slices, and lemon rounds. Drop in 5-6 whole black peppercorns. If you’re using a cinnamon stick, whole cloves, or chili pepper, add them now. The order doesn’t matter much, but try to distribute everything evenly.
- Pour the honey : Slowly pour your raw honey over the ingredients, filling the jar to the top. Don’t stir yet — just let the honey settle around everything. You’ll see air bubbles forming, and that’s normal.
- Remove air bubbles : This step is crucial. Use your wooden skewer or chopstick to gently poke around the jar, releasing trapped air bubbles. Work slowly, especially around the garlic cloves. Any garlic that isn’t fully submerged in honey can spoil, so take your time here. I usually spend a good two minutes on this step.
- Seal and label : Screw the lid on tightly. Label your jar with the date — this helps you track the fermentation. I use a piece of masking tape and a permanent marker.
- Store and wait : Place the jar in a cool, dark place, like a kitchen cabinet or pantry. Not the refrigerator — the cold slows down the infusion process. Let it sit for at least 7 days, though 14 days is ideal. During the first week, turn the jar upside down once a day to redistribute the honey and keep everything coated.
- Check for signs of spoilage : After day 3, open the jar and take a sniff. It should smell like garlic and honey — pungent but pleasant. If you see any mold on the surface or smell anything off, discard the batch and start over. This is rare if you used clean equipment and submerged everything, but it’s worth checking.
After 7-14 days, your tonic is ready. The honey will be thinner and more liquid, and the garlic cloves will have softened and darkened to a caramel color. You can start using it immediately or continue letting it infuse for up to a month for a stronger flavor.
Cooking Tips & Techniques
After making this tonic through several cold seasons, I’ve learned a few tricks that make the process smoother and the final product better.
The biggest mistake I made was using too much garlic relative to honey. My first batch had so many cloves that half of them weren’t submerged, and I ended up with moldy garlic floating on top. The ratio matters: aim for one medium bulb of garlic per cup of honey. That gives you enough garlic for potency without overcrowding the jar.
Temperature matters more than you’d think. If your kitchen runs warm (above 75°F), the fermentation will happen faster, but it can also increase the risk of spoilage. If your kitchen is cool (below 65°F), the process will slow down, and you might need a full two weeks. I keep my jar in the pantry, which stays around 68°F year-round, and that works perfectly.
Don’t skip the daily turning. I know it feels like a chore, but turning the jar upside down once a day ensures that all the garlic stays coated in honey. Set a reminder on your phone if you need to. It takes five seconds but makes a huge difference.
Watch for fermentation bubbles. Around day 3 or 4, you might see tiny bubbles rising through the honey. That’s normal — it means natural fermentation is happening. The honey is actually activating, and those bubbles are a sign that your tonic is developing complexity. If you see large, aggressive bubbles or the lid bulging, that could indicate unwanted fermentation, and you should discard the batch.
Use the garlic cloves too. Don’t throw away the infused garlic once you’ve used the honey. Those cloves are delicious — they’ve softened and sweetened, losing most of their raw garlic bite. I chop them up and add them to salad dressings, spread them on toast, or mash them into roasted vegetables. They’re like little flavor bombs.
One thing I wish I’d known earlier : start a new batch before you finish the current one. This tonic takes a week to mature, so if you wait until you’re sick to make it, you’ve missed the window. I keep a batch going from October through March, starting a new jar when the current one is about half empty. That way, I always have mature tonic on hand.
Variations & Adaptations
This tonic is wonderfully adaptable. Here are some variations I’ve tried and loved:
Spicy Immune Booster
Add a small dried chili pepper or a teaspoon of red pepper flakes to the jar along with the other ingredients. The heat pairs surprisingly well with the honey and garlic, and it’s especially good for clearing sinuses during cold season. I made this version last January when everyone in my house had congestion, and it became our go-to.
Citrus Sunrise Version
Replace the lemon with a mix of orange and grapefruit slices. The different citrus fruits bring varied vitamin C profiles and a brighter, more complex flavor. I like this version in the summer when citrus is at its peak. The honey takes on a beautiful golden-orange color that’s almost too pretty to use.
Herbal Infusion
Add a few sprigs of fresh rosemary or thyme to the jar. Both herbs have antimicrobial properties and add an earthy, aromatic note to the tonic. I tried this after reading about traditional herbal medicine practices, and it’s become my second-favorite variation. The rosemary version is particularly good stirred into warm tea.
Milder Version for Kids
Use half the garlic and add an extra cinnamon stick. The cinnamon masks some of the garlic’s pungency while adding its own immune-supporting benefits. My nephew, who refuses to eat anything remotely healthy, actually asks for this version on toast. It’s that mild.
Fermented Garlic Honey
If you want to go full fermentation, leave the jar at room temperature for a full month. The honey will become thinner and more liquid, and the flavor will develop a subtle tanginess similar to fermented foods. This version has more probiotic potential but requires more patience. I’ve only done this once, and the result was complex and delicious — worth the wait if you’re into fermented foods.
Serving & Storage Suggestions
How to take it : The most common way is to take a spoonful straight — about 1 tablespoon for adults, 1 teaspoon for children over age two. You can also stir it into warm water or tea, drizzle it over toast or yogurt, or use it as a glaze for roasted vegetables. The honey itself is medicinal, but don’t forget to eat a garlic clove or two as well.
For immune support : Take a spoonful daily during cold season, or increase to 2-3 times daily if you feel something coming on. I take mine first thing in the morning, stirred into warm lemon water. It’s become a ritual I actually look forward to.
Storage : Keep your tonic in a cool, dark place — not the refrigerator. The honey can crystallize in the cold, and the cold also slows down the beneficial fermentation. Stored properly, this tonic lasts for months. I’ve kept batches for up to six months without any issues, though the flavor continues to develop over time.
Signs it’s still good : The honey should smell sweet and garlicky, not sour or alcoholic. The garlic cloves should be soft and caramel-colored, not slimy or discolored. If you see any mold, discard the entire batch. When in doubt, throw it out.
Reusing the jar : Once you’ve finished a batch, wash the jar thoroughly with hot, soapy water and dry it completely before starting a new one. Residual honey can attract bacteria, so be thorough. I run mine through the dishwasher on the sanitize cycle.
Nutritional Information & Benefits
This tonic isn’t a substitute for medical treatment, but it does offer some genuine nutritional benefits. Per tablespoon serving (about 21 grams), here’s what you’re getting:
- Calories : Approximately 60-70 calories, mostly from honey
- Carbohydrates : 17 grams of natural sugars
- Vitamin C : 2-3 mg from the lemon and garlic
- Manganese : Trace amounts from garlic and ginger
- Antioxidants : High levels from honey, garlic, ginger, and turmeric
Key health highlights : Raw honey contains natural enzymes and prebiotics that support gut health. Garlic contains allicin, a compound with antimicrobial properties that’s released when garlic is crushed or cut. Ginger and turmeric are both anti-inflammatory, and black pepper helps your body absorb turmeric’s active compounds more effectively.
Dietary considerations : This tonic is naturally gluten-free, dairy-free, and vegan (if you’re comfortable with honey). It’s also paleo-friendly. The main concern is sugar content — honey is still sugar, so those watching their blood sugar should use it sparingly.
Allergen note : Some people are allergic to raw garlic or honey. If you’ve never had either, start with a small amount to test your tolerance. Also, honey should never be given to infants under one year old due to the risk of botulism.
I’m not a doctor or nutritionist, but I’ve found that taking this tonic consistently through winter helps me feel more resilient. Whether it’s placebo or genuine benefit, I’ll take it — especially since it tastes good and costs pennies per serving compared to store-bought immune supplements.
Conclusion
This Golden Garlic Honey Immune Tonic has become a staple in my kitchen for good reason. It’s simple enough for anyone to make, uses ingredients you probably already have, and delivers genuine benefits that go beyond trendy wellness claims. Rosa was right all along, and I’m glad I listened.
What I love most about this recipe is how it connects me to something older than modern medicine — this idea that food can be medicine, that a few simple ingredients can support your body through cold season without a prescription or a trip to the pharmacy. It’s empowering in a quiet, grounded way.
I encourage you to make this your own. Adjust the ratios, try different add-ins, find the version that works for your family. The beauty of this tonic is its flexibility. And if you come up with a variation I haven’t tried, please share it in the comments. I’m always looking for new ideas.
Here’s to staying healthy through the cold months, one spoonful of golden goodness at a time. Your body will thank you, and honestly, your taste buds will too.
Frequently Asked Questions
How long does Golden Garlic Honey Immune Tonic last?
Stored properly in a cool, dark place, this tonic lasts for several months. I’ve kept batches for up to six months without any issues. The flavor continues to develop over time, becoming more complex and mellow. Just keep an eye out for any signs of mold or off smells, and discard if anything seems wrong.
Can I use regular honey instead of raw honey?
You can, but raw honey is strongly recommended. Raw honey contains natural enzymes and beneficial compounds that are destroyed during the pasteurization process. These enzymes contribute to the tonic’s health benefits and also help with the natural fermentation process. If you only have regular honey, it will still work, but you’ll lose some of the potential benefits.
Do I need to refrigerate the tonic after it’s ready?
No, refrigeration isn’t necessary and can actually be counterproductive. The cold can cause honey to crystallize, and it slows down the beneficial fermentation process. Keep your tonic in a cool, dark cabinet or pantry. The honey itself is a natural preservative, and when combined with garlic’s antimicrobial properties, the mixture stays stable at room temperature.
Can I take this tonic if I’m pregnant or nursing?
This is a question for your healthcare provider. While the ingredients are all food items commonly used in cooking, pregnancy and nursing come with specific considerations. Raw honey, garlic in large amounts, and certain herbs may not be appropriate for everyone. Please consult with your doctor before adding any new supplement or tonic to your routine during pregnancy or while nursing.
What if my garlic cloves turn green or blue?
Don’t panic — this is normal and safe. Garlic can turn green or blue when exposed to acidic ingredients (like lemon juice) or when certain compounds in the garlic react with copper or other minerals. It’s a chemical reaction, not a sign of spoilage. The garlic is still perfectly safe to eat, though the color might look a little alarming at first. I’ve seen this happen in about one out of every four batches I make.
Pin This Recipe!
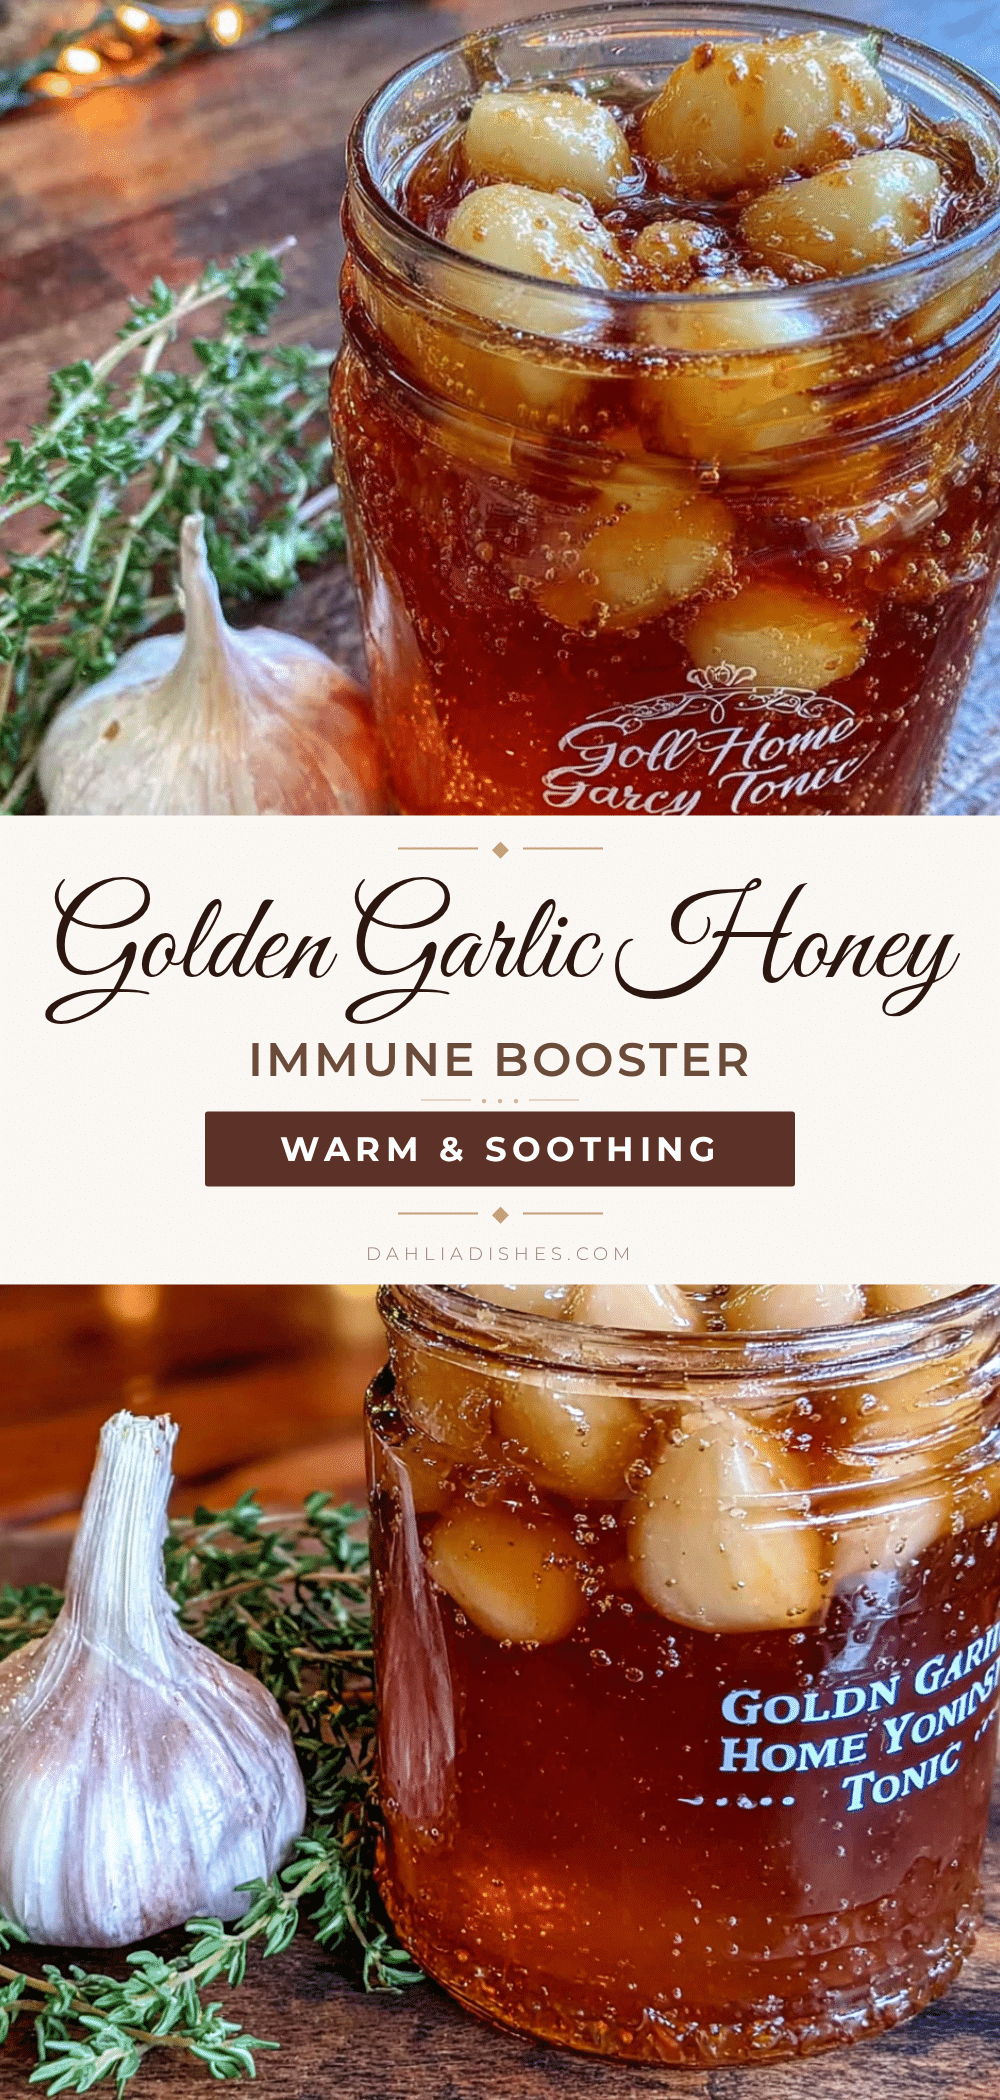
Golden Garlic Honey Immune Tonic
A simple, ancient immune-boosting tonic made with raw honey, fresh garlic, ginger, turmeric, and lemon. This naturally preserved elixir transforms over a week into a sweet, amber-colored syrup that supports your immune system during cold season.
- Prep Time: 10 minutes
- Cook Time: 0 minutes
- Total Time: 7-14 days (infusion time)
- Yield: 16 servings (1 tablespoon per serving) 1x
- Category: Condiment / Wellness Tonic
- Cuisine: American / Traditional Folk Medicine
Ingredients
- 1 medium fresh garlic bulb (10–12 cloves)
- 1 cup raw honey
- 2-inch piece fresh ginger, peeled and thinly sliced
- 1-inch piece fresh turmeric, peeled and thinly sliced (or 1 teaspoon dried turmeric powder)
- 5–6 whole black peppercorns
- 1 organic lemon, thinly sliced
- 1 cinnamon stick (optional)
- 2–3 whole cloves (optional)
- 1 small dried chili pepper (optional)
Instructions
- Separate the cloves from one medium garlic bulb. Peel each clove by pressing down gently with the flat side of your knife. Trim off any brown spots or green sprouts. Leave the cloves whole.
- Peel and thinly slice a 2-inch piece of ginger. Peel and thinly slice a 1-inch piece of fresh turmeric. Wash the lemon thoroughly and slice into thin rounds, removing any seeds.
- Layer the garlic cloves, ginger slices, turmeric slices, and lemon rounds in a clean 16-ounce glass jar. Add the black peppercorns and any optional ingredients (cinnamon stick, whole cloves, or chili pepper).
- Slowly pour the raw honey over the ingredients, filling the jar to the top. Do not stir yet.
- Use a wooden skewer or chopstick to gently poke around the jar, releasing trapped air bubbles. Ensure all garlic cloves are fully submerged in honey.
- Screw the lid on tightly. Label the jar with the date.
- Place the jar in a cool, dark place (like a kitchen cabinet or pantry) for at least 7 days, ideally 14 days. During the first week, turn the jar upside down once a day to redistribute the honey.
- After day 3, check for signs of spoilage. The mixture should smell pungent but pleasant. If you see mold or smell anything off, discard the batch.
- After 7-14 days, the tonic is ready. The honey will be thinner and the garlic cloves softened and darkened. Use immediately or continue infusing for up to a month for stronger flavor.
Notes
Use raw, unfiltered honey for best results. Ensure all garlic cloves are fully submerged to prevent spoilage. The tonic lasts for months stored in a cool, dark place. Do not refrigerate. Honey should not be given to infants under one year old. If garlic turns green or blue, it is safe to eat. Start a new batch before finishing the current one to always have mature tonic on hand.
Nutrition
- Serving Size: 1 tablespoon (21 gra
- Calories: 65
- Sugar: 17
- Sodium: 1
- Carbohydrates: 17
Keywords: garlic honey tonic, immune booster, raw honey, fermented garlic, cold season remedy, golden tonic, natural immune support


