Love this? Save it for later!
Share the inspiration with your friends
“You won’t believe what I found tucked behind a stack of dusty cookbooks at that little thrift store on Maple Avenue,” my friend Jenna said, waving a crumpled, flour-dusted recipe card in the air. It was a chilly Saturday afternoon, and honestly, I was just there to kill time. But that faded card promised something special: flaky cherry hand pies with a buttery crust that could be made ahead and frozen. I was skeptical – I mean, freezer-friendly desserts often mean soggy crusts and lackluster fillings, right?
Well, let me tell you, these hand pies flipped that expectation on its head. I took the recipe home, and the very first batch came out golden, tender, and packed with a cherry filling so vibrant it practically sang. I remember accidentally dropping a pie on the floor (classic me) and still insisting on eating it because it was just too good to waste. Maybe you’ve been there – when a recipe feels like a happy accident waiting to happen.
Since then, these flaky cherry hand pies have become my go-to treat for busy mornings, surprise guests, or just when I need a little comfort that’s portable and fuss-free. The buttery crust is tender but holds its shape perfectly, and the cherry filling strikes a balance between tart and sweet that wakes up your taste buds. Honestly, if you like the idea of homemade desserts that freeze well and taste like you spent hours in the kitchen (but really don’t), this recipe is going to be your new favorite. Let me walk you through how to make them—and why they’re worth every bite.
Why You’ll Love This Recipe
Having tested flaky cherry hand pies over countless weekends (and yes, even during some sleepy weeknights), I can safely say this recipe stands out. Here’s why it might just become your kitchen staple too:
- Quick & Easy: You can whip these up in under an hour, including prep and baking—perfect when time is tight but you want something homemade.
- Simple Ingredients: No need for fancy or hard-to-find items. You probably have everything in your pantry and fridge right now.
- Perfect for Freezing: Make a batch ahead and freeze them for whenever a sweet craving hits. They thaw beautifully without losing that flaky crust magic.
- Crowd-Pleaser: These pies vanish fast at potlucks, family dinners, or casual get-togethers. Kids love them, adults rave about them.
- Unbelievably Delicious: The buttery crust combined with luscious cherry filling creates a comforting bite that’s just the right balance of flaky and juicy.
What makes this recipe different? The crust is handled gently and chilled properly to keep it flaky. The cherry filling is made from scratch using fresh or frozen cherries, a touch of lemon zest, and just enough sugar to brighten the flavors. Honestly, it’s not just dessert—it’s a little slice of nostalgia and joy wrapped in buttery perfection. Whether you’re new to baking hand pies or a seasoned pro, I think you’ll find this recipe hits that sweet spot between simple and special.
What Ingredients You Will Need
This recipe uses simple, wholesome ingredients to deliver bold flavor and satisfying texture without the fuss. Most are pantry staples, with fresh or frozen cherries bringing that seasonal pop. Here’s what you’ll gather:
- For the Buttery Crust:
- All-purpose flour – 2 ½ cups (315g), sifted for a tender crust
- Unsalted butter – 1 cup (226g), cold and cubed (I trust Plugrá for consistently great results)
- Granulated sugar – 1 tablespoon (adds a subtle sweetness)
- Salt – ½ teaspoon (balances the flavors)
- Ice water – 6 to 8 tablespoons (chilled; add gradually to bring dough together)
- For the Cherry Filling:
- Fresh or frozen pitted cherries – 2 cups (about 300g), thawed if frozen
- Granulated sugar – ½ cup (100g), adjust based on cherry sweetness
- Fresh lemon juice – 1 tablespoon (brightens the filling)
- Lemon zest – 1 teaspoon (optional, for extra zing)
- Cornstarch – 2 tablespoons (thickens the filling nicely)
- Vanilla extract – 1 teaspoon (for warmth and depth)
- For Assembling:
- Large egg – 1, beaten (for egg wash to get that perfect golden crust)
- Coarse sugar or sanding sugar – 1 tablespoon (optional, for sprinkling on top)
For substitutions, feel free to use gluten-free flour blend if needed, and swap butter for a plant-based alternative to keep it dairy-free. If you want to try a sugar substitute, coconut sugar works well but the flavor changes subtly. When selecting cherries, I recommend fresh if in season, but frozen work just as well—just drain them well to avoid sogginess.
Equipment Needed
To make flaky cherry hand pies, you’ll need a few kitchen essentials, nothing too fancy:
- Mixing bowls: Large and medium-sized for dough and filling prep.
- Pastry cutter or food processor: For cutting the butter into the flour. A food processor speeds things up, but a pastry cutter or even your fingers work fine (just don’t overwork the dough!).
- Rolling pin: To roll out the dough evenly. If you don’t have one, a clean wine bottle can do in a pinch.
- Baking sheet: For baking the pies—lined with parchment paper to prevent sticking.
- Cooling rack: To let the pies cool without getting soggy bottoms.
- Sharp knife or pizza cutter: To cut dough circles or squares.
- Pastry brush: For the egg wash that gives the crust a shiny finish.
If you’re baking these often, investing in a good silicone baking mat is worthwhile to keep things tidy. I’ve found that keeping my butter cold and using chilled bowls helps the crust stay flakier, so a couple of quick trips to the fridge during prep can make a big difference.
Preparation Method
- Make the Dough: In a large bowl, whisk together 2 ½ cups (315g) sifted all-purpose flour, 1 tablespoon sugar, and ½ teaspoon salt. Add 1 cup (226g) cold, cubed unsalted butter. Using a pastry cutter or food processor, cut the butter into the flour until the mixture resembles coarse crumbs with pea-sized bits. (If using your fingers, work fast—warm hands can melt the butter.)
- Add Ice Water: Gradually drizzle 6 to 8 tablespoons of ice water over the mixture. Use a fork to gently combine until the dough just starts to come together. It should hold when pressed but not be sticky. If too dry, add a little more water, one teaspoon at a time. (Don’t overmix or knead—it’ll toughen the crust.)
- Chill the Dough: Shape the dough into two discs, wrap tightly in plastic wrap, and refrigerate for at least 1 hour. This step is key for flaky layers and easier handling.
- Prepare Cherry Filling: In a medium saucepan, combine 2 cups (300g) pitted cherries, ½ cup (100g) sugar, 1 tablespoon lemon juice, 1 teaspoon lemon zest, and 1 teaspoon vanilla extract. Cook over medium heat, stirring occasionally, until the cherries release juice and the mixture simmers (about 5 minutes). Stir in 2 tablespoons cornstarch dissolved in 2 tablespoons water. Cook until thickened, about 2 more minutes. Remove from heat and cool completely.
- Roll Out Dough: On a lightly floured surface, roll out one disc of dough to about 1/8-inch (3mm) thickness. Use a 4-inch (10cm) round cutter or a sharp knife to cut out circles. Transfer to a parchment-lined baking sheet.
- Fill and Seal: Spoon about 1 to 2 tablespoons of cherry filling onto the center of each dough circle. Brush edges with beaten egg. Fold dough over to form a half-moon shape and press edges with a fork to seal well. (You don’t want filling leaking out during baking!)
- Chill Again: Place the hand pies back in the fridge for 15 minutes to firm up. Preheat oven to 375°F (190°C).
- Egg Wash and Sugar Sprinkle: Brush each pie with beaten egg for a glossy finish. Sprinkle coarse sugar on top if you like extra crunch and sparkle.
- Bake: Bake for 22 to 25 minutes or until golden and puffed. Keep an eye on them—ovens vary! Remove to a cooling rack.
- Freeze Option: To freeze, place unbaked hand pies on a tray lined with parchment and freeze until solid. Then transfer to a freezer bag. Bake from frozen, adding a few extra minutes to baking time.
Tip: I like to make a double batch and freeze half. It saves me from last-minute baking frenzy, and honestly, it’s a game-changer when unexpected guests show up or when I need a quick breakfast treat.
Cooking Tips & Techniques
Making flaky cherry hand pies is straightforward, but a few tricks help get that perfect crust and filling every time:
- Keep Butter Cold: Butter temperature is crucial. Cold butter creates steam pockets during baking, making the crust flaky. If it warms up, pop your dough back in the fridge before continuing.
- Don’t Overwork the Dough: Mixing or kneading too much develops gluten, which toughens the crust. Gently combine ingredients and stop when the dough just comes together.
- Chill Twice: Rest the dough before rolling and again after assembling the pies. This helps the dough relax and prevents shrinking or misshaping in the oven.
- Seal Edges Well: Use a fork to crimp edges and an egg wash as “glue” to avoid leaks. You’ll thank yourself when those juicy cherry filling pockets stay put!
- Watch Baking Time: Ovens can vary, so start checking at 20 minutes. Golden brown and slightly puffed are your cues for doneness.
- Multitask Smartly: While the filling cools, chill the dough or prep your workspace. It saves time and keeps the process smooth.
Speaking from experience, I once skipped chilling the dough after assembly—huge mistake. The pies spread too much and looked sad. Lesson learned: patience pays off here!
Variations & Adaptations
Feel free to customize these flaky cherry hand pies to suit your taste or dietary needs:
- Flavor Twists: Add a dash of cinnamon or almond extract to the cherry filling for a warm, nutty note.
- Fruit Variations: Swap cherries for blueberries, raspberries, or even diced apples with a bit of cinnamon for a seasonal spin.
- Gluten-Free Option: Use a gluten-free flour blend in the crust. I recommend Bob’s Red Mill 1-to-1 Gluten-Free Baking Flour for best texture.
- Dairy-Free Crust: Replace butter with solid coconut oil or vegan butter substitutes like Earth Balance.
- Cooking Methods: Try baking mini hand pies in a muffin tin for a fun presentation, or pan-fry smaller versions for a crispy, handheld snack.
One time, I swapped cherries for a mix of fresh strawberries and rhubarb—turned out so tart and delightful! You can play around and find what makes these pies your own.
Serving & Storage Suggestions
These flaky cherry hand pies are delightful served warm or at room temperature. If you want to impress, serve with a scoop of vanilla ice cream or a dollop of whipped cream. A hot cup of coffee or spiced tea pairs beautifully, especially on a crisp morning.
Store leftover pies in an airtight container at room temperature for up to two days. For longer storage, place in the fridge for up to a week or freeze unbaked or baked pies for up to three months. To reheat, warm baked pies in a 350°F (175°C) oven for 10-12 minutes until heated through and the crust regains crispness.
Flavors deepen slightly after a day, so making these a day ahead can be a smart move if you want that melded cherry sweetness. Just heat before serving to revive the flaky charm.
Nutritional Information & Benefits
Each flaky cherry hand pie contains approximately 250-300 calories, depending on size. They offer a moderate amount of fat from the butter, some natural sugars from the cherries, and a touch of protein from the flour and egg wash.
Cherries are rich in antioxidants and vitamin C, which may support immune health and reduce inflammation. The homemade crust avoids preservatives common in store-bought pastries, making this a more wholesome treat.
For those watching gluten or dairy, the recipe adapts well to alternative flours and fats while still delivering satisfying flavor and texture. Honestly, these pies feel like a little indulgence that doesn’t overstay its welcome on your conscience.
Conclusion
If you’ve been searching for a sweet, flaky, and freezer-friendly treat that feels homemade but doesn’t take all day, these flaky cherry hand pies with buttery crust are just what you need. The balance of tart cherry filling and tender crust creates that kind of comfort food that makes you smile with every bite.
Don’t hesitate to tweak the filling or crust to your liking—baking is as much about personal touch as it is about technique. I keep coming back to this recipe because it’s reliable, delicious, and honestly, it brings a little joy every time I pull a golden hand pie from the oven. Would love to hear how you make them your own, so drop a comment or share your variations!
Now, grab your rolling pin and get baking—your freezer (and your sweet tooth) will thank you.
FAQs
Can I use frozen cherries for the filling?
Yes! Just thaw and drain the cherries well before cooking to avoid excess liquid in the filling.
How long can I freeze the unbaked hand pies?
You can freeze unbaked hand pies for up to 3 months. Bake them straight from frozen, adding a few extra minutes to the baking time.
What’s the best way to prevent the crust from getting soggy?
Chilling the dough before and after assembling helps, as does sealing the edges tightly and not overfilling with cherry mixture.
Can I make these pies dairy-free?
Absolutely! Substitute butter with solid coconut oil or vegan butter alternatives for a dairy-free crust.
How do I store leftover baked pies?
Store them in an airtight container at room temperature for up to two days, or refrigerate for up to a week. Reheat in the oven to restore crispness.
Pin This Recipe!
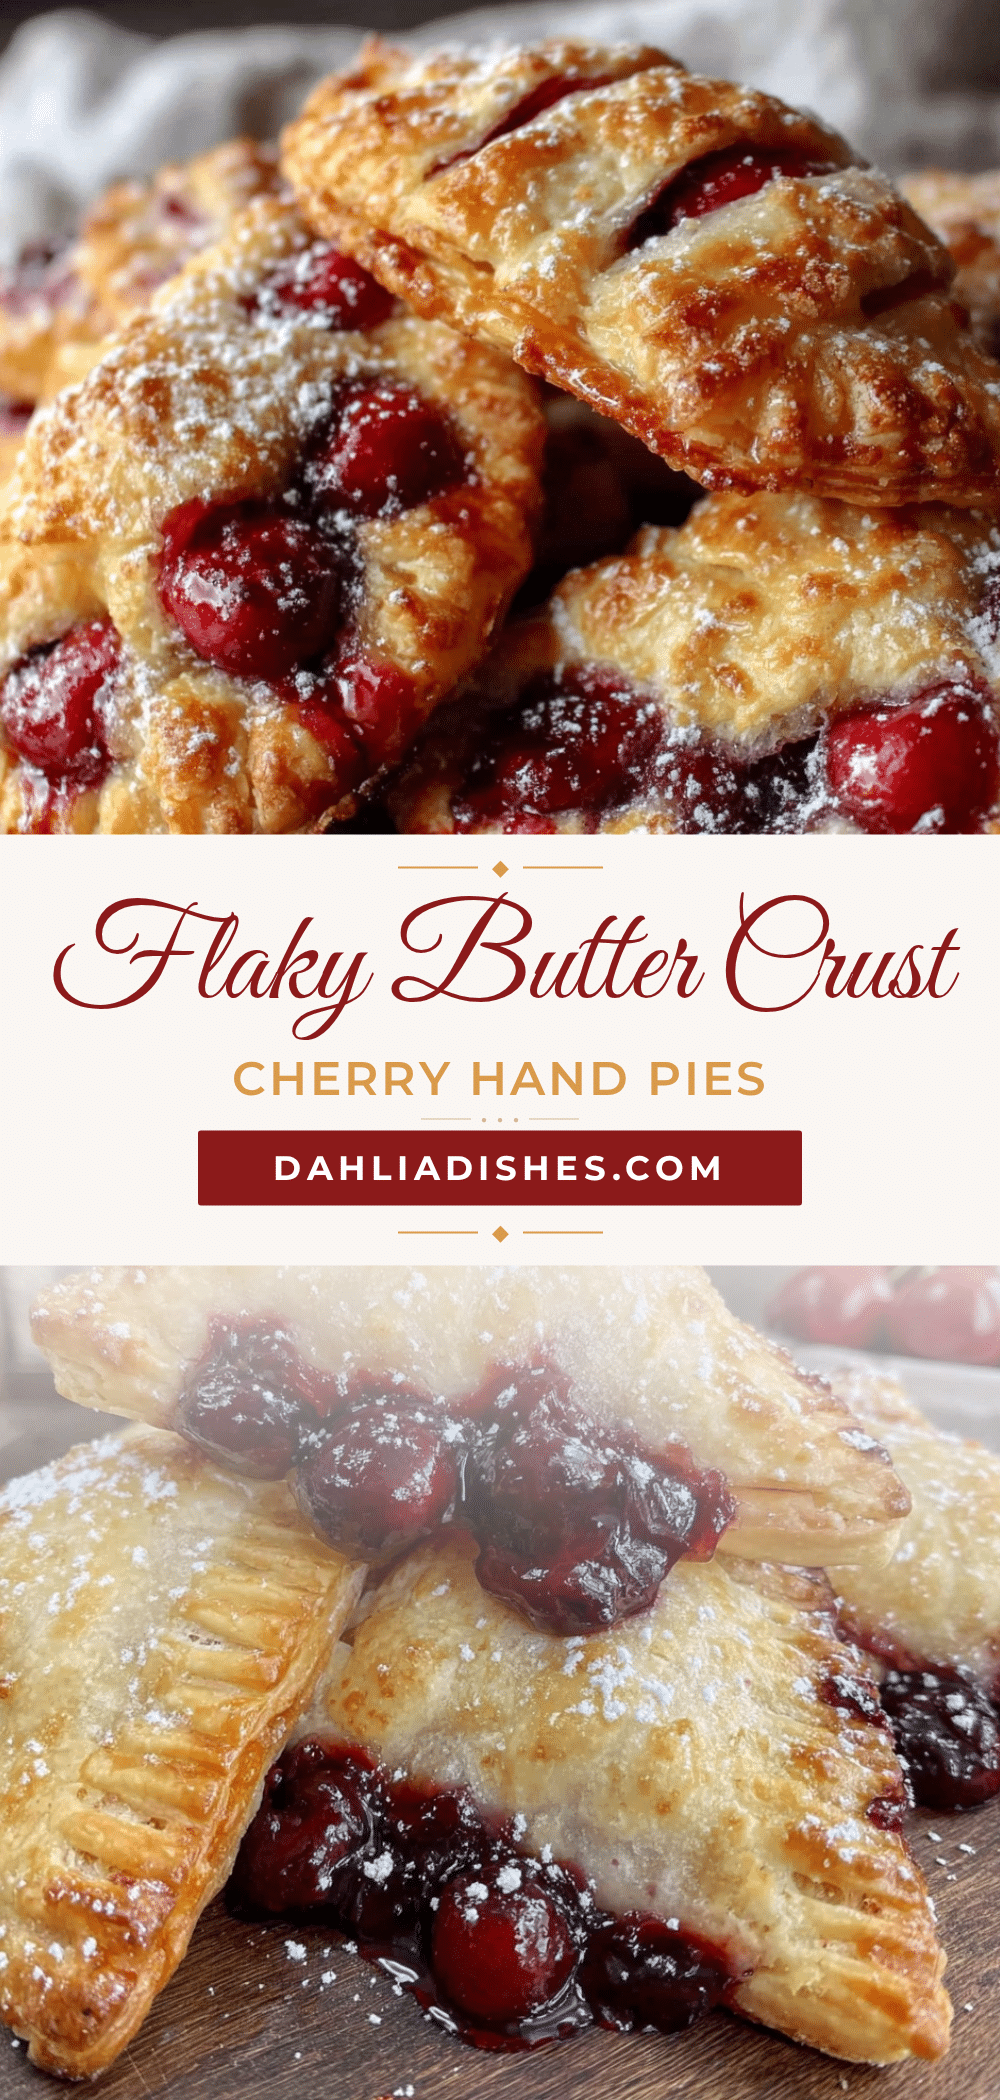
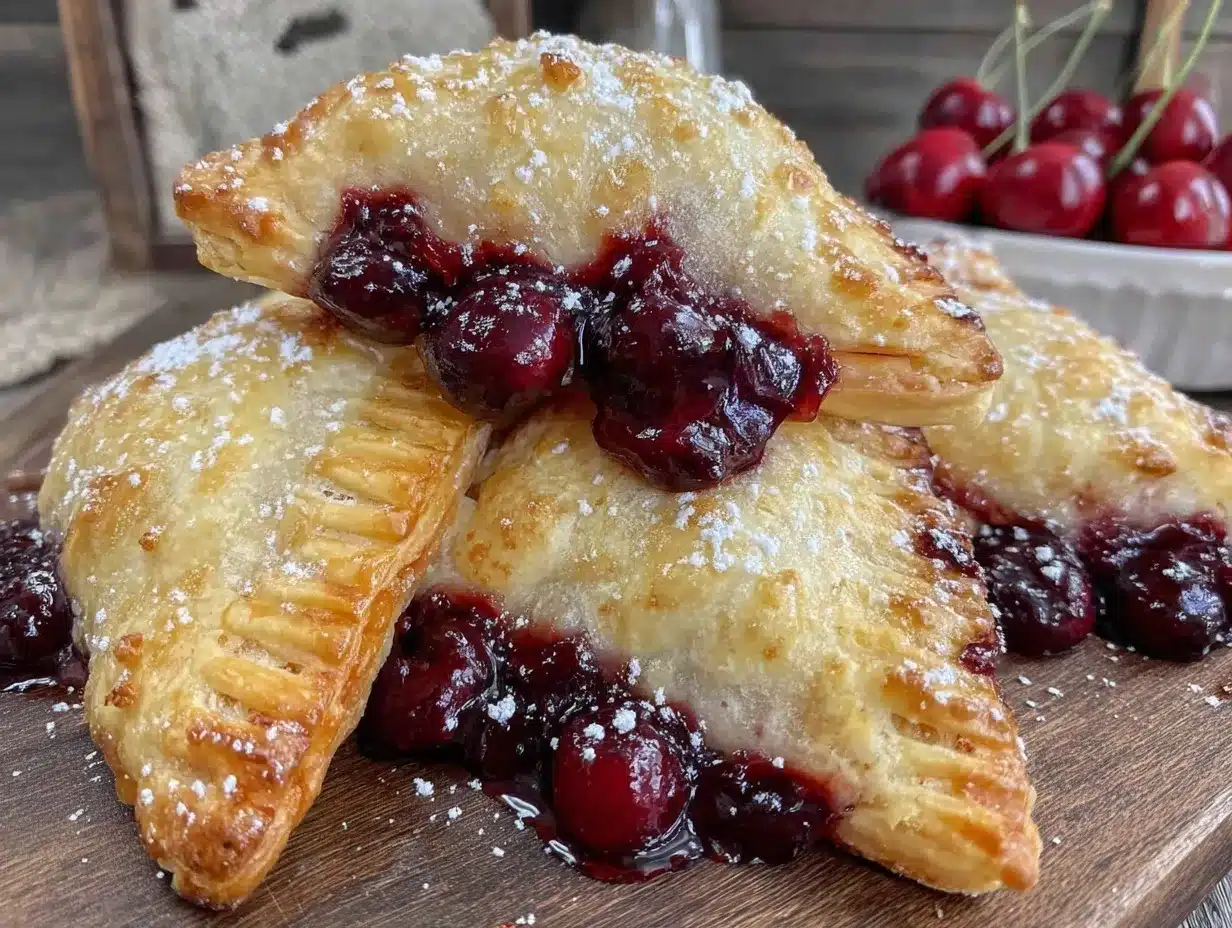
Flaky Cherry Hand Pies

These flaky cherry hand pies feature a buttery crust and a vibrant cherry filling, perfect for a homemade, freezer-friendly treat that tastes like you spent hours in the kitchen.
- Prep Time: 20 minutes
- Cook Time: 25 minutes
- Total Time: 1 hour 45 minutes
- Yield: 8 hand pies 1x
- Category: Dessert
- Cuisine: American
Ingredients
- 2 ½ cups (315g) all-purpose flour, sifted
- 1 cup (226g) unsalted butter, cold and cubed
- 1 tablespoon granulated sugar (for crust)
- ½ teaspoon salt
- 6 to 8 tablespoons ice water, chilled
- 2 cups (about 300g) fresh or frozen pitted cherries, thawed if frozen
- ½ cup (100g) granulated sugar (for filling), adjust based on cherry sweetness
- 1 tablespoon fresh lemon juice
- 1 teaspoon lemon zest (optional)
- 2 tablespoons cornstarch
- 1 teaspoon vanilla extract
- 1 large egg, beaten (for egg wash)
- 1 tablespoon coarse sugar or sanding sugar (optional, for sprinkling on top)
Instructions
- In a large bowl, whisk together sifted flour, sugar, and salt. Add cold, cubed butter and cut into the flour using a pastry cutter or food processor until mixture resembles coarse crumbs with pea-sized bits.
- Gradually drizzle ice water over the mixture, gently combining with a fork until dough just starts to come together. Add more water if needed, one teaspoon at a time. Avoid overmixing.
- Shape dough into two discs, wrap tightly in plastic wrap, and refrigerate for at least 1 hour.
- In a medium saucepan, combine cherries, sugar, lemon juice, lemon zest, and vanilla extract. Cook over medium heat until cherries release juice and mixture simmers, about 5 minutes.
- Stir in cornstarch dissolved in water and cook until thickened, about 2 more minutes. Remove from heat and cool completely.
- On a lightly floured surface, roll out one dough disc to about 1/8-inch thickness. Cut out 4-inch circles and transfer to a parchment-lined baking sheet.
- Spoon 1 to 2 tablespoons of cherry filling onto each dough circle. Brush edges with beaten egg, fold dough over to form half-moon shapes, and press edges with a fork to seal.
- Chill assembled hand pies in the fridge for 15 minutes. Preheat oven to 375°F (190°C).
- Brush each pie with beaten egg and sprinkle with coarse sugar if desired.
- Bake for 22 to 25 minutes or until golden and puffed. Remove to a cooling rack.
- To freeze, place unbaked hand pies on a parchment-lined tray and freeze until solid. Transfer to a freezer bag and bake from frozen, adding a few extra minutes to baking time.
Notes
Keep butter cold to ensure a flaky crust. Chill dough twice: before rolling and after assembling pies. Seal edges well with egg wash to prevent leaks. Baking times may vary by oven; start checking at 20 minutes. For dairy-free, substitute butter with solid coconut oil or vegan butter. Use gluten-free flour blend for gluten-free option.
Nutrition
- Serving Size: 1 hand pie
- Calories: 275
- Sugar: 15
- Sodium: 150
- Fat: 15
- Saturated Fat: 9
- Carbohydrates: 32
- Fiber: 2
- Protein: 3
Keywords: cherry hand pies, flaky crust, homemade dessert, freezer friendly, portable treats, cherry filling, easy baking