Love this? Save it for later!
Share the inspiration with your friends
“You know that moment when you’re scrambling to bring a dessert to a last-minute barbecue, and all you can find is a bag of marshmallows and some cereal in the pantry? That was me last Fourth of July—standing in my kitchen with a sticky mess on my hands and a deadline looming. Honestly, I wasn’t aiming for anything fancy, just something quick and sweet. But then, as I layered those red, white, and blue Rice Krispie treats, something clicked. It wasn’t just easy; it was fun, festive, and surprisingly impressive to everyone there.”
It all started when my neighbor, Lisa, dropped by unexpectedly, her hands full of patriotic decorations, and joked, “You HAVE to bring something red, white, and blue!” I wasn’t prepared, but I had the basics to whip up these easy patriotic Rice Krispie treats with red white blue layers. The simplicity of this recipe meant I could put it together while chatting and keeping an eye on the kids in the backyard. Plus, the colors made it feel like a celebration all on its own, even if the making was a bit chaotic—like when I nearly spilled the blue food coloring everywhere (classic me!).
Maybe you’ve been there, staring at your pantry wondering how to make something festive without fancy ingredients or hours of prep. This recipe stayed with me because it’s the perfect blend of fast and fun, with that nostalgic crunch everyone loves—only now, it’s dressed up for the holiday. Let me tell you, it’s become a staple for every summer get-together since that day.
Why You’ll Love This Recipe
This easy patriotic rice krispie treats recipe with red white blue layers is honestly one of those foolproof crowd-pleasers that works whether you’re a kitchen newbie or a seasoned pro. I’ve tested this recipe multiple times during busy summers, and it always delivers that perfect chewy snap with a pop of color—and it’s super forgiving if you go a little overboard with the marshmallows (which, let’s face it, has happened more than once).
- Quick & Easy: Ready in under 30 minutes, making it perfect for last-minute celebrations or even casual weeknight treats.
- Simple Ingredients: Uses pantry staples like cereal, marshmallows, and butter—no need for specialty shopping trips.
- Perfect for Holidays: Especially great for Fourth of July parties, Memorial Day, or any patriotic gathering where you want that festive flair.
- Crowd-Pleaser: Kids love the colors, adults appreciate the nostalgic taste, and everyone asks for seconds.
- Unbelievably Delicious: The layering technique adds a playful twist that’s as fun to make as it is to eat.
What really sets this recipe apart is the layering method—rather than mixing all colors together, you get those distinct red, white, and blue stripes that make these treats stand out on any dessert table. Plus, I like to tweak the blue layer with a splash of vanilla extract for a subtle flavor boost. It’s not just a patriotic treat; it’s a memory maker, the kind of recipe that brings a smile and a little sparkle to your holiday spread.
What Ingredients You Will Need
This recipe uses simple, wholesome ingredients to deliver bold flavor and that satisfying crispy texture without any fuss. Most of these are pantry staples, and you can easily find them at any grocery store. If you want, you can swap or tweak a few to suit dietary preferences or what you have on hand.
- Rice Krispies cereal (6 cups / 150 g) — the base for that classic crunch. I recommend Kellogg’s for the best texture.
- Mini marshmallows (10 oz / 280 g) — essential for that gooey, sticky bind. Use regular or vegan marshmallows if preferred.
- Unsalted butter (3 tbsp / 45 g), softened — adds richness and helps melt the marshmallows smoothly.
- Red food coloring — gel-based is best for vibrant color without altering texture.
- Blue food coloring — again, gel is preferred for that deep blue layer.
- Vanilla extract (1 tsp / 5 ml), optional — adds a lovely depth of flavor, especially in the blue layer.
- Non-stick cooking spray or extra butter — for greasing the pan and your hands, which helps when pressing the sticky mixture.
Substitution tips: If you want gluten-free, make sure to pick gluten-free rice cereal. You can use coconut oil instead of butter for a dairy-free option. In summer, fresh berries on the side make a nice complement but aren’t part of the treat itself. Also, if you want to skip the artificial colors, natural alternatives like beet powder or spirulina can work, but expect softer hues.
Equipment Needed
- Large mixing bowls: At least two, so you can separate the layers easily.
- Rubber spatula or wooden spoon: For stirring the melted marshmallow mixture into the cereal without scraping the bowl.
- 9×13-inch baking pan (23×33 cm): The classic size for layering the treats evenly. You can also use an 8×8-inch pan if you want thicker bars.
- Non-stick spray or butter wrapper: To grease the pan and your hands, preventing stickiness.
- Measuring cups and spoons: For accuracy in ingredients and colors.
- Optional: microwave-safe bowl or saucepan: To melt butter and marshmallows (I prefer the microwave for speed, but a stovetop double boiler works great too).
If you don’t have a 9×13 pan, a disposable aluminum pan works just fine for casual gatherings. Also, I’ve found that using a silicone spatula makes mixing and spreading much easier, and cleanup is a breeze. For those watching their budget, no need to buy special tools; a sturdy spoon and any baking dish will do just fine.
Preparation Method

- Prep your pan: Lightly grease your 9×13-inch pan with non-stick spray or softened butter. This will help when it’s time to remove the treats. Set aside.
- Melt the butter and marshmallows: In a large microwave-safe bowl, combine 1 tablespoon (15 g) butter and about 3.3 oz (90 g) mini marshmallows for the red layer. Microwave in 30-second bursts, stirring between each, until fully melted and smooth. This usually takes around 1 to 1.5 minutes total. Tip: Don’t overheat or the marshmallows can scorch.
- Add red food coloring: Stir in 6-8 drops of red gel food coloring into the melted marshmallow mixture until you get a vibrant red color.
- Combine with cereal: Immediately fold in 2 cups (50 g) of Rice Krispies cereal. Mix gently but thoroughly until the cereal is all coated.
- Press the red layer: Transfer the mixture evenly into the prepared pan. Use a piece of parchment paper or buttered hands to press it down firmly but gently. Set aside while you prepare the white layer.
- Prepare the white layer: Repeat step 2, but this time melt 1 tablespoon (15 g) butter with 3.3 oz (90 g) marshmallows without adding any color. Stir in 2 cups (50 g) Rice Krispies cereal, then carefully press this white layer over the red one in the pan.
- Make the blue layer: Melt the remaining 1 tablespoon (15 g) butter with the last 3.3 oz (90 g) marshmallows. Add 6-8 drops of blue gel food coloring and 1 teaspoon (5 ml) vanilla extract if using. Mix in the last 2 cups (50 g) of cereal.
- Press the blue layer: Spread the blue mixture over the white layer evenly and press down gently. Be careful not to press too hard or the layers might blend.
- Chill and set: Let the pan cool at room temperature for about 30 minutes, then pop it in the fridge for another 15 minutes to firm up completely.
- Slice and serve: Once set, use a sharp knife to cut into squares. For neat edges, you can warm the knife slightly under hot water and wipe it dry before slicing.
Pro tip: Work quickly when mixing and pressing each layer; marshmallows set fast! If the mixture gets too stiff, a quick 10-second zap in the microwave helps soften it again.
Cooking Tips & Techniques
When making these easy patriotic Rice Krispie treats with red white blue layers, a few tricks can make your life easier and your results better. First, don’t skimp on the butter; it really helps the marshmallows melt smoothly and keeps the treats from drying out.
One common mistake is not pressing the layers evenly. You want a firm but light touch—too much pressure and the colors will blend into each other, losing that distinct layered effect you’re aiming for. Using parchment paper between your hands and the mixture can help with even pressing and less stickiness.
I’ve also learned that gel food coloring is the way to go. Liquid colors can water down the marshmallows, making the treats too soft. Gel gives you those bright patriotic colors without messing with texture.
Timing is key. Prepare each layer swiftly before the marshmallows start to harden. If you need to pause, cover the mixture with a damp towel to keep it pliable. And while the classic microwave method is speedy, melting marshmallows on the stovetop over low heat gives you more control and prevents burning.
Lastly, multitask by prepping your pan and measuring ingredients before melting the marshmallows. That way, you’ll be ready to move quickly and keep the layers distinct. Trust me, this saves a ton of stress when you’re juggling a holiday spread.
Variations & Adaptations
If you want to switch things up or cater to different tastes, this recipe offers some fun and easy variations. For a gluten-free version, simply use certified gluten-free crispy rice cereal; the texture will remain perfect.
For a healthier twist, try swapping half of the marshmallows with natural nut butter or sunflower seed butter—though this will change the texture and flavor, it adds a nice nutty note. Another idea is to add mix-ins like mini red, white, and blue sprinkles or edible glitter on top of each layer for a festive sparkle.
If you prefer a dairy-free treat, swap the butter for coconut oil or a plant-based margarine. Just be mindful that coconut oil may lend a subtle coconut flavor, which can be delicious if you’re into that.
I once tried making these treats with a chocolate blue layer by folding in a little cocoa powder and blue food coloring—surprisingly tasty and a hit with the kids who love chocolate. You can also use natural food colorings like beet juice powder for red and spirulina powder for blue if you want to avoid artificial dyes.
Serving & Storage Suggestions
Serve these easy patriotic Rice Krispie treats at room temperature for the best chewy texture. They’re perfect for picnic baskets, potlucks, or dessert tables where the colors really shine next to classic dishes like classic American potato salad or grilled corn on the cob. A cold glass of milk or lemonade pairs beautifully, balancing the sweetness.
Store leftovers in an airtight container at room temperature for up to 3 days. If your kitchen is warm, refrigeration is fine but may firm up the treats slightly. For longer storage, you can freeze individual portions wrapped tightly in plastic wrap and placed in a freezer bag for up to 1 month. Thaw at room temperature before serving.
The cool thing is the flavors stay fresh, but the texture can soften a bit over time, so eating them within a day or two is ideal. If they feel too firm after refrigeration, a quick 10-second zap in the microwave softens them right up.
Nutritional Information & Benefits
Each serving of these patriotic Rice Krispie treats (about 1 bar) contains roughly 150-180 calories, depending on the size of your cut. They provide a quick source of energy thanks to the marshmallows and cereal carbohydrates, making them a fun treat during active summer days.
While not exactly health food, the use of simple ingredients means no preservatives or artificial fillers—just marshmallows, butter, and cereal. Choosing gluten-free cereal makes them accessible for those with gluten sensitivities.
The recipe is free from nuts by default, which is great for allergy-conscious gatherings, but always check marshmallow packaging if allergies are a concern. For those watching sugar intake, consider smaller portions or pairing with fresh fruit.
From a wellness perspective, this recipe is about joy and sharing—sometimes the best nourishment comes from the smiles around the table.
Conclusion
These easy patriotic Rice Krispie treats with red white blue layers are my go-to for any summer celebration. They’re simple enough to whip up last minute but special enough to steal the show with their vibrant colors and classic crunch. Honestly, they remind me why simple ingredients and a little creativity can make magic happen in the kitchen.
Feel free to tweak the colors, add mix-ins, or make them your own, but don’t forget to keep the spirit of fun alive in every bite. I’d love to hear how you make these your own, so please share your tweaks or stories in the comments below!
Here’s to many more sweet, colorful moments—happy cooking and happy celebrating!
FAQs
Can I make these Rice Krispie treats ahead of time?
Yes! You can prepare them a day or two before your event. Store them in an airtight container at room temperature to keep them fresh and chewy.
What if I don’t have gel food coloring?
Liquid food coloring can work but may make the marshmallow mixture a bit runnier. Use sparingly to avoid soggy treats, or try natural powders like beet or spirulina for color alternatives.
How do I prevent the layers from mixing together?
Press each layer gently and allow it to cool slightly before adding the next. Working quickly helps too, so the marshmallows don’t set before you’re done.
Can I use a different cereal instead of Rice Krispies?
You can try other puffed rice cereals, but Rice Krispies give the classic texture. Avoid cereals that are too dense or sugary, as they might affect the treat’s structure.
Are these treats freezer-friendly?
Absolutely. Wrap individual bars tightly and freeze for up to a month. Thaw at room temperature before serving for best results.
Pin This Recipe!
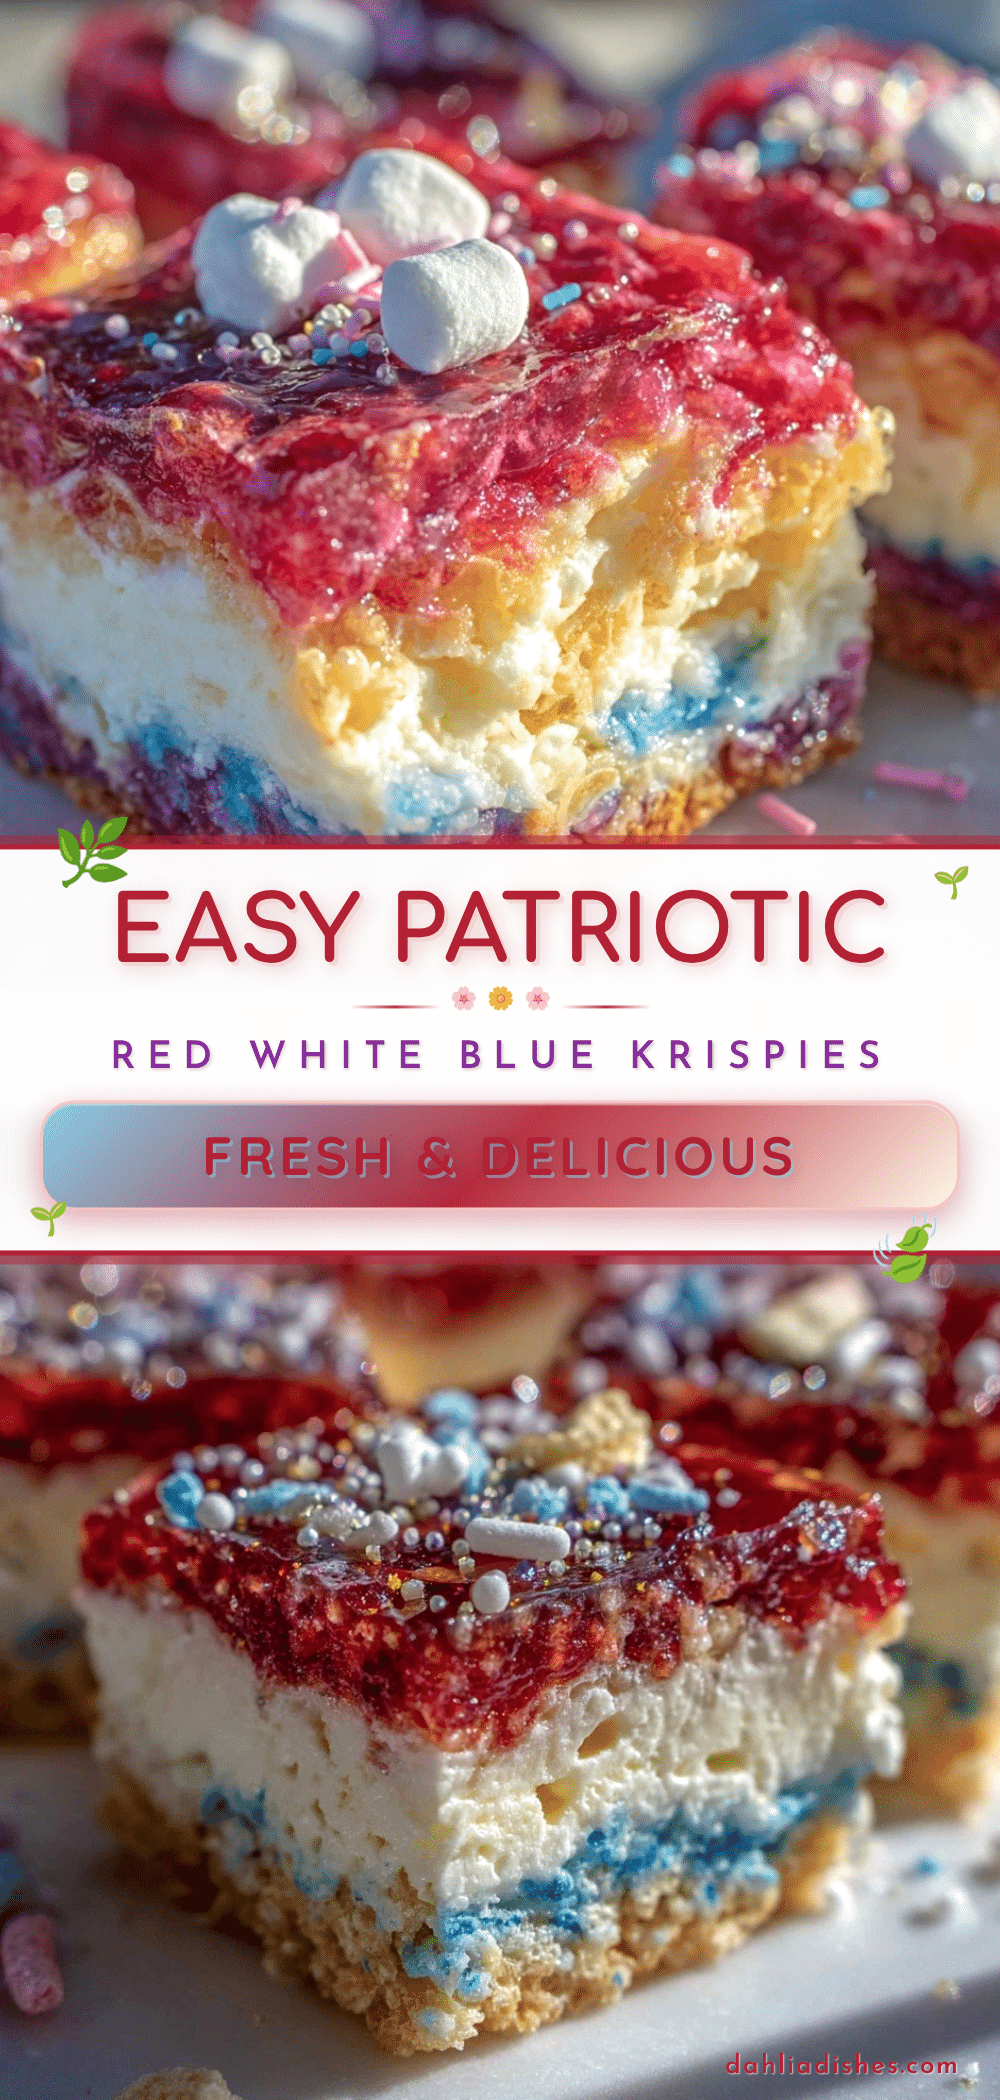
Easy Patriotic Rice Krispie Treats Recipe with Red White Blue Layers for 4th of July
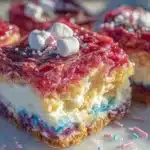
A quick and festive recipe for layered red, white, and blue Rice Krispie treats perfect for patriotic celebrations like the Fourth of July.
- Prep Time: 10 minutes
- Cook Time: 15 minutes
- Total Time: 30 minutes
- Yield: 12 servings 1x
- Category: Dessert
- Cuisine: American
Ingredients
- 6 cups (150 g) Rice Krispies cereal
- 10 oz (280 g) mini marshmallows
- 3 tbsp (45 g) unsalted butter, softened
- Red gel food coloring
- Blue gel food coloring
- 1 tsp (5 ml) vanilla extract (optional)
- Non-stick cooking spray or extra butter for greasing
Instructions
- Lightly grease a 9×13-inch pan with non-stick spray or softened butter and set aside.
- Melt 1 tablespoon (15 g) butter and about 3.3 oz (90 g) mini marshmallows in a microwave-safe bowl in 30-second bursts, stirring until smooth for the red layer.
- Stir in 6-8 drops of red gel food coloring until vibrant.
- Fold in 2 cups (50 g) Rice Krispies cereal gently until coated.
- Press the red mixture evenly into the prepared pan using parchment paper or buttered hands. Set aside.
- Repeat melting 1 tablespoon (15 g) butter with 3.3 oz (90 g) marshmallows for the white layer without adding color.
- Stir in 2 cups (50 g) Rice Krispies cereal and press this white layer over the red layer.
- Melt remaining 1 tablespoon (15 g) butter with 3.3 oz (90 g) marshmallows for the blue layer.
- Add 6-8 drops blue gel food coloring and 1 teaspoon (5 ml) vanilla extract if using.
- Mix in last 2 cups (50 g) Rice Krispies cereal and press gently over the white layer.
- Let cool at room temperature for 30 minutes, then refrigerate for 15 minutes to set.
- Cut into squares with a sharp knife, warming the knife under hot water and drying it for neat edges.
Notes
Use gel food coloring for vibrant colors without affecting texture. Press layers gently to keep distinct stripes. Work quickly as marshmallows set fast. If mixture stiffens, microwave for 10 seconds to soften. For gluten-free, use certified gluten-free cereal. Butter can be substituted with coconut oil for dairy-free option.
Nutrition
- Serving Size: 1 bar (approximately
- Calories: 165
- Sugar: 18
- Sodium: 90
- Fat: 4.5
- Saturated Fat: 2.7
- Carbohydrates: 30
- Fiber: 0.3
- Protein: 1
Keywords: Rice Krispie treats, patriotic dessert, 4th of July, red white blue, easy dessert, layered treats, marshmallow treats