Love this? Save it for later!
Share the inspiration with your friends
Introduction
“I wasn’t planning to bake that day,” I recall, standing in my tiny kitchen with a craving that just wouldn’t quit. It was a Wednesday afternoon, and honestly, I was supposed to be prepping dinner, but all I could think about was chocolate and peanut butter. I didn’t have much on hand, just a handful of pantry staples and a slightly cracked mixing bowl that never seems to stay clean—classic me. Somehow, that little kitchen mishap turned into these ridiculously simple, no-fuss chocolate peanut butter bars that quickly became my go-to treat when I need a quick sweet fix.
You know that feeling when you want dessert but don’t want to heat up the oven or mess around with a bunch of ingredients? Yeah, that was me, rummaging through the cabinet and thinking, “Could I make something with just five ingredients?” The answer was a loud yes. I mean, who’d have guessed such a fuss-free recipe would turn out so rich and satisfying? Maybe you’ve been there too—standing in front of your pantry, hoping for a magic moment. Well, these bars are just that: magic with minimal effort and maximum yum.
What makes this recipe stick with me is how it balances creamy peanut butter with smooth chocolate, all without turning on the oven. And let’s be honest, sometimes the simplest recipes are the most memorable. Whether you’re a seasoned snack maker or just someone who needs a quick sweet bite, I promise this recipe will win you over faster than you can say “five ingredients.”
Why You’ll Love This Recipe
After countless trials (and a few sticky fingers later), I can confidently say this easy no-bake chocolate peanut butter bars recipe is a keeper. Here’s what makes it stand out in my kitchen:
- Quick & Easy: Ready in under 20 minutes, making it perfect for busy afternoons or last-minute dessert emergencies.
- Simple Ingredients: No fancy trips to specialty stores—just five everyday ingredients you probably already have.
- Perfect for Any Occasion: Whether it’s a casual snack, a potluck contribution, or a cozy night treat, these bars fit the bill.
- Crowd-Pleaser: Kids, adults, and even the pickiest eaters give these bars two thumbs up every time.
- Unbelievably Delicious: That classic peanut butter and chocolate combo shines here with a creamy, fudgy texture that’s just right.
What really separates this recipe from other peanut butter bars? The simplicity paired with the perfect balance of flavors. No complicated steps or weird ingredients—just smooth peanut butter, rich chocolate, a bit of sweetness, and a touch of crunch. Honestly, it’s that old-school charm that makes it feel like comfort food without the fuss. Plus, this recipe has been tested by friends who swear it’s easier than any other no-bake bar they’ve tried, which makes it a solid winner in my book.
What Ingredients You Will Need
This recipe uses simple, wholesome ingredients to deliver bold flavor and satisfying texture without the fuss. You likely have most of these in your pantry, which makes whipping up a batch a breeze.
- 1 cup creamy peanut butter (natural or classic, unsalted preferred) – the star ingredient that adds richness and creaminess.
- 1/2 cup unsalted butter (melted) – adds smoothness and helps bind the bars together.
- 2 cups powdered sugar (sifted if lumpy) – sweetens and gives the bars their fudgy texture.
- 1 1/2 cups semisweet chocolate chips – I like Ghirardelli for a rich, deep chocolate flavor.
- 1 teaspoon vanilla extract – brings all the flavors together with a subtle warmth.
Substitution tip: If you want a dairy-free version, swap butter with coconut oil and use dairy-free chocolate chips. For a lower sugar option, you can experiment with powdered erythritol, but keep in mind texture may change slightly.
In summer, I sometimes add a sprinkle of sea salt on top just before chilling to create that irresistible sweet-salty contrast. It’s a small touch that makes a big difference.
Equipment Needed
- Mixing bowls: One or two medium-sized bowls for combining the ingredients. I usually grab my trusty glass bowls because they’re easy to clean.
- 9×9-inch (23×23 cm) baking pan: For setting the bars. You can also use an 8×8 pan, but the bars will be slightly thicker.
- Parchment paper or plastic wrap: To line the pan—trust me, it saves you from a sticky situation later.
- Spoon or spatula: For mixing and spreading the layers evenly.
- Microwave-safe bowl or double boiler: To melt the chocolate chips smoothly.
If you don’t have a 9×9 pan, a loaf pan works fine too, though the bars will be taller. I sometimes use a silicone pan, which makes removing the bars super simple. Just make sure to lightly grease if you’re not using parchment. Also, keeping a good quality spatula handy helps with scraping every last bit of peanut butter goodness out of the bowl.
Preparation Method
- Line your baking pan: Grab your 9×9-inch pan and line it with parchment paper or plastic wrap, leaving some overhang on the sides for easy removal. This step is a lifesaver when cutting bars later.
- Mix the peanut butter and melted butter: In a medium bowl, combine 1 cup creamy peanut butter and 1/2 cup melted unsalted butter. Stir until smooth and well blended, about 1-2 minutes. The mixture should look creamy and uniform.
- Add powdered sugar and vanilla: Gradually add 2 cups powdered sugar and 1 teaspoon vanilla extract to the peanut butter mixture. Stir with a spoon or spatula until fully combined and thick. It’ll feel dense but pliable—perfect for pressing into the pan.
- Press the peanut butter mixture: Transfer the mixture into your lined pan. Use a spatula or your hands (lightly greased) to press it down evenly, creating a smooth, firm base layer. Take your time here; an even layer means neat bars later.
- Melt the chocolate: Place 1 1/2 cups semisweet chocolate chips in a microwave-safe bowl. Microwave in 20-second bursts, stirring between each, until completely melted and smooth. Alternatively, melt over a double boiler on low heat, stirring constantly to avoid burning.
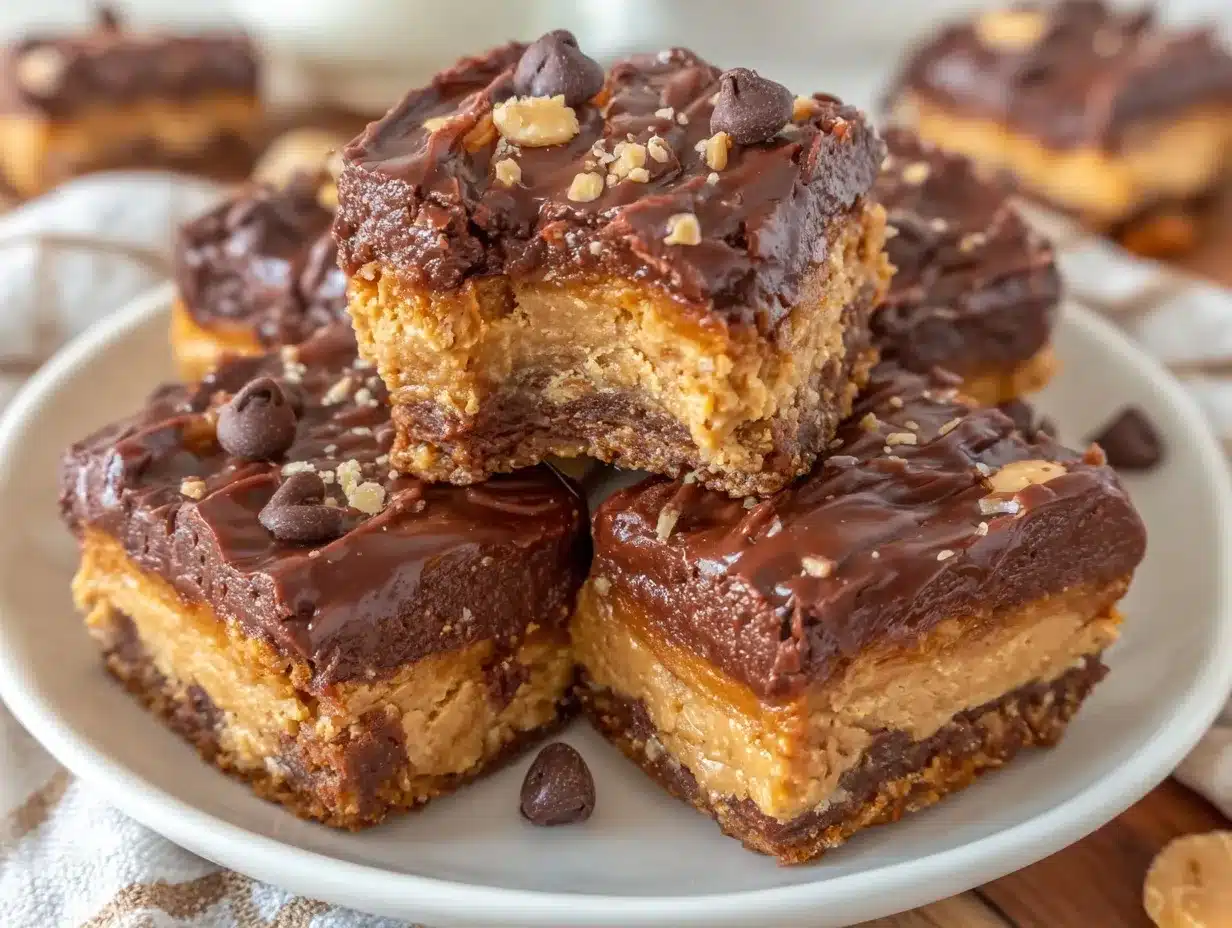
- Spread the chocolate layer: Pour the melted chocolate over the peanut butter base and spread it evenly with a spatula. Try to work quickly before the chocolate starts to set. The contrast between the creamy peanut butter layer and the glossy chocolate top is delightful.
- Chill and set: Place the pan in the refrigerator for at least 2 hours, or until the bars are firm to the touch. This step is crucial—you want clean cuts and that perfect fudgy bite.
- Cut and serve: Use the parchment paper overhang to lift the bars out of the pan. Cut into squares or rectangles with a sharp knife, wiping it clean between cuts for neat edges.
Pro tip: If the bars feel too soft after chilling, pop them in the freezer for 10-15 minutes before slicing. Also, don’t skip the parchment lining—trust me, I learned that the hard way!
Cooking Tips & Techniques
Let’s get real: no-bake treats sound easy, but they come with their quirks. Here are some tips from my many attempts to get these chocolate peanut butter bars just right.
- Powdered sugar is your friend: It’s what gives these bars their fudgy texture without baking. Don’t swap it with granulated sugar—texture will be off.
- Melt chocolate gently: Overheating chocolate can cause it to seize and become grainy. Use short microwave bursts or a double boiler and stir frequently.
- Press firmly: When pressing the peanut butter layer, don’t be shy. A firm, even base ensures the bars hold together well and slice nicely.
- Watch the chilling time: Two hours minimum is a must. I’ve learned the hard way that rushing this step leads to gooey bars that fall apart (and nobody wants that mess).
- Experiment with chocolate types: Semi-sweet works best, but mixing in some dark chocolate chips or milk chocolate can tweak the flavor to your liking.
- Multitasking hack: Melt the chocolate while mixing the peanut butter base to save time.
Honestly, a little patience goes a long way here. Try to avoid the temptation of slicing too early—waiting is the hardest part but oh-so worth it!
Variations & Adaptations
Even with just five ingredients, these bars can be tailored to suit different tastes or dietary needs. Here are some ideas I’ve tried or heard rave reviews about:
- Nut-free version: Swap peanut butter for sunflower seed butter to accommodate allergies. The flavor shifts but stays delicious.
- Crunchy twist: Add 1/2 cup crushed pretzels or crispy rice cereal to the peanut butter layer for a fun texture contrast.
- Salted caramel flair: Drizzle a thin layer of caramel sauce between the peanut butter and chocolate layers before chilling. It’s an indulgent upgrade.
- Vegan adaptation: Use coconut oil instead of butter and dairy-free chocolate chips. Make sure your powdered sugar is vegan-friendly.
- Spicy kick: Add a pinch of cayenne or chili powder to the melted chocolate for an unexpected heat that pairs surprisingly well with peanut butter.
I personally love the crunchy pretzel variation for parties—it’s always the first batch to disappear. Feel free to get creative while keeping the core simplicity intact!
Serving & Storage Suggestions
These bars are best served chilled or straight from the fridge. The chocolate will have a nice snap, and the peanut butter layer will be firm yet creamy. If you like a softer bite, let them sit at room temperature for 5-10 minutes before serving.
They pair wonderfully with a cold glass of milk, coffee, or even a scoop of vanilla ice cream for an extra indulgence. For a little snack platter, add some fresh fruit or nuts on the side.
Storage is easy: keep the bars in an airtight container in the refrigerator for up to one week. They also freeze well—wrap individual bars in parchment before freezing, then thaw in the fridge overnight for a grab-and-go treat.
Over time, the flavors meld beautifully, making leftovers even tastier the next day. Just don’t expect them to last that long around here!
Nutritional Information & Benefits
Each bar provides a satisfying balance of protein and fat thanks to the peanut butter, which can help keep hunger at bay. While these are definitely a treat, using natural peanut butter adds some heart-healthy fats and protein to the mix.
Estimated nutrition per serving (based on 16 bars): approximately 180 calories, 12g fat, 15g carbs, and 5g protein. Keep in mind this is an indulgent snack, so enjoy in moderation.
This recipe is naturally gluten-free and can be made vegan with a few simple swaps. Just watch out for nut allergies if serving to a crowd.
From a wellness perspective, I like that it’s homemade—no mystery additives or preservatives—so you know exactly what’s going into your sweet fix.
Conclusion
If you’re looking for a dessert that’s quick, simple, and irresistibly tasty, these easy no-bake chocolate peanut butter bars with 5 ingredients should be your next kitchen project. They’re perfect for anyone who loves classic flavor combos without the hassle of baking.
Feel free to tweak the recipe to match your taste buds, whether that means adding a pinch of salt, a little crunch, or a spicy twist. Honestly, I keep coming back to this recipe because it’s reliable, comforting, and hits the spot every single time.
Give it a try, share your thoughts, or tell me how you made it your own—I love hearing about your kitchen creations! Remember, sometimes the best recipes are the simplest ones, and these bars prove just that.
Frequently Asked Questions
Can I use crunchy peanut butter instead of creamy?
Yes, you can! The texture will be a bit chunkier, which some people really enjoy. Just be sure to mix it well so the bars hold together.
Do I have to refrigerate these bars?
Refrigeration is necessary to help the bars set properly and maintain their shape. Leaving them out too long can make them soft and messy.
Can I substitute the powdered sugar with honey or maple syrup?
Powdered sugar provides the right texture and firmness, so liquid sweeteners aren’t recommended as they can make the bars too soft.
How long will these bars keep in the freezer?
Stored properly in an airtight container or wrapped tightly, they can last up to 2 months frozen.
Is it possible to make these bars nut-free?
Absolutely! Use sunflower seed butter or soy nut butter as a substitute for peanut butter to make them safe for nut allergies.
For those who enjoy quick no-bake treats, this recipe pairs nicely with other easy favorites like peanut butter chocolate no-bake cookies or the classic homemade chocolate chip cookie dough bars.
Pin This Recipe!
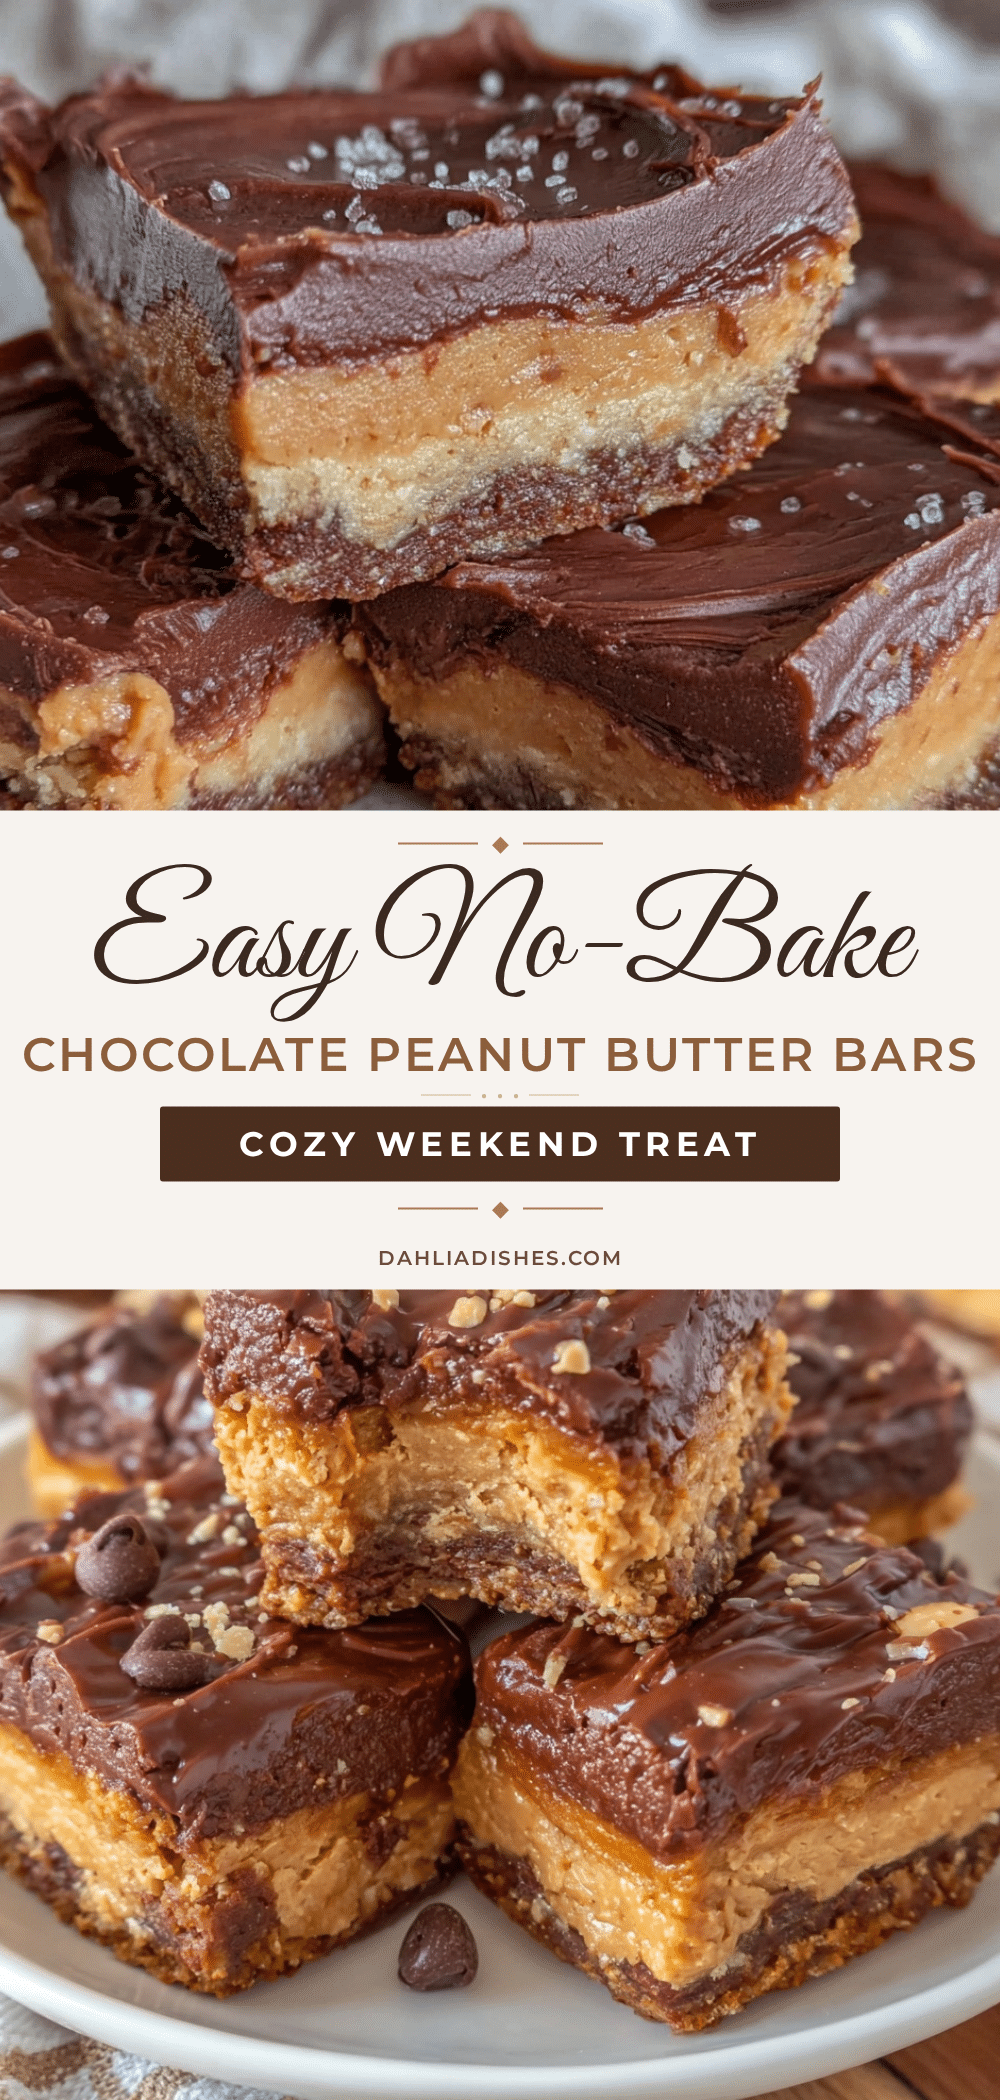
Easy No-Bake Chocolate Peanut Butter Bars Recipe with 5 Simple Ingredients

A quick and easy no-bake dessert combining creamy peanut butter and smooth chocolate into fudgy bars with just five simple ingredients. Perfect for a sweet treat without turning on the oven.
- Prep Time: 10 minutes
- Cook Time: 0 minutes
- Total Time: 2 hours 10 minutes
- Yield: 16 bars 1x
- Category: Dessert
- Cuisine: American
Ingredients
- 1 cup creamy peanut butter (natural or classic, unsalted preferred)
- 1/2 cup unsalted butter (melted)
- 2 cups powdered sugar (sifted if lumpy)
- 1 1/2 cups semisweet chocolate chips
- 1 teaspoon vanilla extract
Instructions
- Line your 9×9-inch baking pan with parchment paper or plastic wrap, leaving some overhang on the sides for easy removal.
- In a medium bowl, combine 1 cup creamy peanut butter and 1/2 cup melted unsalted butter. Stir until smooth and well blended, about 1-2 minutes.
- Gradually add 2 cups powdered sugar and 1 teaspoon vanilla extract to the peanut butter mixture. Stir until fully combined and thick.
- Transfer the mixture into the lined pan and press down evenly with a spatula or lightly greased hands to create a smooth, firm base layer.
- Melt 1 1/2 cups semisweet chocolate chips in a microwave-safe bowl using 20-second bursts, stirring between each, or melt over a double boiler on low heat.
- Pour the melted chocolate over the peanut butter base and spread evenly with a spatula.
- Place the pan in the refrigerator for at least 2 hours or until the bars are firm to the touch.
- Use the parchment paper overhang to lift the bars out of the pan and cut into squares or rectangles with a sharp knife.
Notes
Use parchment paper for easy removal and clean cuts. Chill bars for at least 2 hours for best texture. For firmer bars, freeze for 10-15 minutes before slicing. Avoid substituting powdered sugar with liquid sweeteners to maintain texture. Melt chocolate gently to prevent seizing.
Nutrition
- Serving Size: 1 bar (assuming 16 b
- Calories: 180
- Fat: 12
- Carbohydrates: 15
- Protein: 5
Keywords: no-bake, chocolate peanut butter bars, easy dessert, quick snack, 5 ingredients, no oven, fudgy bars