Love this? Save it for later!
Share the inspiration with your friends
“You know that feeling when a simple dessert suddenly steals the spotlight at the barbecue?” That happened to me last Fourth of July, and honestly, it all started because I forgot to thaw the pie I had planned. Instead, I grabbed a box of vanilla wafers, some fresh berries from the farmer’s market, and threw together what I now call my Easy Creamy Flag Icebox Cake with Fresh Berries. The result? A showstopper that looked like a festive flag right in my glass dish—red strawberries, white whipped cream, and deep blue blueberries all layered for the perfect summer treat.
It wasn’t fancy, and I didn’t even have a recipe written down at first. Just a hodgepodge of ingredients and a last-minute idea while the grill was going. The neighbors poked their heads over the fence, drawn by the sweet berry aroma, and before I knew it, I was sharing spoonfuls with everyone. This cake’s creamy texture and fresh fruit made it feel special but still approachable, the kind of dessert you want to make again and again—especially when time is tight and you want to impress without stress.
Maybe you’ve been there too: scrambling to pull together a dessert that’s quick but memorable. That’s exactly why this Easy Creamy Flag Icebox Cake with Fresh Berries has stuck with me. It’s straightforward, uses ingredients you probably already have, and it looks festive without fancy decorating skills (I promise!). Let me tell you, once you try this, it might just become your go-to for summer gatherings or any day you want a little sweet celebration.
Why You’ll Love This Recipe
- Quick & Easy: Comes together in under 20 minutes—ideal for busy weeknights or last-minute parties.
- Simple Ingredients: No need for specialty stores; vanilla wafers, fresh berries, and whipped cream are probably in your pantry or fridge.
- Perfect for Summer Gatherings: Whether it’s a Fourth of July picnic or casual brunch, this dessert fits right in.
- Crowd-Pleaser: Kids and adults alike love the creamy layers and fresh berry pop.
- Unbelievably Delicious: The texture contrast between crisp wafers and smooth cream with juicy berries is next-level comfort food.
This isn’t just another icebox cake. What sets my version apart is the way I layer the berries in a flag pattern—visual appeal that’s festive and fun. Plus, blending cream cheese with whipped cream gives it a rich, silky texture that feels indulgent but stays light. I’ve tested this recipe multiple times (sometimes with extra blueberries because I’m partial), and it’s always a hit. It’s the kind of dessert that makes you close your eyes at the first bite and smile.
So if you want a dessert that’s fuss-free, visually striking, and absolutely delicious, this Easy Creamy Flag Icebox Cake with Fresh Berries is your answer. Trust me, once you make it, you’ll understand why I keep coming back to this recipe—it’s like summer in every spoonful.
What Ingredients You Will Need
This recipe uses straightforward ingredients that work together to create a creamy, fresh, and slightly crunchy dessert. Most are pantry staples or easy to find at your local store or farmer’s market.
- Vanilla Wafers: About 2 (12-ounce) boxes (around 24 wafers per box). I prefer Keebler for their perfect crunch and classic flavor.
- Cream Cheese: 8 ounces, softened (adds richness and tang to the cream layer).
- Heavy Whipping Cream: 2 cups (480 ml), cold (for whipping to fluffy perfection).
- Powdered Sugar: ¾ cup (90 grams), sifted (for sweetness without grittiness).
- Vanilla Extract: 1 teaspoon (pure vanilla makes a difference).
- Fresh Strawberries: 2 cups, hulled and sliced (for the red stripes of the flag). Try to get firm, ripe berries from the farmer’s market when possible.
- Fresh Blueberries: 1½ cups (for the blue field of the flag).
- Fresh Raspberries (Optional): 1 cup, for extra berry goodness or garnish.
Substitution tips: You can swap cream cheese with mascarpone for a milder tang or use coconut cream for a dairy-free version (though texture will differ). If you want a gluten-free option, gluten-free vanilla cookies or wafers work well here.
Fresh berries are best, but if out of season, frozen (thawed and drained) berries can be used without losing too much flavor. Just be sure to pat them dry to avoid watery layers.
Equipment Needed
- Mixing Bowls: One large for whipping cream, another for beating cream cheese.
- Electric Mixer or Stand Mixer: Essential for whipping cream to stiff peaks and smoothing the cream cheese blend.
- 9×13 Inch (23×33 cm) Glass Baking Dish or Large Rectangular Pan: Ideal for layering the cake and showing off the flag pattern.
- Spatula: For folding and spreading the creamy layers evenly.
- Measuring Cups and Spoons: For precise ingredient amounts.
- Knife and Cutting Board: For prepping berries.
If you don’t have an electric mixer, a sturdy whisk and some patience can work, but be prepared for a workout! Also, a clear glass dish helps show off the beautiful layers, but any similarly sized pan will do.
Preparation Method

- Prepare the Cream Layer: In a large bowl, beat the softened cream cheese until smooth and creamy—about 2 minutes using an electric mixer on medium speed.
- Whip the Cream: In another chilled bowl, whip the cold heavy cream with powdered sugar and vanilla extract until stiff peaks form. This usually takes about 4-5 minutes on high speed. Be careful not to overbeat; the texture should be fluffy and hold shape.
- Combine Cream Cheese and Whipped Cream: Gently fold the whipped cream into the cream cheese until well blended but still light and airy. Use a spatula and fold carefully to keep that fluffy texture intact.
- Layer the Cake: Spread a thin layer of the cream mixture evenly on the bottom of your glass baking dish (about ½ cup). Then place a single layer of vanilla wafers (about 12 wafers) on top, fitting them snugly but not overlapping too much.
- Add Cream and Strawberries: Spread another layer of cream mixture over the wafers (about 1 cup), smoothing it out gently. Next, arrange a row of sliced strawberries lengthwise along one side, forming the red stripes of the flag. Repeat layering wafers, cream, and strawberries to build 3-4 layers. Make sure the strawberries are visible on the side for the flag effect.
- Add the Blueberry Section: For the “blue field,” spread cream mixture in the top left corner of the cake, then carefully scatter fresh blueberries over this cream. This creates the star field effect in the flag.
- Top Layer: Finish with a final layer of vanilla wafers and a generous spread of cream mixture. Garnish with extra berries on top for a festive look.
- Chill: Cover the dish tightly with plastic wrap and refrigerate for at least 4 hours, preferably overnight. This chilling allows the wafers to soften and absorb moisture, turning into a cake-like texture.
Pro Tip: If your cream looks a bit runny, chill the bowl and beaters before whipping next time. Also, when spreading layers, don’t press down hard—light touches keep the wafers from breaking.
Cooking Tips & Techniques
Making an icebox cake is all about the balance of textures and flavors. Here are some tips I’ve picked up after a few trials (and a messy kitchen moment or two):
- Room Temperature Cream Cheese: This makes it easier to beat smooth and prevents lumps in your cream layer.
- Cold Heavy Cream: For whipping, cold cream whips up faster and holds air better, giving you that fluffy texture everyone loves.
- Folding Technique Matters: Use a gentle folding motion to combine whipped cream and cream cheese. Stirring too vigorously deflates your cream, making the dessert dense.
- Layer Carefully: Don’t overcrowd wafers or overlap too much; this keeps the cake layers distinct and attractive.
- Chill Time is Key: The longer you chill, the better the wafers soften. If you’re in a hurry, a minimum of 4 hours works, but overnight is best.
- Watch for Watery Berries: If berries release juice, blot them gently to avoid soggy layers.
- Multitasking Tip: While the cake chills, you can prep a fresh salad or crispy garlic chicken to round out your meal.
Variations & Adaptations
Want to switch things up? This Easy Creamy Flag Icebox Cake with Fresh Berries is pretty adaptable.
- Dietary Swap: Use coconut cream and dairy-free cream cheese for a vegan/dairy-free version. Gluten-free vanilla wafers keep it allergen-friendly.
- Seasonal Fruits: Substitute strawberries and blueberries with peaches and blackberries in late summer or pomegranate seeds and kiwi for a winter twist.
- Flavor Boost: Add a teaspoon of lemon zest to the cream mixture for a bright citrus note, or sprinkle a little cinnamon in the cream for warmth.
- Different Cookies: Try graham crackers or shortbread cookies instead of vanilla wafers for a richer texture.
- Personal Favorite: One time, I tossed in a handful of chopped toasted almonds between layers for a surprising crunch that everyone loved.
Serving & Storage Suggestions
This cake is best served chilled, straight from the fridge. The creamy layers and softened wafers create a luscious, cool bite that’s perfect on a warm day.
For presentation, garnish with extra fresh berries or a sprig of mint to make it pop visually. It pairs wonderfully with iced tea, lemonade, or even a light sparkling wine if you’re celebrating.
Store leftovers covered tightly in the refrigerator for up to 3 days. Avoid freezing—berries and cream don’t always freeze well and the texture can change. When reheating, honestly, it’s best served cold, but if you want to soften it a bit, let it sit at room temperature for 10-15 minutes before serving.
As the cake sits, the flavors deepen, and the wafers get even more tender—so if you can wait, overnight chilling really brings it all together.
Nutritional Information & Benefits
A serving of this Easy Creamy Flag Icebox Cake with Fresh Berries provides a balanced treat with moderate calories, thanks largely to fresh fruit and lightened cream layers. Here’s a rough estimate per serving (assuming 12 servings):
- Calories: ~280
- Fat: 18g
- Carbohydrates: 25g
- Protein: 4g
- Fiber: 2g (from berries)
Fresh berries offer antioxidants and vitamin C, supporting immune health. Using real cream cheese and heavy cream provides calcium and vitamin A, though this remains an indulgent dessert best enjoyed in moderation. For those mindful of sugar, you can reduce powdered sugar or use a sugar substitute to lower carbs.
Conclusion
Honestly, this Easy Creamy Flag Icebox Cake with Fresh Berries is one of those recipes that feels like a celebration every time you make it. It’s approachable, pretty, and delicious without any fuss. Whether you’re feeding a crowd or just craving a sweet berry treat, it’s a winner.
Feel free to swap berries, adjust sweetness, or add your own twist to make it truly yours. I love how this recipe brings people together and marks special moments with something both simple and impressive.
If you give it a try, please drop a comment below sharing your variations or experiences—I’d love to hear how you make it your own. Here’s to many more easy, creamy, berry-filled desserts in your kitchen!
FAQs
Can I make this icebox cake ahead of time?
Absolutely! In fact, chilling it overnight is ideal to let the wafers soften and flavors meld perfectly.
What if I don’t have vanilla wafers? Can I use another cookie?
Yes, graham crackers or shortbread cookies make great substitutes. Just keep in mind they might change the texture slightly.
Can I prepare this cake without an electric mixer?
It’s possible but more challenging. Whipping heavy cream by hand takes patience, and beating cream cheese smooth might take extra effort, but it can be done.
How long does this dessert keep in the fridge?
Store it covered in the fridge for up to 3 days. Beyond that, the texture and freshness decline.
Is this recipe gluten-free?
Not with traditional vanilla wafers, but you can use gluten-free cookies to make it safe for gluten-sensitive diets.
Pin This Recipe!
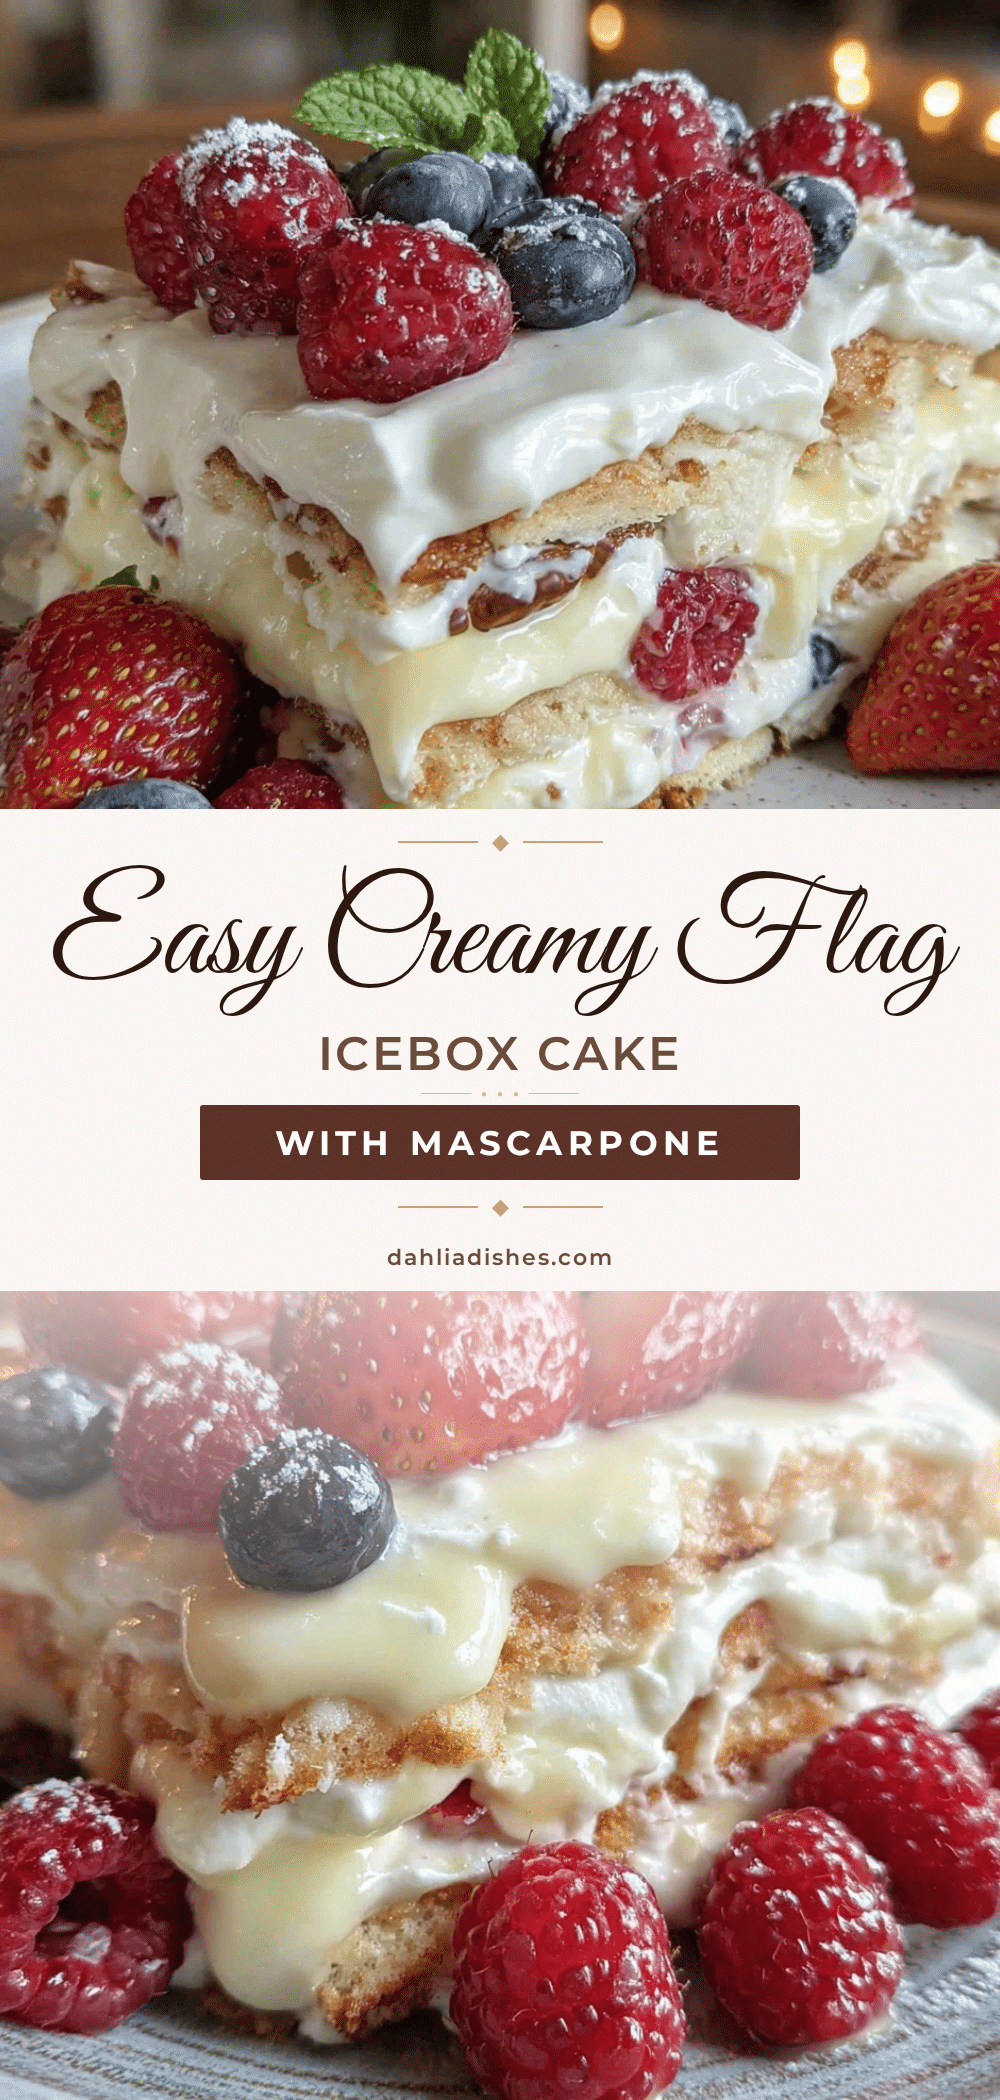
Easy Creamy Flag Icebox Cake Recipe with Fresh Berries to Impress

A quick and easy no-bake icebox cake featuring layers of vanilla wafers, creamy whipped cream and cream cheese mixture, and fresh berries arranged in a festive flag pattern. Perfect for summer gatherings and last-minute desserts.
- Prep Time: 15 minutes
- Cook Time: 0 minutes
- Total Time: 4 hours 15 minutes
- Yield: 12 servings 1x
- Category: Dessert
- Cuisine: American
Ingredients
- 2 (12-ounce) boxes vanilla wafers (about 48 wafers total)
- 8 ounces cream cheese, softened
- 2 cups heavy whipping cream, cold
- 3/4 cup powdered sugar, sifted
- 1 teaspoon vanilla extract
- 2 cups fresh strawberries, hulled and sliced
- 1 1/2 cups fresh blueberries
- 1 cup fresh raspberries (optional)
Instructions
- In a large bowl, beat the softened cream cheese until smooth and creamy, about 2 minutes using an electric mixer on medium speed.
- In another chilled bowl, whip the cold heavy cream with powdered sugar and vanilla extract until stiff peaks form, about 4-5 minutes on high speed.
- Gently fold the whipped cream into the cream cheese until well blended but still light and airy.
- Spread a thin layer (about 1/2 cup) of the cream mixture evenly on the bottom of a 9×13 inch glass baking dish.
- Place a single layer of vanilla wafers (about 12 wafers) on top, fitting them snugly but not overlapping too much.
- Spread another layer of cream mixture (about 1 cup) over the wafers, smoothing gently.
- Arrange a row of sliced strawberries lengthwise along one side to form the red stripes of the flag.
- Repeat layering wafers, cream, and strawberries to build 3-4 layers, ensuring strawberries are visible on the side.
- For the blue field, spread cream mixture in the top left corner of the cake and scatter fresh blueberries over it.
- Finish with a final layer of vanilla wafers and a generous spread of cream mixture.
- Garnish with extra berries on top for a festive look.
- Cover the dish tightly with plastic wrap and refrigerate for at least 4 hours, preferably overnight, to allow wafers to soften and absorb moisture.
Notes
Use room temperature cream cheese for smooth beating and cold heavy cream for better whipping. Fold whipped cream gently into cream cheese to keep texture light. Chill at least 4 hours or overnight for best results. Pat berries dry if using frozen to avoid watery layers. Substitute mascarpone for cream cheese for milder tang or coconut cream for dairy-free version. Gluten-free vanilla wafers can be used for gluten-free option.
Nutrition
- Serving Size: 1 slice (1/12th of c
- Calories: 280
- Fat: 18
- Carbohydrates: 25
- Fiber: 2
- Protein: 4
Keywords: icebox cake, easy dessert, summer dessert, flag cake, fresh berries, no bake, vanilla wafers, creamy dessert