Love this? Save it for later!
Share the inspiration with your friends
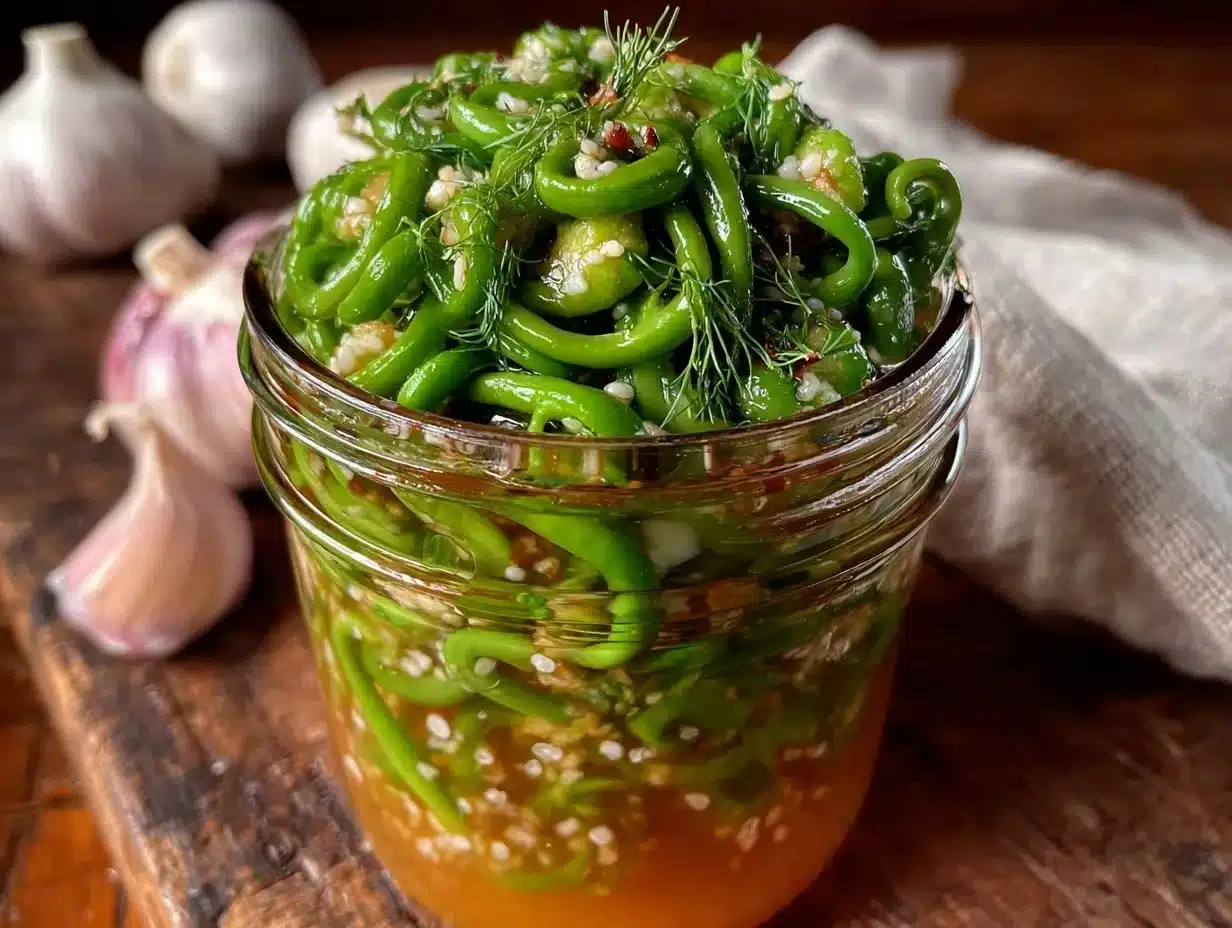
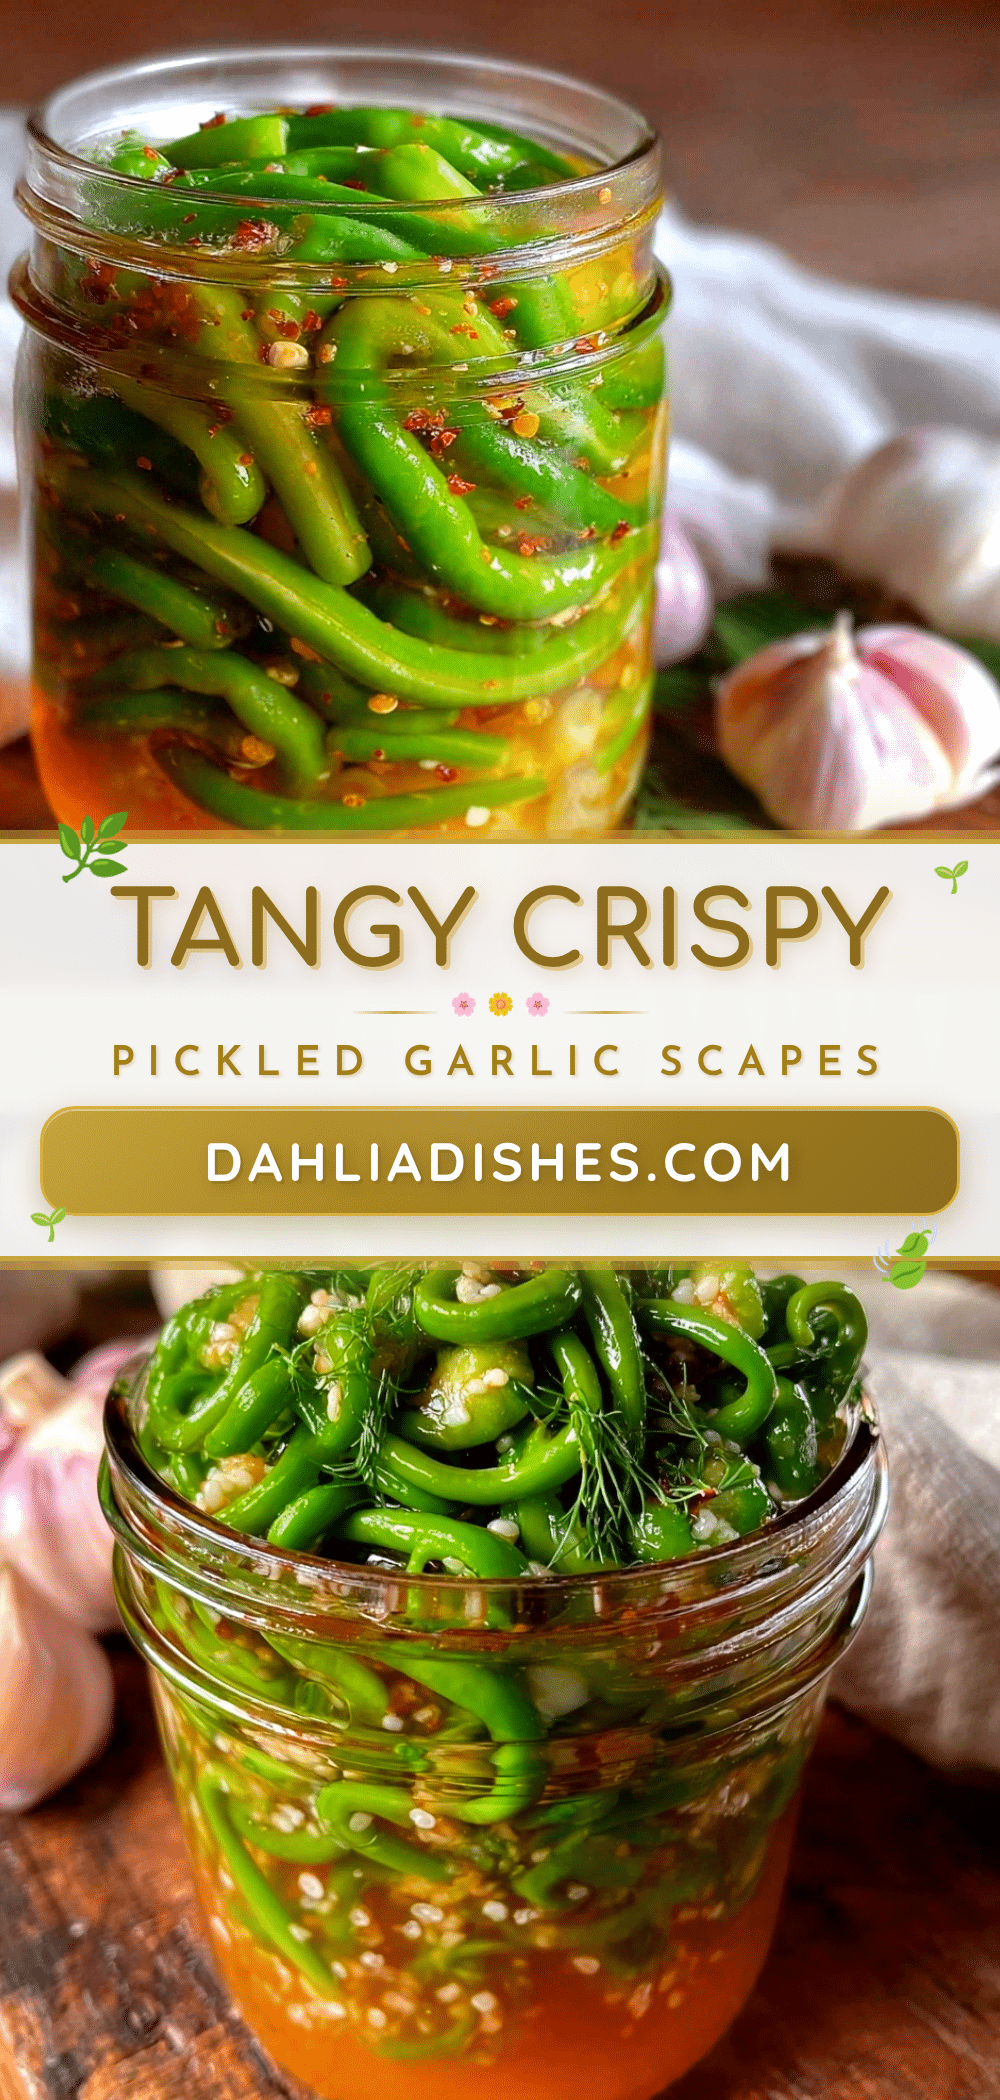
“You know that feeling when you stumble upon something so simple yet so exciting that it changes your kitchen game? That’s exactly what happened one humid Saturday morning at the local farmers’ market. I was wandering past the usual stalls when a vendor caught my attention—not with flowers or tomatoes, but with a basket full of bright green garlic scapes. I’d always seen these curly, slender stalks but never really knew what to do with them. The vendor, an older gentleman with a mischievous smile, handed me a small jar of his homemade pickled garlic scapes and said, ‘Try this—it’s a game changer.’
Honestly, I was skeptical. Pickled anything can be hit or miss, and garlic scapes? That was new territory. But that first crisp bite, bursting with tangy, garlicky freshness, was unforgettable. It wasn’t just pickled; it was crunchy in a way I didn’t expect. I ended up buying a jar, nearly spilling it in excitement on the way home, and spent the afternoon experimenting and tweaking the recipe to make it just right for my taste.
Maybe you’ve been there—facing a basket of unusual produce, wondering what to do next. This crispy pickled garlic scapes recipe for fresh flavor is my answer to that moment. It’s a little tangy, a little spicy, and totally addictive. Plus, it’s perfect for brightening up sandwiches, salads, or just munching straight from the jar. Let me tell you, once you make this, you’ll keep coming back for more.
Why You’ll Love This Recipe
Having tested this recipe multiple times (and yes, happily eaten way too many jars), I can tell you it ticks all the boxes for quick, flavorful, and fuss-free pickling. Here’s why it’s become a staple in my kitchen:
- Quick & Easy: Ready in under 24 hours, so you’re not waiting forever for that satisfying crunch.
- Simple Ingredients: No obscure or hard-to-find spices—just pantry basics and fresh garlic scapes.
- Perfect for Snacking or Garnishes: Adds a fresh zing to everything from charcuterie boards to grilled meats.
- Crowd-Pleaser: Even garlic skeptics have been converted by the bright, crisp flavor.
- Unbelievably Delicious: The pickling liquid’s balance of vinegar, sugar, and spices complements the garlic scapes’ natural flavor perfectly.
What sets this recipe apart is the extra step I take to ensure the garlic scapes stay crispy—blanching them briefly before pickling locks in that satisfying snap. It’s a small trick I learned after a few too many soggy batches. Plus, I add a pinch of chili flakes for a subtle kick that keeps things interesting. Honestly, it’s the kind of recipe where you close your eyes with the first bite and smile. Whether you’re hosting a backyard barbecue or just craving a fresh snack, this recipe delivers every time.
What Ingredients You Will Need
This recipe uses simple, wholesome ingredients to deliver bold flavor and satisfying texture without the fuss. Most of these are pantry staples, and the garlic scapes are usually available in spring at farmers’ markets or specialty grocery stores.
- Garlic scapes: About 1 pound (450g), trimmed and cut into 2-inch pieces. Look for firm, bright green scapes without blemishes.
- White vinegar: 1 cup (240ml) – I prefer distilled white vinegar for its clean, sharp acidity.
- Water: 1 cup (240ml) – To balance the vinegar’s intensity.
- Granulated sugar: 2 tablespoons – Adds a touch of sweetness to mellow the vinegar.
- Salt: 1 tablespoon – Use kosher or pickling salt for best results.
- Garlic cloves: 2-3, peeled and lightly crushed – to boost the garlic flavor.
- Red chili flakes: 1 teaspoon (optional) – For a subtle spicy kick, adjust to taste.
- Black peppercorns: 1 teaspoon – Adds a gentle warmth and complexity.
- Dill sprigs: 2-3 fresh sprigs (optional) – for a fresh herbal note that pairs beautifully.
If you want to swap things up, you can use apple cider vinegar instead of white vinegar for a fruitier note. For a low-sodium version, reduce the salt slightly but keep in mind it helps preserve the pickles. I recommend using fresh garlic scapes when possible—they’re seasonal and bring the best crunch and flavor. Frozen or older scapes tend to be limp and don’t pickle as well.
Equipment Needed
- Large saucepan: For boiling water and blanching the scapes.
- Mixing bowl: To hold the scapes during the blanching and cooling process.
- Measuring cups and spoons: For precise ingredient measurements.
- Glass jars with lids: 1-2 pint-sized (about 500ml) jars for storing your pickled garlic scapes. Mason jars work perfectly.
- Tongs or slotted spoon: To handle the hot scapes safely after blanching.
If you don’t have mason jars, any clean, airtight container will do, though glass is best for flavor and safety. I keep a set of inexpensive jars on hand, and honestly, they’re worth every penny for pickling projects. Plus, glass jars are easier to clean and reuse, which is great for the environment. A simple funnel can help when packing the jars tightly, but it’s not essential.
Preparation Method
- Prepare the garlic scapes: Rinse 1 pound (450g) of fresh garlic scapes under cold water. Trim off the tough ends and cut them into 2-inch (5 cm) pieces. This size keeps them manageable in the jar and perfect for snacking. (5 minutes)
- Blanch the scapes: Bring a large pot of water to a rolling boil. Add the garlic scapes and blanch for exactly 30 seconds—no more, no less. This step is crucial for maintaining that crisp texture. Immediately transfer the scapes to a bowl of ice water to stop the cooking. Drain and set aside. (10 minutes)
- Make the pickling brine: In a saucepan, combine 1 cup (240ml) white vinegar, 1 cup (240ml) water, 2 tablespoons sugar, and 1 tablespoon salt. Add 2-3 crushed garlic cloves, 1 teaspoon black peppercorns, and 1 teaspoon red chili flakes if you like heat. Bring the mixture to a gentle simmer, stirring until sugar and salt dissolve. Remove from heat. (5-7 minutes)
- Pack the jars: Place the blanched garlic scapes into clean glass jars, packing them tightly but without crushing. Add 2-3 fresh dill sprigs if using, tucking them around the scapes for flavor. (5 minutes)
- Pour the brine: Carefully pour the hot pickling brine over the garlic scapes in each jar, making sure the scapes are fully submerged. Leave about ½ inch (1.25 cm) of headspace at the top. Wipe the rims clean, then seal with lids. (5 minutes)
- Cool and refrigerate: Let the jars cool to room temperature, then refrigerate for at least 24 hours before enjoying. The flavor improves if you wait 2-3 days, but trust me, it’s tempting to try them sooner! (24 hours minimum)
If you find the garlic scapes are a bit too soft after pickling, try slightly reducing blanching time next batch. Too long and they lose their punch. Also, make sure your jars are fully sterilized to avoid any off flavors or spoilage. I usually rinse mine with boiling water right before filling.
Cooking Tips & Techniques
Let me share a few tips I learned the hard way while perfecting this crispy pickled garlic scapes recipe for fresh flavor:
- Blanching is your best friend: Skipping or rushing this step leads to limp, sad scapes. That quick 30-second dip locks in crispness.
- Don’t overcrowd the jars: Packing scapes too tightly squashes their texture. Give them a little breathing room.
- Use the right vinegar: Distilled white vinegar gives the cleanest taste; apple cider vinegar adds a mellow, fruity note but can cloud the brine.
- Be patient: The flavor blooms with time. Fresh pickles taste good, but the real magic happens after a day or two.
- Watch your salt and sugar: Adjust these to your taste. Too much sugar can overpower the garlic; too little salt affects preservation.
- Chili flakes optional but recommended: They add a subtle heat that balances the acidity and sweetness nicely without overwhelming the garlic.
I once tried skipping the ice bath after blanching—big mistake. The scapes kept cooking in the hot water and ended up mushy. Lesson learned! Also, if you’re multitasking in the kitchen, set a timer for blanching and brine simmering steps so you don’t get distracted (I’m guilty of this more than once!).
Variations & Adaptations
This recipe is super versatile. Here are a few ways to make it your own:
- Spicy Pickled Garlic Scapes: Double the chili flakes or add a sliced fresh jalapeño for a fiery twist.
- Herb-Infused: Swap dill for fresh thyme, rosemary, or even basil for a unique herbal note.
- Low-Sodium Version: Cut the salt in half and boost flavor with extra garlic and herbs to keep it tasty.
- Quick Pickle Variation: Skip blanching and soak scapes directly in the brine for 12 hours if you prefer a softer texture and faster turnaround.
- Fermented Option: Leave garlic scapes in a saltwater brine (no vinegar) at room temperature for 3-5 days to develop tangy, probiotic-rich pickles.
One personal favorite is adding a splash of lemon juice for brightness, especially when serving alongside grilled fish or poultry. If you or your guests have allergies, this recipe is naturally gluten-free and dairy-free, making it accessible to many diets.
Serving & Storage Suggestions
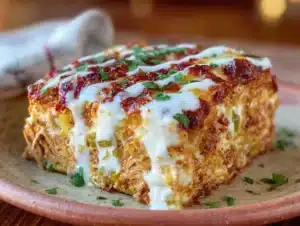
Crispy pickled garlic scapes are best served chilled right from the fridge. They add a fresh, tangy crunch that brightens up almost any dish. Try them as a zesty side to crispy garlic chicken, chopped into salads, or layered onto sandwiches for an unexpected burst of flavor.
Store your pickled garlic scapes in the refrigerator for up to 3 weeks. The flavor deepens over time, but the texture might soften slightly after two weeks. If you want to keep them longer, freezing isn’t recommended as it ruins the crunch.
When reheating dishes that include pickled scapes, add them fresh after cooking to maintain their crispness. If you’re serving a spread or appetizer platter, arrange the pickled scapes on a small dish with crackers and cheese for a delightful bite.
Nutritional Information & Benefits
Per serving (approx. 1 ounce/28g):
| Calories | Carbohydrates | Protein | Fat | Fiber |
|---|---|---|---|---|
| 15 | 3g | 0.5g | 0g | 1g |
Garlic scapes are low in calories but packed with vitamins C and A, along with antioxidants that support immune health. The vinegar in the pickling liquid may aid digestion, and the addition of chili flakes can boost metabolism. This recipe is naturally gluten-free, vegan, and low in fat, making it a nutritious snack or condiment that fits many dietary lifestyles.
Conclusion
If you’re looking for a fresh, crunchy, and flavorful way to enjoy garlic scapes, this crispy pickled garlic scapes recipe for fresh flavor is a must-try. It’s easy, requires just a handful of ingredients, and delivers a taste that surprises and delights every time. The best part? You can tweak it to your liking—spicy, herbaceous, or mild—and bring a little zing to your meals. Personally, I keep a jar in the fridge year-round because it’s that good.
Give this recipe a go and let me know how you customize it! I’d love to hear whether you prefer it spicy or mild, or if you’ve discovered your own perfect herb combo. Drop a comment below or share your pickled garlic scape creations with friends. Happy pickling!
FAQs
What are garlic scapes and where can I find them?
Garlic scapes are the curly flower stalks of the garlic plant. They have a mild garlic flavor and are usually available at farmers’ markets or specialty grocery stores in late spring and early summer.
Can I use this recipe with other vegetables?
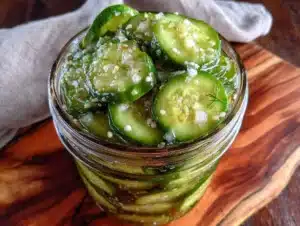
Yes! This pickling method works well with green beans, cucumbers, or asparagus. Just adjust blanching times according to the vegetable’s texture.
How long do pickled garlic scapes last in the fridge?
They typically keep well for up to 3 weeks when stored in an airtight container in the refrigerator.
Do I need to blanch the garlic scapes before pickling?
Blanching for 30 seconds helps maintain a satisfying crisp texture, but you can skip it if you prefer softer pickles.
Can I make this recipe vegan and gluten-free?
Absolutely! This recipe uses only plant-based ingredients and no gluten-containing items, making it suitable for both vegan and gluten-free diets.
Pin This Recipe!
Crispy Pickled Garlic Scapes Recipe Easy Homemade Fresh Flavor
A quick and easy recipe for crispy pickled garlic scapes that delivers a tangy, garlicky freshness perfect for snacking, garnishes, or brightening up meals.
- Prep Time: 20 minutes
- Cook Time: 10 minutes
- Total Time: 24 hours 30 minutes
- Yield: About 2 pint-sized jars (approximately 8 servings) 1x
- Category: Condiment / Snack
- Cuisine: American
Ingredients
- 1 pound (450g) garlic scapes, trimmed and cut into 2-inch pieces
- 1 cup (240ml) white vinegar (distilled preferred)
- 1 cup (240ml) water
- 2 tablespoons granulated sugar
- 1 tablespoon kosher or pickling salt
- 2–3 garlic cloves, peeled and lightly crushed
- 1 teaspoon red chili flakes (optional)
- 1 teaspoon black peppercorns
- 2–3 fresh dill sprigs (optional)
Instructions
- Rinse 1 pound (450g) of fresh garlic scapes under cold water. Trim off the tough ends and cut into 2-inch pieces. (5 minutes)
- Bring a large pot of water to a rolling boil. Add the garlic scapes and blanch for exactly 30 seconds. Immediately transfer to a bowl of ice water to stop cooking. Drain and set aside. (10 minutes)
- In a saucepan, combine 1 cup white vinegar, 1 cup water, 2 tablespoons sugar, and 1 tablespoon salt. Add 2-3 crushed garlic cloves, 1 teaspoon black peppercorns, and 1 teaspoon red chili flakes if using. Bring to a gentle simmer, stirring until sugar and salt dissolve. Remove from heat. (5-7 minutes)
- Place the blanched garlic scapes into clean glass jars, packing tightly but without crushing. Add 2-3 fresh dill sprigs if using. (5 minutes)
- Pour the hot pickling brine over the garlic scapes in each jar, ensuring they are fully submerged. Leave about ½ inch of headspace. Wipe rims clean and seal with lids. (5 minutes)
- Let jars cool to room temperature, then refrigerate for at least 24 hours before enjoying. Flavor improves after 2-3 days. (24 hours minimum)
Notes
Blanch garlic scapes for exactly 30 seconds to maintain crispness. Use distilled white vinegar for a clean taste or apple cider vinegar for a fruitier note. Adjust chili flakes to taste for spiciness. Store pickled scapes in the refrigerator for up to 3 weeks. Avoid freezing to preserve crunch. Sterilize jars before use to prevent spoilage.
Nutrition
- Serving Size: Approximately 1 ounc
- Calories: 15
- Carbohydrates: 3
- Fiber: 1
- Protein: 0.5
Keywords: pickled garlic scapes, garlic scapes recipe, pickling, homemade pickles, crispy garlic scapes, easy pickled vegetables, vegan pickles, gluten-free pickles