Love this? Save it for later!
Share the inspiration with your friends
Introduction
There used to be a tiny bakery tucked away in a sleepy corner of Vermont that made the most unforgettable flag cake. When they closed their doors one chilly autumn afternoon, it felt like the end of an era. I remember standing there, a half-eaten slice in my hand, thinking, “How on earth am I going to get that cozy feeling back?” After about a dozen attempts—some too dry, others a little too sweet—I finally got it: the Classic Homemade Flag Cake. Honestly, it’s not just any layered dessert; it’s the one that brings back summer picnics, the crackle of fireworks, and that warm, fuzzy feeling you get from sharing something special.
One Wednesday evening, while I was juggling dinner and a phone call with my neighbor, I realized the secret wasn’t just in the colors or layers but in the love baked into every slice. Maybe you’ve been there—chasing a memory of a dish that vanished with a place or a moment. This cake stayed with me because it’s more than a recipe; it’s a little flag of joy, waving proudly on your dessert table.
Why You’ll Love This Recipe
After testing this Classic Homemade Flag Cake countless times, I can tell you it’s a winner in so many ways. Here’s why you’ll find yourself making it again and again:
- Quick & Easy: Ready in under 90 minutes, which makes it perfect for last-minute celebrations or weekend treats.
- Simple Ingredients: No need for fancy ingredients—most are pantry staples you already have on hand.
- Perfect for Patriotic Occasions: Fourth of July, Memorial Day, or any summer gathering where you want to impress without stress.
- Crowd-Pleaser: Kids and grown-ups alike adore the vibrant layers and creamy frosting.
- Unbelievably Delicious: The tender crumb paired with smooth whipped cream frosting makes it comfort food with a festive twist.
This isn’t just another layered cake. The trick lies in the balance of flavors and textures—the subtle vanilla sponge, gently tinted layers, and a frosting that’s light yet indulgent. Plus, the way the colors come together is pure nostalgia, bringing that classic flag design to life on your plate. It’s the kind of dessert that makes you close your eyes and savor that first bite, feeling like a kid again at a summer picnic.
What Ingredients You Will Need
This recipe uses simple, wholesome ingredients to create a bold, vibrant flag cake without fuss. You’ll find most of these are kitchen staples, making it easy to whip up whenever you want.
- For the Cake Batter:
- All-purpose flour – 2 ½ cups (315 g), sifted for a light, tender crumb
- Baking powder – 2 ½ teaspoons (10 g), to help the cake rise just right
- Salt – ½ teaspoon (3 g), to balance sweetness
- Unsalted butter – 1 cup (227 g), softened (I swear by Land O’Lakes for creaminess)
- Sugar – 1 ¾ cups (350 g), granulated
- Large eggs – 4, at room temperature (they add richness and moisture)
- Pure vanilla extract – 2 teaspoons (10 ml), for that cozy flavor
- Whole milk – 1 cup (240 ml), room temperature
- For the Frosting:
- Heavy cream – 2 cups (480 ml), chilled (whipping cream is fine, but heavy cream gives the best stability)
- Powdered sugar – ¾ cup (90 g), sifted
- Vanilla bean paste – 1 teaspoon (optional, but adds a beautiful speckled look and flavor)
- For Coloring the Layers:
- Red food coloring – gel type for vibrant color without thinning the batter
- Blue food coloring – gel type
- White layer – no coloring needed (shows off the creamy frosting nicely)
If you want a gluten-free twist, almond flour can be swapped for all-purpose flour, but keep in mind the texture will be a bit denser. For a dairy-free option, use coconut milk in place of whole milk and coconut cream for the frosting—the cake will still be deliciously moist. I’ve tried both versions, and they work surprisingly well.
Equipment Needed
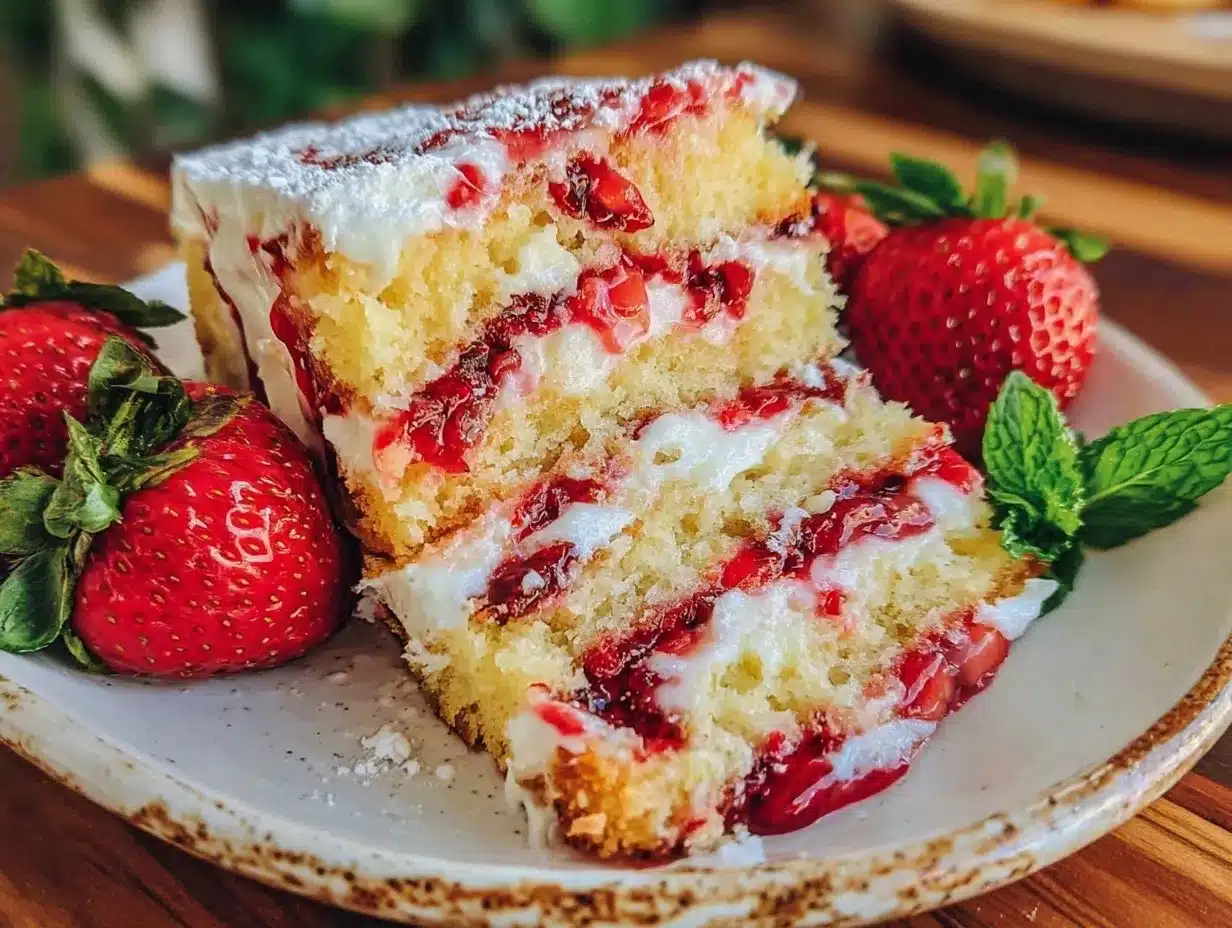
- Two 9-inch (23 cm) round cake pans – I use non-stick ones with removable bottoms; makes life easier.
- Mixing bowls – medium and large, for dry and wet ingredients.
- Electric mixer or stand mixer – whipping the cream by hand is heroic but takes forever.
- Rubber spatula – essential for folding and scraping every last bit of batter.
- Measuring cups and spoons – accuracy matters here; trust me, I once eyeballed the sugar and ended up with a cake that could double as a rock.
- Cooling racks – to let the layers breathe and cool evenly.
- Offset spatula or butter knife – for smooth frosting application.
If you don’t have a stand mixer, a handheld electric mixer will do just fine. For budget-friendly pans, I recommend looking for aluminum ones—they heat evenly and last forever if you take care of them. Pro tip: after washing, dry your pans immediately to avoid rust spots.
Preparation Method
- Preheat the oven to 350°F (175°C) and grease your two 9-inch cake pans. Line them with parchment paper circles for easy removal. This step is crucial—you don’t want your masterpiece sticking to the pan.
- Mix dry ingredients: In a medium bowl, sift together 2 ½ cups (315 g) of all-purpose flour, 2 ½ teaspoons (10 g) baking powder, and ½ teaspoon (3 g) salt. Set aside. Sifting adds air, helping the cake stay light.
- Cream butter and sugar: In a large bowl, beat 1 cup (227 g) softened unsalted butter and 1 ¾ cups (350 g) sugar with an electric mixer on medium speed until pale and fluffy—about 3 to 5 minutes. This step builds the cake’s structure, so don’t rush it.
- Add eggs and vanilla: Beat in 4 large eggs, one at a time, ensuring each is fully incorporated before adding the next. Stir in 2 teaspoons (10 ml) vanilla extract. The batter should be smooth and creamy.
- Alternate adding dry ingredients and milk: Reduce mixer speed to low. Add the flour mixture in three parts, alternating with 1 cup (240 ml) whole milk, starting and ending with flour. Mix just until combined—overmixing can make the cake tough.
- Divide and color batter: Transfer the batter evenly into three bowls. Leave one plain for the white layer. Add red gel food coloring to one bowl and blue gel food coloring to another, blending gently until the colors are vibrant but the texture remains smooth.
- Bake the layers: Pour each colored batter into separate pans or bake in batches if you only have two pans. Bake for 20-25 minutes or until a toothpick inserted in the center comes out clean. The sizzle of the oven and the smell of warming vanilla are the best kitchen soundtrack.
- Cool the cakes: Let the layers cool in the pans for 10 minutes, then transfer to cooling racks and cool completely before frosting. I once tried frosting warm cake—lesson learned: it’s a mess and melts the frosting.
- Prepare the whipped cream frosting: In a chilled bowl, beat 2 cups (480 ml) heavy cream with ¾ cup (90 g) powdered sugar and 1 teaspoon vanilla bean paste until soft peaks form. Taste and adjust sweetness if needed.
- Assemble the cake: Place the blue layer on your serving plate and spread a thick layer of whipped cream. Add the white layer next, repeat frosting, then the red layer. For the top, add a final layer of frosting and smooth it out to resemble the flag’s white stripes. Garnish with fresh blueberries and sliced strawberries or raspberries to bring the flag to life.
Pro tip: Refrigerate the cake for at least an hour before serving to let the flavors meld and the frosting firm up. It’s worth the wait!
Cooking Tips & Techniques
Making a classic flag cake is straightforward, but a few tricks can save you from common pitfalls. First, don’t skip sifting your dry ingredients; it’s a small step that makes a big difference in texture. Also, be gentle when mixing colored batters—you want to keep them fluffy, so fold in the food coloring instead of stirring vigorously.
When whipping the cream, chill your bowl and beaters beforehand. It helps the cream thicken faster and hold shape longer. I’ve burned through batches of cream by whipping too fast or too long—soft peaks are your friend here, not stiff peaks.
For even layers, use a kitchen scale to divide batter by weight. It’s a game-changer for symmetry. And remember, patience is key: let the cakes cool completely before frosting. Otherwise, you’ll end up with a frosting meltdown that’s more “abstract art” than “classic flag.”
Multitasking tip: While the cakes bake, prepare the frosting and wash berries for garnish. That way, assembly is a breeze. I learned this the hard way when I tried to do everything at once and ended up frosting cold cake with sticky hands!
Variations & Adaptations
This Classic Homemade Flag Cake is a blank canvas for creativity. Here are some fun ways to make it your own:
- Dietary swaps: Replace all-purpose flour with gluten-free blends or oat flour for gluten sensitivity. Use coconut cream frosting for a dairy-free version.
- Seasonal fruit: Instead of blueberries and strawberries, top with cherries and blackberries in late summer for a slightly different flavor profile.
- Flavor twists: Add lemon zest to the batter for a refreshing citrus note or swap vanilla for almond extract for a nutty hint.
- Cooking methods: This cake can be baked as a sheet cake and cut into flag shapes for a fun picnic twist or made as cupcakes with colored frosting swirled on top.
- Personal favorite: I once added a thin layer of strawberry jam between the red and white layers—unexpected, but oh-so-good.
Feel free to experiment with these ideas or add your own spin. This cake is all about celebrating flavor and color in the most comforting way.
Serving & Storage Suggestions
Serve this flag cake chilled or at room temperature for the best flavor and texture. I like to slice it with a serrated knife to keep those layers neat. It pairs beautifully with a cup of freshly brewed iced tea or a simple glass of milk.
If you’re hosting a party, place it on a decorative stand to showcase the layers and colors—it’s a real eye-catcher. Leftovers (if there are any!) should be stored covered in the refrigerator for up to 3 days. For longer storage, you can freeze individual slices wrapped tightly in plastic wrap and foil for up to 2 months.
When reheating frozen slices, let them thaw in the fridge overnight and bring to room temperature before serving. The flavors actually mellow out and taste even better the next day, so don’t be surprised if you find yourself planning leftovers on purpose.
Nutritional Information & Benefits
Each slice of this Classic Homemade Flag Cake roughly contains 350 calories, 18 grams of fat, 45 grams of carbohydrates, and 4 grams of protein. While it’s definitely a treat, the use of real butter and fresh cream means it’s free from artificial additives and preservatives.
The fresh berries add antioxidants and vitamins, making each bite a bit more wholesome. Using whole milk and real eggs contributes to a richer nutrient profile compared to boxed cake mixes. Plus, you can easily adjust the recipe to be lower in sugar or gluten-free based on your needs.
Honestly, it’s a dessert you can feel good about sharing with family and friends on special occasions.
Conclusion
This Classic Homemade Flag Cake is more than just a dessert; it’s a cozy, colorful reminder of good times, shared moments, and simple joys. Whether you’re making it for a holiday, a family gathering, or just because, the layers of flavor and nostalgia will bring smiles all around.
Feel free to tweak the colors, flavors, or toppings to suit your taste. I love this recipe because it’s reliably delicious and visually festive without being complicated. Now it’s your turn—try it out, share your version, and keep that spirit of celebration alive.
If you bake this cake, I’d love to hear how it turned out for you! Drop a comment below or share your pictures. Let’s keep the cozy flag cake tradition going strong.
FAQs
How do I prevent the cake layers from cracking?
Make sure not to overmix the batter, and bake at the right temperature (350°F/175°C). Also, avoid opening the oven door too often during baking.
Can I make this cake a day ahead?
Absolutely! In fact, chilling the cake overnight helps the flavors meld and makes slicing easier.
What if I don’t have gel food coloring?
You can use liquid food coloring, but add it sparingly to avoid thinning the batter and dulling the colors.
How do I keep the whipped cream frosting stable?
Chill your mixing bowl and beaters, and whip just until soft peaks form. You can also add a little powdered gelatin for extra stability if needed.
Can I use this recipe for cupcakes?
Yes! Just reduce baking time to about 18-20 minutes and decorate with colored frosting to mimic the flag design.
Pin This Recipe!
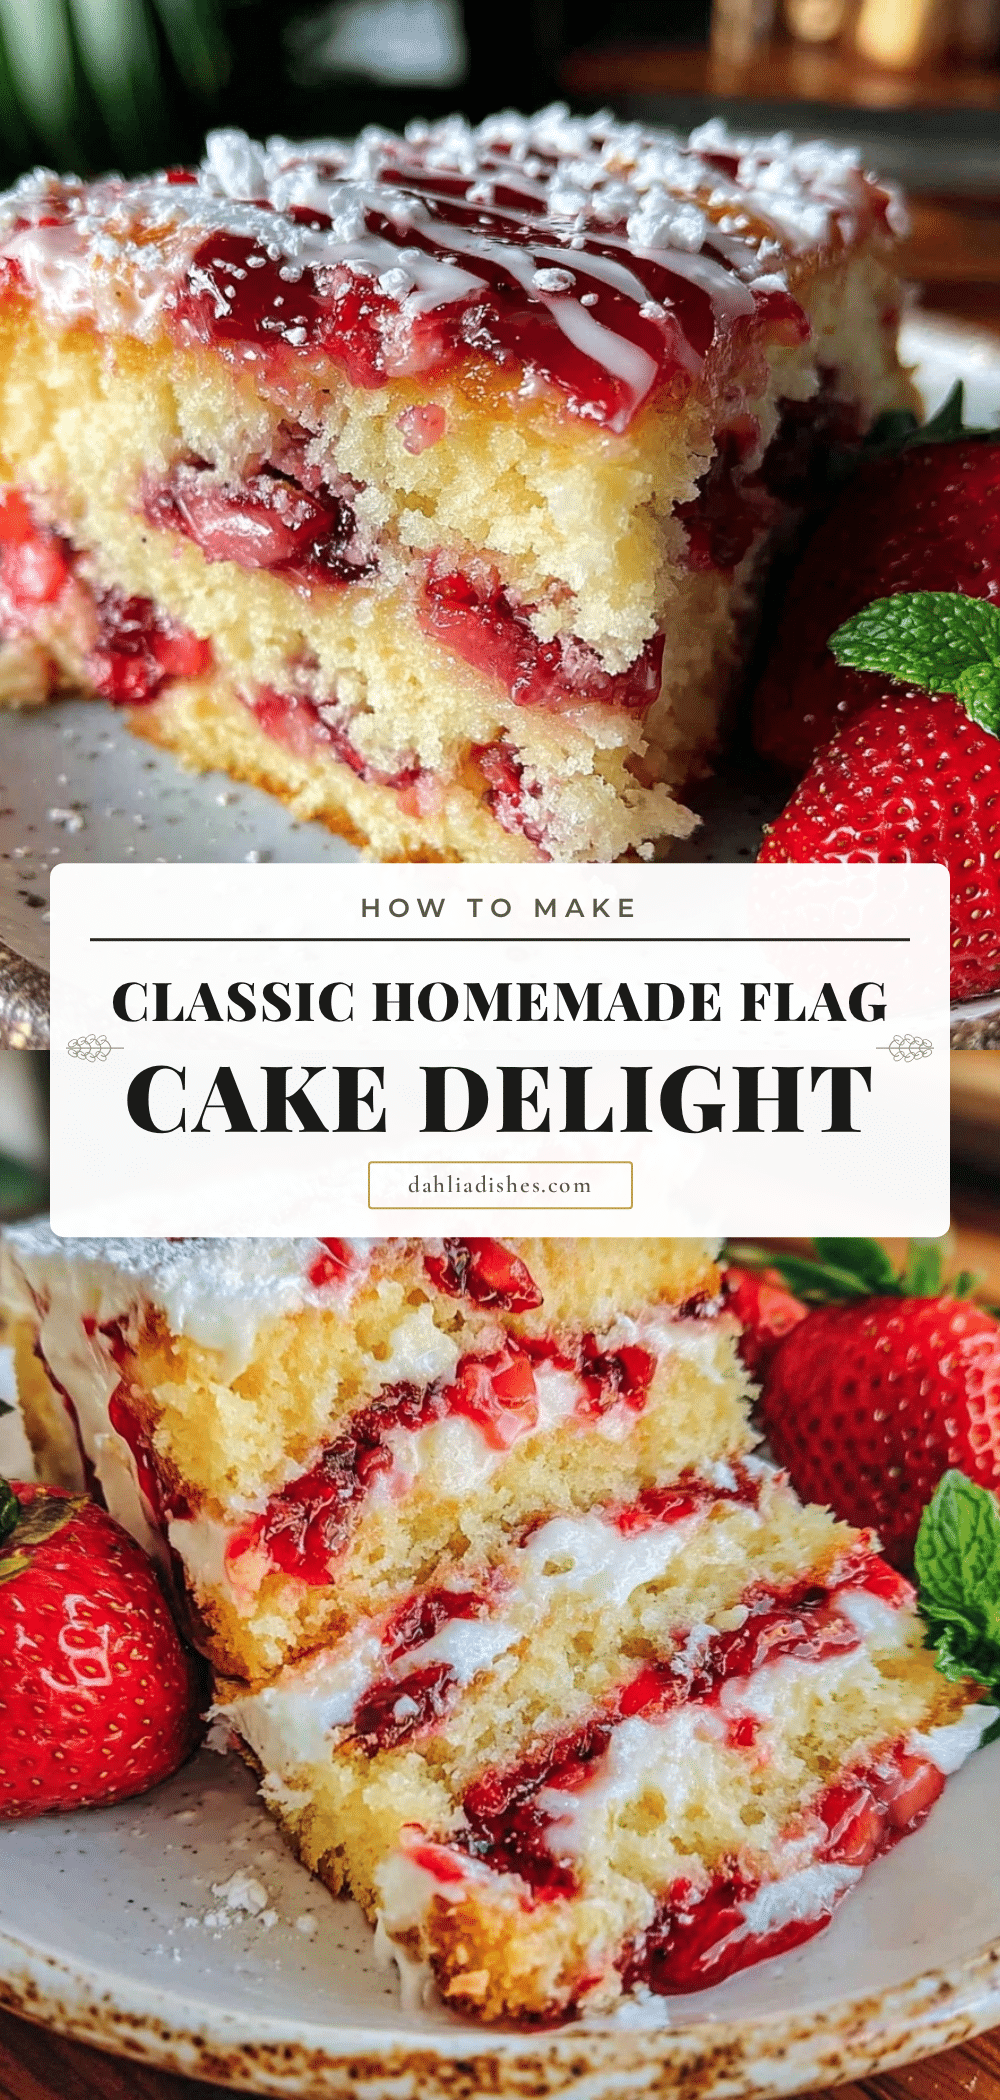
Classic Homemade Flag Cake
A quick and easy 4-layer patriotic dessert featuring vibrant red, white, and blue layers with a light whipped cream frosting. Perfect for summer celebrations and nostalgic gatherings.
- Prep Time: 20 minutes
- Cook Time: 25 minutes
- Total Time: 1 hour 15 minutes
- Yield: 12 servings 1x
- Category: Dessert
- Cuisine: American
Ingredients
- 2 ½ cups (315 g) all-purpose flour, sifted
- 2 ½ teaspoons (10 g) baking powder
- ½ teaspoon (3 g) salt
- 1 cup (227 g) unsalted butter, softened
- 1 ¾ cups (350 g) granulated sugar
- 4 large eggs, room temperature
- 2 teaspoons (10 ml) pure vanilla extract
- 1 cup (240 ml) whole milk, room temperature
- 2 cups (480 ml) heavy cream, chilled
- ¾ cup (90 g) powdered sugar, sifted
- 1 teaspoon vanilla bean paste (optional)
- Red gel food coloring
- Blue gel food coloring
Instructions
- Preheat the oven to 350°F (175°C) and grease two 9-inch cake pans. Line with parchment paper circles.
- In a medium bowl, sift together flour, baking powder, and salt. Set aside.
- In a large bowl, beat softened butter and sugar with an electric mixer on medium speed until pale and fluffy, about 3 to 5 minutes.
- Beat in eggs one at a time, fully incorporating each before adding the next. Stir in vanilla extract.
- Reduce mixer speed to low. Add flour mixture in three parts, alternating with milk, starting and ending with flour. Mix just until combined.
- Divide batter evenly into three bowls. Leave one plain for the white layer. Add red gel food coloring to one bowl and blue gel food coloring to another, blending gently.
- Pour each colored batter into separate pans or bake in batches. Bake for 20-25 minutes or until a toothpick inserted in the center comes out clean.
- Let layers cool in pans for 10 minutes, then transfer to cooling racks to cool completely.
- In a chilled bowl, beat heavy cream, powdered sugar, and vanilla bean paste until soft peaks form.
- Assemble the cake by placing the blue layer on a serving plate, spreading whipped cream frosting, then the white layer with frosting, followed by the red layer. Add a final frosting layer on top and smooth it out.
- Garnish with fresh blueberries and sliced strawberries or raspberries to resemble the flag.
- Refrigerate the cake for at least one hour before serving to let flavors meld and frosting firm up.
Notes
Sift dry ingredients for a light crumb. Fold in gel food coloring gently to keep batter fluffy. Chill bowl and beaters before whipping cream. Use a kitchen scale for even layers. Refrigerate cake at least one hour before serving. For gluten-free, substitute almond or oat flour; for dairy-free, use coconut milk and coconut cream.
Nutrition
- Serving Size: 1 slice (1/12th of c
- Calories: 350
- Sugar: 30
- Sodium: 150
- Fat: 18
- Saturated Fat: 11
- Carbohydrates: 45
- Fiber: 1
- Protein: 4
Keywords: flag cake, patriotic dessert, layered cake, 4-layer cake, Fourth of July cake, easy cake recipe, homemade cake, whipped cream frosting


