Love this? Save it for later!
Share the inspiration with your friends
I wasn’t expecting culinary inspiration from my plumber, but there I was, standing in my kitchen with a leaky faucet, listening to Frank describe his Super Bowl party spread like he was reciting a sacred text. “You gotta make the sliders,” he said, wiping his hands on his coveralls. “But not just any sliders. You stuff ’em with buffalo chicken dip.” I’d been wrestling with game day menu ideas for weeks, and here was Frank, a man whose professional opinion I trusted on pipes but not necessarily on appetizers, casually dropping the blueprint for what would become my most-requested party recipe. Honestly, I almost laughed it off. But something about the way he said it—with this quiet, knowing confidence—made me grab a notepad.
The first batch I made was, let me tell you, a glorious mess. I overfilled the first few rolls, and buffalo chicken dip oozed out like a saucy confession. The kitchen looked like a wing-eating contest had exploded, but the taste? Pure magic. These Ultimate Buffalo Chicken Dip Stuffed Football Sliders combine everything you love about the classic dip—the creamy tang, the spicy kick, the cool, crunchy finish—all baked right into a soft, buttery slider bun. It’s the perfect hand-held, no-fuss appetizer that disappears faster than you can say “touchdown.”
Maybe you’ve been there, scrolling through endless recipes, looking for that one dish that will actually impress your crowd without chaining you to the stove. I get it. These sliders are that recipe. They’re the reason I now answer Frank’s calls on the first ring. He might not know a thing about P-traps, but the man knows his game day food. And after one bite of these, you’ll be a believer too.
Why You’ll Love This Recipe
After testing this recipe for three different game day gatherings (and one very confused Tuesday night dinner), I can confidently say these sliders are a winner. They’re not just another appetizer—they’re the appetizer that gets talked about long after the final whistle.
- Quick & Easy: From start to table in under 30 minutes. Perfect for when you’re juggling dips, drinks, and defense plays.
- Simple Ingredients: No fancy grocery store trips. You probably have most of these ingredients in your fridge and pantry right now.
- Perfect for Game Day: These sliders were born for the big screen. Easy to grab, impossible to put down, and they pair perfectly with a cold beer.
- Crowd-Pleaser: I’ve served these to everyone from my spice-loving brother-in-law to my mild-sauce-only mother. Both reached for seconds. And thirds.
- Unbelievably Delicious: The combination of creamy, spicy buffalo chicken dip with soft, buttery rolls and a crunchy topping is next-level comfort food. It’s the kind of recipe that makes you close your eyes after the first bite.
What makes these sliders different from the rest? It’s the texture. Most stuffed sliders end up soggy, but I’ve perfected a technique that keeps the rolls soft on the inside and slightly crisp on the outside. The secret? A quick brush of garlic butter before baking and a careful hand when filling the rolls. Plus, I use a blend of cream cheese and ranch dressing that creates an ultra-creamy filling without being too heavy. This isn’t just another version of buffalo chicken sliders—it’s the best version.
What Ingredients You Will Need
This recipe uses simple, straightforward ingredients to deliver maximum flavor without any fuss. Most of these are pantry staples for any buffalo chicken fan, but I’ve included a few notes to help you pick the best options.
- For the Buffalo Chicken Dip Filling:
- 2 cups cooked, shredded chicken (rotisserie chicken works great; you can also use leftover grilled chicken or canned chicken in a pinch)
- 8 oz cream cheese, softened (I recommend Philadelphia for the creamiest texture; let it sit out for 30 minutes before mixing)
- 1/2 cup buffalo wing sauce (Frank’s RedHot is my go-to—it has the perfect balance of heat and tang. Use less for milder sliders)
- 1/2 cup ranch dressing (Hidden Valley adds a classic flavor, but any creamy ranch works. Blue cheese dressing is also a fantastic substitute)
- 1 cup shredded cheddar cheese (sharp cheddar gives the best flavor, but a Mexican blend or pepper jack adds extra kick)
- 1/4 cup crumbled blue cheese (optional, but highly recommended for that authentic buffalo wing experience)
- 1/2 teaspoon garlic powder
- 1/4 teaspoon onion powder
- Salt and black pepper to taste
- For the Sliders:
- 12-count package Hawaiian sweet rolls (King’s Hawaiian are the gold standard—their soft, slightly sweet texture is perfect for these sliders)
- 3 tablespoons unsalted butter, melted
- 1 teaspoon garlic powder
- 1 teaspoon dried parsley
- 1/2 teaspoon onion powder
- For the Topping (optional but amazing):
- 1/4 cup crumbled blue cheese or shredded cheddar
- 2 tablespoons chopped green onions (for freshness and color)
- 1 tablespoon everything bagel seasoning (trust me on this one—it adds an incredible crunch)
Ingredient Tips: For the best texture, make sure your cream cheese is fully softened before mixing. Cold cream cheese will leave lumps in your filling. If you’re short on time, you can microwave it for 10-15 seconds, but watch it carefully—you don’t want it melted. For a lighter version, use reduced-fat cream cheese and ranch dressing. The flavor is still fantastic, just slightly less rich.
Equipment Needed
You don’t need a professional kitchen to make these sliders, but a few key tools will make the process smoother. Here’s what you’ll need:
- 9×13-inch baking dish: This is the perfect size for 12 sliders. If you don’t have one, a 9×9-inch dish works—just pack the rolls in a little tighter.
- Mixing bowls: One medium bowl for the filling and one small bowl for the garlic butter.
- Sharp knife or serrated knife: For cutting the rolls in half. A serrated knife works best to avoid squishing the soft bread.
- Pastry brush: For brushing the garlic butter over the tops. A spoon works in a pinch, but a brush gives you more even coverage.
- Aluminum foil: For covering the sliders during the first part of baking to prevent over-browning.
- Cutting board: A sturdy surface for assembling the sliders.
Budget-Friendly Alternatives: If you don’t have a pastry brush, use the back of a spoon to spread the butter. No 9×13 dish? A rimmed baking sheet works just fine. I’ve even used a cast iron skillet in a pinch—it gives the bottoms an extra crispy texture that’s honestly amazing.
Preparation Method
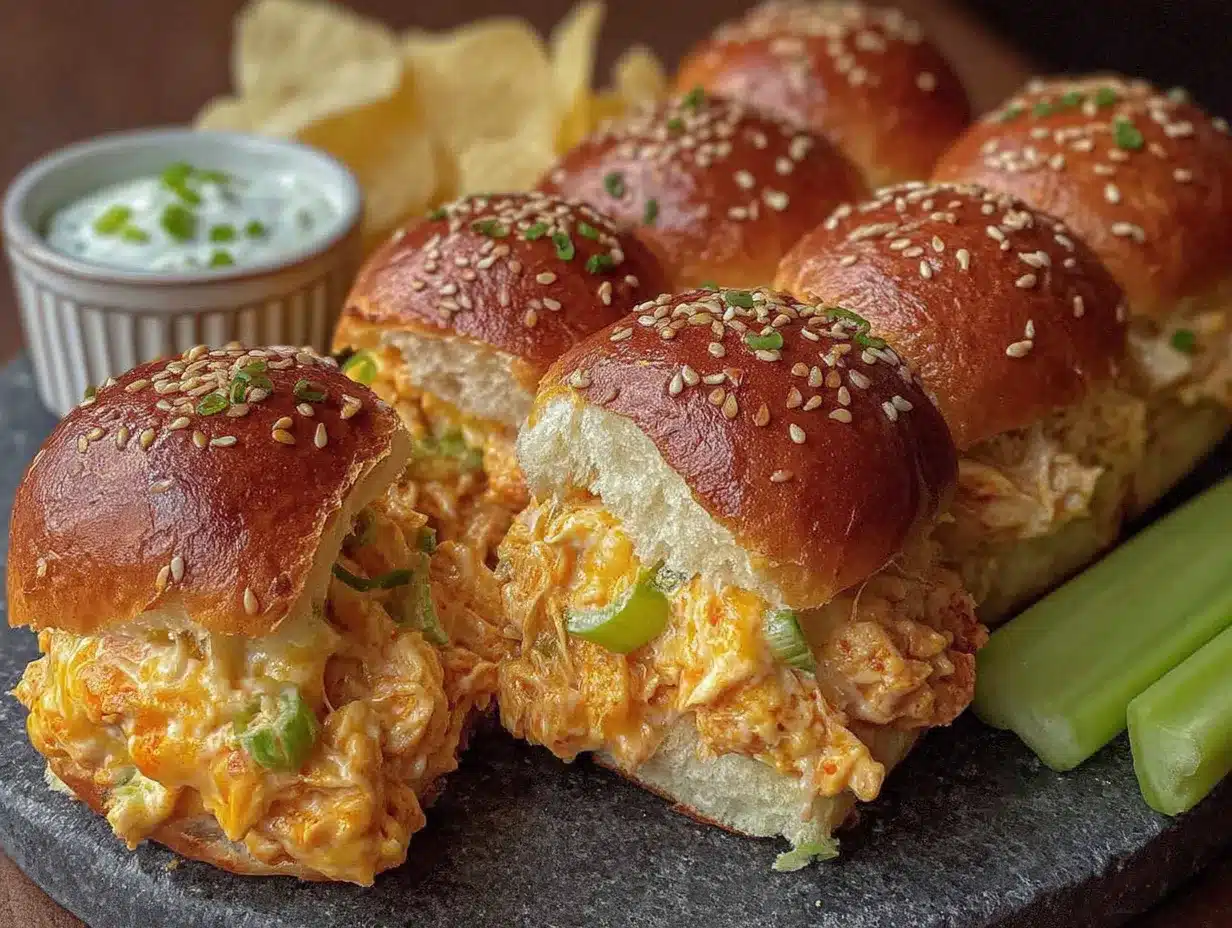
Let’s get cooking! These sliders come together quickly, so I recommend having all your ingredients prepped before you start. Trust me, your future self will thank you.
- Preheat your oven to 350°F (175°C). While the oven heats, grease your 9×13-inch baking dish with a light spray of non-stick cooking spray. This prevents the sliders from sticking and makes cleanup a breeze.
- Prepare the buffalo chicken dip filling. In a medium mixing bowl, combine the softened cream cheese, shredded chicken, buffalo wing sauce, ranch dressing, shredded cheddar cheese, crumbled blue cheese (if using), garlic powder, and onion powder. Mix until everything is well combined and creamy. The mixture should be thick but spreadable. If it seems too thick, add a tablespoon more of ranch dressing. Taste the filling and adjust the seasoning—add more buffalo sauce for extra heat, or a pinch of salt if needed.
- Prep the Hawaiian rolls. Without separating the individual rolls, carefully slice the entire block of 12 rolls in half horizontally. You want one solid top half and one solid bottom half. A long serrated knife works best for this—use a gentle sawing motion to avoid squishing the bread. Place the bottom half of the rolls into your prepared baking dish.
- Assemble the sliders. Spread the buffalo chicken dip filling evenly over the bottom half of the rolls. Don’t be shy—get it into all the nooks and crannies. If you have extra filling, you can pile it a bit higher in the center. Place the top half of the rolls over the filling, pressing down gently to create a nice, compact sandwich.
- Make the garlic butter topping. In a small bowl, combine the melted butter, garlic powder, dried parsley, and onion powder. Whisk until well blended. Brush this mixture generously over the tops of the rolls. Make sure every roll gets some love—the garlic butter is what creates that golden, flavorful crust.
- Add the optional toppings. If you’re using them, sprinkle the crumbled blue cheese or shredded cheddar over the top, followed by the chopped green onions and everything bagel seasoning. This step is optional, but it adds incredible texture and visual appeal.
- Bake covered. Cover the baking dish with aluminum foil and bake for 15 minutes. The foil traps steam, which helps the filling heat through without drying out the rolls. Your kitchen will start smelling incredible about 10 minutes in.
- Bake uncovered. Remove the foil and bake for an additional 5-7 minutes, or until the tops are golden brown and the edges are slightly crispy. The cheese should be bubbly and the filling should be heated through. Keep an eye on them—you want golden, not burnt.
- Rest and serve. Let the sliders rest in the dish for 5 minutes before serving. This allows the filling to set slightly, making them easier to handle. Use a spatula to separate the individual rolls and transfer them to a serving platter. Serve warm with extra ranch or blue cheese dressing on the side for dipping.
Pro Tip: If you’re making these ahead of time, assemble the sliders completely but don’t bake them. Cover and refrigerate for up to 24 hours. When you’re ready to serve, add 5 minutes to the covered baking time to account for the cold filling.
Cooking Tips & Techniques
I’ve made these sliders at least a dozen times (Frank has become a regular taste-tester), and I’ve learned a few things along the way. Here are my best tips for slider success:
Don’t overfill the rolls. I know it’s tempting to pile on the filling, but too much will make the sliders soggy and difficult to eat. Aim for a generous but even layer—about 1/2 inch thick. The filling should be visible but not overflowing.
Let the cream cheese soften completely. This is non-negotiable. Cold cream cheese creates lumps that won’t blend smoothly into the filling. I’ve made this mistake twice (yes, twice) and ended up with a bumpy, uneven mixture. Set your cream cheese out at least 30 minutes before you start, or microwave it in 10-second bursts until soft.
Use a serrated knife for cutting the rolls. Hawaiian rolls are soft and squishy, and a regular knife will crush them. A serrated knife glides through with minimal pressure, keeping your rolls intact and beautiful.
Toast the rolls slightly before filling (optional but brilliant). If you have an extra 5 minutes, place the bottom half of the rolls on a baking sheet and toast them in the oven for 3-4 minutes before adding the filling. This creates a barrier that prevents the bread from getting soggy. It’s a small step that makes a big difference.
Watch the baking time closely. Every oven runs differently. Start checking the sliders at the 20-minute mark. You want the tops golden and the edges crispy, but the centers should still be soft. Overbaking will dry out the rolls and make the filling rubbery.
My biggest failure: The first time I made these, I forgot to cover them with foil. The tops burned while the filling was still cold. Don’t be like me. The foil is essential for even cooking.
Variations & Adaptations
One of the best things about this recipe is how adaptable it is. I’ve experimented with several variations, and each one has been a hit. Here are some of my favorites:
- Spicy Buffalo Sliders: Add 1-2 tablespoons of chopped pickled jalapeños to the filling, and use pepper jack cheese instead of cheddar. Drizzle extra buffalo sauce over the top before baking. These are for the heat seekers in your crowd.
- Smoky Bacon Buffalo Sliders: Cook 4 slices of bacon until crispy, crumble them, and mix half into the filling. Sprinkle the remaining bacon over the top before baking. The smoky flavor pairs perfectly with the tangy buffalo sauce.
- Vegetarian Buffalo Sliders: Substitute the shredded chicken with two 15-ounce cans of chickpeas (drained, rinsed, and mashed) or 2 cups of shredded jackfruit. The texture is different but equally delicious. Add an extra 1/4 cup of shredded cheese to help bind the filling.
- Low-Carb Buffalo Sliders: Skip the Hawaiian rolls and serve the buffalo chicken dip filling in lettuce cups or with celery sticks. It’s not quite the same experience, but the flavor is still spot-on.
- Air Fryer Buffalo Sliders: Assemble the sliders as directed, then place them in an air fryer basket (you may need to work in batches). Cook at 350°F for 5 minutes covered with foil, then 2-3 minutes uncovered. The tops get extra crispy—almost like they’ve been toasted.
My personal favorite variation: The Smoky Bacon Buffalo Sliders. I made these for a potluck last month, and they were gone in 10 minutes. The bacon adds a salty crunch that takes these sliders to another level. Plus, it makes the kitchen smell incredible.
Serving & Storage Suggestions
These sliders are best served warm, straight from the oven. The filling should be hot and gooey, the tops golden and slightly crisp. Here’s how to serve and store them like a pro:
Serving: Arrange the sliders on a large platter with small bowls of extra ranch dressing and blue cheese dressing for dipping. Garnish with extra chopped green onions and a few celery sticks for color and crunch. For a complete game day spread, pair them with classic potato chips, a fresh veggie platter, and plenty of cold beverages. These sliders also work beautifully as a main course—serve two per person with a side salad for a satisfying meal.
Storage: Leftover sliders (if you’re lucky enough to have any) can be stored in an airtight container in the refrigerator for up to 3 days. The filling will firm up as it cools, but the flavors actually meld together beautifully overnight.
Reheating: The best way to reheat these sliders is in the oven. Preheat to 350°F, place the sliders on a baking sheet, cover with foil, and bake for 10-12 minutes. The foil prevents the tops from burning while the filling heats through. You can also reheat them in the microwave, but the rolls will be softer and less crispy. For a quick fix, microwave individual sliders for 30-45 seconds.
Freezing: These sliders freeze surprisingly well. Assemble them completely but don’t bake. Wrap the dish tightly in plastic wrap, then aluminum foil, and freeze for up to 2 months. To bake from frozen, add 10 minutes to the covered baking time, then bake uncovered as directed. The texture is slightly softer, but the flavor is still fantastic.
Flavor Development: Honestly, these sliders taste even better the next day. The flavors have time to meld, and the filling becomes even more cohesive. I’ve been known to make a double batch just so I can have leftovers for lunch.
Nutritional Information & Benefits
Let’s be real—these are indulgent game day sliders, not health food. But that doesn’t mean they can’t fit into a balanced diet. Here’s a rough nutritional breakdown per slider (based on 12 servings):
- Calories: Approximately 320-350
- Protein: 18-20 grams (thanks to the chicken and cheese)
- Fat: 18-22 grams
- Carbohydrates: 22-25 grams
- Fiber: 1-2 grams
- Sugar: 8-10 grams (mostly from the Hawaiian rolls)
Health Benefits: The chicken provides lean protein, which helps keep you full and satisfied. The cream cheese and ranch dressing add calcium, while the buffalo sauce contains capsaicin, which has been linked to metabolism-boosting properties. The green onions add a small dose of vitamins A and C. It’s not a superfood, but it’s not empty calories either.
Dietary Considerations: This recipe contains dairy (cream cheese, cheddar, ranch) and gluten (Hawaiian rolls). For a gluten-free version, use gluten-free slider buns. For a dairy-free version, substitute vegan cream cheese, dairy-free ranch, and vegan cheddar shreds. The texture will be slightly different, but the flavor is still great.
Allergens: This recipe contains milk, wheat, and eggs (in the rolls). Check your specific ingredients for potential allergens.
Conclusion
These Ultimate Buffalo Chicken Dip Stuffed Football Sliders are more than just a recipe—they’re a game day tradition waiting to happen. They’re the dish that makes people gather around the table, reach for seconds, and ask for the recipe before the final play. Whether you’re hosting a Super Bowl party, a tailgate, or just a casual weekend gathering, these sliders deliver every single time.
I love this recipe because it’s forgiving, adaptable, and absolutely delicious. You can make it your own—add more spice, load up on bacon, or keep it classic. The possibilities are endless, and the results are always crowd-pleasing. Plus, every time I make them, I think of Frank and his unexpected culinary wisdom. You never know where inspiration will come from.
So go ahead, give these sliders a try. Make a mess, eat with your hands, and enjoy every saucy, cheesy, buffalo-infused bite. And when your guests start asking for the recipe (trust me, they will), send them my way. I’d love to hear how yours turn out. Drop a comment below, share your photos, and let me know what variations you tried. Happy cooking, and see you at the game!
Frequently Asked Questions
Can I make these buffalo chicken sliders ahead of time?
Absolutely! Assemble the sliders completely but don’t bake them. Cover and refrigerate for up to 24 hours. When you’re ready to serve, add 5 minutes to the covered baking time. This is a great option for busy game days.
Can I use a different type of bread?
Yes, but Hawaiian rolls are ideal because of their soft texture and slight sweetness, which balances the spicy buffalo sauce. If you need a substitute, try brioche slider buns, potato rolls, or even regular dinner rolls. Avoid crusty bread—it doesn’t hold the filling as well.
How can I make the sliders less spicy?
Use a mild buffalo wing sauce or reduce the amount to 1/4 cup. You can also substitute the buffalo sauce with a mixture of melted butter and a small amount of hot sauce. Adding extra ranch dressing or cream cheese also helps mellow the heat.
Can I use pre-made buffalo chicken dip?
Sure! If you have leftover buffalo chicken dip, you can absolutely use it for these sliders. Just make sure it’s at room temperature so it spreads easily. You may need to adjust the baking time slightly since pre-made dip is already cooked.
How do I prevent the sliders from getting soggy?
The key is to not overfill the rolls and to toast the bottom half for 3-4 minutes before adding the filling. Also, make sure your buffalo chicken dip isn’t too runny—if it seems thin, add a little more cream cheese or shredded cheese to thicken it up.
Pin This Recipe!
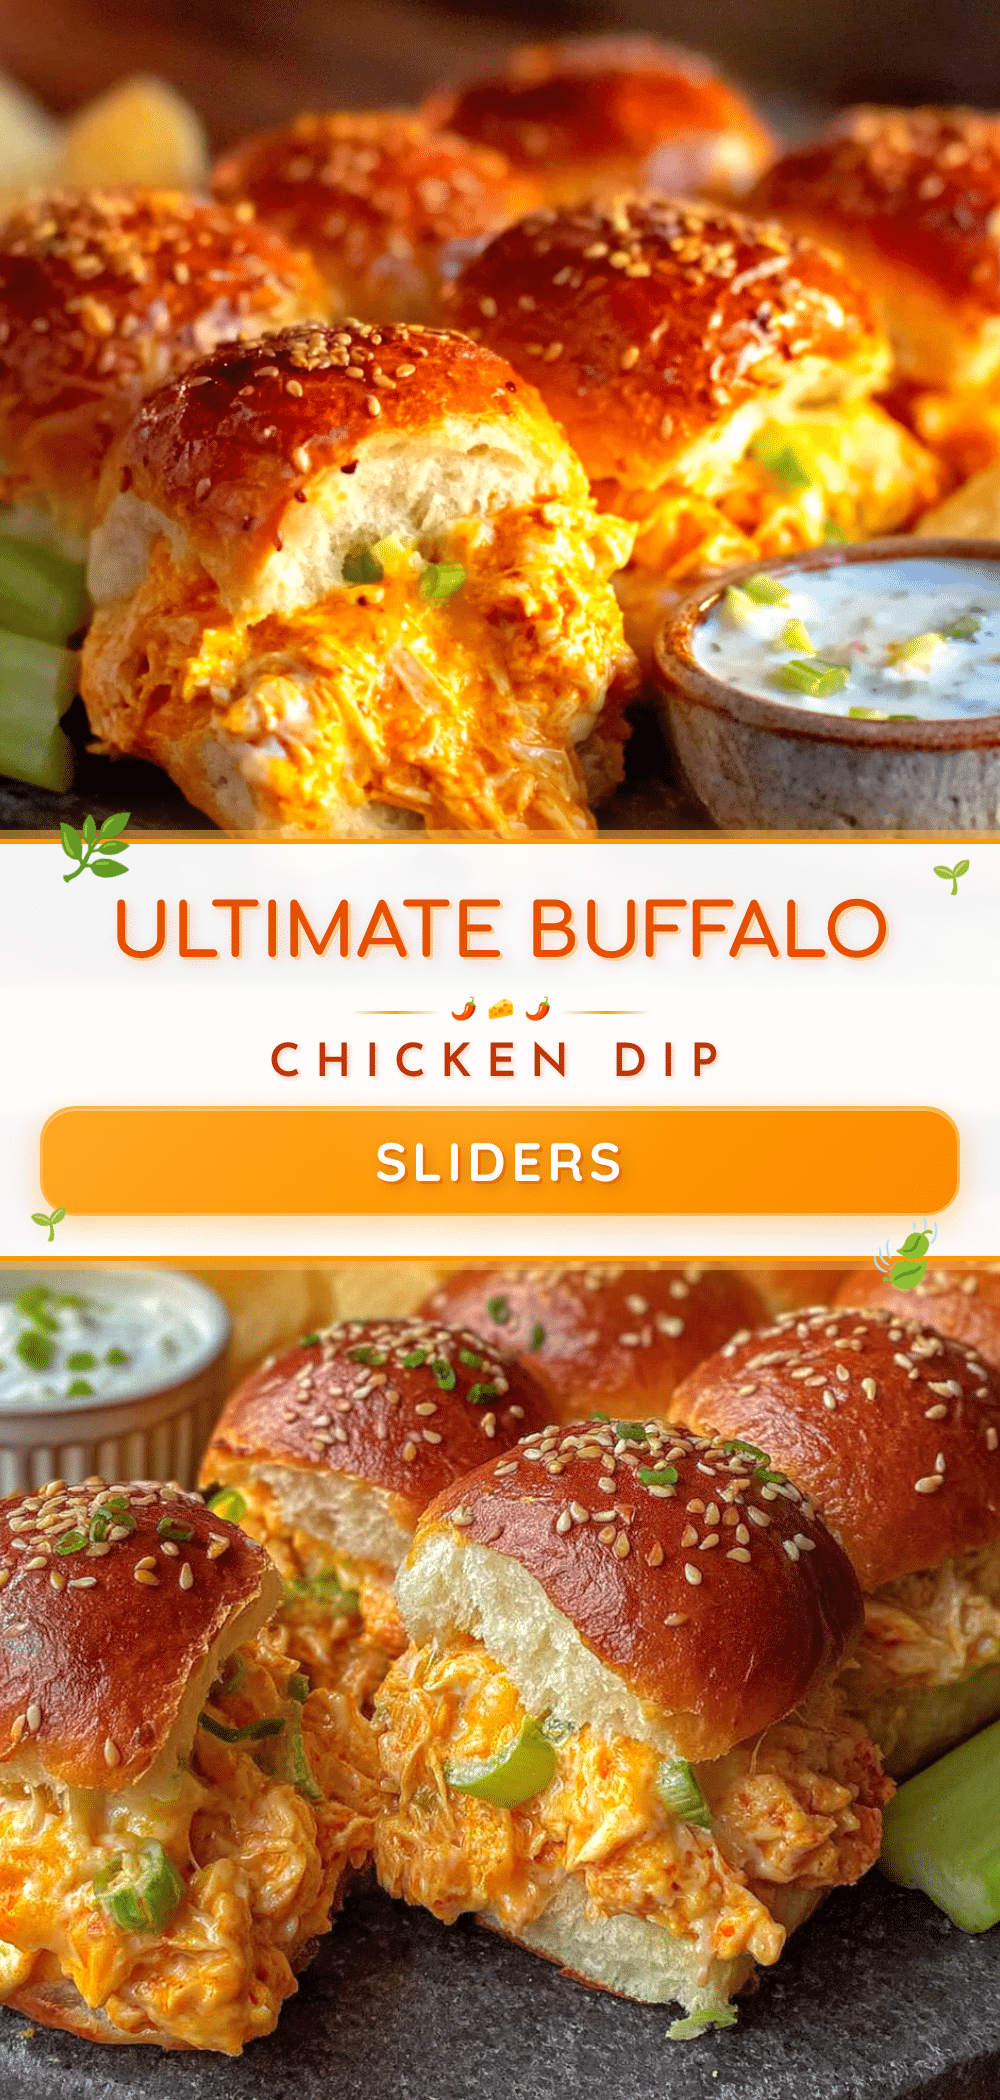
Easy Buffalo Chicken Dip Football Sliders: Perfect Game Day

These Ultimate Buffalo Chicken Dip Stuffed Football Sliders combine everything you love about the classic dip—the creamy tang, the spicy kick, the cool, crunchy finish—all baked right into a soft, buttery slider bun. It’s the perfect hand-held, no-fuss appetizer that disappears faster than you can say ‘touchdown.’
- Prep Time: 15 minutes
- Cook Time: 22 minutes
- Total Time: 37 minutes
- Yield: 12 servings 1x
- Category: Appetizer
- Cuisine: American
Ingredients
- 2 cups cooked, shredded chicken (rotisserie chicken works great)
- 8 oz cream cheese, softened
- 1/2 cup buffalo wing sauce (Frank’s RedHot recommended)
- 1/2 cup ranch dressing (Hidden Valley recommended)
- 1 cup shredded cheddar cheese (sharp cheddar preferred)
- 1/4 cup crumbled blue cheese (optional)
- 1/2 teaspoon garlic powder
- 1/4 teaspoon onion powder
- Salt and black pepper to taste
- 12-count package Hawaiian sweet rolls (King’s Hawaiian recommended)
- 3 tablespoons unsalted butter, melted
- 1 teaspoon garlic powder
- 1 teaspoon dried parsley
- 1/2 teaspoon onion powder
- 1/4 cup crumbled blue cheese or shredded cheddar (for topping, optional)
- 2 tablespoons chopped green onions (for topping, optional)
- 1 tablespoon everything bagel seasoning (for topping, optional)
Instructions
- Preheat your oven to 350°F (175°C). Grease a 9×13-inch baking dish with non-stick cooking spray.
- In a medium mixing bowl, combine the softened cream cheese, shredded chicken, buffalo wing sauce, ranch dressing, shredded cheddar cheese, crumbled blue cheese (if using), garlic powder, and onion powder. Mix until well combined and creamy. Adjust seasoning to taste.
- Without separating the individual rolls, carefully slice the entire block of 12 Hawaiian rolls in half horizontally. Place the bottom half into the prepared baking dish.
- Spread the buffalo chicken dip filling evenly over the bottom half of the rolls. Place the top half over the filling, pressing down gently.
- In a small bowl, combine the melted butter, garlic powder, dried parsley, and onion powder. Brush this mixture generously over the tops of the rolls.
- If using, sprinkle the crumbled blue cheese or shredded cheddar, chopped green onions, and everything bagel seasoning over the top.
- Cover the baking dish with aluminum foil and bake for 15 minutes.
- Remove the foil and bake for an additional 5-7 minutes, or until the tops are golden brown and the edges are slightly crispy.
- Let the sliders rest in the dish for 5 minutes before serving. Use a spatula to separate the individual rolls and transfer to a serving platter. Serve warm with extra ranch or blue cheese dressing for dipping.
Notes
For best results, let cream cheese soften completely before mixing. To prevent sogginess, toast the bottom half of the rolls for 3-4 minutes before adding the filling. If making ahead, assemble completely but do not bake; refrigerate for up to 24 hours and add 5 minutes to covered baking time. For a lighter version, use reduced-fat cream cheese and ranch dressing.
Nutrition
- Serving Size: 1 slider
- Calories: 335
- Sugar: 9
- Sodium: 680
- Fat: 20
- Saturated Fat: 10
- Carbohydrates: 23
- Fiber: 1
- Protein: 19
Keywords: buffalo chicken dip, sliders, game day, football, appetizer, party food, buffalo chicken, Hawaiian rolls


