Love this? Save it for later!
Share the inspiration with your friends
I wasn’t expecting cooking advice from my accountant, but there I was, in his cluttered office during tax season, listening to him describe exactly how to make mac and cheese with butternut squash and bacon. Mr. Henderson, who wore the same gray cardigan every day and had never once asked about my weekend, suddenly started talking about the “best fall casserole you’ll ever eat” while I was signing my quarterly estimated tax forms. Honestly, I almost dropped my pen. He told me his wife made it every October when the leaves started turning, and he insisted it was the one dish that made people forget they were eating vegetables. I scribbled the basic idea on the back of an envelope—right next to a number I hoped the IRS wouldn’t notice.
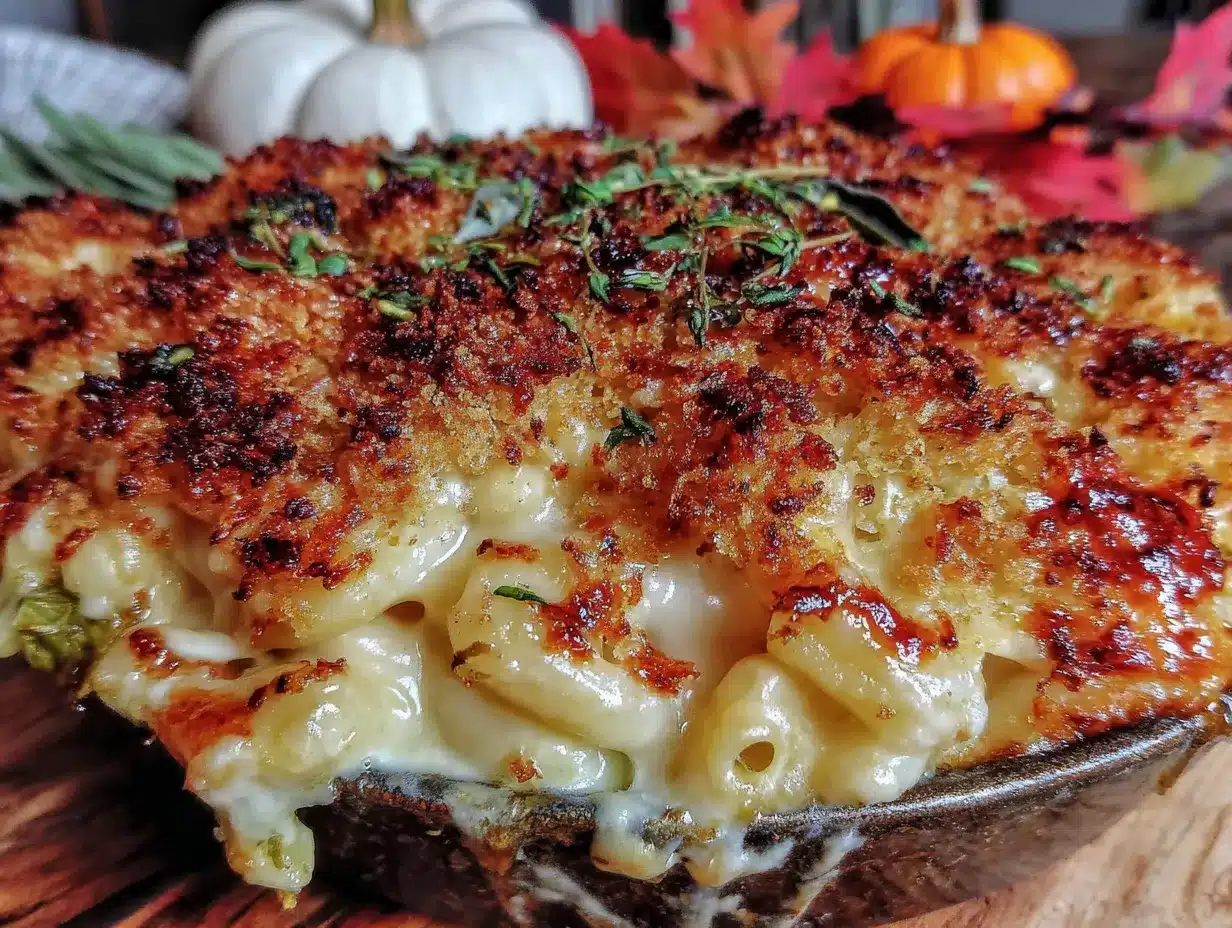
That envelope sat in my purse for two weeks before I finally tried making it. And let me tell you, Mr. Henderson was right. This creamy fall harvest mac and cheese with bacon is the kind of dish that makes you close your eyes after the first bite. The sweet butternut squash melts into the cheese sauce so smoothly you barely know it’s there, and the crispy bacon on top adds this salty crunch that just works. I’ve tweaked his wife’s original idea quite a bit over the years—adding a touch of nutmeg, swapping in smoked gouda, and perfecting the ratio of squash to cheese. But the soul of it? That came from a tax accountant in a cardigan who clearly knew more about comfort food than I ever expected.
Maybe you’ve been there—stuck in an unexpected conversation that ends up changing the way you cook. This recipe feels like that. It’s unexpected, it’s deeply satisfying, and it’s the kind of thing you’ll want to make every single time the weather gets crisp. So grab your biggest pot and let’s get started, because this creamy fall harvest mac and cheese with bacon is about to become your new autumn obsession.
Why You’ll Love This Recipe
This isn’t your average boxed mac and cheese, and it’s not one of those complicated restaurant versions either. This creamy fall harvest mac and cheese with bacon hits that sweet spot between indulgent and approachable. I’ve tested this recipe more times than I care to admit, and it always delivers the same result: pure comfort in a bowl.
- Quick & Easy: From start to finish, this comes together in about 45 minutes. Most of that is hands-off oven time, so you can get other things done while it bakes.
- Simple Ingredients: No fancy grocery trips required. Butternut squash, bacon, cheddar, and pasta are all things you can find at any store without breaking the bank.
- Perfect for Fall Gatherings: This dish is made for Thanksgiving potlucks, cozy Sunday dinners, or those chilly evenings when all you want is something warm and cheesy.
- Crowd-Pleaser: I’ve served this to kids, picky eaters, and food snobs alike. Everyone goes back for seconds. The bacon does some heavy lifting here, I won’t lie.
- Unbelievably Delicious: The combination of creamy squash sauce, sharp cheddar, smoky bacon, and tender pasta is next-level comfort food. It’s the kind of dish that makes you forget it has a vegetable hidden inside.
What makes this version different from all the other fall mac and cheese recipes out there? It’s the technique. Instead of just tossing roasted squash into the sauce, I blend it until it’s completely smooth. That means you get all the sweetness and nutrition of butternut squash without any weird chunks or textures. Plus, I use a mix of sharp cheddar and smoked gouda for a depth of flavor that plain cheddar just can’t match. This isn’t just another recipe—it’s my best version after years of tweaking and tasting.
This creamy fall harvest mac and cheese with bacon is the kind of meal that makes you feel like you’ve got it all together. It’s impressive enough for guests but simple enough for a Tuesday night. And honestly, anything that makes a Tuesday night feel special is worth keeping around.
What Ingredients You Will Need
This recipe uses simple, wholesome ingredients to deliver bold flavor and satisfying texture without the fuss. Most of these are pantry staples or easy fall finds, and I’ve included notes on substitutions where they work well.
For the Mac and Cheese Base
- 1 pound elbow macaroni (or cavatappi, shells, or any short pasta you prefer)
- 4 cups butternut squash, peeled and cubed into 1-inch pieces (about 1 medium squash)
- 6 slices thick-cut bacon (I prefer Wright Brand or Applewood smoked for best flavor)
- 2 tablespoons unsalted butter
- 1 small yellow onion, finely diced (about 1 cup)
- 3 cloves garlic, minced
- 2 tablespoons all-purpose flour (use gluten-free 1:1 blend if needed)
- 2 cups whole milk (warmed slightly—this prevents lumps)
- 1 cup heavy cream (adds richness; half-and-half works too)
- 2 cups sharp cheddar cheese, shredded (freshly shredded melts better than pre-shredded)
- 1 cup smoked gouda cheese, shredded (adds that irresistible smoky depth)
- 1 teaspoon salt, plus more for pasta water
- ½ teaspoon black pepper
- ¼ teaspoon nutmeg (freshly grated if possible—it makes a difference)
- ½ teaspoon smoked paprika (optional, but I love the extra smokiness)
For the Topping
- ½ cup panko breadcrumbs (regular or gluten-free)
- 2 tablespoons unsalted butter, melted
- ¼ cup grated parmesan cheese
- 2 tablespoons fresh parsley, chopped (for garnish, optional)
Ingredient Tips: Look for butternut squash that feels heavy for its size and has a firm, tan-colored skin. If you’re short on time, pre-cut squash from the produce section works great. For the cheese, I really recommend shredding it yourself. Pre-shredded cheese has anti-caking agents that prevent it from melting smoothly, and we want that silky, creamy texture. Also, don’t skip the nutmeg—it sounds weird, but it brings out the sweetness of the squash and adds a warmth that makes this taste like fall in a bowl.
Equipment Needed
You don’t need a professional kitchen to make this creamy fall harvest mac and cheese with bacon, but a few key tools will make your life easier.
- Large pot (at least 5 quarts) for boiling pasta
- Medium saucepan for making the cheese sauce
- Baking sheet for roasting the squash and bacon
- 9×13-inch baking dish (or similar 3-quart casserole dish)
- Blender or immersion blender for pureeing the squash (a regular blender works, just let the squash cool slightly first)
- Cheese grater (box grater or Microplane—avoid pre-shredded cheese)
- Whisk for making a smooth roux
- Wooden spoon or silicone spatula for stirring
- Measuring cups and spoons
If you don’t have a blender, you can mash the roasted squash with a potato masher or fork until smooth. It won’t be quite as silky, but it’ll still taste amazing. I’ve done it both ways, and honestly, the flavor is the same. Also, if you don’t have a 9×13 dish, you can use a 10-inch cast-iron skillet or even two smaller baking dishes. Just adjust the baking time slightly if the dish is shallower.
Preparation Method
Let’s get cooking! This recipe has a few steps, but I promise they’re all straightforward. Take it one step at a time, and you’ll have a gorgeous, bubbling dish of creamy fall harvest mac and cheese with bacon before you know it.
Step 1: Roast the Squash and Bacon
Preheat your oven to 400°F (200°C). Line a baking sheet with parchment paper or foil for easy cleanup. Spread the cubed butternut squash in a single layer on one half of the sheet. Drizzle with 1 tablespoon of olive oil and a pinch of salt, then toss to coat. Place the bacon slices on the other half of the sheet, making sure they don’t overlap. Roast for 20-25 minutes, flipping the bacon halfway through, until the squash is fork-tender and the bacon is crispy. The squash should be golden on the edges but not burnt. Let both cool slightly, then chop the bacon into small pieces. Set aside.
Step 2: Cook the Pasta
While the squash and bacon roast, bring a large pot of salted water to a rolling boil. Add the elbow macaroni and cook according to package directions until al dente—usually about 7-8 minutes. You want it firm because it will continue cooking in the oven later. Drain the pasta, but don’t rinse it. The starch left on the noodles helps the sauce stick. Set the pasta aside in the colander.
Step 3: Make the Squash Puree
Transfer the roasted butternut squash to a blender or food processor. Add ½ cup of the warm milk and blend until completely smooth. You should have about 2 cups of puree. If it’s too thick, add another tablespoon of milk. The texture should be like a thick soup. Set aside. (Pro tip: if you’re using an immersion blender, you can do this right in a bowl. Less cleanup!)
Step 4: Build the Cheese Sauce
In a medium saucepan over medium heat, melt the 2 tablespoons of butter. Add the finely diced onion and cook for 4-5 minutes until soft and translucent. Don’t rush this step—raw onion flavor in your mac and cheese is not the vibe. Add the minced garlic and cook for another 30 seconds until fragrant. Sprinkle the flour over the onion mixture and whisk constantly for 1 minute. This cooks out the raw flour taste and creates a roux that will thicken your sauce.
Slowly pour in the warm milk and heavy cream while whisking continuously. Keep whisking until the mixture thickens slightly, about 3-4 minutes. It should coat the back of a spoon. Now add the squash puree and whisk until fully incorporated. The sauce will turn a beautiful golden-orange color.
Step 5: Add the Cheese
Reduce the heat to low. Add the shredded cheddar and smoked gouda cheese one handful at a time, stirring gently after each addition until melted. Don’t rush this, and don’t turn up the heat—high heat can make the cheese sauce grainy. Once all the cheese is melted, stir in the salt, pepper, nutmeg, and smoked paprika. Taste it. Maybe add a pinch more salt? I often do. The sauce should be creamy, cheesy, and just slightly sweet from the squash.
Step 6: Assemble the Casserole
Preheat your oven to 375°F (190°C). In a large bowl, combine the cooked pasta and the cheese sauce. Stir until every noodle is coated. Fold in half of the chopped bacon, reserving the rest for the topping. Pour the mixture into a greased 9×13-inch baking dish and spread it evenly.
Step 7: Make the Topping and Bake
In a small bowl, mix the panko breadcrumbs, melted butter, and grated parmesan cheese. Sprinkle this mixture evenly over the top of the mac and cheese. Scatter the remaining bacon pieces over the breadcrumbs. Bake for 20-25 minutes, until the top is golden brown and the edges are bubbly. If you want an extra-crispy topping, switch the oven to broil for the last 2 minutes—but watch it closely so it doesn’t burn. Let the dish rest for 5 minutes before serving. This helps the sauce set up so it’s creamy, not runny.
Cooking Tips & Techniques
I’ve made this creamy fall harvest mac and cheese with bacon at least a dozen times, and I’ve learned a few things the hard way. Here are my best tips to make sure yours turns out perfect every time.
Don’t overcook the pasta. This is probably the most common mistake. If you cook the noodles until they’re fully tender, they’ll turn mushy after baking. Aim for al dente—firm with a tiny white dot in the center when you bite one. The pasta will finish cooking in the oven and absorb some of that lovely sauce.
Warm your milk and cream. Cold liquid added to a hot roux can cause lumps. I microwave my milk for about 45 seconds before adding it. It’s a small step that makes a big difference in the smoothness of your sauce.
Shred your own cheese. I know I’ve said this already, but it’s worth repeating. Pre-shredded cheese has cellulose powder that prevents clumping, and it also prevents smooth melting. Your sauce will be much creamier with freshly shredded cheese. It takes an extra 3 minutes—just do it.
Toast the panko first. For an even crunchier topping, you can toast the panko in a dry skillet for 2-3 minutes before mixing it with butter and parmesan. This adds a nutty flavor and ensures the topping stays crispy even if the casserole sits for a bit.
Let it rest. I know it’s hard to wait when your kitchen smells like bacon and cheese, but letting the dish rest for 5-10 minutes after baking is crucial. The sauce will thicken slightly as it cools, giving you that perfect creamy texture instead of a soupy mess.
Variations & Adaptations
One of the best things about this creamy fall harvest mac and cheese with bacon is how adaptable it is. Here are some ways to make it your own.
Vegetarian Version: Simply omit the bacon and add 1 cup of roasted mushrooms or caramelized onions for that same savory depth. I’ve done this for friends who don’t eat meat, and they loved it. The smoked gouda still gives you that smoky flavor.
Gluten-Free Adaptation: Use gluten-free pasta (I like the brown rice and quinoa blends) and substitute the all-purpose flour with a gluten-free 1:1 baking flour. The panko can be swapped for gluten-free breadcrumbs or crushed pork rinds for a low-carb option.
Add More Veggies: This is a great way to clean out your fridge. Add 1 cup of roasted Brussels sprouts leaves, chopped kale (stirred in just before baking), or even roasted sweet potatoes alongside the squash. Mushrooms, as I mentioned, are also fantastic.
Spicy Twist: Add ½ teaspoon of red pepper flakes to the cheese sauce, or use pepper jack cheese instead of some of the cheddar. The heat pairs beautifully with the sweet squash and smoky bacon.
Make It a Meal: Stir in 2 cups of shredded rotisserie chicken or leftover pulled pork before baking. This turns it into a hearty one-dish dinner that’s perfect for feeding a crowd.
I once tried a version with caramelized leeks instead of onion, and it was incredible. The leeks add a subtle sweetness that complements the squash perfectly. Don’t be afraid to experiment—this recipe is forgiving!
Serving & Storage Suggestions
This creamy fall harvest mac and cheese with bacon is best served hot, straight from the oven, when the cheese is still gooey and the topping is crispy. But it’s also pretty amazing the next day, if you have any left.
Serving Temperature: Serve it warm, not piping hot. Let it rest for 5 minutes after baking, then scoop it into bowls. The texture is best when it’s had a moment to settle.
What to Serve With It: A simple green salad with a tangy vinaigrette is the perfect counterpoint to all that richness. I also love serving it with roasted broccoli or green beans. For drinks, a crisp apple cider or a light beer like a pilsner works great.
Storage: Leftovers can be stored in an airtight container in the refrigerator for up to 4 days. The topping will lose some of its crunch, but the flavor will still be amazing. To reheat, place individual portions in the microwave for 1-2 minutes, or reheat the whole dish in a 350°F oven for 15-20 minutes, covered with foil.
Freezing Instructions: This dish freezes beautifully. Assemble the mac and cheese completely, but don’t bake it. Cover the dish tightly with plastic wrap and then foil, and freeze for up to 3 months. When you’re ready to eat, thaw it in the refrigerator overnight, then bake as directed, adding 10-15 minutes to the cooking time since you’re starting from cold.
Flavor Development: Honestly, this mac and cheese tastes even better the next day. The flavors meld together overnight, and the squash sweetness becomes more pronounced. If you can resist eating it all on day one, you’re in for a treat on day two.
Nutritional Information & Benefits
Let’s be real—this is indulgent food. But it also has some surprising nutritional benefits, thanks to the butternut squash.
Per serving (about 1 cup, based on 8 servings):
- Calories: 520
- Protein: 22g
- Fat: 28g
- Carbohydrates: 48g
- Fiber: 4g
- Sugar: 8g
- Sodium: 680mg
Health Highlights: Butternut squash is packed with vitamin A (over 450% of your daily needs per cup), vitamin C, and fiber. The squash also adds natural sweetness, which means you can use less salt and still get great flavor. Bacon, in moderation, provides protein and B vitamins. And cheese? Well, it’s a good source of calcium and protein. Everything in balance, right?
Dietary Considerations: This recipe is not gluten-free or dairy-free as written, but I’ve included substitution notes above. It’s also relatively low in added sugar—most of the sweetness comes from the squash itself.
I’m not a nutritionist, but I believe in enjoying food without guilt. This creamy fall harvest mac and cheese with bacon is comfort food, plain and simple. It’s meant to be savored, shared, and maybe even leftovers for breakfast. No judgment here.
Conclusion
This creamy fall harvest mac and cheese with bacon is more than just a recipe—it’s a reminder that the best dishes often come from the most unexpected places. A tax accountant in a cardigan taught me that, and I’m so glad he did. Every time I make this, I think about that cluttered office and the envelope scribbled with notes. It’s become my go-to for fall gatherings, cozy nights in, and any time I need a little comfort.
I hope you make this your own. Add extra bacon if that’s your thing. Swap in your favorite cheese. Serve it with a side of roasted Brussels sprouts or a big glass of apple cider. The beauty of this recipe is that it’s a starting point—a delicious, creamy, bacon-filled starting point.
When you make it, I’d love to hear how it turned out. Did you add something unexpected? Did your family fight over the last scoop? Leave a comment below and tell me all about it. And if you’re looking for more cozy fall recipes, check out my creamy butternut squash soup or these crispy bacon-wrapped green beans—they pair perfectly with this mac and cheese. Happy cooking, friends!
Frequently Asked Questions
Can I use frozen butternut squash instead of fresh?
Absolutely! Frozen butternut squash works perfectly in this recipe. Just thaw it first, pat it dry to remove excess moisture, and roast it as directed. You may need to add 5-10 minutes to the roasting time since frozen squash has more water content.
Why did my cheese sauce turn out grainy?
Grainy cheese sauce usually happens when the heat is too high or the cheese is added too quickly. Always melt cheese over low heat, and add it gradually while stirring constantly. Also, using pre-shredded cheese with anti-caking agents can cause graininess. Stick with freshly shredded cheese for the smoothest result.
Can I make this ahead of time for a party?
Yes! You can assemble the entire dish (without the topping) up to 24 hours in advance. Cover and refrigerate. When you’re ready to bake, add the topping and bake for 30-35 minutes at 375°F, since you’re starting from cold. You might need to add 10 extra minutes to ensure it’s heated through.
Can I use a different type of squash?
Sure thing! Kabocha, acorn, or even pumpkin will work well. Keep in mind that different squashes have different moisture levels and sweetness. Kabocha is very sweet and creamy, while acorn squash is a bit more fibrous. Adjust the milk slightly if the puree seems too thin or too thick.
How do I make the topping extra crispy?
For the crispiest topping, toast the panko breadcrumbs in a dry skillet over medium heat for 2-3 minutes before mixing them with butter and parmesan. Also, don’t skip the broil at the end—just watch it like a hawk so it doesn’t burn. And make sure your bacon is extra crispy before adding it to the top.
Pin This Recipe!
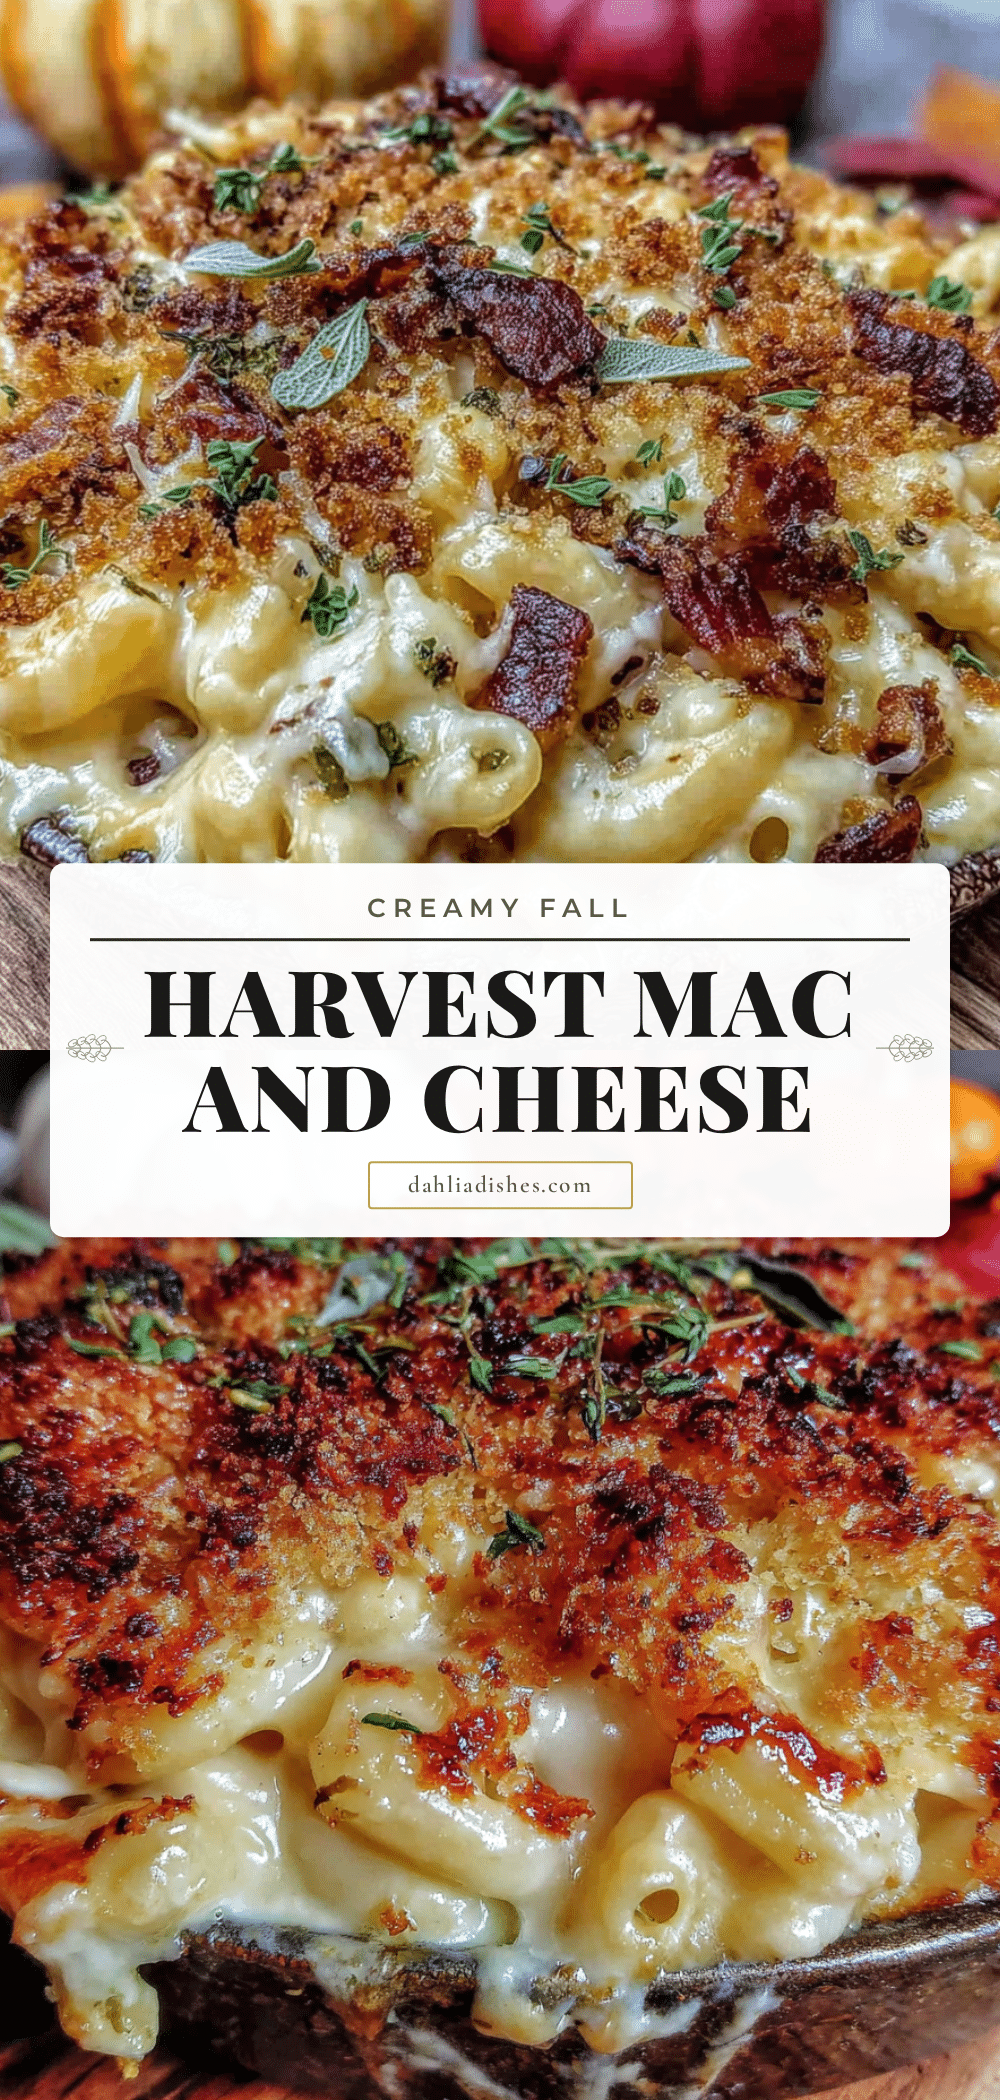
Creamy Fall Harvest Mac and Cheese with Bacon

This creamy fall harvest mac and cheese with bacon combines sweet butternut squash, sharp cheddar, and smoky gouda for a deeply satisfying comfort dish. It’s perfect for cozy fall dinners and holiday gatherings.
- Prep Time: 15 minutes
- Cook Time: 45 minutes
- Total Time: 1 hour
- Yield: 8 servings 1x
- Category: Main Course
- Cuisine: American
Ingredients
- 1 pound elbow macaroni (or cavatappi, shells, or any short pasta)
- 4 cups butternut squash, peeled and cubed into 1-inch pieces (about 1 medium squash)
- 6 slices thick-cut bacon (preferably Wright Brand or Applewood smoked)
- 2 tablespoons unsalted butter
- 1 small yellow onion, finely diced (about 1 cup)
- 3 cloves garlic, minced
- 2 tablespoons all-purpose flour (use gluten-free 1:1 blend if needed)
- 2 cups whole milk, warmed
- 1 cup heavy cream (half-and-half works too)
- 2 cups sharp cheddar cheese, shredded (freshly shredded)
- 1 cup smoked gouda cheese, shredded
- 1 teaspoon salt, plus more for pasta water
- ½ teaspoon black pepper
- ¼ teaspoon nutmeg (freshly grated if possible)
- ½ teaspoon smoked paprika (optional)
- ½ cup panko breadcrumbs (regular or gluten-free)
- 2 tablespoons unsalted butter, melted (for topping)
- ¼ cup grated parmesan cheese
- 2 tablespoons fresh parsley, chopped (for garnish, optional)
Instructions
- Preheat oven to 400°F (200°C). Line a baking sheet with parchment paper or foil. Spread cubed butternut squash on one half of the sheet, drizzle with 1 tablespoon olive oil and a pinch of salt, and toss to coat. Place bacon slices on the other half. Roast for 20-25 minutes, flipping bacon halfway, until squash is fork-tender and bacon is crispy. Let cool slightly, then chop bacon into small pieces. Set aside.
- While squash and bacon roast, bring a large pot of salted water to a boil. Cook elbow macaroni according to package directions until al dente (about 7-8 minutes). Drain, but do not rinse. Set aside.
- Transfer roasted butternut squash to a blender or food processor. Add ½ cup of the warm milk and blend until completely smooth. You should have about 2 cups of puree. Set aside.
- In a medium saucepan over medium heat, melt 2 tablespoons butter. Add diced onion and cook for 4-5 minutes until soft and translucent. Add minced garlic and cook for 30 seconds until fragrant. Sprinkle flour over the onion mixture and whisk constantly for 1 minute.
- Slowly pour in the warm milk and heavy cream while whisking continuously. Continue whisking until the mixture thickens slightly, about 3-4 minutes. Add the squash puree and whisk until fully incorporated.
- Reduce heat to low. Add shredded cheddar and smoked gouda cheese one handful at a time, stirring gently after each addition until melted. Stir in salt, pepper, nutmeg, and smoked paprika. Taste and adjust seasoning if needed.
- Preheat oven to 375°F (190°C). In a large bowl, combine cooked pasta and cheese sauce. Stir until every noodle is coated. Fold in half of the chopped bacon, reserving the rest for topping. Pour mixture into a greased 9×13-inch baking dish and spread evenly.
- In a small bowl, mix panko breadcrumbs, melted butter, and grated parmesan cheese. Sprinkle evenly over the mac and cheese. Scatter remaining bacon pieces over the breadcrumbs.
- Bake for 20-25 minutes, until top is golden brown and edges are bubbly. For extra-crispy topping, broil for the last 2 minutes, watching closely. Let rest for 5 minutes before serving.
Notes
For the smoothest sauce, shred your own cheese and warm the milk and cream before adding. Let the dish rest for 5-10 minutes after baking to allow the sauce to set. Leftovers can be stored in an airtight container in the refrigerator for up to 4 days. To freeze, assemble without baking, cover tightly, and freeze for up to 3 months; thaw overnight in the refrigerator before baking, adding 10-15 minutes to the cooking time.
Nutrition
- Serving Size: 1 cup
- Calories: 520
- Sugar: 8
- Sodium: 680
- Fat: 28
- Carbohydrates: 48
- Fiber: 4
- Protein: 22
Keywords: mac and cheese, butternut squash, bacon, fall recipe, comfort food, casserole, creamy


