Love this? Save it for later!
Share the inspiration with your friends
The neighborhood block party was in less than two hours and I had completely blanked on bringing dessert. Everyone else would be showing off multi-layered cakes and intricate pies that probably took days to prep. Meanwhile, I had a random assortment of ingredients in my fridge and a pan that hadn’t seen much action in weeks. Honestly, I was eyeing the clock with mild panic and wondering if I could just bring a bag of chips instead.
Then it hit me—why not whip up something quick, festive, and simple? I remembered a playful idea I’d jotted down months ago: cheesecake bars with a flag design. Nothing too fancy, but with a bright, patriotic twist perfect for the 4th of July vibe. I threw together what I had—cream cheese, a bit of sugar, some fresh berries—and in less than an hour, those easy patriotic cheesecake bars were cooling on the counter, proudly bearing their red, white, and blue colors.
Maybe you’ve been there too—the last-minute scramble, the feeling of “I don’t have time for this,” and yet somehow pulling off a crowd-pleaser that everyone asks about anyway. I mean, these bars might look like they took a ton of effort, but honestly, they’re the kind of recipe that stays with you because it’s both fuss-free and fun. It’s perfect for when you want something sweet, celebratory, and just a little bit special without the stress. Let me tell you, these cheesecake bars have become my secret weapon for any last-minute summer party—and I’m betting they’ll be yours too.
Why You’ll Love This Recipe
Having tested dozens of cheesecake and dessert recipes over the years—some successful, some complete flops—I can say with confidence that these easy patriotic cheesecake bars hit the sweet spot between simplicity and wow factor. Here’s why you’ll want to keep this recipe handy:
- Quick & Easy: Ready in under 90 minutes, these bars are perfect for busy days or last-minute get-togethers.
- Simple Ingredients: No exotic items needed—you probably have most of these in your pantry or fridge already.
- Perfect for 4th of July: Their festive red, white, and blue design makes them ideal for Independence Day celebrations, backyard barbecues, or any patriotic event.
- Crowd-Pleaser: The creamy texture and fresh fruit toppings appeal to kids and adults alike, often disappearing faster than expected.
- Unbelievably Delicious: The buttery crust paired with tangy cheesecake filling and juicy berries provides a perfect balance of flavors and textures.
This recipe isn’t just another cheesecake bar—it’s the one I keep going back to because of a few special touches. For instance, I like to swirl a little vanilla into the cream cheese mixture for that extra depth, and I carefully layer the blueberries and strawberries to create a neat flag pattern that’s surprisingly simple but so visually impactful. Honestly, it’s that kind of dessert that makes you pause and savor the moment.
Whether you’re trying to impress guests without breaking a sweat or just looking for a sweet treat that feels festive and fresh, these cheesecake bars deliver every time.
What Ingredients You Will Need
This recipe relies on straightforward, wholesome ingredients that come together beautifully to create a vibrant and tasty dessert. Most are pantry staples or fresh produce that you can easily find at the store.
- For the Crust:
- 1 ½ cups graham cracker crumbs (about 10 full sheets, finely crushed; I prefer Honey Maid for that perfect crunch)
- 6 tablespoons unsalted butter, melted (adds richness and binds the crust)
- 2 tablespoons granulated sugar (balances the buttery flavor)
- For the Cheesecake Filling:
- 16 ounces (450g) cream cheese, softened (use full-fat for best texture and flavor)
- ⅔ cup granulated sugar
- 2 large eggs, room temperature
- 1 teaspoon pure vanilla extract (this little touch makes a big difference)
- ½ cup sour cream (helps keep the filling creamy and smooth)
- For the Flag Design Topping:
- 1 cup fresh strawberries, sliced (for the red stripes)
- 1 cup fresh blueberries (for the blue rectangle)
- Powdered sugar for dusting (optional, adds a delicate finish)
If you want to swap things up, almond flour works fine for the crust if you need gluten-free options. Also, Greek yogurt can replace sour cream if that’s what you have on hand. In summer, I sometimes swap strawberries with raspberries for a slightly different flavor profile, and it still looks great. Just remember to pick firm, ripe berries so they don’t turn mushy on top of the cheesecake.
Equipment Needed
- 9×9-inch (23×23 cm) baking pan – ideally with removable sides for easy bar removal
- Mixing bowls – one large for batter, one medium for crust
- Electric mixer or handheld mixer – to beat cream cheese smooth and fluffy
- Measuring cups and spoons – for accuracy
- Rubber spatula – to scrape down sides of the bowl and spread batter evenly
- Knife and cutting board – to slice strawberries neatly
- Aluminum foil – to tent the pan during baking if needed
If you don’t have a stand mixer, a handheld mixer works just fine—just be patient while smoothing out the cream cheese lumps. I once tried hand-mixing this recipe and learned the hard way it takes quite a workout! Also, a springform pan can be used, but I like the square pan for easy, uniform cheesecake bars. For budget-conscious cooks, a sturdy glass baking dish is a great alternative.
Preparation Method
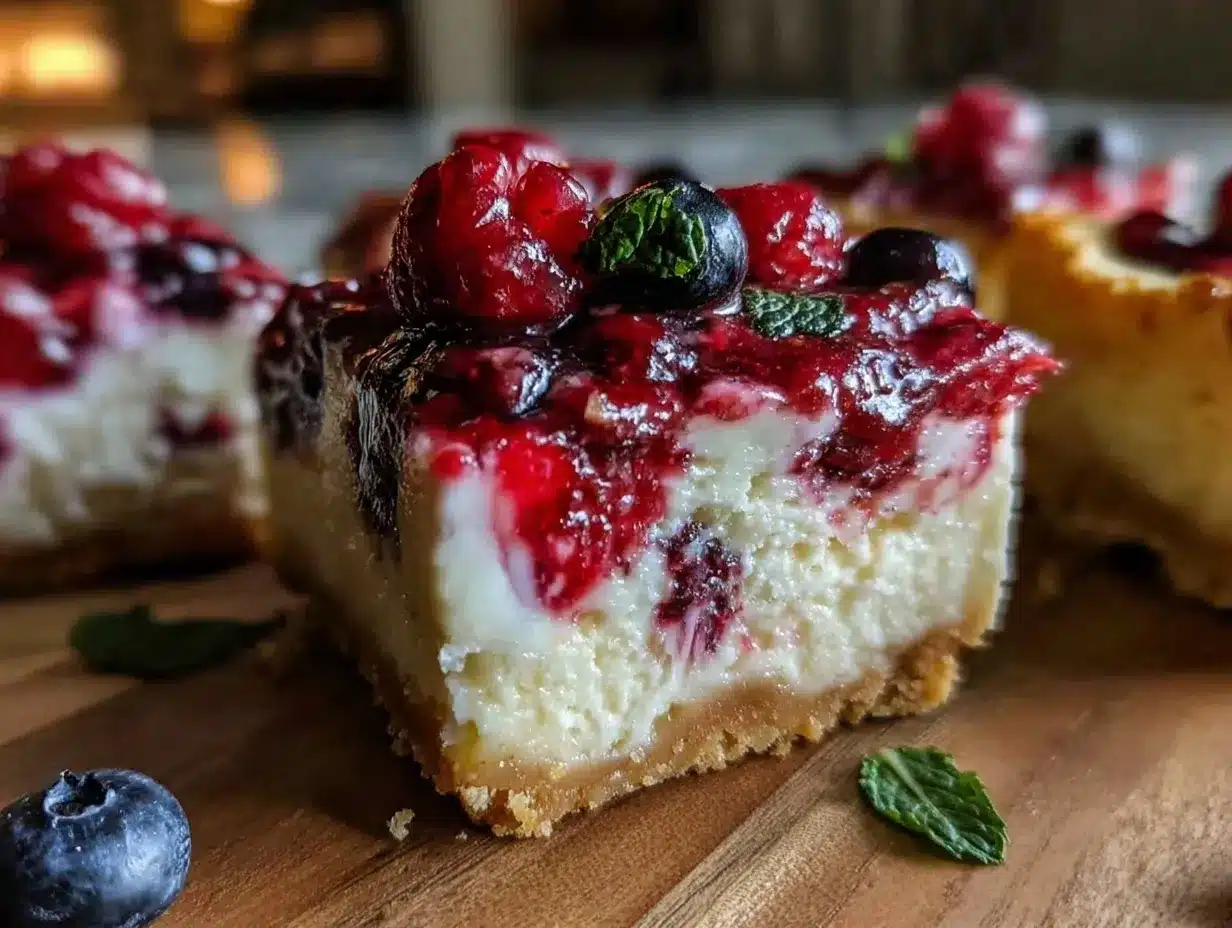
- Preheat your oven to 325°F (163°C). Line your 9×9 pan with parchment paper, leaving an overhang on the sides to help lift bars out later. This makes cleanup and serving a breeze. (5 minutes)
- Make the crust: In a medium bowl, combine 1 ½ cups graham cracker crumbs, 6 tablespoons melted butter, and 2 tablespoons sugar. Stir until the mixture resembles wet sand. Press it firmly into the bottom of the prepared pan in an even layer. Use the bottom of a measuring cup to really pack it down tight—this prevents crumbling later. (10 minutes)
- Bake the crust: Pop the pan into the oven and bake for 10 minutes until it’s lightly golden and smells toasty. Remove and let it cool slightly while you prepare the filling. (10 minutes)
- Prepare the cheesecake filling: In a large mixing bowl, beat 16 ounces softened cream cheese with ⅔ cup sugar until smooth and fluffy—no lumps! Add 2 eggs one at a time, mixing well after each addition. Stir in 1 teaspoon vanilla extract and ½ cup sour cream until just combined. Be careful not to overmix, or you’ll get air bubbles that cause cracks. (10 minutes)
- Pour the filling over the crust: Spread it evenly with a spatula. You want a smooth, flat surface to create your flag design later. (5 minutes)
- Bake the cheesecake: Bake at 325°F (163°C) for 35 to 40 minutes, until the edges are set but the center still jiggles slightly when you gently shake the pan. Don’t overbake or it’ll dry out. (35-40 minutes)
- Cool the cheesecake: Remove from oven and let it cool completely at room temperature, then refrigerate for at least 3 hours or overnight. This step is crucial for clean slicing and that creamy texture we all love. (3+ hours)
- Create the flag design: Arrange sliced strawberries in neat horizontal rows across two-thirds of the top for the red and white stripes. Fill the top-left corner with blueberries to form the blue rectangle. Keep the fruit tight but not overcrowded to maintain the pattern’s clarity. (10-15 minutes)
- Optional: Dust lightly with powdered sugar for a festive touch, then slice into bars and serve chilled. Enjoy the oohs and aahs at your party! (5 minutes)
Pro tip: If your cream cheese is too cold, you’ll get lumps—trust me, I learned this the hard way when I was rushing and didn’t wait long enough. Also, slicing the bars cold helps prevent the fruit from sliding off and keeps clean edges.
Cooking Tips & Techniques
Here are some insider tips I’ve picked up from making these cheesecake bars multiple times (sometimes the hard way):
- Room temperature ingredients matter: Softened cream cheese and eggs mix more smoothly and give a better texture. Cold ingredients cause lumps and uneven baking.
- Don’t overmix your batter: Overbeating introduces air bubbles that cause cracks or holes in your cheesecake. Mix just until combined.
- Use parchment paper in the pan: It’s a game-changer for easy removal and neat slices without sticking.
- Watch your bake time closely: Oven temperatures vary, so start checking at 35 minutes. The center should jiggle gently but not be liquid.
- Fruit placement is all about balance: Arrange berries gently so they don’t bruise or bleed color into the cheesecake. I use a small spoon to place them carefully.
- Chill fully before cutting: Patience here pays off with perfect bars that hold their shape and flavor.
I once rushed the chilling step (because who hasn’t?), and the bars fell apart—lesson learned! Also, if your crust feels too crumbly, add an extra tablespoon of melted butter next time. It’s those little adjustments that make the difference between good and great.
Variations & Adaptations
Feeling creative? There are plenty of ways to tweak this recipe to suit your taste or dietary needs:
- Gluten-Free: Swap graham cracker crumbs for gluten-free cookies or almond flour mixed with a bit of coconut sugar.
- Vegan Option: Use dairy-free cream cheese and sour cream alternatives, plus a flax egg in place of eggs. Baking time might vary slightly.
- Berry Mix-Up: Try raspberries and blackberries instead of strawberries and blueberries for a different berry flavor and color palette.
- Mini Cheesecake Bars: Use a mini muffin tin and bake for 18-22 minutes to make individual servings perfect for potlucks.
- Citrus Twist: Add 1 tablespoon lemon or lime zest to the cheesecake batter for a refreshing zing that brightens the flavor.
Personally, swapping in fresh raspberries for the red stripes gave a lovely tart contrast that my family adored last summer. Switching up the fruit also keeps this dessert feeling fresh year after year.
Serving & Storage Suggestions
These cheesecake bars are best served chilled, straight from the fridge. The cool cream cheese filling paired with fresh berries is a refreshing treat on warm summer days. For presentation, arrange the bars on a bright white platter to make those reds and blues pop, and maybe add some fresh mint leaves on the side for a little color contrast.
They pair beautifully with iced tea, lemonade, or a light sparkling wine if you’re celebrating. For a fuller dessert experience, serve alongside crispy garlic chicken or a fresh green salad for a balanced meal.
Store leftovers covered tightly in the refrigerator for up to 4 days. These bars don’t freeze well because the fruit can get watery, but if you must, freeze without fruit for up to 2 months and add fresh berries after thawing. When reheating, just bring to room temperature or serve slightly chilled—never microwave or the texture will suffer.
Interestingly, the flavors meld over a day or two, making the cheesecake even more luscious and the crust softer but still pleasant. So if you have the patience, make these bars a day ahead for a real flavor boost.
Nutritional Information & Benefits
Each serving of these easy patriotic cheesecake bars (about a 2×2 inch square) contains approximately:
| Calories | 280 |
|---|---|
| Fat | 18g |
| Carbohydrates | 24g |
| Protein | 5g |
The cream cheese provides a good dose of calcium and protein, while the fresh berries add antioxidants, vitamin C, and fiber. The graham cracker crust, though indulgent, supplies some whole-grain goodness if you use whole wheat or alternative crackers.
For those watching carbohydrates or sugar intake, you can reduce sugar amounts or use natural sweeteners like erythritol. This recipe is naturally gluten-containing unless modified with substitutions.
From a wellness angle, this dessert strikes a nice balance between treat and nutrition—it’s satisfying without being over-the-top, so you can enjoy a festive indulgence guilt-free.
Conclusion
If you’re looking for a dessert that’s festive, easy, and genuinely delicious, these easy patriotic cheesecake bars with a flag design are a winner. They come together quickly, require no fancy skills, and look impressively festive on any party table. Plus, they taste just as good as they look—creamy, tangy, and bursting with fresh berry flavor.
Feel free to make this recipe your own by switching up the fruit, trying different crust options, or adding your favorite flavor twist. I keep going back to this recipe because it delivers every time I’m short on time but still want to impress. Honestly, it’s one of those desserts that makes me smile every time I slice into it, and I hope it will bring a little joy (and red, white, and blue cheer) to your celebrations too.
If you give it a try, please leave a comment sharing your experience or any tweaks you made—I love hearing how this recipe finds a place in your kitchen!
FAQs
Can I make these cheesecake bars ahead of time?
Absolutely! They actually taste better after chilling overnight. Just keep them covered in the fridge until serving.
What if I don’t have graham crackers?
You can substitute with digestive biscuits, vanilla wafers, or even crushed pretzels for a salty twist on the crust.
How do I prevent the cheesecake from cracking?
Don’t overmix the batter and avoid baking at too high a temperature. Also, letting the cheesecake cool gradually helps prevent cracks.
Can I use frozen berries instead of fresh?
It’s better to use fresh berries for the flag design to keep the colors vibrant and the texture firm. If you must use frozen, thaw and drain them well to avoid sogginess.
Is this recipe suitable for kids?
Yes! Kids love the colorful design and creamy texture. Just supervise the slicing since the fruit needs careful arrangement.
Pin This Recipe!
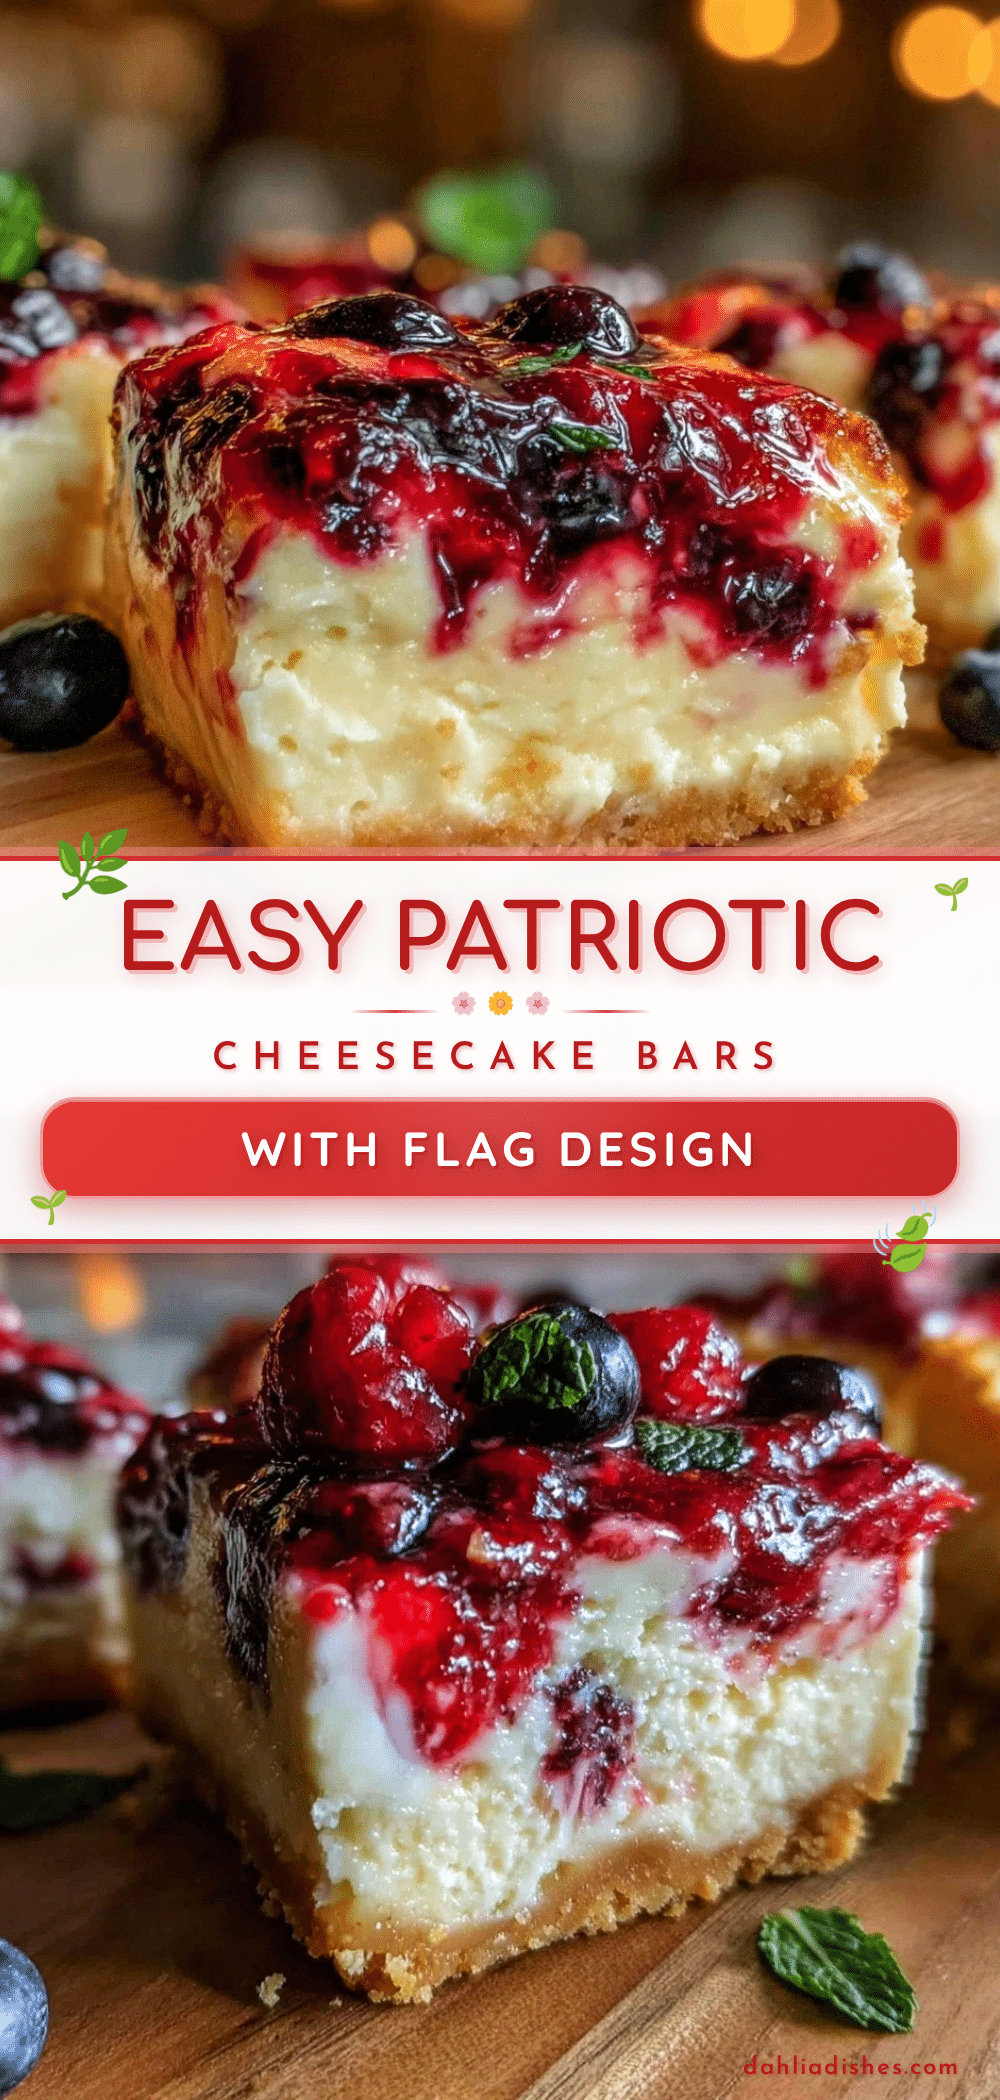
Easy Patriotic Cheesecake Bars Recipe Perfect for 4th of July Desserts
These easy patriotic cheesecake bars feature a creamy cheesecake filling on a buttery graham cracker crust, topped with fresh strawberries and blueberries arranged in a festive flag design. Perfect for last-minute summer parties and 4th of July celebrations.
- Prep Time: 20 minutes
- Cook Time: 50 minutes
- Total Time: 3 hours 70 minutes
- Yield: 16 servings 1x
- Category: Dessert
- Cuisine: American
Ingredients
- 1 ½ cups graham cracker crumbs (about 10 full sheets, finely crushed)
- 6 tablespoons unsalted butter, melted
- 2 tablespoons granulated sugar
- 16 ounces (450g) cream cheese, softened
- ⅔ cup granulated sugar
- 2 large eggs, room temperature
- 1 teaspoon pure vanilla extract
- ½ cup sour cream
- 1 cup fresh strawberries, sliced
- 1 cup fresh blueberries
- Powdered sugar for dusting (optional)
Instructions
- Preheat your oven to 325°F (163°C). Line your 9×9-inch pan with parchment paper, leaving an overhang on the sides to help lift bars out later.
- Make the crust: In a medium bowl, combine graham cracker crumbs, melted butter, and sugar. Stir until the mixture resembles wet sand. Press it firmly into the bottom of the prepared pan in an even layer.
- Bake the crust for 10 minutes until lightly golden and toasty. Remove and let cool slightly.
- Prepare the cheesecake filling: In a large bowl, beat softened cream cheese with sugar until smooth and fluffy. Add eggs one at a time, mixing well after each. Stir in vanilla extract and sour cream until just combined.
- Pour the filling over the crust and spread evenly with a spatula.
- Bake at 325°F (163°C) for 35 to 40 minutes, until edges are set but center jiggles slightly when shaken gently.
- Cool the cheesecake completely at room temperature, then refrigerate for at least 3 hours or overnight.
- Create the flag design by arranging sliced strawberries in neat horizontal rows across two-thirds of the top for the red and white stripes. Fill the top-left corner with blueberries to form the blue rectangle.
- Optionally dust lightly with powdered sugar, slice into bars, and serve chilled.
Notes
Use room temperature cream cheese and eggs to avoid lumps. Do not overmix the batter to prevent cracks. Use parchment paper for easy removal. Chill fully before slicing to maintain shape. Fresh berries are preferred for the flag design to keep colors vibrant. For gluten-free, substitute graham cracker crumbs with almond flour or gluten-free cookies. Vegan options include dairy-free cream cheese and flax eggs.
Nutrition
- Serving Size: 1 bar (approximately
- Calories: 280
- Fat: 18
- Carbohydrates: 24
- Protein: 5
Keywords: cheesecake bars, patriotic dessert, 4th of July dessert, easy cheesecake, berry cheesecake, summer dessert


