Love this? Save it for later!
Share the inspiration with your friends
The summer I turned thirty, I found myself rummaging through a dusty box of old baking tools at a neighborhood yard sale. Among the clutter was a faded recipe card, stained and scribbled in a hurried hand: “Red, White, and Blue Sugar Cookies with Buttercream Frosting.” Honestly, I wasn’t expecting much. But that afternoon, with the sun streaming through my kitchen window and a slightly cracked mixing bowl in front of me, I decided to give it a whirl. Maybe you’ve been there—scrambling to whip up something festive for a last-minute barbecue or holiday picnic, knowing the clock is ticking.
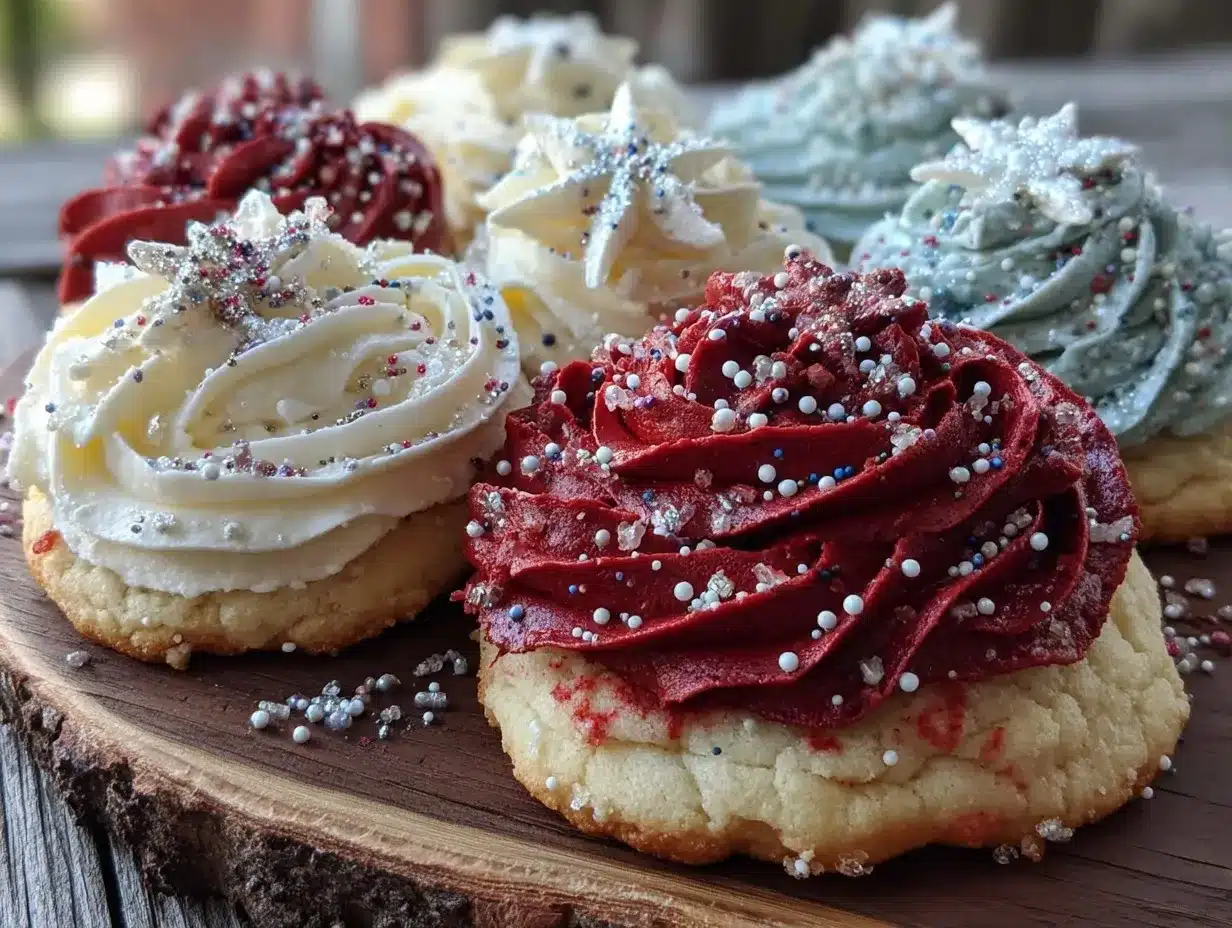
What came out of my oven that day was surprisingly delightful: crisp edges, soft centers, and a frosting so smooth it practically melted on the tongue. The colors—vivid red, snowy white, and deep blue—felt like a celebration on their own. I forgot to set a timer (classic me), and the cookies got a little golden, but honestly, that made them even better. Since then, these perfect red, white, and blue sugar cookies with buttercream frosting have become my go-to for marking all things patriotic and festive. Whether you’re hosting a Fourth of July bash or just want a sweet treat that looks as good as it tastes, this recipe might just become your favorite too.
Why You’ll Love This Recipe
After testing countless sugar cookie recipes and frosting combos, I can confidently say this one hits the sweet spot every time. It’s not just about the looks—it’s the whole experience. Here’s why this recipe stands out:
- Quick & Easy: Ready in under an hour, so you’re not stuck in the kitchen all day.
- Simple Ingredients: Uses pantry staples—no need for special trips or fancy extras.
- Perfect for Celebrations: Whether it’s a family picnic or a neighborhood potluck, these cookies steal the show.
- Crowd-Pleaser: Kids love the bright colors, and adults appreciate the balanced sweetness and buttery flavor.
- Unbelievably Delicious: The buttercream frosting is creamy without being too heavy, paired with cookies that are just the right texture—soft yet sturdy.
What makes this recipe unique? The secret is in the buttercream frosting technique. Instead of the usual heavy sugar shock, this buttercream blends just enough powdered sugar with real butter and a touch of vanilla, making it irresistibly smooth. Plus, I’ve perfected the dough texture so the cookies hold their shape beautifully while staying tender inside. Honestly, it’s the kind of recipe that makes you close your eyes after the first bite and smile—comfort food with a festive twist.
What Ingredients You Will Need
This recipe uses straightforward, wholesome ingredients that come together to deliver bold flavor and a fun, festive look. Most of these are pantry staples, and substitutions are easy if you have dietary needs.
- For the Cookies:
- 2 ¾ cups (345g) all-purpose flour (I prefer King Arthur Flour for consistent results)
- 1 teaspoon baking powder
- ½ teaspoon salt
- 1 cup (227g) unsalted butter, softened (Room temperature butter is key for smooth dough)
- 1 ½ cups (300g) granulated sugar
- 1 large egg, room temperature
- 1 teaspoon pure vanilla extract
- 2 tablespoons whole milk (or almond milk for dairy-free option)
- For the Buttercream Frosting:
- ½ cup (113g) unsalted butter, softened
- 3 cups (360g) powdered sugar, sifted (I trust Domino or C&H brands for smooth frosting)
- 2-3 tablespoons heavy cream or whole milk (adjust for desired consistency)
- 1 teaspoon pure vanilla extract
- Red and blue gel food coloring (gel works best for vibrant colors without thinning the frosting)
Feel free to swap all-purpose flour for a gluten-free blend if needed. For a twist, I sometimes replace vanilla extract with almond extract for a subtle nutty note. And if fresh berries are in season, try folding freeze-dried raspberry powder into the frosting for a tangy pop.
Equipment Needed
- Mixing bowls (medium and large)
- Electric mixer (stand or hand-held) for creaming butter and sugar and whipping frosting
- Measuring cups and spoons (for accuracy)
- Rolling pin (a textured rolling pin can add fun patterns, but plain works just fine)
- Cookie cutters in star or circle shapes (metal or sturdy plastic)
- Baking sheets lined with parchment paper or silicone mats (prevents sticking and promotes even baking)
- Cooling racks for cookies
- Small bowls or piping bags for dividing and coloring the frosting
If you don’t have a rolling pin, a clean wine bottle works in a pinch—I’ve done it more times than I’d admit! Using silicone mats means less cleanup, which is always a win. And for frosting, if you don’t have piping bags, zip-top bags with a tiny corner snipped off work just as well.
Preparation Method
- Mix Dry Ingredients: In a medium bowl, whisk together 2 ¾ cups (345g) all-purpose flour, 1 teaspoon baking powder, and ½ teaspoon salt. Set aside. This ensures even distribution and helps your cookies rise just right. (Approx. 5 minutes)
- Cream Butter and Sugar: In a large bowl, use an electric mixer to beat 1 cup (227g) softened unsalted butter with 1 ½ cups (300g) granulated sugar until light and fluffy—about 3 to 4 minutes. The texture should be pale and airy. This step is crucial for tender cookies.
- Add Egg and Vanilla: Beat in 1 large room-temperature egg and 1 teaspoon pure vanilla extract until combined. If the mixture looks like it’s curdling, don’t worry—that’s normal.
- Combine Wet and Dry: Gradually add the flour mixture to the butter mixture in two parts, alternating with 2 tablespoons whole milk. Mix on low speed until just combined; avoid overmixing to keep cookies tender. The dough should be soft but not sticky.
- Chill the Dough: Divide the dough into two discs, wrap each in plastic wrap, and chill in the refrigerator for at least 1 hour. This helps the dough firm up, making it easier to roll and cut. (Tip: If you’re short on time, 30 minutes will do, but longer is better.)
- Preheat Oven & Prepare Baking Sheets: Preheat your oven to 350°F (175°C). Line baking sheets with parchment paper or silicone mats.
- Roll and Cut: On a lightly floured surface, roll out one disc of dough to about ¼ inch (6mm) thickness. Use star or circle cookie cutters to cut shapes and transfer them to the baking sheets, spacing about 1 inch (2.5 cm) apart. Gather scraps and reroll once.
- Bake: Bake in the preheated oven for 8-10 minutes, until edges are just starting to turn golden. The centers might still look soft—that’s perfect. Let cookies cool on the baking sheet for 5 minutes before transferring to a wire rack to cool completely.
- Prepare Buttercream Frosting: While cookies cool, beat ½ cup (113g) softened butter until creamy. Gradually add 3 cups (360g) sifted powdered sugar, mixing on low speed. Add 2-3 tablespoons heavy cream and 1 teaspoon vanilla extract. Beat on high until fluffy, about 3 minutes. Divide frosting into three bowls for coloring.
- Color the Frosting: Add red gel food coloring to one bowl and blue to another, leaving one bowl white (no coloring). Mix well until vibrant colors form.
- Decorate: Use a butter knife or piping bags to frost cooled cookies in red, white, and blue patterns. Let the frosting set for at least 30 minutes before stacking or serving.
Cooking Tips & Techniques
Getting these sugar cookies just right takes a few key tricks I’ve learned the hard way. First, don’t skip chilling the dough. I once skipped this step because I was rushing, and the cookies spread so much they lost their shape. Chilling firms the butter and keeps your cookies perfectly shaped.
Second, measuring flour correctly is crucial. Too much flour leads to dry, crumbly cookies. I recommend spooning flour into your measuring cup and leveling it off, rather than scooping directly.
When frosting, gel colors are your best friend—they give those bold patriotic hues without thinning the buttercream. If you use liquid food coloring, your frosting might get runny, which is no fun.
Finally, I like to bake one sheet at a time in the center of the oven for even heat distribution. Multitasking with another sheet can sometimes cause uneven baking (learned that after some too-browned cookies!).
Variations & Adaptations
- Gluten-Free Option: Swap all-purpose flour for a 1-to-1 gluten-free baking blend. The texture stays tender, though the cookies might be slightly more delicate.
- Vegan Version: Use vegan butter and substitute the egg with a flax egg (1 tablespoon ground flaxseed + 3 tablespoons water). The buttercream can be made with vegan margarine and plant-based milk.
- Flavor Twists: Add a teaspoon of lemon zest to the dough for a bright citrus note, or mix a little almond extract into the buttercream for a nutty hint.
- Seasonal Colors: For a summer picnic, swap red and blue for pastel shades or make tie-dye frosting by swirling colors together.
- Decorating Styles: Try sanding the cookie edges with colored sugar before baking or sprinkle edible glitter on the frosting for sparkle.
I once tried adding freeze-dried blueberry powder into the frosting for a natural blue hue and a slight tang. It was a hit at a neighborhood potluck—definitely worth experimenting with!
Serving & Storage Suggestions
These cookies are best served at room temperature, letting the buttercream soften just enough for a melt-in-your-mouth experience. Present them on a simple white platter to make those red, white, and blue colors pop. They pair wonderfully with a tall glass of cold milk or a light herbal iced tea.
To store, place cookies in an airtight container layered between sheets of parchment paper. They keep well at room temperature for up to 3 days. For longer storage, freeze unfrosted cookies in a single layer in a freezer bag for up to 3 months. Thaw completely before frosting.
Once frosted, cookies can be refrigerated for up to 5 days, but allow them to come to room temperature before serving so the frosting isn’t too firm. Flavors actually deepen and the frosting softens a bit after resting overnight, so making these a day ahead is a smart move.
Nutritional Information & Benefits
Each cookie (assuming 24 cookies per batch) contains approximately 180 calories, 9g fat, 25g carbohydrates, and 1.5g protein. The butter provides a source of vitamin A and healthy fats, while the sugar is the main source of carbohydrates. While these sugar cookies are definitely an indulgence, using real butter and fresh ingredients means you’re avoiding artificial additives.
If you swap regular milk for almond or oat milk, this recipe can be dairy-free. Using gluten-free flour blends also makes it suitable for those with gluten sensitivities. Just keep in mind that powdered sugar and food coloring might contain allergens, so always check labels if that’s a concern.
Conclusion
Perfect red, white, and blue sugar cookies with buttercream frosting are more than just a festive treat—they’re a little slice of joy, nostalgia, and celebration all rolled into one. Whether you’re baking them for a holiday, a casual get-together, or just because, they’re easy enough for beginners but impressive enough to share with friends.
Honestly, I keep coming back to this recipe because it’s reliable and so much fun to decorate. Don’t be afraid to make it your own by playing with flavors or colors. I’d love to hear how you customize these cookies or any tips you pick up along the way—drop a comment below and share your experience. Happy baking!
Frequently Asked Questions
Can I make these sugar cookies ahead of time?
Yes! The dough can be made and chilled up to 2 days in advance, or frozen for up to 3 months. Frost cookies after baking and cooling, ideally on the day you plan to serve them.
How do I prevent my sugar cookies from spreading too much?
Make sure to chill your dough thoroughly before rolling and cutting. Also, avoid using too much butter or sugar beyond the recipe amounts, and bake on a cool baking sheet for best results.
What’s the best way to get vibrant red and blue colors in the frosting?
Use gel-based food coloring—it provides intense color without thinning the frosting. Liquid colors can make your buttercream too runny.
Can I use a different shape for the cookies?
Absolutely! Star and circle shapes work well for the patriotic theme, but feel free to use any cookie cutters you like. Just keep thickness consistent for even baking.
How should I store frosted sugar cookies?
Store frosted cookies in an airtight container at room temperature for up to 3 days or refrigerate for up to 5 days. Bring them to room temperature before serving for best texture and flavor.
Pin This Recipe!
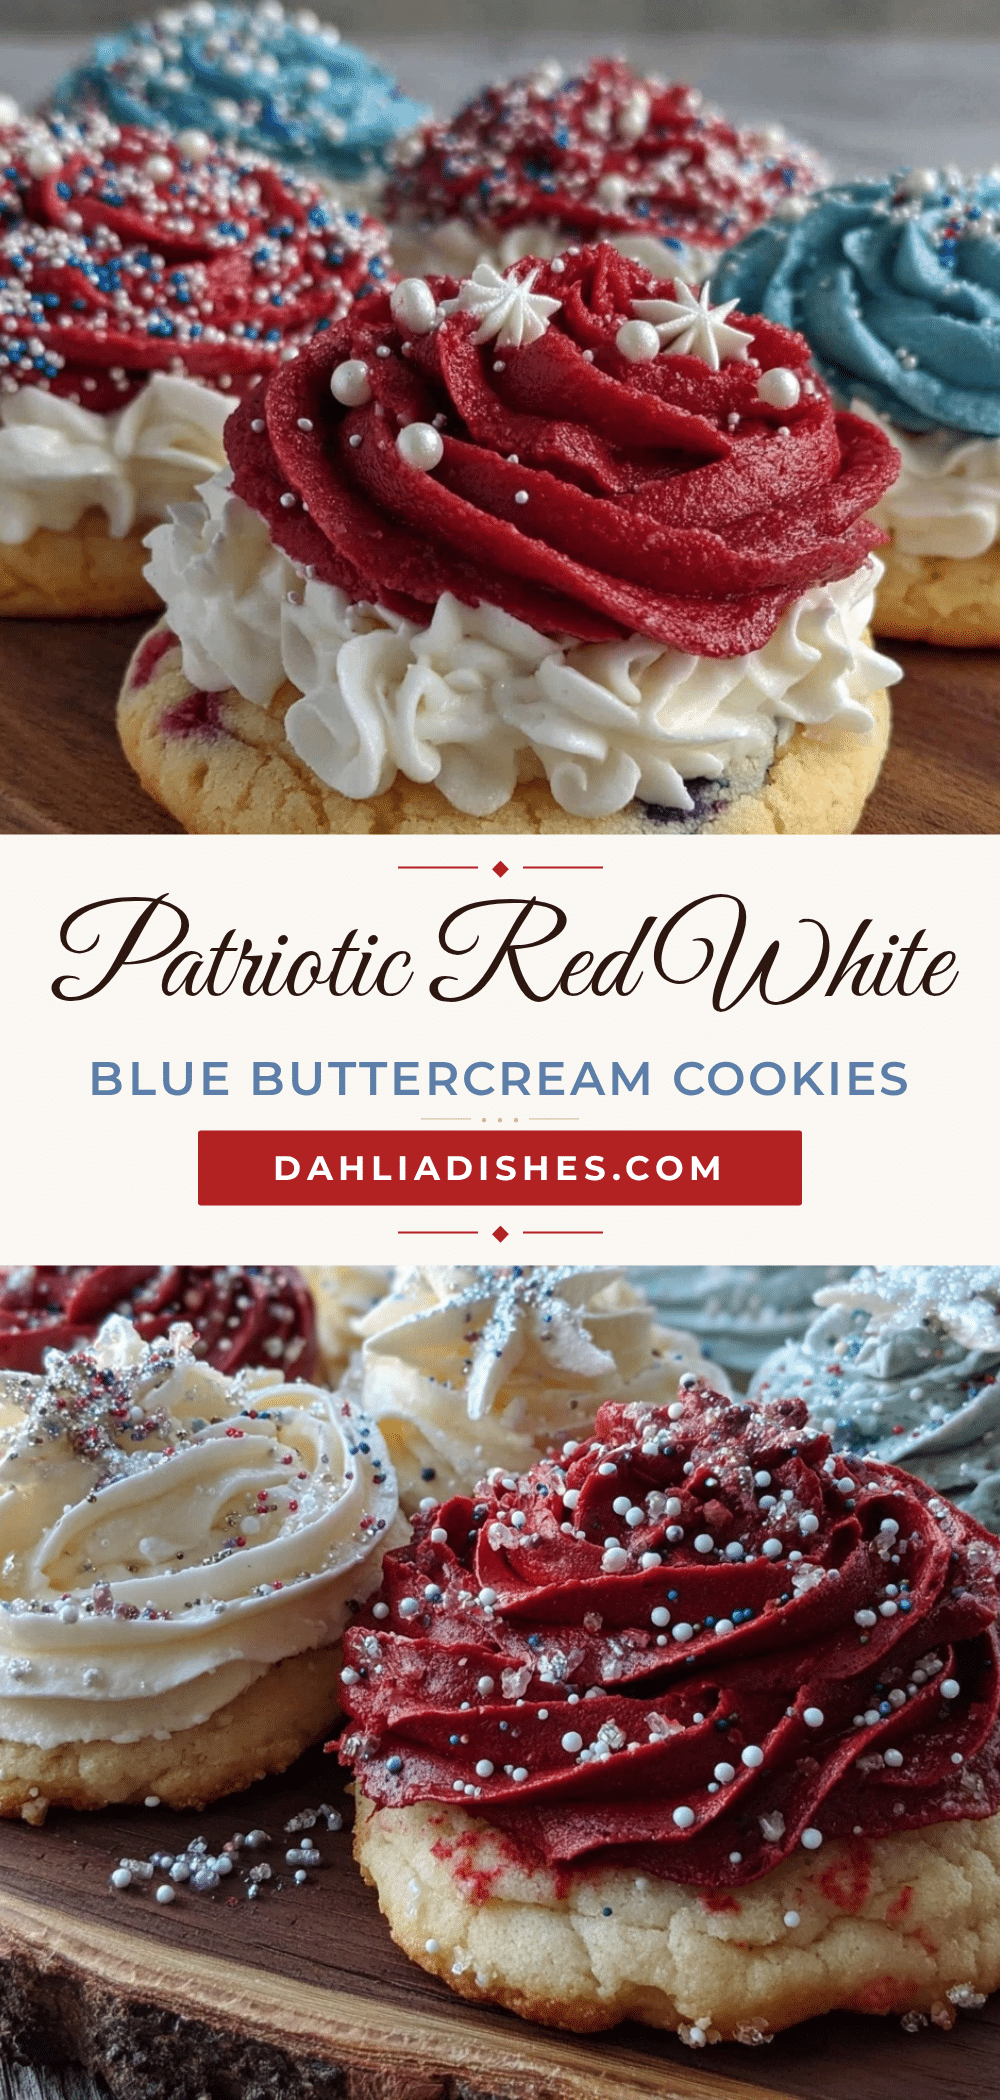
Perfect Red White and Blue Sugar Cookies Easy Buttercream Frosting Recipe

These festive sugar cookies feature crisp edges, soft centers, and a smooth buttercream frosting in vibrant red, white, and blue colors, perfect for patriotic celebrations.
- Prep Time: 15 minutes
- Cook Time: 10 minutes
- Total Time: 1 hour 25 minutes
- Yield: 24 cookies 1x
- Category: Dessert
- Cuisine: American
Ingredients
- 2 ¾ cups (345g) all-purpose flour
- 1 teaspoon baking powder
- ½ teaspoon salt
- 1 cup (227g) unsalted butter, softened
- 1 ½ cups (300g) granulated sugar
- 1 large egg, room temperature
- 1 teaspoon pure vanilla extract
- 2 tablespoons whole milk (or almond milk for dairy-free option)
- ½ cup (113g) unsalted butter, softened (for frosting)
- 3 cups (360g) powdered sugar, sifted
- 2–3 tablespoons heavy cream or whole milk (for frosting)
- 1 teaspoon pure vanilla extract (for frosting)
- Red and blue gel food coloring
Instructions
- Mix dry ingredients: In a medium bowl, whisk together flour, baking powder, and salt. Set aside.
- Cream butter and sugar: In a large bowl, beat softened butter with granulated sugar until light and fluffy, about 3 to 4 minutes.
- Add egg and vanilla: Beat in the egg and vanilla extract until combined.
- Combine wet and dry: Gradually add the flour mixture to the butter mixture in two parts, alternating with milk. Mix on low speed until just combined.
- Chill the dough: Divide dough into two discs, wrap in plastic wrap, and chill for at least 1 hour.
- Preheat oven to 350°F (175°C) and line baking sheets with parchment paper or silicone mats.
- Roll and cut: Roll out one disc to ¼ inch thickness and cut shapes with cookie cutters. Place on baking sheets about 1 inch apart.
- Bake: Bake for 8-10 minutes until edges start to turn golden. Cool on baking sheet for 5 minutes, then transfer to wire rack to cool completely.
- Prepare buttercream frosting: Beat softened butter until creamy. Gradually add powdered sugar, then add heavy cream and vanilla extract. Beat until fluffy, about 3 minutes.
- Color the frosting: Divide frosting into three bowls; color one red, one blue, and leave one white.
- Decorate: Frost cooled cookies with red, white, and blue frosting. Let set for at least 30 minutes before serving.
Notes
Chill dough for at least 1 hour to prevent spreading. Use gel food coloring for vibrant frosting without thinning. Measure flour by spooning and leveling to avoid dry cookies. Bake one sheet at a time for even heat distribution. Dough can be made and chilled up to 2 days ahead or frozen for 3 months. Frost cookies after baking and cooling.
Nutrition
- Serving Size: 1 cookie
- Calories: 180
- Fat: 9
- Carbohydrates: 25
- Protein: 1.5
Keywords: sugar cookies, buttercream frosting, red white and blue cookies, patriotic cookies, easy sugar cookies, holiday cookies, Fourth of July dessert


