Love this? Save it for later!
Share the inspiration with your friends
I was standing in line at the feed store, of all places, holding a bag of chicken feed and trying not to sneeze from the hay dust floating around. The man in front of me turned around—he had this weathered face and hands that looked like they’d seen a lot of hard work—and he just started talking about ribs. Not just any ribs, mind you. He described these sticky, dark, almost caramelized ribs that he’d been perfecting for thirty years. I wasn’t expecting cooking advice from a stranger in a feed store, but there I was, listening to him explain exactly how to make the most incredible Sticky Brown Sugar Bourbon Ribs I’d ever heard described. He told me the secret was patience and not being afraid of the bourbon. I mean, I practically had to stop myself from drooling right there between the bags of fertilizer.
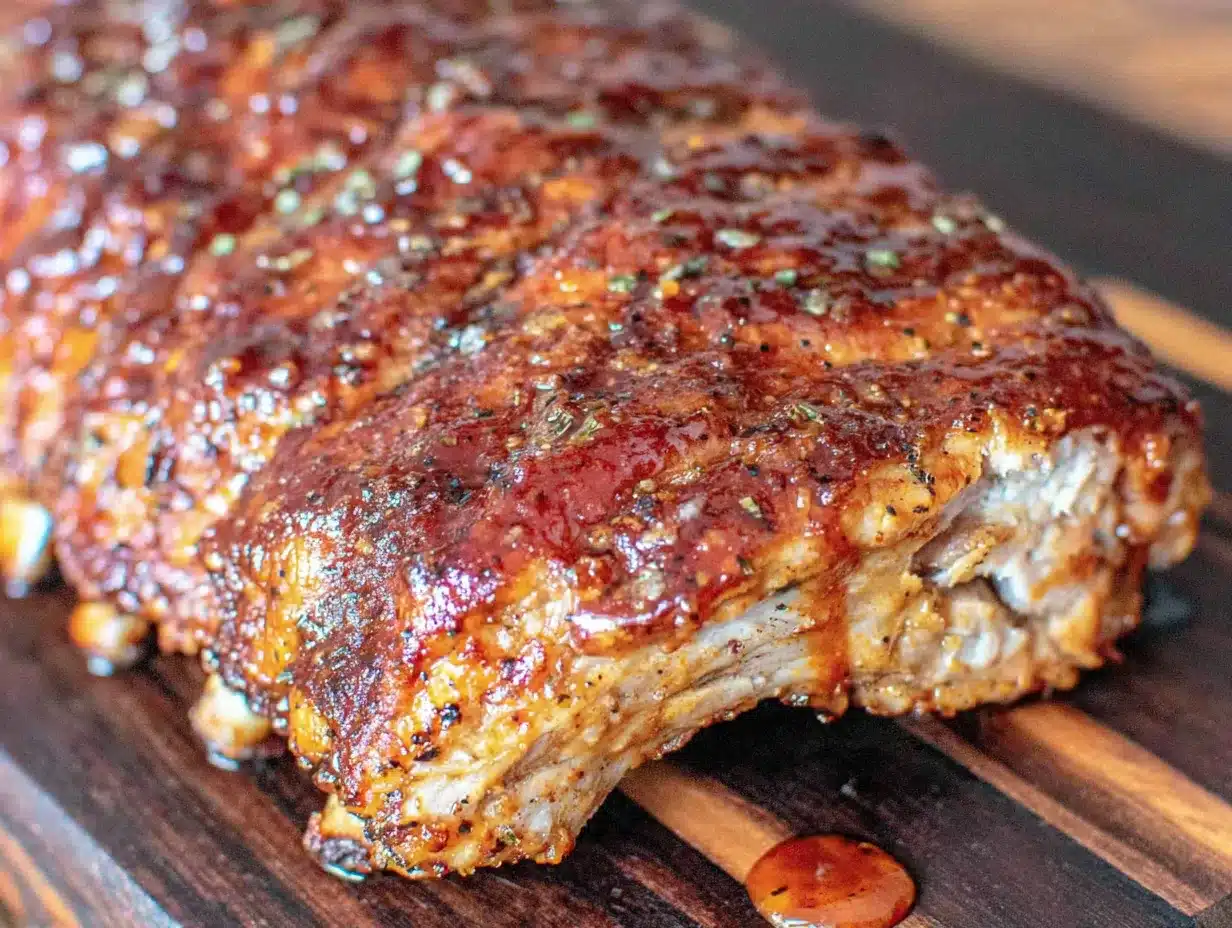
That conversation stuck with me. Honestly, I went home and scribbled everything down on a receipt I found in my truck. The first time I made these ribs, I messed up the glaze—got it too thin and it ran right off the meat. But the second time? Let me tell you, it was like magic. The brown sugar and bourbon melt together into this thick, glossy coating that clings to every rib like it was meant to be there. The meat gets so tender it practically falls off the bone, but with just enough chew to remind you you’re eating ribs.
Maybe you’ve been there—chasing that perfect barbecue recipe that makes everyone at the table go quiet because they’re too busy eating. These Sticky Brown Sugar Bourbon Ribs are that recipe. They’re the ones you’ll pull out for game day, summer cookouts, or any time you want to feel like a backyard pitmaster without spending all day tending a smoker.
Why You’ll Love This Recipe
Let me be straight with you—I’ve tested a lot of rib recipes over the years. Some are too sweet, some are too smoky, and some just don’t deliver on that sticky, finger-licking goodness we all crave. These Sticky Brown Sugar Bourbon Ribs hit every single note perfectly. Here’s why they’ll become your go-to:
- Quick & Easy: While ribs traditionally take hours, this recipe uses a smart oven-to-grill method that cuts down active cooking time. You get fall-off-the-bone tenderness without babysitting a smoker all day.
- Simple Ingredients: No hunting down obscure spices or expensive specialty items. Brown sugar, bourbon (use a decent one you’d drink), paprika, garlic, and a few pantry staples are all you need.
- Perfect for Gatherings: Game day, birthday parties, summer barbecues—these ribs are the star of any spread. They feed a crowd and disappear fast.
- Crowd-Pleaser: I’ve served these to picky eaters, barbecue snobs, and folks who swear they don’t like bourbon. Every single person goes back for seconds. The sweetness balances the bourbon so well that even non-drinkers love them.
- Unbelievably Delicious: The glaze caramelizes into this sticky, almost candied coating that’s packed with smoky, sweet, and slightly boozy flavor. It’s the kind of rib that makes you close your eyes after the first bite.
What makes this recipe different? It’s the technique. Instead of just slapping on a sauce at the end, we build layers of flavor. The dry rub seasons the meat deeply, the braising step keeps everything moist, and the final glaze gets broiled to sticky perfection. It’s not just another rib recipe—it’s the one I’ve refined through trial and error, and it works every single time.
What Ingredients You Will Need
This recipe uses straightforward ingredients to create something truly special. Most of these are probably already in your kitchen or easy to find at any grocery store. Let me walk you through each one and why it matters.
For the Dry Rub
- 2 racks baby back ribs (about 4-5 pounds total) — Look for ribs with good meat coverage and even fat distribution. Baby back ribs are more tender and cook faster than spare ribs.
- 1/4 cup brown sugar, packed (dark or light works, but dark gives deeper flavor) — This is the foundation of that sticky sweetness.
- 2 tablespoons smoked paprika — Adds that essential smoky flavor without needing a smoker. I prefer Sweet Smoked Paprika for its rich color and gentle heat.
- 1 tablespoon garlic powder — Don’t skip this; it balances the sweetness beautifully.
- 1 tablespoon onion powder — Adds savory depth that rounds out the rub.
- 2 teaspoons salt — Kosher salt is best for even seasoning.
- 1 teaspoon black pepper — Freshly ground gives more punch.
- 1 teaspoon cayenne pepper (optional, for heat) — Adjust to your spice tolerance. I usually add it for a subtle kick.
For the Braising Liquid
- 1 cup apple cider — Keeps the ribs moist during cooking and adds a subtle fruity sweetness that pairs perfectly with bourbon. You can substitute chicken broth if needed.
- 1/4 cup bourbon — Use something you’d actually drink, not the cheap stuff. The alcohol mostly cooks off, leaving behind warm, vanilla-tinged flavor.
For the Sticky Bourbon Glaze
- 1/2 cup brown sugar, packed — This creates that signature sticky coating.
- 1/4 cup bourbon — Adds depth and helps the glaze caramelize under the broiler.
- 1/4 cup honey — Helps the glaze adhere and adds extra shine. Maple syrup works too!
- 2 tablespoons apple cider vinegar — Cuts through the sweetness and balances the richness of the meat.
- 2 tablespoons unsalted butter — Adds richness and helps the glaze become silky smooth.
- 1 teaspoon Worcestershire sauce — Brings umami that makes the flavor more complex.
Ingredient Tips: For the best results, I recommend using a bourbon like Bulleit or Maker’s Mark—they have enough character to stand up to the brown sugar without being overpowering. If you’re avoiding alcohol, you can substitute apple juice or a non-alcoholic bourbon alternative, though the flavor will be slightly different. The smoked paprika is non-negotiable in my book; it gives that barbecue taste without needing hours over wood chips.
Equipment Needed
You don’t need a fancy smoker or professional setup for these ribs. Here’s what you’ll actually use:
- Large baking sheet or roasting pan — Big enough to hold two racks of ribs. I use a half-sheet pan lined with foil for easy cleanup.
- Aluminum foil — For covering the ribs during the braising phase. Heavy-duty foil works best.
- Small saucepan — For making the glaze. A non-stick one makes cleanup a breeze.
- Basting brush — Silicone brushes are great for spreading the glaze evenly without shedding bristles.
- Tongs — For handling the hot ribs. Get a good pair with silicone grips.
- Sharp knife — For trimming any excess fat or silver skin from the ribs.
- Instant-read thermometer (optional but recommended) — Helps ensure the ribs reach a safe internal temperature of 195-203°F for perfect tenderness.
Budget-Friendly Options: If you don’t have a roasting pan, a disposable aluminum pan from the grocery store works perfectly. No basting brush? Use a spoon to drizzle the glaze over the ribs—it’s less precise but gets the job done. I’ve made these ribs in a cramped apartment kitchen with basic tools, and they still turned out amazing.
Preparation Method
Let’s get cooking! This method breaks down into three main phases: prep, oven braising, and the final glazing. Trust the process, and you’ll have the best ribs of your life.
Phase 1: Prep the Ribs (15 minutes)
- Remove the membrane: Flip the ribs over so the bone side is facing up. You’ll see a thin, silvery membrane covering the bones. Slide a butter knife under the edge, grab it with a paper towel (for grip), and pull it off. This step is crucial—the membrane gets chewy and prevents seasonings from penetrating. If you skip it, you’ll be sad.
- Pat dry: Use paper towels to dry the ribs thoroughly. Moisture is the enemy of a good crust.
- Apply the dry rub: In a small bowl, mix the brown sugar, smoked paprika, garlic powder, onion powder, salt, black pepper, and cayenne (if using). Sprinkle this mixture generously over both sides of the ribs, patting it on so it adheres. Don’t be shy—use all of it. Let the ribs sit at room temperature for 20-30 minutes while you preheat the oven.
Phase 2: Oven Braising (2.5 to 3 hours)
- Preheat the oven: Set it to 275°F (135°C). Low and slow is the secret to tender ribs.
- Prepare the braising liquid: In a measuring cup, mix the apple cider and 1/4 cup bourbon. Pour this into the bottom of your baking sheet or roasting pan.
- Wrap the ribs: Place the seasoned ribs on a wire rack set inside the pan (if you have one) or directly in the pan. Cover the pan tightly with aluminum foil. This traps steam and keeps the ribs moist.
- Bake: Place the pan in the oven and bake for 2.5 to 3 hours. The ribs are ready when the meat is tender and pulls back from the bones slightly. An instant-read thermometer should read around 195-200°F (90-93°C) when inserted between the bones.
Pro tip from my kitchen: Halfway through cooking, I like to check if the braising liquid has evaporated. If it looks dry, add a splash more apple cider. This happened to me once, and the ribs came out a bit dry—lesson learned!
Phase 3: Make the Glaze and Finish (20 minutes)
- Make the glaze: About 15 minutes before the ribs are done, combine the 1/2 cup brown sugar, 1/4 cup bourbon, honey, apple cider vinegar, butter, and Worcestershire sauce in a small saucepan. Bring to a simmer over medium heat, stirring constantly. Let it bubble gently for 5-7 minutes until it thickens slightly and becomes syrupy. Remove from heat.
- Glaze the ribs: Carefully remove the ribs from the oven and increase the oven temperature to broil (high heat). Uncover the ribs and brush a generous layer of glaze over the top side. Reserve some glaze for serving.
- Broil: Place the ribs under the broiler for 2-4 minutes. Watch them closely—the sugar can burn quickly! The glaze should bubble and caramelize into a sticky, dark coating. Remove when it looks glossy and slightly charred in spots.
- Rest and serve: Let the ribs rest for 5-10 minutes before slicing between the bones. Brush with the remaining glaze just before serving. The aroma at this point is absolutely intoxicating—smoky, sweet, and warm with bourbon.
Sensory Cues: When the ribs are done braising, the meat should feel tender when poked with a fork, and the bones should wiggle slightly. The glaze should be thick enough to coat the back of a spoon, and when broiled, it will smell like caramelized sugar and toasted bourbon. Your kitchen will smell incredible—I’m not kidding.
Cooking Tips & Techniques
I’ve made these ribs more times than I can count, and I’ve learned a few things the hard way. Here’s what I wish someone had told me:
- Don’t rush the low heat: I know it’s tempting to crank the oven to 350°F, but trust me—275°F is the sweet spot. Higher heat makes the meat tough and chewy. Low and slow breaks down the collagen into gelatin, giving you that melt-in-your-mouth texture.
- Watch the broiler like a hawk: The first time I made these, I walked away for “just a minute” and came back to burnt glaze. The sugar caramelizes fast, so stay nearby and check every 30 seconds after the first minute.
- Let the ribs rest: I know you’re hungry, but cutting into them immediately lets all the juices run out. Five minutes of rest makes a huge difference in moisture.
- Use a meat thermometer: Honestly, this is the best investment you can make for consistent results. Ribs are done when they reach 195-203°F. Below that, they’re tough; above that, they start falling apart too much.
- Double the glaze: I always make extra glaze because everyone wants more at the table. It’s also amazing drizzled over pulled pork or chicken thighs.
A mistake I made: One time, I forgot to remove the membrane. The ribs were still tasty, but the texture was off—chewy and hard to bite through. Now I always double-check before applying the rub. Learn from my forgetfulness!
Variations & Adaptations
This recipe is flexible, and I’ve tried several variations depending on what I have on hand or who I’m cooking for. Here are some of my favorites:
- Spicy Bourbon Ribs: Add 1-2 tablespoons of chipotle powder to the dry rub and a splash of hot sauce to the glaze. The smoky heat pairs beautifully with the sweetness.
- Honey-Whiskey Alternative: Swap the bourbon for your favorite whiskey and increase the honey to 1/3 cup. The flavor is slightly sweeter and less oaky, but still delicious.
- Smoker Method: If you have a smoker, cook the ribs at 225°F (107°C) with hickory or applewood chips for 4-5 hours. Skip the oven braising and apply the glaze during the last 30 minutes of smoking. This gives an even deeper smoky flavor.
- Gluten-Free Version: Double-check your Worcestershire sauce—some brands contain gluten. Use a certified gluten-free version or substitute tamari. Everything else in the recipe is naturally gluten-free.
- No-Alcohol Version: Replace bourbon with apple juice or a non-alcoholic bourbon alternative. Add 1 teaspoon of vanilla extract to mimic the warm notes of bourbon. It won’t be exactly the same, but it’s still fantastic.
Personal favorite: I once made these with maple syrup instead of honey and added a pinch of cinnamon to the glaze. It gave the ribs a cozy, almost autumnal flavor that was incredible with mashed sweet potatoes. Don’t be afraid to experiment!
Serving & Storage Suggestions
These ribs are best served hot, straight from the broiler. Here’s how to make the most of them:
- Serving Temperature: Serve immediately after glazing and resting. The sticky coating is at its best when warm and glossy.
- Presentation: Arrange the ribs on a large platter, brush with any remaining glaze, and garnish with fresh parsley or sliced green onions for color. A sprinkle of flaky sea salt right before serving adds a nice contrast to the sweetness.
- Perfect Pairings: These ribs go beautifully with classic sides like coleslaw, baked beans, cornbread, or a simple green salad. For drinks, an ice-cold beer (like a pale ale or lager) or a bourbon cocktail complements the flavors perfectly.
- Storage: Store leftover ribs in an airtight container in the refrigerator for up to 4 days. The flavors actually deepen overnight, making them even better the next day.
- Reheating: The best way to reheat is in a 300°F (150°C) oven, wrapped in foil, for 10-15 minutes. You can also reheat in a skillet over medium-low heat with a splash of water or apple cider to prevent drying. Avoid the microwave—it makes the meat tough and the glaze rubbery.
- Freezing: These ribs freeze beautifully. Wrap them tightly in foil, then place in a freezer bag. They’ll keep for up to 3 months. Thaw overnight in the refrigerator and reheat as directed above.
Flavor development note: I actually prefer these ribs the day after making them. The glaze soaks into the meat more, and the flavors meld together. If you can resist eating them all, try saving some for leftovers!
Nutritional Information & Benefits
While ribs are an indulgence, they do offer some nutritional benefits worth noting. Here’s an approximate breakdown per serving (based on 4 ribs per person):
| Nutrient | Amount per Serving |
|---|---|
| Calories | 580 |
| Protein | 32g |
| Fat | 35g |
| Carbohydrates | 28g |
| Fiber | 1g |
| Sugar | 24g |
| Sodium | 890mg |
Health Highlights: Pork ribs are a good source of high-quality protein, which supports muscle repair and keeps you full. They also provide B vitamins, particularly B12 and niacin, which are important for energy metabolism. The brown sugar and honey add sweetness, but the apple cider vinegar helps balance blood sugar response slightly. If you’re watching your sugar intake, you can reduce the brown sugar in the glaze by half—it will still be delicious, just less sticky.
Dietary Considerations: This recipe is naturally gluten-free (check Worcestershire sauce) and can be made dairy-free by using a plant-based butter substitute. For a lower-carb option, reduce the brown sugar in the rub and glaze, though the iconic sticky texture will be less pronounced. As always, enjoy these ribs as part of a balanced diet—they’re a treat, and that’s okay!
Conclusion
These Sticky Brown Sugar Bourbon Ribs are everything I want in a barbecue recipe—deeply flavorful, incredibly tender, and topped with a glaze that’s pure magic. They’ve become my go-to for gatherings, lazy weekends, and any time I want to impress without stress. The best part? They’re forgiving. If you mess up the glaze or overcook them slightly, they’re still delicious. I promise you that.
I’d love to hear how yours turn out! Did you add extra spice? Try a different bourbon? Serve them with something unexpected? Drop a comment below and let me know. And if you share a photo on social media, tag me—I always love seeing your creations. Happy cooking, friends. These ribs are waiting for you.
Frequently Asked Questions
Can I make these ribs in advance?
Absolutely! You can braise the ribs a day ahead, let them cool, and refrigerate them covered. When you’re ready to serve, bring them to room temperature, apply the glaze, and broil as directed. This actually makes the meat even more tender.
What if I don’t have apple cider?
No problem! You can use apple juice, chicken broth, or even water with a splash of vinegar. The apple cider adds subtle sweetness, but the ribs will still be delicious with any of these substitutes.
How do I know when the ribs are fully cooked?
The best indicator is an instant-read thermometer. Insert it between the bones (not touching bone) and look for 195-203°F. You can also test by lifting the rack with tongs—if it bends easily and the meat starts to crack, it’s done. The meat should also pull back from the bone ends by about 1/4 inch.
Can I use spare ribs instead of baby back ribs?
Yes, but they’ll need a longer cooking time—about 3.5 to 4 hours at 275°F. Spare ribs have more fat and connective tissue, so they benefit from the extra time. The glaze and rub work beautifully with either cut.
Is the bourbon flavor strong?
Not at all! Most of the alcohol cooks off during the braising and glazing process. What remains is a warm, slightly sweet, vanilla-like undertone that complements the brown sugar without being boozy. Even folks who don’t like whiskey usually love these ribs.
Pin This Recipe!
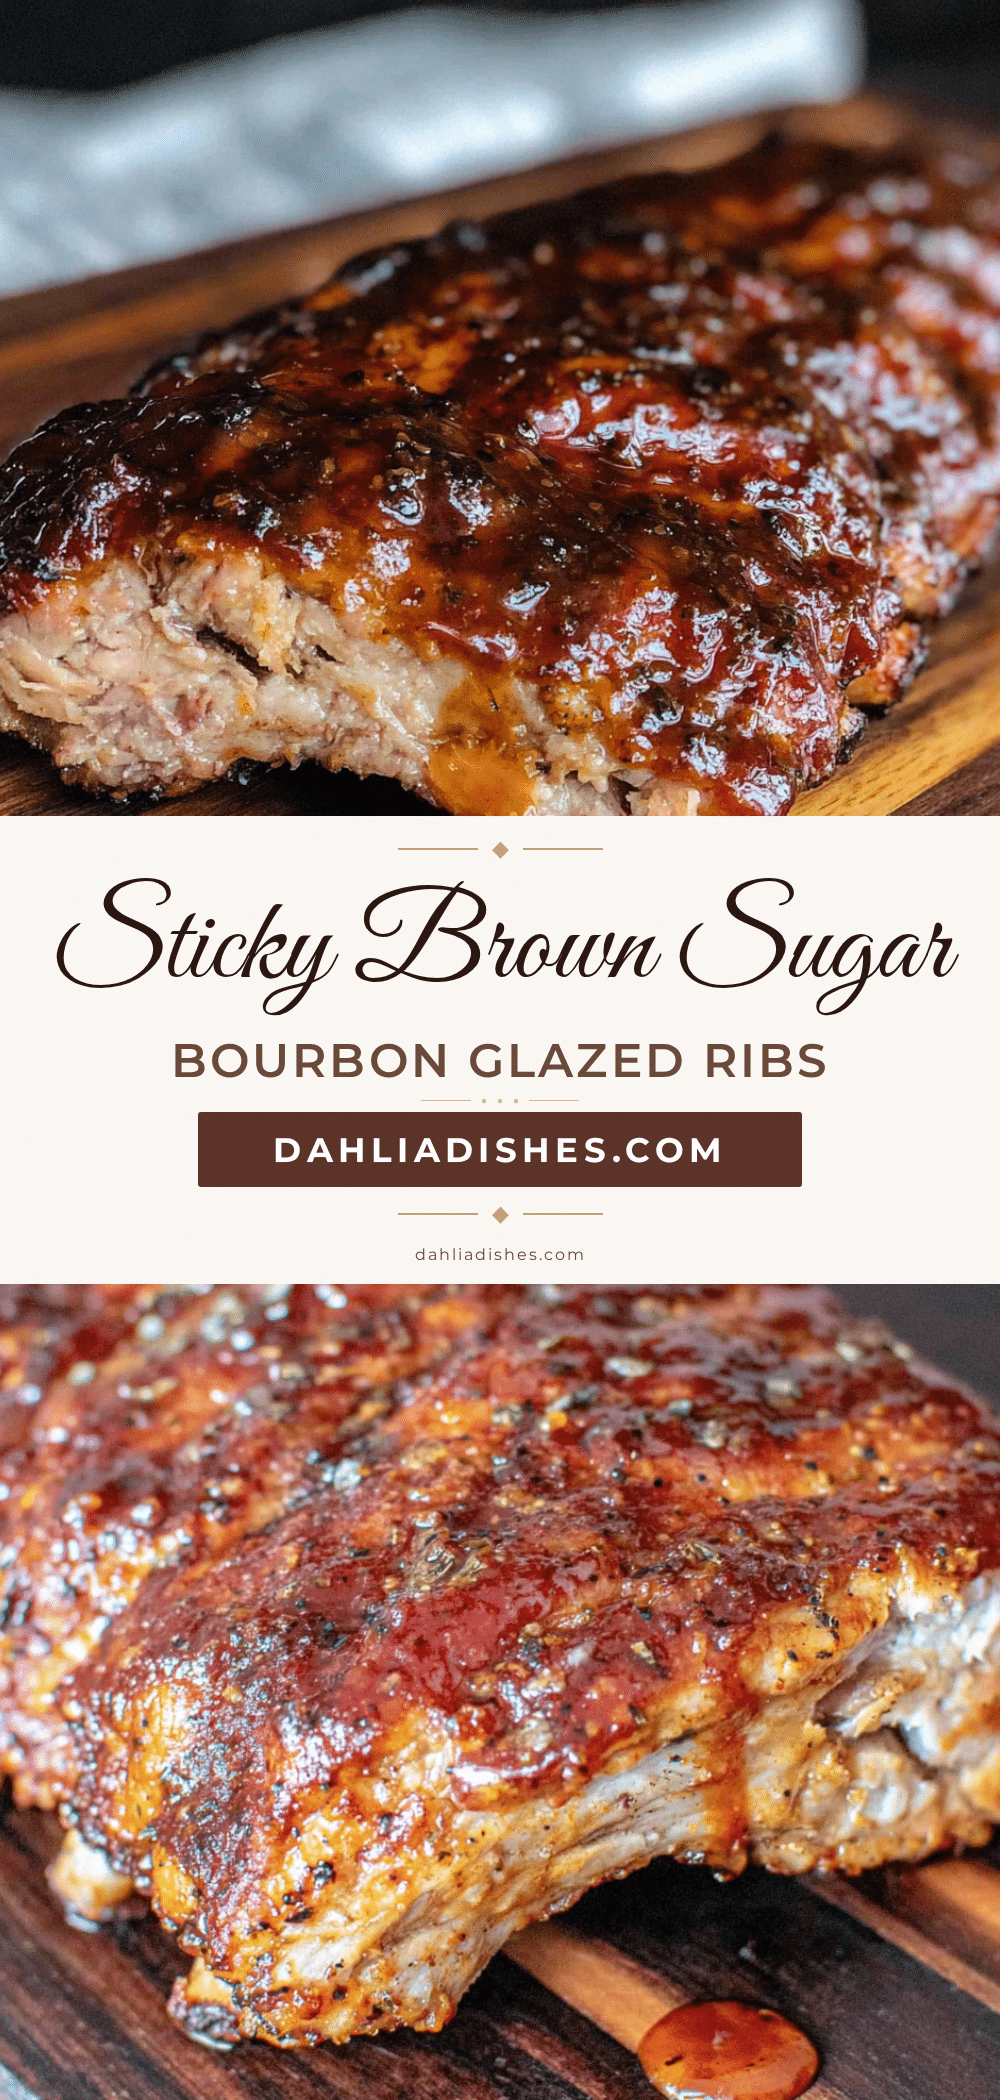
Sticky Brown Sugar Bourbon Ribs: Easy BBQ Recipe
These Sticky Brown Sugar Bourbon Ribs are fall-off-the-bone tender with a thick, glossy glaze that’s smoky, sweet, and slightly boozy. Perfect for game day, summer cookouts, or any time you want to impress without spending all day tending a smoker.
- Prep Time: 15 minutes
- Cook Time: 3 hours
- Total Time: 3 hours 15 minutes
- Yield: 4 servings 1x
- Category: Main Course
- Cuisine: American
Ingredients
- 2 racks baby back ribs (about 4–5 pounds total)
- 1/4 cup brown sugar, packed (dark or light)
- 2 tablespoons smoked paprika
- 1 tablespoon garlic powder
- 1 tablespoon onion powder
- 2 teaspoons kosher salt
- 1 teaspoon black pepper, freshly ground
- 1 teaspoon cayenne pepper (optional, for heat)
- 1 cup apple cider
- 1/4 cup bourbon (for braising)
- 1/2 cup brown sugar, packed (for glaze)
- 1/4 cup bourbon (for glaze)
- 1/4 cup honey
- 2 tablespoons apple cider vinegar
- 2 tablespoons unsalted butter
- 1 teaspoon Worcestershire sauce
Instructions
- Remove the membrane from the back of the ribs by sliding a butter knife under the edge, grabbing it with a paper towel, and pulling it off.
- Pat the ribs dry with paper towels.
- In a small bowl, mix 1/4 cup brown sugar, smoked paprika, garlic powder, onion powder, salt, black pepper, and cayenne (if using). Sprinkle generously over both sides of the ribs and pat to adhere. Let sit at room temperature for 20-30 minutes.
- Preheat the oven to 275°F (135°C).
- In a measuring cup, mix 1 cup apple cider and 1/4 cup bourbon. Pour into the bottom of a large baking sheet or roasting pan.
- Place the seasoned ribs on a wire rack set inside the pan (or directly in the pan). Cover tightly with aluminum foil.
- Bake for 2.5 to 3 hours, until the meat is tender and pulls back from the bones slightly. An instant-read thermometer should read 195-200°F (90-93°C) when inserted between the bones.
- About 15 minutes before the ribs are done, combine 1/2 cup brown sugar, 1/4 cup bourbon, honey, apple cider vinegar, butter, and Worcestershire sauce in a small saucepan. Bring to a simmer over medium heat, stirring constantly. Let bubble gently for 5-7 minutes until thickened and syrupy. Remove from heat.
- Carefully remove the ribs from the oven and increase the oven temperature to broil (high heat). Uncover the ribs and brush a generous layer of glaze over the top side. Reserve some glaze for serving.
- Place the ribs under the broiler for 2-4 minutes, watching closely, until the glaze bubbles and caramelizes into a sticky, dark coating.
- Let the ribs rest for 5-10 minutes before slicing between the bones. Brush with remaining glaze just before serving.
Notes
Don’t rush the low heat—275°F is the sweet spot for tender ribs. Watch the broiler closely to prevent burning. Let the ribs rest for 5-10 minutes before slicing. Double the glaze if you want extra for serving. For a no-alcohol version, substitute bourbon with apple juice and add 1 teaspoon vanilla extract.
Nutrition
- Serving Size: 4 ribs per person
- Calories: 580
- Sugar: 24
- Sodium: 890
- Fat: 35
- Saturated Fat: 12
- Carbohydrates: 28
- Fiber: 1
- Protein: 32
Keywords: sticky brown sugar bourbon ribs, easy BBQ recipe, baby back ribs, oven-baked ribs, bourbon glaze, game day food, summer cookout


