Love this? Save it for later!
Share the inspiration with your friends
It was 10:47 PM on a random Wednesday in October, and I was supposed to be meal-prepping for the week. Honestly, I had a block of cream cheese in my hand and absolutely no plan. The party was in two days, and I kept seeing these gorgeous, intricate cheese balls online that looked like they took a culinary degree and a steady hand I definitely don’t have. I didn’t have any fancy molds or special equipment, but I had a bag of black olives, a block of cheddar, and the slightly unhinged idea that maybe I could just… draw a web on it with a toothpick. Let me tell you, the power went out for a second—flickering lights and everything—and in that moment, I knew this cheese ball was destined to be a spooky spiderweb. It felt like the recipe found me, not the other way around. Maybe you’ve been there, staring at a block of cheese at 11 PM, wondering if you can turn it into something magical. This spooky spiderweb cheese ball is that moment, perfected.
Why You’ll Love This Recipe
This isn’t just another cheese ball. It’s the appetizer that disappears before the main course even hits the table. I’ve tested this version at three different Halloween parties, and every single time, someone asks for the recipe. It’s that good.
- Quick & Easy : Comes together in under 20 minutes of active prep time. No baking, no complicated steps.
- Simple Ingredients : You likely already have cream cheese, cheddar, and a few spices in your kitchen. The “spider” is just a black olive.
- Perfect for Halloween Parties : This is the showstopper your snack table needs. It sets the spooky mood without being too creepy for the kids.
- Crowd-Pleaser : Creamy, cheesy, and savory with a perfect crunch from the crackers. Both kids and adults go crazy for it.
- Unbelievably Delicious : The blend of sharp cheddar, cream cheese, and a hint of garlic powder creates a flavor that is next-level comfort food.
What makes this recipe different from the rest is the technique. Instead of just slapping a web design on top, I use a simple piping method with a ziplock bag that gives you a perfect, Instagram-worthy spiderweb every single time. It’s comfort food reimagined for the spooky season—faster, easier, but with the same soul-soothing satisfaction. Perfect for impressing guests without stress, or turning a simple snack into something memorable.
What Ingredients You Will Need
This recipe uses simple, wholesome ingredients to deliver bold flavor and a striking visual without the fuss. Most of these are pantry staples, making it perfect for last-minute Halloween prep.
- For the Cheese Ball Base:
- 16 oz cream cheese, softened (use full-fat for best texture)
- 2 cups sharp cheddar cheese, shredded (I recommend Tillamook or Cabot for bold flavor)
- 1/4 cup sour cream (adds richness and tang)
- 1 teaspoon garlic powder
- 1/2 teaspoon onion powder
- 1/2 teaspoon smoked paprika (gives a subtle smoky depth)
- 1/4 teaspoon black pepper
- 1/4 teaspoon salt
- For the Spiderweb Coating:
- 1/2 cup shredded mozzarella cheese (for the white web effect)
- 1 tablespoon milk (to thin the mozzarella for piping)
- For the Spider Decoration:
- 1 large black olive, pitted (for the body)
- 8 small black olive slices (for the legs)
- For Serving:
- Assorted crackers (I love buttery Ritz or sturdy whole wheat crackers)
- Fresh vegetable sticks (optional, for a lower-carb option)
Ingredient Selection Tips: Look for block-style cream cheese rather than the whipped variety for a denser, more stable cheese ball. If you are dairy-free, use a high-quality vegan cream cheese and shredded cheddar alternative. For a gluten-free version, simply serve with gluten-free crackers or cucumber rounds.
Equipment Needed
You don’t need a fancy kitchen to pull this off. Here is what you’ll need:
- Mixing bowls: One large bowl for the cheese mixture and one small bowl for the web coating.
- Hand mixer or stand mixer: A hand mixer works perfectly. I’ve made this with a wooden spoon, and it works, but your arm will get a workout.
- Plastic wrap: Essential for shaping the cheese ball into a perfect round.
- Piping bag or ziplock bag: A quart-sized ziplock bag with the corner snipped off works like a charm. No need for fancy piping tips.
- Toothpick or skewer: For creating the web pattern.
- Serving platter: A dark-colored plate or a Halloween-themed board makes the web pop.
Budget-Friendly Tip: If you don’t have a hand mixer, you can soften the cream cheese by leaving it out for an hour and then mashing it with a fork. It takes a little more elbow grease, but the results are the same.
Preparation Method
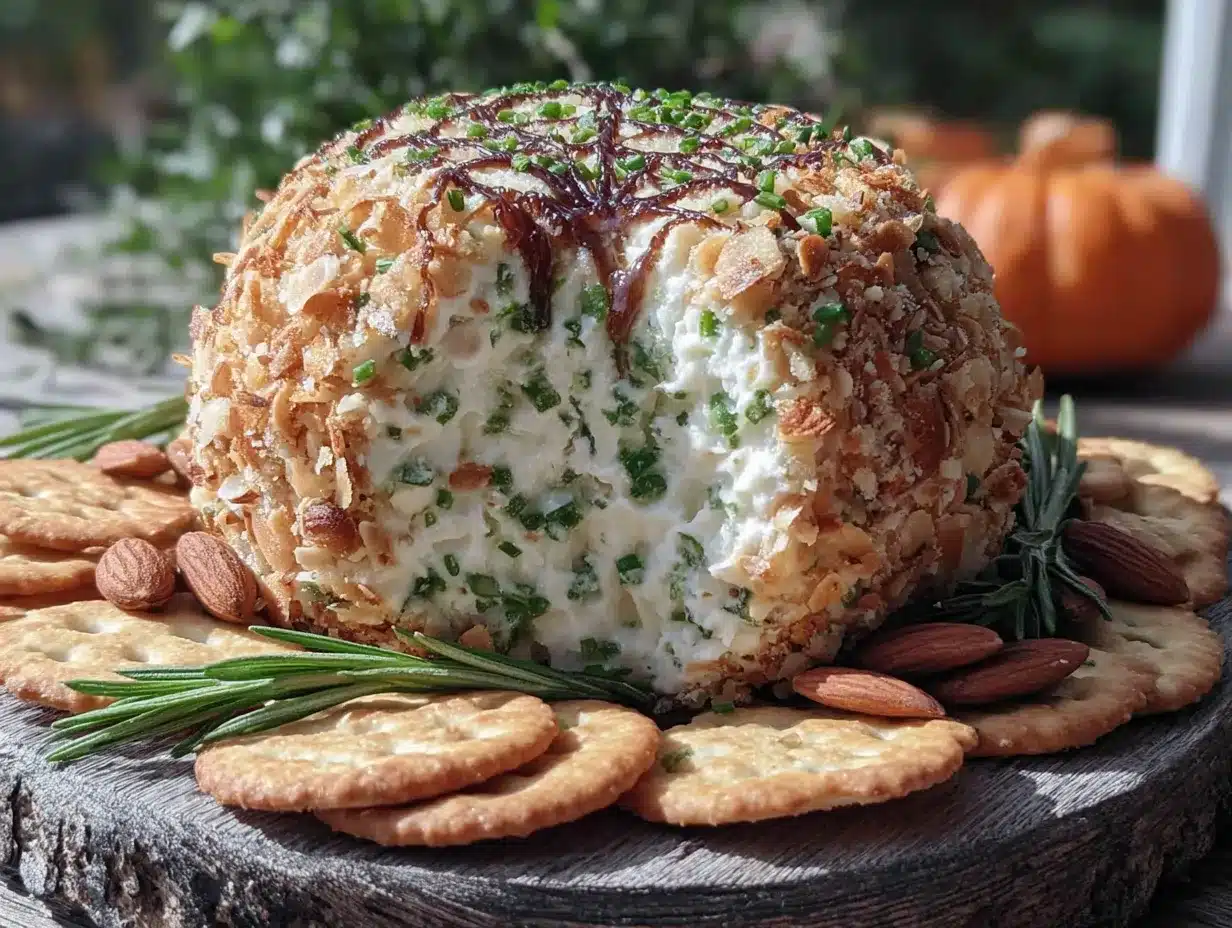
- Soften the cream cheese (15-20 minutes): Take your cream cheese out of the fridge and let it sit at room temperature for 15-20 minutes. You want it soft enough that a finger leaves an indent but not so soft that it’s runny. Trust me, cold cream cheese will leave you with lumpy cheese ball disaster.
- Mix the cheese base (5 minutes): In a large mixing bowl, combine the softened cream cheese, shredded cheddar, sour cream, garlic powder, onion powder, smoked paprika, black pepper, and salt. Use your hand mixer on medium speed until everything is smooth and well combined. Scrape down the sides of the bowl halfway through. The mixture should be thick and hold its shape when you stop mixing.
- Shape the cheese ball (2 minutes): Lay out a large piece of plastic wrap on your counter. Scoop the cheese mixture onto the center of the plastic wrap. Gather the edges of the plastic wrap and twist them together, forming the mixture into a tight, round ball. Smooth it out with your hands through the plastic wrap. Refrigerate the wrapped cheese ball for at least 1 hour, or up to overnight. This step is crucial—it firms up the ball so the web doesn’t smear.
- Prepare the web coating (5 minutes): In a small bowl, combine the shredded mozzarella cheese and 1 tablespoon of milk. Microwave in 15-second intervals, stirring between each, until the cheese is fully melted and smooth. This usually takes about 30-45 seconds total. Let it cool for 2 minutes so it’s warm but not hot.
- Create the piping bag (1 minute): Spoon the melted mozzarella mixture into a small ziplock bag. Seal the bag tightly, then snip a tiny corner off the bottom. The hole should be about 1/8 inch wide—smaller than you think you need. You can always make the hole bigger, but you can’t fix a hole that’s too big.
- Pipe the spiderweb (3 minutes): Remove the chilled cheese ball from the fridge and unwrap it. Place it on your serving platter. Starting from the top of the cheese ball, pipe a straight line of the mozzarella mixture down to the bottom. Repeat this 5-6 times around the ball, creating sections like a pizza. Then, starting from the top again, pipe a curved line connecting two of the straight lines. Pipe another curved line slightly below the first, and continue until you reach the bottom. You should have a concentric web pattern. If the mozzarella mixture starts to harden, microwave it for 10 seconds to loosen it up.
- Create the spider (2 minutes): Take your large black olive and slice it in half lengthwise. One half will be the body. For the legs, slice 4 small black olives into thin strips, giving you 8 leg pieces. Place the olive body on top of the cheese ball, then arrange 4 leg pieces on each side of the body, pressing them gently into the cheese ball so they stick.
- Final chill (15 minutes): Place the finished cheese ball back in the fridge for 15 minutes to set the web. This makes the design hold when you serve it.
Sensory Cue: When you pipe the web, you should see the white mozzarella contrast beautifully against the orange cheese ball. The web should look delicate but defined. If it looks too thick, you can gently drag a toothpick through the lines to thin them out.
Cooking Tips & Techniques
I’ve made this cheese ball about seven times now, and I’ve learned a few things the hard way. Here are my best tips:
- Don’t skip the chill time. The first time I made this, I was in a rush and only chilled the cheese ball for 15 minutes. The web completely smeared into the cheese ball, and it looked like a sad, white blob. Chilling for at least an hour makes the surface firm enough to hold the web pattern.
- Use full-fat cream cheese. Low-fat cream cheese has more water content, which makes the cheese ball softer and harder to shape. I learned this after a particularly messy attempt where the ball just collapsed into a cheesy puddle.
- Warm the mozzarella slowly. If you microwave the mozzarella too quickly, it will seize up and become rubbery. Low and slow is the way to go. If it does seize, add another tablespoon of milk and stir vigorously.
- Practice the web on a plate first. Before you pipe onto the cheese ball, try piping a small web pattern on a spare plate. It helps you get a feel for the pressure and speed you need.
- Multitasking strategy: While the cheese ball is chilling in step 3, you can prep your crackers and arrange your serving platter. This saves you from scrambling right before the party.
Variations & Adaptations
This recipe is incredibly versatile. Here are some ways to make it your own:
- Spicy Southwest Version: Add 1/4 cup of finely chopped pickled jalapeños and 1/2 teaspoon of cumin to the cheese mixture. The heat contrasts beautifully with the creamy base. I tried this for a Halloween fiesta, and it was a hit.
- Herb & Garlic Version: Replace the garlic powder with 2 cloves of fresh minced garlic and add 2 tablespoons of chopped fresh chives and 1 tablespoon of fresh dill. This gives the cheese ball a fresher, more sophisticated flavor.
- Vegan Adaptation: Use 16 oz of vegan cream cheese (I like Kite Hill) and 2 cups of vegan shredded cheddar. For the web, use a simple vegan cream cheese thinned with a splash of plant milk instead of mozzarella. The texture will be slightly softer, so chill it for an extra 30 minutes.
- Nutty Crunch Version: After shaping the cheese ball but before piping the web, roll it in 1/2 cup of finely chopped pecans or walnuts. The crunch adds a wonderful texture contrast to the creamy cheese.
Serving & Storage Suggestions
This cheese ball is best served cold, straight from the fridge. The firm texture makes it easier to spread on crackers without it crumbling. Arrange the crackers in a circular pattern around the cheese ball on a dark platter to make the spiderweb pop.
Complementary Dishes: Serve alongside a bowl of spicy pumpkin soup for a cozy Halloween dinner, or pair it with roasted buffalo cauliflower bites for a game-day spread. A glass of crisp apple cider or a light Pinot Grigio balances the richness perfectly.
Storage Instructions: Store the cheese ball in an airtight container in the refrigerator for up to 5 days. The web pattern will soften slightly over time, but the flavor actually improves after a day as the spices meld together.
Reheating Tip: You don’t need to reheat this cheese ball, but if you want a softer, more spreadable texture, let it sit at room temperature for 10-15 minutes before serving. Do not microwave it—the web will melt into a puddle.
Freezer Instructions: You can freeze the cheese ball (without the web decoration) for up to 1 month. Wrap it tightly in plastic wrap and then in aluminum foil. Thaw it in the refrigerator overnight, then pipe the web and add the spider before serving.
Nutritional Information & Benefits
While this is an indulgent appetizer, it does have some redeeming qualities. Here is the estimated nutritional breakdown per serving (based on 12 servings, with crackers not included):
| Nutrient | Amount per Serving |
|---|---|
| Calories | 210 kcal |
| Total Fat | 18 g |
| Saturated Fat | 11 g |
| Protein | 9 g |
| Carbohydrates | 3 g |
| Calcium | 180 mg (15% DV) |
Health Benefits: Cream cheese and cheddar are good sources of calcium, which is essential for bone health. The protein content makes this a more satisfying snack than plain crackers. For a lower-calorie option, serve with cucumber rounds or celery sticks instead of crackers.
Dietary Considerations: This recipe is naturally low-carb and gluten-free when served with vegetable dippers. For a dairy-free version, use the vegan adaptation mentioned above. Always check your cracker labels for hidden gluten or dairy if you have allergies.
FAQs
Can I make this cheese ball ahead of time?
Absolutely! You can make the cheese ball (without the web and spider) up to 3 days in advance. Keep it wrapped in plastic wrap in the fridge. On the day of your party, pipe the web and add the spider decoration about 30 minutes before serving.
My mozzarella web mixture is too thick. What should I do?
If the mozzarella mixture seizes up or becomes too thick to pipe, add 1-2 teaspoons of milk and microwave it for 10 seconds. Stir vigorously until it becomes smooth and pourable again. If it’s still too thick, add another teaspoon of milk.
Can I use a different cheese for the web?
Yes! You can use a mixture of cream cheese and a splash of milk for a white web. Some people use sour cream, but it tends to be thinner and may run down the sides of the cheese ball. Mozzarella gives the best texture and hold.
How do I get the spiderweb pattern to look perfect?
The trick is to work quickly and confidently. Pipe the straight lines first, then the curved lines. If you make a mistake, you can gently wipe the area with a paper towel and re-pipe. Don’t overthink it—imperfect webs look more realistic anyway!
Can I use a different shape for the cheese ball?
Of course! You can shape it into a pumpkin, a skull, or even a ghost. Just adjust the web pattern and decorations accordingly. For a pumpkin shape, use a pretzel stick as the stem and pipe orange-colored cream cheese for the web.
Conclusion
This spooky spiderweb cheese ball is more than just a Halloween appetizer—it’s a conversation starter. Every time I bring it to a party, people gather around it, snapping photos and asking how I made it. The best part? It’s deceptively simple. You don’t need to be a professional chef or a Pinterest-perfect host to pull this off. You just need a block of cream cheese, a bit of patience, and a willingness to have fun with your food.
I love this recipe because it reminds me that cooking doesn’t have to be serious. It’s okay to play with your food, especially when it tastes this good. So go ahead—give it a try. Make it your own. Add extra garlic, swap the cheddar for pepper jack, or shape it into a ghost. I’d love to hear how it turns out. Drop a comment below and tell me about your Halloween spread. Did the kids love the spider? Did your guests fight over the last cracker? Share your story—I read every single comment, and nothing makes me happier than knowing this recipe brought a little spooky joy to your table.
Pin This Recipe!
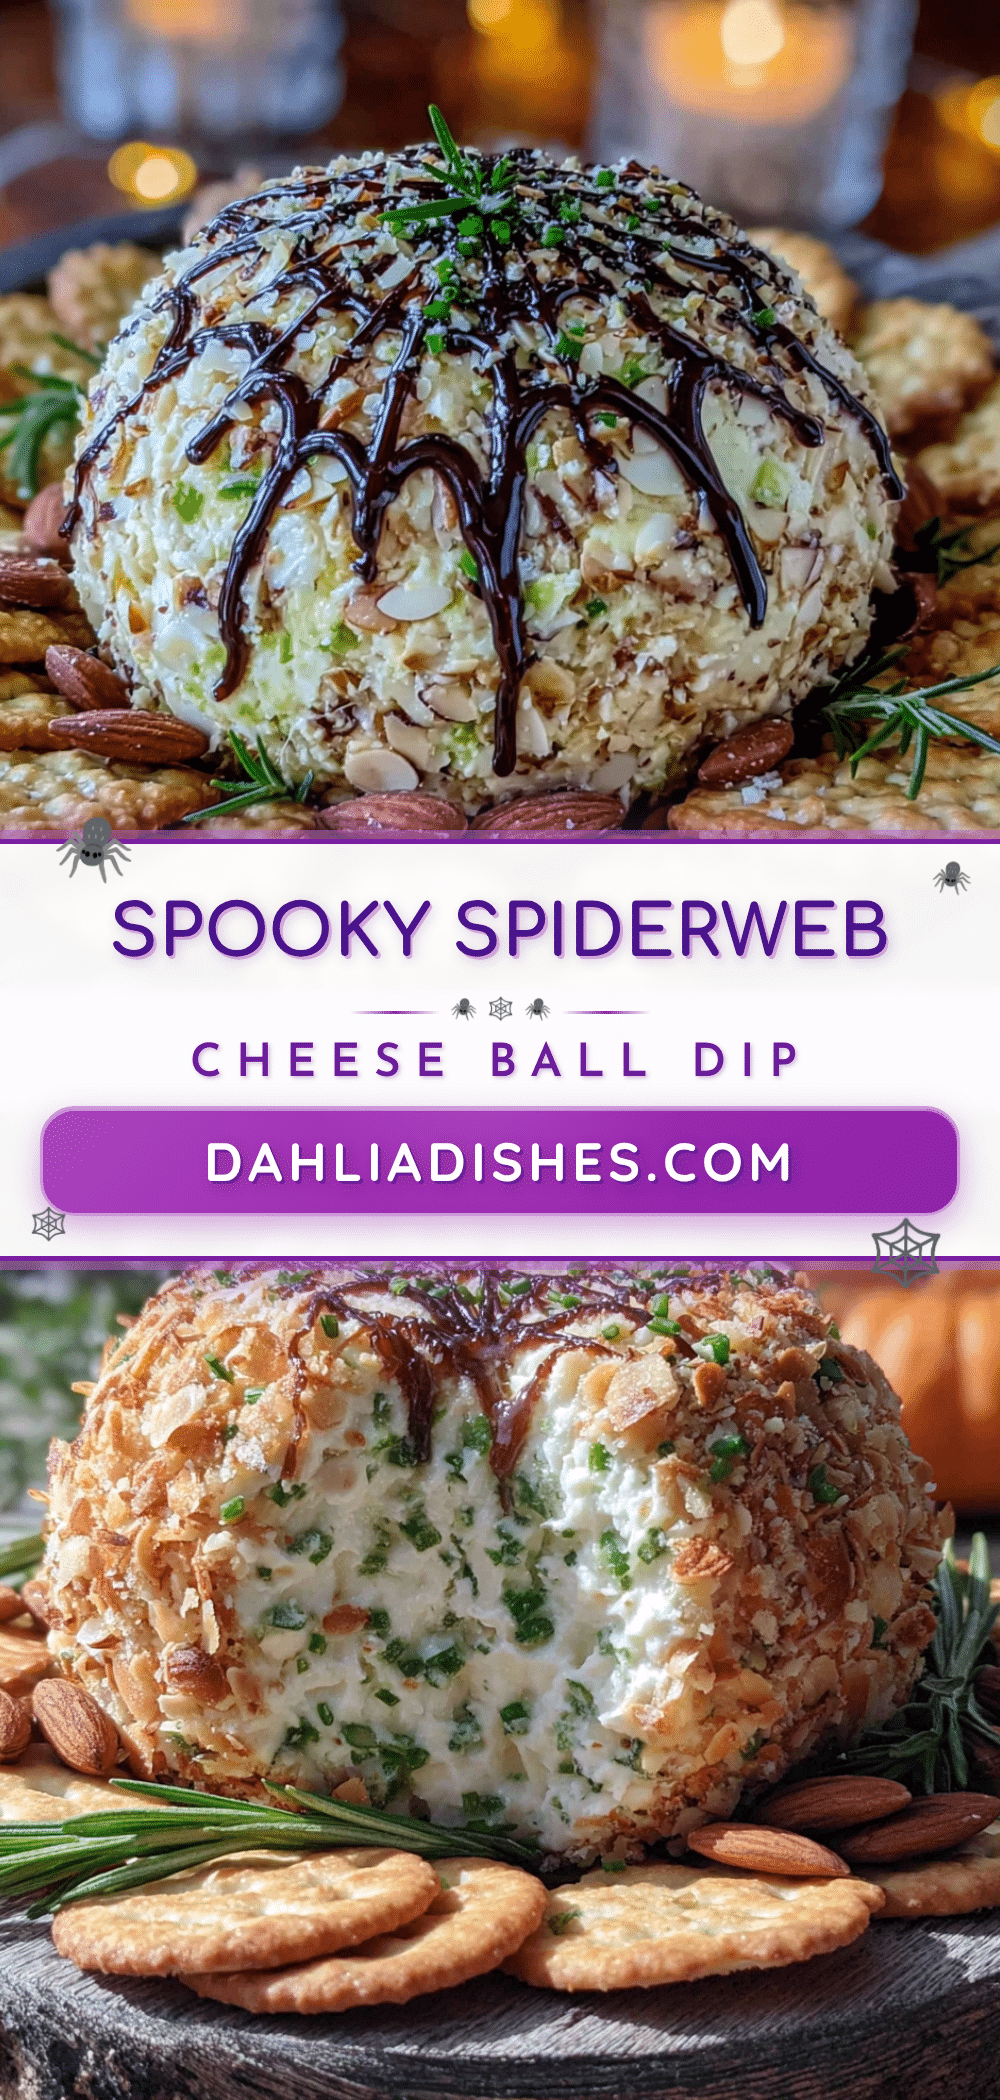
Spooky Spiderweb Cheese Ball Recipe – Easy Halloween Appetizer

This spooky spiderweb cheese ball is the perfect Halloween appetizer—creamy, cheesy, and topped with a striking spiderweb design made from melted mozzarella. It’s quick to prepare, uses simple ingredients, and is sure to be a crowd-pleaser at any Halloween party.
- Prep Time: 20 minutes
- Cook Time: 0 minutes
- Total Time: 1 hour 35 minutes (includes chilling)
- Yield: 12 servings 1x
- Category: Appetizer
- Cuisine: American
Ingredients
- 16 oz cream cheese, softened
- 2 cups sharp cheddar cheese, shredded
- 1/4 cup sour cream
- 1 teaspoon garlic powder
- 1/2 teaspoon onion powder
- 1/2 teaspoon smoked paprika
- 1/4 teaspoon black pepper
- 1/4 teaspoon salt
- 1/2 cup shredded mozzarella cheese
- 1 tablespoon milk
- 1 large black olive, pitted
- 8 small black olive slices
- Assorted crackers for serving
- Fresh vegetable sticks (optional)
Instructions
- Soften the cream cheese: Take cream cheese out of fridge and let sit at room temperature for 15-20 minutes until soft but not runny.
- Mix the cheese base: In a large bowl, combine softened cream cheese, shredded cheddar, sour cream, garlic powder, onion powder, smoked paprika, black pepper, and salt. Beat with a hand mixer on medium speed until smooth and well combined.
- Shape the cheese ball: Place mixture onto a large piece of plastic wrap. Gather edges and twist to form a tight round ball. Smooth through the plastic wrap. Refrigerate for at least 1 hour or up to overnight.
- Prepare the web coating: In a small bowl, combine shredded mozzarella and 1 tablespoon milk. Microwave in 15-second intervals, stirring between each, until fully melted and smooth (about 30-45 seconds). Let cool for 2 minutes.
- Create the piping bag: Spoon melted mozzarella into a small ziplock bag. Seal tightly, then snip a tiny corner off the bottom (about 1/8 inch wide).
- Pipe the spiderweb: Remove chilled cheese ball from fridge and unwrap. Place on serving platter. Starting from top, pipe a straight line of mozzarella down to bottom. Repeat 5-6 times around the ball to create sections. Then pipe curved lines connecting the straight lines, starting from top and working down to create a concentric web pattern.
- Create the spider: Slice large black olive in half lengthwise for the body. Slice 4 small black olives into thin strips for legs (8 pieces total). Place olive body on top of cheese ball, then arrange 4 leg pieces on each side, pressing gently into the cheese ball.
- Final chill: Place finished cheese ball back in fridge for 15 minutes to set the web before serving.
Notes
Don’t skip the chill time—it firms up the cheese ball so the web doesn’t smear. Use full-fat cream cheese for best texture. If mozzarella mixture becomes too thick, add 1-2 teaspoons milk and microwave for 10 seconds. The cheese ball can be made up to 3 days ahead (without web and spider).
Nutrition
- Serving Size: 1 serving (about 1/1
- Calories: 210
- Sugar: 1
- Sodium: 320
- Fat: 18
- Saturated Fat: 11
- Carbohydrates: 3
- Protein: 9
Keywords: Halloween appetizer, cheese ball, spiderweb, cream cheese, party snack, easy, spooky


