Love this? Save it for later!
Share the inspiration with your friends
I wasn’t supposed to be in that kitchen. I’d stopped by my neighbor, Leo’s, place to grab a package that got delivered to his house by mistake, and honestly, I was planning to be in and out in under two minutes. But then I smelled it. That nutty, almost caramel-like aroma that stopped me mid-step, right there in his doorway. It was a Wednesday afternoon, not a holiday, not a party, just a regular day. Leo was at the stove, casually browning butter in a saucepan like it was nothing special. He barely looked up, just said, “Oh hey, grab a spoon. These are about to change your life.”
And the thing is, he wasn’t exaggerating. He wasn’t trying to impress me. He was just making cookies for his kid’s soccer team snack. The casualness of it all was almost insulting, honestly. Here I was, someone who has spent years testing and tweaking cookie recipes, and this guy was just winging it with a pan of bubbling butter and a bag of chocolate chips. He didn’t have a written recipe. He was going by feel, by the color of the butter, the sound of the sizzle. I stood there, spoon in hand, watching him work, and I knew I had to figure out what he was doing.
These soft-baked brown butter chocolate chip cookies are the result of that afternoon. They are not just another cookie recipe. They are the cookie you make when you want something that tastes like you spent hours in the kitchen, but really, the secret is all in one simple, magical step. The brown butter does all the heavy lifting. It adds a depth of flavor that regular butter just can’t touch. I’ve made these more times than I can count since that day, and they never fail to get that “Oh my god, what did you put in these?” reaction. Maybe you’ve been there, chasing that perfect cookie texture—crispy edges, soft center, that rich, almost butterscotch flavor. Well, let me tell you, this is it.
Why You’ll Love This Recipe
Let’s be honest, the internet is full of chocolate chip cookie recipes. So why should you trust this one? Because I’ve made the mistakes so you don’t have to. I’ve had flat cookies, dry cookies, and cookies that spread into one giant, sad disc. This recipe is the result of dozens of trials, all starting from that one perfect batch Leo made. It’s been tested, tweaked, and approved by everyone from picky toddlers to my dad, who claims he doesn’t have a sweet tooth.
- Unbelievably Soft-Baked: The texture is the star here. Thanks to a specific ratio of brown to granulated sugar and a short chill time, these cookies stay soft and chewy for days. You won’t get that rock-hard cookie situation by day two.
- That Brown Butter Magic: This isn’t just a gimmick. Browning the butter adds a nutty, toasty, almost caramel-like flavor that makes these taste like a gourmet bakery cookie. It is the single best upgrade you can make to a classic cookie.
- Simple, Pantry Ingredients: No weird flours or obscure extracts. You probably have everything you need right now, except maybe the butter (and you’ll want to get that out now to soften).
- Perfect for Any Occasion: Need a last-minute dessert for a potluck? A weekend baking project with the kids? A treat for yourself on a Tuesday? These fit the bill. They’re impressive without being fussy.
- Crowd-Pleaser Guaranteed: I have yet to meet a person who doesn’t love these. They have that nostalgic, classic cookie flavor, but with a sophisticated twist that makes adults go back for thirds.
This recipe isn’t just another version of a chocolate chip cookie. It is the version. The one that makes you close your eyes after the first bite. It’s comfort food, perfected.
What Ingredients You Will Need
This recipe relies on simple, high-quality ingredients. The magic happens when you take a few extra minutes to brown the butter, but the rest is pure, uncomplicated cookie goodness. Here is what you need and why each one matters.
- Unsalted Butter (1 cup / 2 sticks): This is the star. Use unsalted so you can control the salt level. You will be browning this, so don’t skip that step. I prefer using a good quality butter like Kerrygold for its higher fat content, which gives a richer flavor and better browning.
- Brown Sugar (1 cup, packed): Light or dark brown sugar works. Dark brown sugar will give you a deeper, more molasses-like flavor and a chewier cookie. I use light brown sugar for a more classic taste.
- Granulated Sugar (½ cup): This adds the necessary sweetness and helps with spreading and creating those slightly crispy edges.
- Large Eggs (2): They need to be at room temperature. Cold eggs can seize the brown butter and ruin the emulsion. Just set them on the counter for 30 minutes before you start.
- Vanilla Extract (2 teaspoons): Use pure vanilla extract, not imitation. It makes a difference in the depth of flavor. I’m partial to Nielsen-Massey, but any good brand works.
- All-Purpose Flour (2 ¼ cups): Spoon and level your flour. Scooping directly from the bag can pack it down and lead to dry cookies. Fluff it up with a spoon, then spoon it into your measuring cup and level it off with a knife.
- Baking Soda (1 teaspoon): This is our leavening agent. It helps the cookies spread and become chewy.
- Salt (1 teaspoon): I use fine sea salt. Salt is crucial in cookies—it balances the sweetness and enhances the brown butter flavor. Don’t skip it.
- Semi-Sweet Chocolate Chips (2 cups): I prefer Ghirardelli 60% cacao chips. They hold their shape well and have a nice balance of sweetness and bitterness. You can also chop up a good quality chocolate bar for more varied puddles of chocolate.
- Flaky Sea Salt (for finishing): This is optional but highly recommended. A sprinkle of Maldon sea salt on top right after they come out of the oven takes these to another level.
Equipment Needed
You don’t need a fancy kitchen to make these cookies, but a few key tools make the process smoother and more enjoyable.
- Light-Colored Saucepan or Skillet: This is essential for browning the butter. A light-colored pan lets you see the butter solids turn that perfect golden-brown color. A dark pan makes it too hard to judge.
- Large Mixing Bowls: You’ll need one for the wet ingredients and one for the dry. I prefer glass or stainless steel.
- Whisk: For combining the wet ingredients and making sure everything is smooth.
- Rubber Spatula: For folding in the chocolate chips and scraping down the bowl. A good, sturdy one is a game-changer.
- Cookie Scoop (1.5-tablespoon size): This gives you uniform cookies that bake evenly. It also makes the process much faster than using two spoons. A #40 scoop is perfect.
- Baking Sheets: I use aluminum half-sheet pans. They conduct heat evenly.
- Parchment Paper or Silicone Baking Mat: This prevents sticking and makes cleanup a breeze. Parchment paper is also great for sliding the cookies off the pan to cool.
- Cooling Rack: Essential for letting the cookies cool properly so they don’t get soggy on the bottom.
Preparation Method
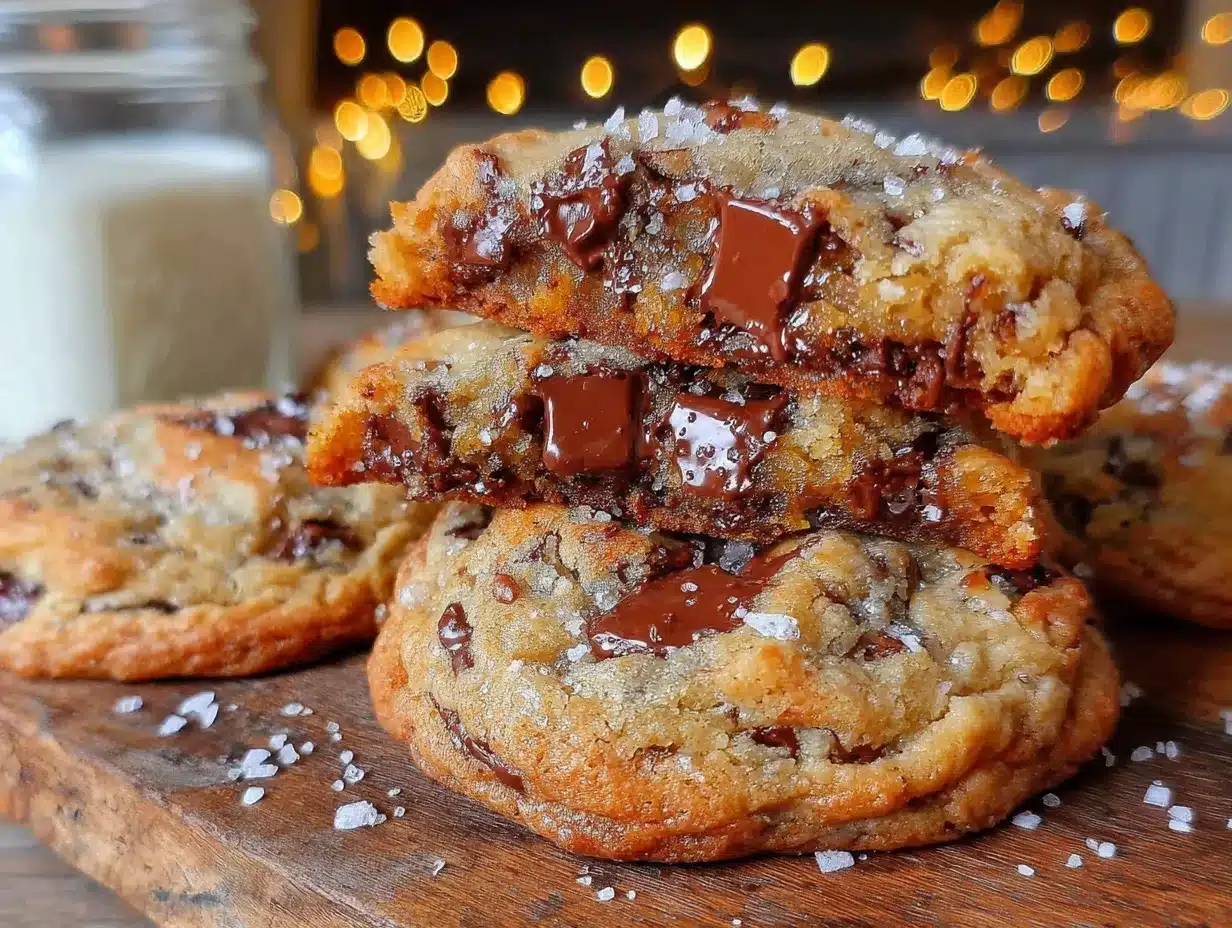
This is where the magic happens. Follow these steps closely, and you will have the best cookies of your life. The key is to not rush the browning butter step.
- Brown the Butter: Place the butter in your light-colored saucepan over medium heat. Stir it constantly with a rubber spatula or whisk. It will melt, then start to foam, then the foam will subside. Watch closely. After the foam subsides, you’ll see little brown specks forming at the bottom of the pan. The butter will smell nutty and amazing. This takes about 5-7 minutes. Immediately remove the pan from the heat and pour the brown butter into a large mixing bowl (including all those brown bits—that’s the flavor!). Let it cool for 10-15 minutes. It should be warm, not hot, to the touch.
- Combine Sugars and Butter: Add the brown sugar and granulated sugar to the warm brown butter. Whisk vigorously until the mixture is smooth and looks like wet sand. It will be thick and glossy.
- Add Eggs and Vanilla: Add the room-temperature eggs one at a time, whisking well after each addition. Then add the vanilla extract. Whisk until the mixture is smooth, pale, and slightly thickened. It should look like a light caramel sauce.
- Whisk Dry Ingredients: In a separate, medium bowl, whisk together the all-purpose flour, baking soda, and salt. This ensures the leavening and salt are evenly distributed.
- Combine Wet and Dry: Pour the dry ingredients into the wet ingredients. Use a rubber spatula to fold them together gently. Mix just until you no longer see streaks of flour. Do not overmix, or the cookies will be tough. A few small streaks of flour are okay at this point.
- Add Chocolate Chips: Pour in the chocolate chips. Fold them into the dough with the spatula until they are evenly distributed. The dough will be thick and slightly sticky.
- Chill the Dough (Crucial Step): Cover the bowl with plastic wrap and refrigerate for at least 30 minutes, but 1 hour is better. This step is non-negotiable for soft-baked cookies. It prevents the cookies from spreading too much and allows the flavors to meld. Your dough should be firm but still scoopable.
- Preheat Oven and Prep Pans: While the dough chills, preheat your oven to 350°F (175°C). Line two baking sheets with parchment paper or silicone mats.
- Scoop the Dough: Using your cookie scoop, portion out rounded tablespoons of dough (about 1.5 tablespoons each). Place them 2 inches apart on the prepared baking sheets. If you want bakery-style cookies, you can place a few extra chocolate chips on top of each dough ball.
- Bake: Bake one sheet at a time in the center of the oven for 10-12 minutes. The cookies are done when the edges are set and lightly golden, but the centers still look slightly soft and underdone. They will continue to cook on the hot pan. For a truly soft-baked cookie, pull them out at 10 minutes.
- Cool and Finish: Let the cookies cool on the baking sheet for 5 minutes. This is when you sprinkle them with flaky sea salt, if using. Then, carefully transfer them to a wire rack to cool completely. The centers will set as they cool, giving you that perfect soft texture.
Cooking Tips & Techniques
Over the many batches I’ve made, I’ve learned a few things the hard way. Here are my best tips for getting it right every time.
- Don’t Walk Away from the Butter: Browning butter is a fast process. It can go from perfect to burnt in seconds. Once you see those brown specks and smell that nutty aroma, pull it off the heat immediately. I once got distracted by a phone call and ended up with black butter. It was a sad day.
- Cool the Butter Properly: If the brown butter is too hot when you add the eggs, you’ll end up with scrambled eggs in your cookie dough. Let it cool for a solid 10-15 minutes. It should feel warm to the touch, not hot. If you’re in a hurry, you can speed this up by placing the bowl in the fridge for 5 minutes, stirring every minute.
- Use a Kitchen Scale: For the most consistent results, weigh your flour. 1 cup of all-purpose flour is 120 grams. This is the single best way to avoid dry, crumbly cookies. I use my scale for everything now.
- The Chill is Your Friend: I know it’s tempting to skip the chilling step, but don’t. It solidifies the butter, which prevents the cookies from spreading into thin, crispy discs. It also allows the flour to hydrate fully, resulting in a more tender, chewy cookie. I’ve made the mistake of baking immediately, and I got flat, greasy cookies.
- Room Temperature Eggs: This is a small detail that makes a big difference. Cold eggs can cause the brown butter to seize and become grainy. Just set them on the counter for 30 minutes, or place them in a bowl of warm water for 5 minutes.
- Don’t Overbake: The number one mistake people make is baking cookies until they look “done” in the oven. They should look slightly puffy and soft in the center. They will continue to bake and set on the hot baking sheet. Trust the process.
Variations & Adaptations
This dough is incredibly versatile. Once you have the basic recipe down, feel free to play around. Here are some of my favorite variations.
- Chocolate Lover’s Dream: Swap ½ cup of the semi-sweet chips for dark chocolate chunks or even white chocolate chips. The contrast of the dark, bitter chocolate with the sweet, nutty dough is incredible.
- Nutty Brown Butter Cookies: Toast ½ cup of chopped pecans or walnuts in a dry skillet over medium heat for 3-4 minutes until fragrant. Let them cool, then fold them into the dough along with the chocolate chips. The toasted nuts add an amazing crunch and complement the brown butter perfectly.
- Gluten-Free Adaptation: I have tested this with a 1-to-1 gluten-free flour blend (like King Arthur Measure for Measure) with great success. Do not substitute coconut flour or almond flour, as they will change the texture completely. The cookies will be slightly more delicate but still soft and delicious.
- Sea Salt & Caramel: After scooping the dough, press a soft caramel candy (like a Werther’s Soft) into the center of each dough ball, then seal the dough around it. Bake as directed. The caramel melts into a gooey center. Finish with flaky sea salt.
- Peppermint Holiday Twist: For the holidays, swap the vanilla extract for 1 teaspoon of peppermint extract. Crush up a few candy canes and sprinkle them on top of the cookies right after they come out of the oven. It’s a festive and delicious twist.
Serving & Storage Suggestions
These cookies are best enjoyed warm, but they are fantastic at room temperature too. Here is how to serve and store them for the best experience.
- Serving Temperature: Serve them slightly warm for the ultimate gooey experience. You can pop them in a 300°F oven for 3-4 minutes to reheat them. A glass of cold milk or a hot cup of coffee is the perfect companion.
- Presentation: Stack them on a beautiful plate or in a mason jar for a rustic, inviting look. A sprinkle of flaky sea salt on top is a must for presentation and flavor.
- Storage: Store cooled cookies in an airtight container at room temperature for up to 5 days. To keep them extra soft, add a slice of plain bread to the container. The bread absorbs excess moisture and releases it, keeping the cookies perfectly soft. Replace the bread slice every other day.
- Freezing: You can freeze the baked cookies for up to 3 months. Layer them between sheets of parchment paper in a freezer-safe bag or container. Thaw at room temperature for about 30 minutes. You can also freeze the raw dough balls. Scoop them onto a baking sheet, freeze until solid, then transfer to a freezer bag. Bake from frozen, adding 2-3 minutes to the baking time.
- Flavor Development: Honestly, these cookies taste even better the next day. The brown butter flavor seems to deepen and meld with the chocolate overnight. Don’t be surprised if you find yourself eating one for breakfast. No judgment here.
Nutritional Information & Benefits
Let’s be real: these are a treat. But knowing what’s in them helps you enjoy them mindfully. Here is the estimated nutritional breakdown per cookie (based on 24 cookies).
- Calories: ~220
- Fat: 12g
- Saturated Fat: 7g
- Carbohydrates: 28g
- Sugar: 18g
- Protein: 3g
- Fiber: 1g
Health Benefits (in moderation): Believe it or not, dark chocolate (especially 60% cacao and above) contains antioxidants called flavonoids, which can support heart health. The brown butter process doesn’t add any extra fat, it just enhances the flavor, so you get more satisfaction from a smaller cookie. Plus, baking from scratch means you control the ingredients—no preservatives or artificial flavors.
Dietary Considerations: This recipe contains gluten, dairy, and eggs. For a gluten-free option, use a high-quality 1-to-1 gluten-free flour blend. For a dairy-free option, you can use a plant-based butter (like Miyoko’s), but the browning process may not work as well, and the flavor will be different. I haven’t found a perfect dairy-free version yet, so proceed with caution.
Frequently Asked Questions
Can I use salted butter instead of unsalted?
Yes, you can. If you use salted butter, simply reduce the added salt in the recipe to ¼ teaspoon. The flavor might be slightly different, but it will still work. I prefer unsalted to have full control over the salt level.
Why did my cookies turn out flat?
This is usually due to one of three things: the butter was too warm when you mixed it, the dough wasn’t chilled long enough, or your butter wasn’t properly browned (it may have had too much water content). Make sure to chill the dough for at least 30 minutes, and don’t skip the browning step.
Can I make the dough ahead of time?
Absolutely! You can refrigerate the dough for up to 3 days. In fact, the flavor gets better with time. Just let the dough sit at room temperature for 10-15 minutes to soften slightly before scooping and baking.
How do I get that bakery-style look?
After scooping the dough, press a few extra chocolate chips into the tops of the dough balls. This gives you those beautiful, visible pools of chocolate on top of the baked cookies. Also, don’t flatten the dough balls—they will spread on their own.
Can I double this recipe?
Yes, this recipe doubles beautifully. Just make sure to brown the butter in two separate batches, as a single pan can get too crowded and the butter won’t brown evenly. Also, be sure to use a very large bowl for the dough.
Conclusion
These soft-baked brown butter chocolate chip cookies are more than just a recipe—they are a little piece of that Wednesday afternoon magic I stumbled into at Leo’s house. They are proof that the best things in life often come from not trying too hard, from trusting your instincts, and from taking a few extra minutes to do something simple really well. The brown butter adds a depth of flavor that feels special, but the process is so easy, you’ll find yourself making them for no reason at all.
I really hope you give these a try. Don’t be afraid to make them your own—add more chips, throw in some nuts, or go wild with the sea salt. The dough is forgiving, and the result is always delicious. When you make them, I’d love to hear about it. Come back and leave a comment, tell me how they turned out, or share your own twist on the recipe. There’s nothing I love more than hearing about a cookie success story. Go ahead, brown that butter. You won’t regret it.
Pin This Recipe!
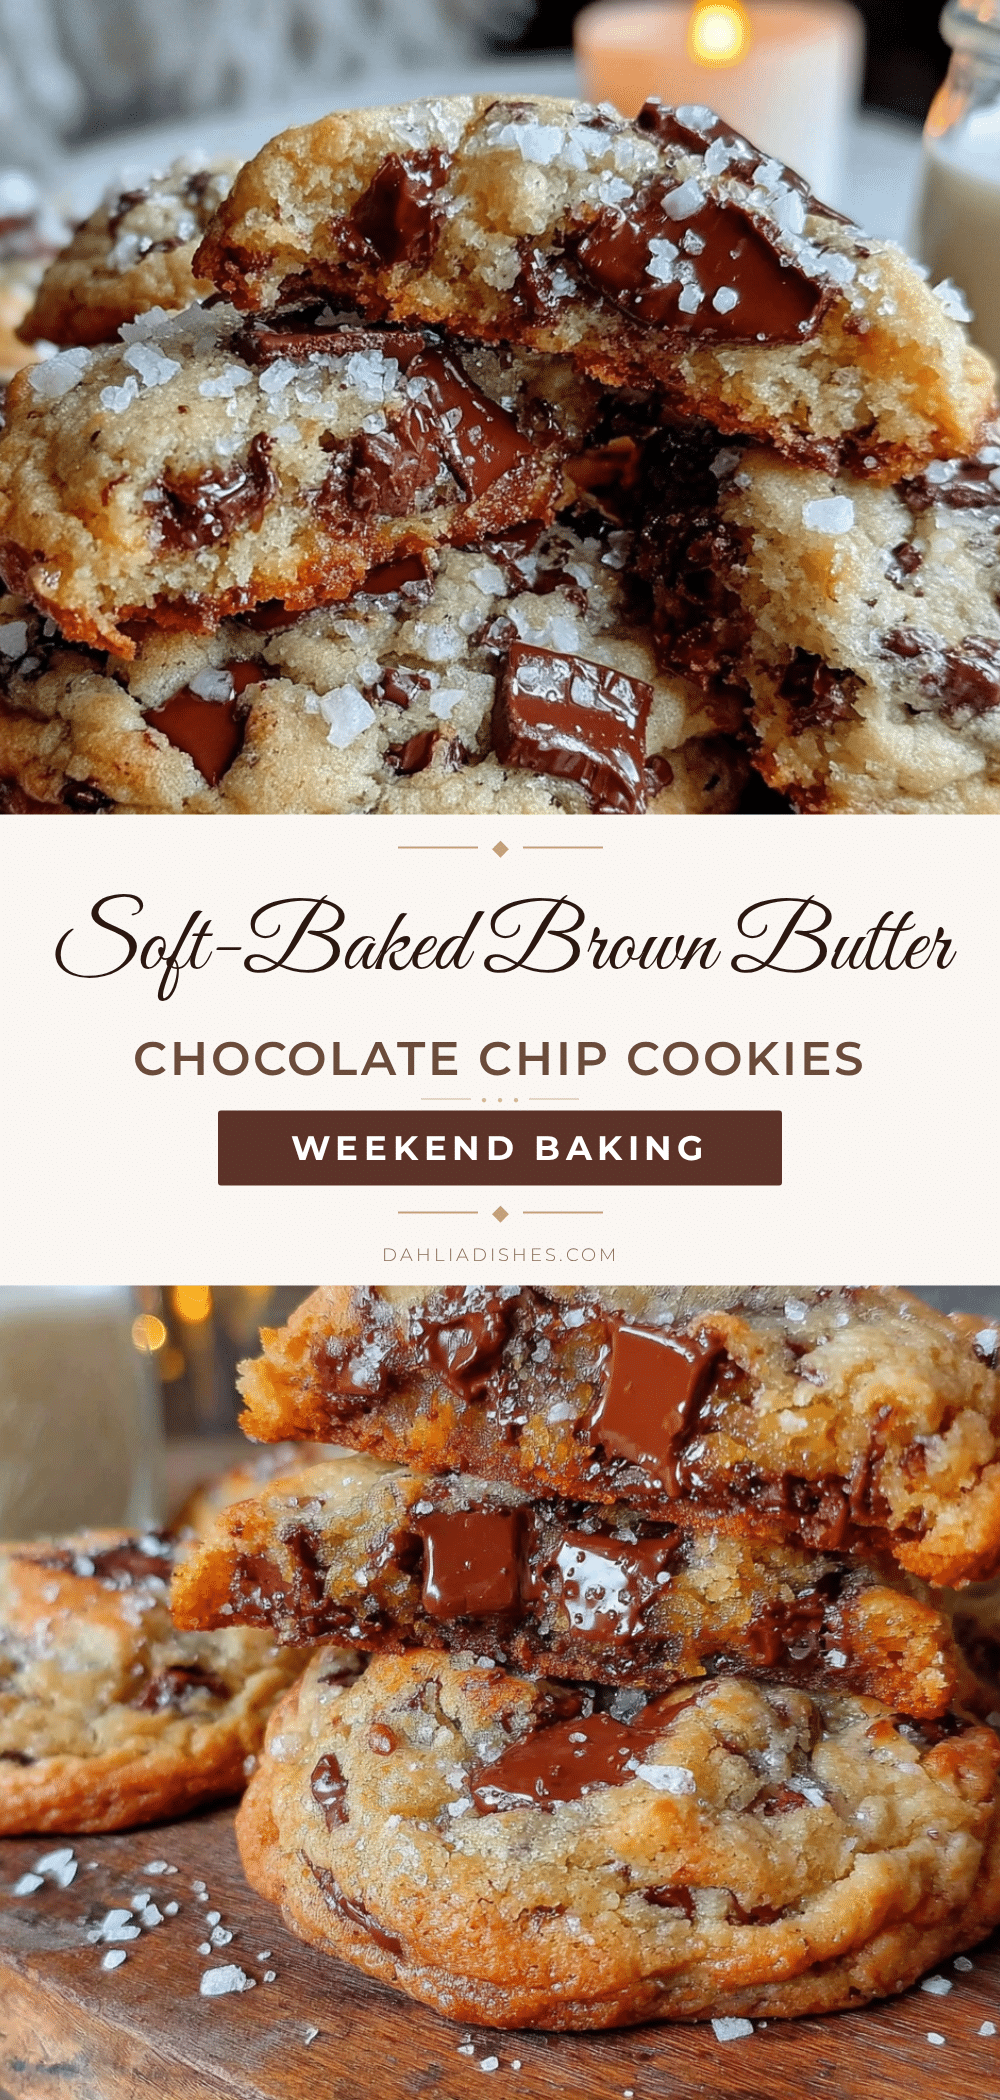
Soft-Baked Brown Butter Chocolate Chip Cookies: Best Recipe
These soft-baked brown butter chocolate chip cookies are the result of a chance encounter with a neighbor’s casual baking. The brown butter adds a nutty, caramel-like depth of flavor that makes these cookies taste like gourmet bakery treats, yet they are surprisingly simple to make.
- Prep Time: 15 minutes
- Cook Time: 10-12 minutes per batch
- Total Time: 1 hour 30 minutes (including chilling)
- Yield: 24 cookies 1x
- Category: Dessert
- Cuisine: American
Ingredients
- 1 cup (2 sticks) unsalted butter
- 1 cup packed brown sugar (light or dark)
- ½ cup granulated sugar
- 2 large eggs, room temperature
- 2 teaspoons pure vanilla extract
- 2 ¼ cups all-purpose flour (spooned and leveled)
- 1 teaspoon baking soda
- 1 teaspoon fine sea salt
- 2 cups semi-sweet chocolate chips (e.g., Ghirardelli 60% cacao)
- Flaky sea salt for finishing (optional)
Instructions
- Brown the butter: Place the butter in a light-colored saucepan over medium heat. Stir constantly with a rubber spatula or whisk. It will melt, then start to foam, then the foam will subside. Watch closely. After the foam subsides, you’ll see little brown specks forming at the bottom of the pan. The butter will smell nutty and amazing. This takes about 5-7 minutes. Immediately remove the pan from the heat and pour the brown butter into a large mixing bowl (including all those brown bits). Let it …
- Combine sugars and butter: Add the brown sugar and granulated sugar to the warm brown butter. Whisk vigorously until the mixture is smooth and looks like wet sand. It will be thick and glossy.
- Add eggs and vanilla: Add the room-temperature eggs one at a time, whisking well after each addition. Then add the vanilla extract. Whisk until the mixture is smooth, pale, and slightly thickened. It should look like a light caramel sauce.
- Whisk dry ingredients: In a separate, medium bowl, whisk together the all-purpose flour, baking soda, and salt. This ensures the leavening and salt are evenly distributed.
- Combine wet and dry: Pour the dry ingredients into the wet ingredients. Use a rubber spatula to fold them together gently. Mix just until you no longer see streaks of flour. Do not overmix, or the cookies will be tough. A few small streaks of flour are okay at this point.
- Add chocolate chips: Pour in the chocolate chips. Fold them into the dough with the spatula until they are evenly distributed. The dough will be thick and slightly sticky.
- Chill the dough (crucial step): Cover the bowl with plastic wrap and refrigerate for at least 30 minutes, but 1 hour is better. This step is non-negotiable for soft-baked cookies. It prevents the cookies from spreading too much and allows the flavors to meld. Your dough should be firm but still scoopable.
- Preheat oven and prep pans: While the dough chills, preheat your oven to 350°F (175°C). Line two baking sheets with parchment paper or silicone mats.
- Scoop the dough: Using your cookie scoop, portion out rounded tablespoons of dough (about 1.5 tablespoons each). Place them 2 inches apart on the prepared baking sheets. If you want bakery-style cookies, you can place a few extra chocolate chips on top of each dough ball.
- Bake: Bake one sheet at a time in the center of the oven for 10-12 minutes. The cookies are done when the edges are set and lightly golden, but the centers still look slightly soft and underdone. They will continue to cook on the hot pan. For a truly soft-baked cookie, pull them out at 10 minutes.
- Cool and finish: Let the cookies cool on the baking sheet for 5 minutes. This is when you sprinkle them with flaky sea salt, if using. Then, carefully transfer them to a wire rack to cool completely. The centers will set as they cool, giving you that perfect soft texture.
Notes
Don’t walk away from the butter while browning; it can go from perfect to burnt in seconds. Cool the butter properly before adding eggs to avoid scrambling. Use a kitchen scale for the most consistent results (1 cup all-purpose flour = 120 grams). The chill step is non-negotiable for soft-baked cookies. Don’t overbake; cookies should look slightly puffy and soft in the center when removed from the oven. For extra softness, store with a slice of bread in the container.
Nutrition
- Serving Size: 1 cookie
- Calories: 220
- Sugar: 18
- Sodium: 150
- Fat: 12
- Saturated Fat: 7
- Carbohydrates: 28
- Fiber: 1
- Protein: 3
Keywords: brown butter chocolate chip cookies, soft-baked cookies, best chocolate chip cookies, easy cookie recipe, homemade cookies


