Love this? Save it for later!
Share the inspiration with your friends
Tuesday night was a disaster in slow motion. I’d just gotten home from work, it was already 6:45, and I had exactly zero plans for dinner. My fridge was looking sad—a few chicken thighs, a head of garlic that was starting to sprout, and half a stick of butter. My neighbor was supposed to come over to borrow a book at 7:30, and I knew she’d see my kitchen light on and probably stay to chat. The panic was real. I mean, I couldn’t just offer her a plate of shame and regret.
So I did what any reasonable, slightly frantic person would do. I grabbed a skillet, slammed the heat to high, and started throwing things together with zero confidence but plenty of desperation. The chicken thighs went in skin-side down with a sizzle that honestly scared me a little. I minced that sprouting garlic in a panic, tossed in way more butter than I should have, and just… hoped for the best. Fifteen minutes later, I was pulling golden, fragrant chicken out of the pan, and my neighbor walked in right as I was plating it. “What smells incredible?” she asked. I shrugged and told her I’d just thrown it together.
She ate two servings. Then she asked for the recipe. And that’s the thing—this quick garlic butter chicken thighs recipe was born from a moment of pure, accidental desperation. It wasn’t planned. It wasn’t tested. It was just me, a hot pan, and the stubborn refusal to order takeout for the third time that week. Maybe you’ve been there—standing in your kitchen, hungry and tired, wondering how you’re going to pull dinner out of thin air. Let me tell you, this one works. It’s been my weeknight secret weapon ever since.
Why You’ll Love This Recipe
Look, I’ve tested a lot of chicken recipes over the years. Some take an hour. Some require a grocery list that’s longer than my arm. This one? It’s the opposite of all that. Here’s why it’s become my go-to for busy evenings:
- Quick & Easy: From fridge to table in 15 minutes flat. No marinating, no complicated steps, no waiting around. You can have dinner done before you even decide what to watch on Netflix.
- Simple Ingredients: Chicken thighs, butter, garlic, salt, pepper, maybe some thyme if you’re feeling fancy. That’s it. No trips to a specialty store, no weird ingredients you’ll use once and forget about.
- Perfect for Weeknights: This is the definition of a weeknight dinner. It’s fast, it’s satisfying, and it doesn’t leave you with a mountain of dishes.
- Crowd-Pleaser: I’ve served this to picky kids, to dinner guests, and to that neighbor who’s a secret food snob. Everyone loves it. The crispy skin and the garlicky butter sauce are just… irresistible.
- Unbelievably Delicious: Honestly, for how simple this is, the flavor is ridiculous. The chicken gets perfectly crispy on the outside and tender on the inside, and that butter-garlic sauce is liquid gold. You’ll want to eat it with a spoon.
What makes this recipe different from all the other chicken thigh recipes out there? It’s the technique. Most recipes tell you to sear the chicken, then finish it in the oven. That takes time and heats up your whole kitchen. This one is all stovetop, all done in one skillet, and the secret is in the resting time after you flip the chicken. Let me explain in the method section—it’s a game-changer.
This isn’t just good chicken. It’s the kind of dinner that makes you close your eyes after the first bite and forget about the crazy day you had. It’s comfort food that’s fast, simple, and absolutely soul-soothing. Perfect for impressing guests without the stress, or turning a chaotic Tuesday into something a little bit special.
What Ingredients You Will Need
This recipe uses simple, everyday ingredients to deliver big flavor without the fuss. You probably have most of these in your kitchen right now. Here’s what you’ll need:
- Chicken Thighs: 4 bone-in, skin-on chicken thighs (about 1.5 lbs / 680g). Bone-in and skin-on are key here—the bone keeps the meat juicy, and the skin gets beautifully crispy. If you only have boneless, skinless thighs, you can use them, but reduce the cooking time by about 3-4 minutes. I personally prefer thighs from a local butcher or a brand like Bell & Evans for the best texture and flavor.
- Unsalted Butter: 3 tablespoons (42g). Unsalted is important because it lets you control the salt level. If you only have salted butter, reduce the added salt in the recipe by about ¼ teaspoon. Kerrygold is my go-to for its rich, creamy taste.
- Garlic: 4 large cloves, minced (about 1 tablespoon / 15g). Fresh garlic is non-negotiable here. Pre-minced garlic from a jar just doesn’t have the same punch. Look for firm, plump cloves with no green sprouts in the center.
- Salt: 1 teaspoon (6g) kosher salt, or to taste. I use Diamond Crystal kosher salt. If you’re using table salt, use about half that amount—it’s much denser and saltier.
- Black Pepper: ½ teaspoon (2g) freshly ground black pepper. Freshly ground makes a difference. Pre-ground pepper can taste flat and dusty.
- Fresh Thyme: 4-5 sprigs (optional, but highly recommended). Thyme adds a lovely earthiness that pairs perfectly with garlic and butter. If you don’t have fresh, use ½ teaspoon dried thyme. You could also swap in rosemary or sage for a different flavor profile.
- Neutral Oil: 1 tablespoon (15ml) avocado oil or canola oil. You need a high smoke point oil for searing the chicken. Olive oil can burn and turn bitter at high heat.
- Optional Garnish: Fresh parsley, chopped (about 2 tablespoons), for a pop of color and freshness. A squeeze of lemon juice at the end also brightens everything up.
That’s it. Seven ingredients (or eight if you count the garnish). No cream, no wine, no complicated sauces. Just pure, honest flavor.
Equipment Needed
You don’t need a fancy kitchen to make this recipe. Here’s what you’ll need:
- Large Cast Iron Skillet or Heavy-Bottomed Pan: A 10-12 inch skillet is perfect. Cast iron is ideal because it holds heat so well and gives you that beautiful, even sear. I’ve used my trusty Lodge skillet for years, and it’s never let me down. If you don’t have cast iron, a heavy stainless steel pan works great too. Avoid non-stick if you can—you won’t get the same crispy skin.
- Tongs: For flipping the chicken and handling the hot pan. A good pair of spring-loaded tongs is worth its weight in gold. I have a pair of OXO Good Grips that I’ve had for a decade.
- Sharp Knife and Cutting Board: For mincing the garlic and chopping any herbs. A chef’s knife makes quick work of garlic.
- Paper Towels: For patting the chicken dry. This is a crucial step for crispy skin—don’t skip it.
- Instant-Read Thermometer (optional but recommended): To check the internal temperature of the chicken. It should reach 165°F (74°C) in the thickest part. A Thermapen is a splurge, but a basic digital thermometer from your grocery store works just fine.
If you don’t have a cast iron skillet, a heavy-bottomed stainless steel pan is your next best bet. I’ve even made this in a well-seasoned carbon steel wok in a pinch—it worked, but the skin wasn’t quite as crispy. The key is a pan that holds heat and doesn’t cool down too much when you add the cold chicken.
Preparation Method
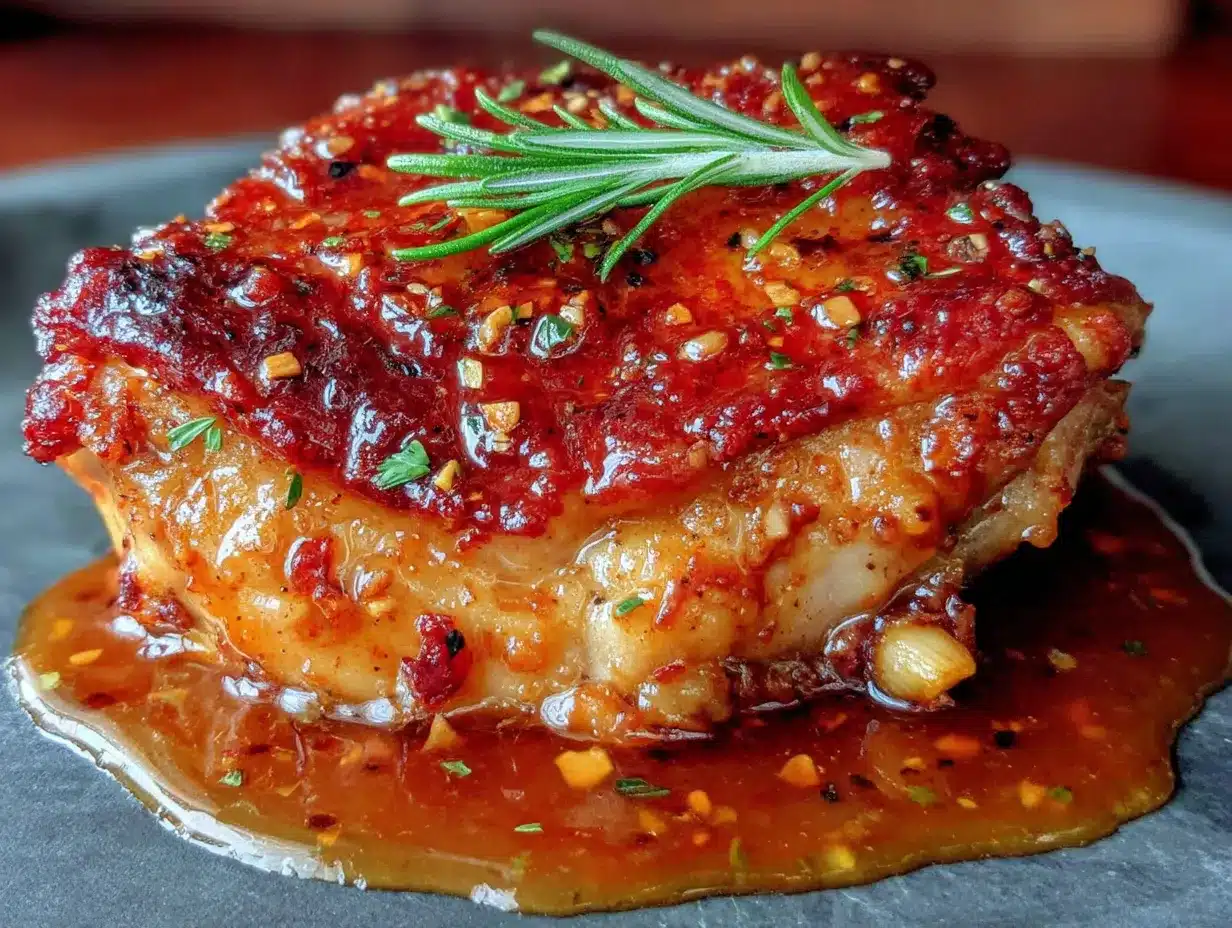
Alright, let’s get cooking. This is going to be fast, so have everything ready before you start. Trust me on this—once that chicken hits the pan, you won’t have time to run and grab something you forgot.
- Pat the chicken dry. This is the single most important step for crispy skin. Take your chicken thighs out of the package and pat them thoroughly dry with paper towels. I mean really dry—get in all the nooks and crannies. Any moisture on the skin will steam instead of sear, and you’ll end up with sad, flabby skin. Season both sides generously with the salt and pepper. Let them sit at room temperature for 5-10 minutes while you prep everything else. This helps them cook more evenly.
- Heat the pan. Place your skillet over medium-high heat and add the neutral oil. Let it heat up for a good 2-3 minutes. You want the oil to be shimmering hot—almost smoking. To test, flick a drop of water into the pan. If it sizzles and evaporates immediately, you’re ready. If it just sits there and bubbles, wait another minute. A properly hot pan is the difference between a gorgeous golden crust and a pale, steamed mess.
- Sear the chicken, skin-side down. Gently place the chicken thighs into the hot pan, skin-side down. Lay them away from you to avoid any oil splatter—ask me how I learned that lesson. Don’t crowd the pan. If your skillet is too small, cook the chicken in two batches. You should hear a loud, satisfying sizzle. If you don’t, your pan wasn’t hot enough. Let the chicken cook undisturbed for 6-7 minutes. I know it’s tempting to peek, but resist! The skin needs that uninterrupted contact with the hot pan to get perfectly crispy and golden brown.
- Flip and add the butter and garlic. After 6-7 minutes, the skin should be deep golden brown and crispy. Use your tongs to flip the chicken over. The skin side is now up. Immediately add the butter to the pan, right around the chicken. Let it melt for about 30 seconds, then add the minced garlic and the thyme sprigs (if using). Tilt the pan slightly and use a spoon to baste the chicken with the melting butter. Spoon it over the skin and the sides of the chicken. This is where the magic happens—the garlic infuses the butter, and the butter keeps the chicken moist while adding incredible flavor.
- Cook the other side. Continue cooking for another 5-7 minutes, basting occasionally with the butter. The internal temperature should reach 165°F (74°C) when measured at the thickest part of the thigh, away from the bone. If you don’t have a thermometer, check for doneness by piercing the thickest part with a knife—the juices should run clear, not pink. The second side won’t get as crispy as the skin side, but it should be nicely browned.
- Rest the chicken. This is a step a lot of people skip, and it’s a mistake. Transfer the chicken to a plate and let it rest for 5 minutes. Don’t cover it with foil—you want the skin to stay crispy. Resting allows the juices to redistribute throughout the meat, so every bite is juicy and tender. If you cut into it immediately, all those delicious juices will run out onto the cutting board instead of staying in the chicken.
- Finish the sauce. While the chicken rests, leave the pan with the butter and garlic over low heat. If the garlic looks like it’s browning too much, take the pan off the heat. You can add a tablespoon of chicken broth or water to deglaze the pan, scraping up any browned bits from the bottom. This makes a quick, flavorful pan sauce. Taste and adjust seasoning with a pinch more salt if needed.
- Serve. Place the rested chicken on a serving platter or individual plates. Spoon the garlic butter sauce over the top. Garnish with fresh parsley and a squeeze of lemon juice if you like. Serve immediately while it’s hot and the skin is still crispy.
Cooking Tips & Techniques
I’ve made this recipe more times than I can count, and I’ve learned a few things along the way. Here are my best tips for getting it right every single time:
Don’t skip the drying step. I cannot stress this enough. Wet skin is the enemy of crispy skin. Take the extra 30 seconds to really pat those chicken thighs dry. I even let them sit uncovered in the fridge for 10-15 minutes if I have the time—it dries out the skin even more.
Use a heavy pan. A thin, flimsy pan will cool down too much when you add the cold chicken, and you’ll never get a good sear. A heavy cast iron or stainless steel pan holds its heat and gives you that beautiful crust. I learned this the hard way when I first started cooking and used a cheap non-stick pan. The chicken steamed instead of seared, and the skin was a sad, rubbery mess.
Let the chicken come to room temperature. Taking the chill off the chicken before cooking helps it cook more evenly. Cold chicken straight from the fridge will lower the pan temperature too much and can lead to uneven cooking. Just 10-15 minutes on the counter makes a big difference.
Don’t move the chicken too early. When you first put the chicken in the pan, it will stick. That’s normal. As it cooks and the skin browns, it will naturally release from the pan. If you try to flip it too early, you’ll tear the skin. Wait until it releases easily—usually after about 6 minutes.
Watch the garlic. Garlic can go from fragrant to burnt in about 30 seconds. Once you add it to the pan, keep it moving. If the butter starts to brown too quickly, reduce the heat or take the pan off the burner for a few seconds. Burnt garlic is bitter and will ruin the whole dish.
My biggest failure? One time, I was rushing and forgot to pat the chicken dry. The skin was pale and flabby, and no amount of extra cooking time could fix it. I ended up pulling the skin off and crisping it separately in the oven. It worked, but it was a hassle. Learn from my mistake—dry that chicken!
Variations & Adaptations
This recipe is incredibly versatile. Here are some ways to change it up:
- Spicy Garlic Butter Chicken: Add ½ teaspoon of red pepper flakes along with the garlic for a nice kick of heat. You can also add a sliced fresno or serrano pepper for more fresh heat and color.
- Lemon Herb Version: Add the zest of one lemon and a tablespoon of fresh lemon juice to the butter along with the garlic. Swap the thyme for fresh rosemary or oregano. The bright citrus cuts through the richness beautifully.
- Creamy Garlic Butter Sauce: After the chicken is done and resting, add ¼ cup (60ml) of heavy cream to the pan with the butter and garlic. Stir and let it simmer for 2-3 minutes until slightly thickened. Pour this over the chicken. It’s indulgent and amazing.
- Bone-in, Skin-on Chicken Breasts: If you prefer white meat, you can use bone-in, skin-on chicken breasts. The cooking time will be longer—about 8-10 minutes per side, depending on thickness. Use a thermometer to ensure they reach 165°F (74°C).
- Air Fryer Adaptation: Preheat your air fryer to 400°F (200°C). Season the chicken as directed, then spray or brush the skin with a little oil. Air fry for 12-15 minutes, flipping halfway through. In the last 3 minutes, brush the chicken with melted butter mixed with minced garlic. The skin gets incredibly crispy in the air fryer.
- Dairy-Free Option: Substitute the butter with a high-quality vegan butter or ghee (if you tolerate dairy). Ghee has a higher smoke point and adds a lovely nutty flavor. I’ve used Miyoko’s European Style Cultured Vegan Butter with great results.
Serving & Storage Suggestions
This chicken is best served hot, right after resting. The skin is at its crispiest peak, and the butter sauce is warm and fragrant. Here’s how to make it a meal:
What to Serve With It: This chicken pairs beautifully with so many sides. For a quick weeknight, I love it with steamed rice or crusty bread to soak up all that garlic butter sauce. A simple green salad with a lemony vinaigrette cuts through the richness. Roasted vegetables—like asparagus, broccoli, or green beans—are also perfect. For something heartier, try mashed potatoes or a creamy polenta. The sauce is the star, so serve it with something that can soak it up.
Storage: Leftover chicken will keep in an airtight container in the refrigerator for up to 3 days. The skin will lose its crispiness, unfortunately, but the meat will still be delicious and flavorful. To store, let the chicken cool completely before placing it in the container. Pour any leftover pan sauce over the chicken to keep it moist.
Reheating: The best way to reheat this chicken is in a skillet over medium heat. Add a splash of chicken broth or water to the pan to create steam, cover it, and heat for 3-4 minutes until warmed through. This helps re-crisp the skin a little. You can also reheat it in a 350°F (175°C) oven for 10 minutes. Avoid the microwave—it will make the skin rubbery and the chicken dry.
Freezing: You can freeze the cooked chicken for up to 2 months. Wrap each thigh individually in plastic wrap, then place them in a freezer-safe bag. To serve, thaw overnight in the refrigerator and reheat as directed above. The skin won’t be as crispy after freezing, but the flavor will still be great. I often make a double batch and freeze half for a busy night.
How Flavors Develop: Honestly, this chicken is best fresh. The garlic butter sauce is at its peak right after cooking. However, the flavors do meld and deepen overnight in the fridge. The next day, the chicken has a more mellow, integrated garlic flavor. It’s different, but still delicious—perfect for shredding and tossing into a salad or pasta.
Nutritional Information & Benefits
Here’s an approximate nutritional breakdown per serving (1 chicken thigh with sauce):
- Calories: 380-420
- Protein: 28-32g
- Fat: 28-32g
- Saturated Fat: 12-14g
- Carbohydrates: 2-3g
- Fiber: 0g
- Sugar: 0g
- Sodium: 600-700mg (varies based on salt used)
Chicken thighs are a fantastic source of protein, iron, and B vitamins, especially B12 and niacin, which support energy metabolism. The skin provides healthy fats, and while it’s higher in calories than chicken breast, it’s also more flavorful and forgiving to cook. Butter, in moderation, is a good source of fat-soluble vitamins like A, D, and E. Garlic is packed with antioxidants and has anti-inflammatory properties. This is a satisfying, nutrient-dense meal that fits well into a balanced diet.
Dietary Considerations: This recipe is naturally low-carb and keto-friendly. For a gluten-free meal, just ensure your sides are gluten-free. It’s not suitable for dairy-free or vegan diets as written, but see the variations section for a dairy-free option.
Potential Allergens: Dairy (butter).
Conclusion
So there you have it—quick garlic butter chicken thighs that go from pan to plate in 15 minutes. This recipe has saved my sanity on countless busy weeknights, and I hope it does the same for you. It’s proof that you don’t need a ton of ingredients or hours in the kitchen to make something truly delicious. Sometimes, the best meals come from a moment of desperation and a hot pan.
I love this recipe because it’s honest. It doesn’t pretend to be something it’s not. It’s fast, it’s simple, and it tastes incredible. The crispy skin, the tender meat, that glorious garlic butter sauce—it’s comfort food at its most straightforward and satisfying. And honestly, isn’t that what we all need on a Tuesday night?
I’d love to hear how yours turns out! Did you add your own twist? Serve it with something amazing? Have a kitchen disaster you want to share? Drop a comment below—I read every single one. And if you loved this recipe, please share it with a friend who needs a quick weeknight win. Happy cooking, friends!
Frequently Asked Questions
Can I use chicken breasts instead of thighs?
Yes, but I recommend bone-in, skin-on chicken breasts for the best results. The cooking time will be longer—about 8-10 minutes per side—and you’ll definitely want to use an instant-read thermometer to make sure they reach 165°F (74°C) without drying out. Boneless, skinless breasts will work in a pinch, but they won’t get the same crispy skin and can dry out more easily.
Can I make this recipe in a non-stick pan?
You can, but you won’t get the same level of crispiness on the skin. Non-stick pans don’t hold heat as well as cast iron or stainless steel, so the skin will be less golden and crunchy. If that’s all you have, it’ll still taste good—just don’t expect that perfect crackly skin.
How do I know when the chicken is fully cooked?
The most reliable way is to use an instant-read thermometer. Insert it into the thickest part of the thigh, away from the bone. It should read 165°F (74°C). If you don’t have a thermometer, pierce the thigh with a knife—the juices should run clear, not pink. The meat should also feel firm to the touch, not jiggly.
Can I prep this recipe ahead of time?
You can season the chicken and keep it in the fridge for up to 24 hours before cooking. This actually helps dry out the skin even more, leading to a crispier result. Just take it out of the fridge 15 minutes before cooking to let it come to room temperature. I don’t recommend mincing the garlic too far in advance—it can lose its punch.
What can I do with the leftover garlic butter sauce?
Don’t waste it! The sauce is amazing spooned over roasted vegetables, drizzled on rice or pasta, or even used as a dip for crusty bread. You can also toss it with steamed green beans or broccoli for an instant flavor boost. Store it in a small jar in the fridge for up to a week.
Pin This Recipe!
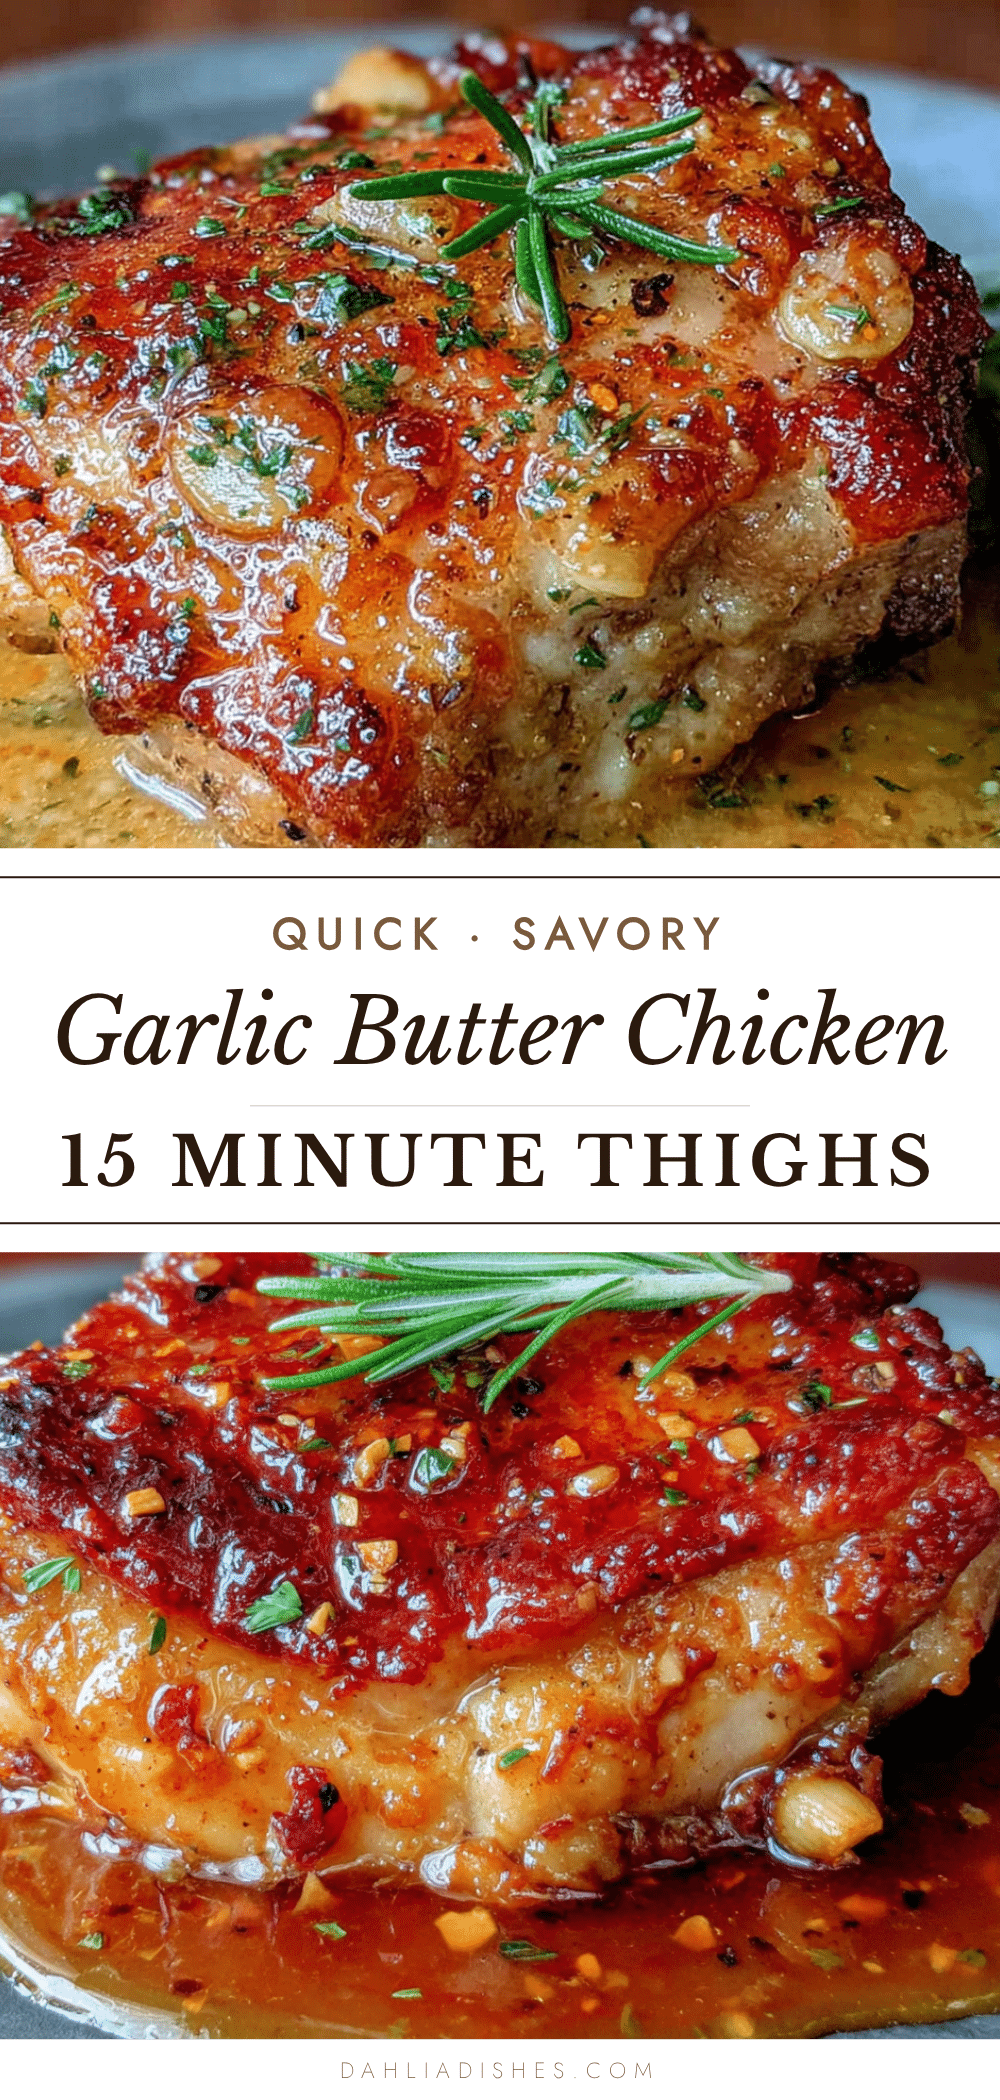
Quick Garlic Butter Chicken Thighs in 15 Minutes

Crispy, golden chicken thighs with a rich garlic butter sauce, ready in just 15 minutes. Perfect for busy weeknights when you need a delicious dinner fast.
- Prep Time: 5 minutes
- Cook Time: 15 minutes
- Total Time: 20 minutes
- Yield: 4 servings 1x
- Category: Main Course
- Cuisine: American
Ingredients
- 4 bone-in, skin-on chicken thighs (about 1.5 lbs / 680g)
- 3 tablespoons unsalted butter (42g)
- 4 large cloves garlic, minced (about 1 tablespoon / 15g)
- 1 teaspoon kosher salt (6g), or to taste
- ½ teaspoon freshly ground black pepper (2g)
- 4–5 sprigs fresh thyme (optional, but highly recommended)
- 1 tablespoon neutral oil (avocado or canola, 15ml)
- Fresh parsley, chopped (about 2 tablespoons, for garnish)
- Lemon wedges (optional, for serving)
Instructions
- Pat the chicken thighs dry with paper towels. Season both sides generously with salt and pepper. Let sit at room temperature for 5-10 minutes.
- Heat a large cast iron or heavy-bottomed skillet over medium-high heat. Add the neutral oil and heat until shimmering, about 2-3 minutes.
- Place the chicken thighs skin-side down in the hot pan. Cook undisturbed for 6-7 minutes until the skin is deep golden brown and crispy.
- Flip the chicken. Add the butter to the pan and let it melt for about 30 seconds. Add the minced garlic and thyme sprigs. Tilt the pan and baste the chicken with the melting butter.
- Continue cooking for another 5-7 minutes, basting occasionally, until the internal temperature reaches 165°F (74°C) in the thickest part.
- Transfer the chicken to a plate and let rest for 5 minutes. Do not cover.
- While the chicken rests, keep the pan with the butter and garlic over low heat. If desired, add a tablespoon of chicken broth or water to deglaze, scraping up browned bits. Adjust seasoning.
- Serve the chicken on a platter or individual plates. Spoon the garlic butter sauce over the top. Garnish with fresh parsley and a squeeze of lemon juice if desired.
Notes
Pat the chicken very dry for crispy skin. Let the chicken come to room temperature before cooking. Don’t move the chicken too early; it will release naturally when seared. Watch the garlic carefully to avoid burning. Rest the chicken for 5 minutes before serving.
Nutrition
- Serving Size: 1 chicken thigh with
- Calories: 400
- Sodium: 650
- Fat: 30
- Saturated Fat: 13
- Carbohydrates: 2
- Protein: 30
Keywords: quick chicken thighs, garlic butter chicken, 15 minute dinner, weeknight chicken, crispy chicken thighs


