Love this? Save it for later!
Share the inspiration with your friends
There used to be a little bakery tucked between a laundromat and a dusty antique shop on Main Street that made a salted caramel apple crisp that I still dream about. When they closed their doors three summers ago—just a handwritten sign saying “Thank you, neighbors” taped to the window—I honestly felt a little lost. That first autumn without their apple crisp, I tried every recipe I could find, and let me tell you, each one fell short. After twelve tries—twelve, I counted—and one particularly disastrous batch that involved burned caramel and a smoke alarm, I finally got it.
This perfect salted caramel apple crisp with oat crumble is the result of that obsession. I mean, I became that person who tested different apple varieties side by side on a Saturday morning, taking notes like a mad scientist. The key was understanding that the caramel needed to be just slightly undercooked so it would stay silky in the oven, and the oat crumble needed enough butter to hold together but not so much that it turned into a greasy mess. Maybe you’ve been there—that feeling when you lose access to a food memory and you’d do almost anything to get it back.
The first time I pulled this version out of the oven, the kitchen smelled exactly like that little bakery. The apples had softened into this jammy, caramel-coated filling, and the oat topping was golden and crisp with those little pockets of buttery crunch. I stood there with a spoon, eating it straight from the dish, and honestly, I got a little emotional. That’s the thing about recipes—they hold memories, and when you recreate one that matters, it feels like you’re keeping something alive. This is that recipe for me, and I think it might become that for you too.
Why You’ll Love This Recipe
This isn’t just another apple crisp recipe. After testing this dish more times than I care to admit, I can tell you exactly why it stands out from the crowd. The combination of tender, spiced apples with a buttery oat crumble and silky salted caramel creates something that feels both familiar and completely new.
- Quick & Easy : This comes together in about 15 minutes of active prep time, then the oven does the rest. Perfect for those evenings when you need dessert but don’t want to spend hours in the kitchen.
- Simple Ingredients : Nothing fancy here. You probably have most of these ingredients in your pantry right now—apples, oats, flour, butter, sugar. The caramel is made from basic pantry staples too.
- Perfect for Fall Gatherings : This is the dessert that disappears at potlucks, Thanksgiving dinners, and cozy weekend get-togethers. It screams autumn comfort without being fussy.
- Crowd-Pleaser : I’ve served this to kids who claimed they didn’t like cooked fruit and to adults who usually skip dessert. Every single person went back for seconds.
- Unbelievably Delicious : The texture is where this recipe shines. You get the soft, jammy apples, the crunchy oat topping, and that ribbon of salted caramel running through everything. It’s next-level comfort food.
What makes this different from the dozens of other apple crisp recipes out there? It’s the technique. Instead of just pouring caramel sauce over the top, I layer it into the filling so every bite gets that salty-sweet magic. The oat crumble uses a specific ratio that I perfected over those twelve test batches—enough butter to create clusters, enough oats for texture, and a touch of cinnamon that complements the apples without overwhelming them. This isn’t just another version; it’s the version I’d serve to anyone I wanted to impress, including myself on a quiet Tuesday night.
This recipe is the kind that makes you close your eyes after the first bite. It’s comfort food reimagined—faster than a pie, more satisfying than plain baked apples, and with that salted caramel twist that makes everything better. Perfect for impressing guests without stress, or turning a simple fall evening into something memorable.
What Ingredients You Will Need
This recipe uses simple, wholesome ingredients to deliver that perfect balance of sweet, salty, and buttery goodness. Most of these are pantry staples, which makes this dessert dangerously easy to whip up on a whim.
For the Apple Filling
- 6 medium apples, peeled, cored, and sliced into ¼-inch thick pieces (I recommend a mix of Granny Smith and Honeycrisp for the perfect balance of tart and sweet)
- ¼ cup granulated sugar (adds sweetness without making the filling syrupy)
- ¼ cup light brown sugar, packed (adds depth and that caramel-like richness)
- 2 tablespoons all-purpose flour (helps thicken the juices as the apples bake)
- 1 teaspoon ground cinnamon (the backbone of any good apple dessert)
- ¼ teaspoon ground nutmeg (freshly grated if you have it—it makes a difference)
- ¼ teaspoon salt (balances the sweetness and enhances the apple flavor)
- 1 tablespoon lemon juice (keeps the apples from browning and adds brightness)
- 1 teaspoon vanilla extract (use pure vanilla if you can—it’s worth it)
For the Salted Caramel Sauce
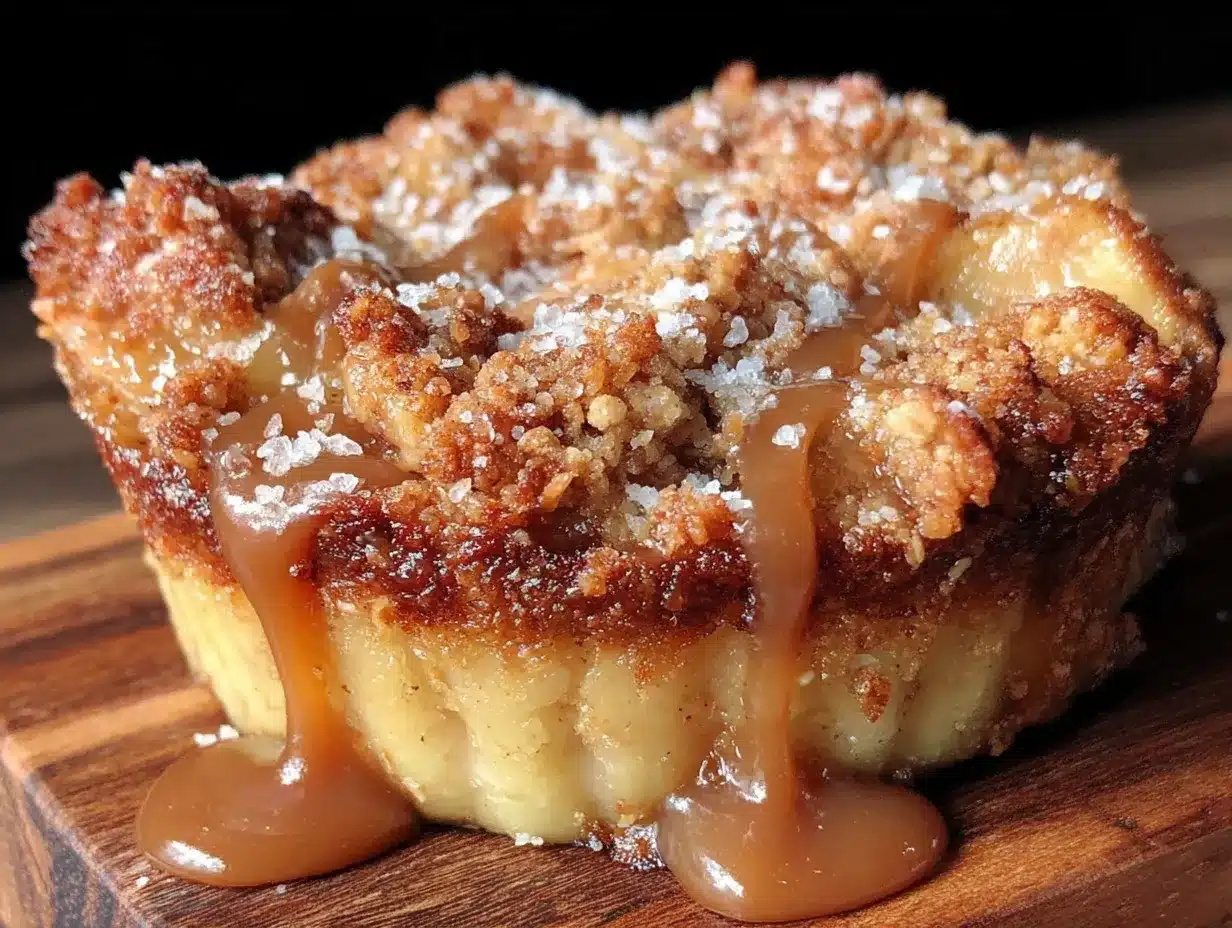
- ½ cup granulated sugar (the base of the caramel—don’t substitute with brown sugar here)
- 3 tablespoons unsalted butter, cut into small pieces (I prefer Kerrygold for its richness)
- ¼ cup heavy cream, at room temperature (this is important—cold cream will seize the caramel)
- ½ teaspoon flaky sea salt (plus more for sprinkling on top—Maldon salt is my go-to)
For the Oat Crumble Topping
- 1 cup old-fashioned rolled oats (not quick oats—they won’t give you the same texture)
- ½ cup all-purpose flour
- ½ cup light brown sugar, packed
- ¼ teaspoon ground cinnamon
- ¼ teaspoon salt
- ½ cup unsalted butter, cold and cut into small cubes
- ¼ cup chopped pecans or walnuts (optional, but I love the added crunch)
When selecting apples, look for ones that feel heavy for their size and have no soft spots. Granny Smith apples hold their shape well during baking, while Honeycrisp apples break down slightly and create that jammy texture. Together, they’re a dream team. For the butter in the crumble, cold butter is non-negotiable—it creates those beautiful, flaky clusters as it melts in the oven. If you’re dairy-free, you can substitute with a good vegan butter, but the texture will be slightly different.
For the caramel, I recommend using a heavy-bottomed saucepan to prevent the sugar from burning unevenly. And please, please let the cream come to room temperature before adding it. I learned this the hard way when my first batch seized into a solid, grainy mess. The flaky sea salt at the end is what makes this truly special—it cuts through the sweetness and makes every bite more interesting.
Equipment Needed
You don’t need a professional kitchen to make this perfect salted caramel apple crisp. Here’s what you’ll need:
- 9×13-inch baking dish (or a 2-quart baking dish—anything that holds about 8 cups works)
- Large mixing bowl for the apple filling
- Medium mixing bowl for the oat crumble
- Small saucepan for the caramel (a heavy-bottomed one is best to prevent burning)
- Sharp knife and cutting board for prepping the apples
- Measuring cups and spoons
- Wooden spoon or silicone spatula for stirring the caramel
- Pastry cutter or fork for cutting butter into the crumble (your hands work too—I use mine more often than not)
- Wire rack for cooling the crisp
If you don’t have a pastry cutter, don’t stress. I’ve used two forks, a food processor on pulse mode, and even my bare hands to make the crumble. The key is working quickly so the butter stays cold. For the caramel, a candy thermometer is helpful but not essential—you’re looking for an amber color, not a specific temperature. I’ve made this recipe without one more times than with one, and it turns out beautifully every time.
Preparation Method
Let me walk you through this step by step. Trust me, I’ve made every mistake possible so you don’t have to.
- Preheat your oven to 350°F (175°C). Position the rack in the center of the oven. While it’s heating, grease your 9×13-inch baking dish with a little butter or non-stick spray.
- Make the salted caramel sauce first. In a small, heavy-bottomed saucepan, spread the ½ cup of granulated sugar in an even layer. Heat over medium heat, watching carefully as the sugar begins to melt around the edges. Swirl the pan occasionally—don’t stir with a spoon, just gently swirl. This takes about 5-7 minutes. The sugar will clump at first, then smooth out into a deep amber liquid. The moment it turns the color of a copper penny, remove it from the heat immediately. Add the butter pieces and whisk until melted—it will bubble up, so be careful. Slowly pour in the room-temperature cream while whisking constantly. The caramel will bubble aggressively, so keep your face away from the pan. Whisk until smooth, then stir in the flaky sea salt. Set aside to cool slightly while you prepare the rest.
- Prepare the apples. In a large mixing bowl, combine the sliced apples with the granulated sugar, brown sugar, flour, cinnamon, nutmeg, salt, lemon juice, and vanilla extract. Toss everything together with your hands or a large spoon until the apples are evenly coated. Let them sit for about 5 minutes—this helps the apples release some of their juices, which will create that wonderful syrupy filling.
- Make the oat crumble topping. In a medium mixing bowl, whisk together the rolled oats, flour, brown sugar, cinnamon, and salt. Add the cold butter cubes. Use a pastry cutter, two forks, or your fingertips to work the butter into the dry ingredients until the mixture resembles coarse meal with some pea-sized butter pieces remaining. If you’re using nuts, stir them in now. Don’t overwork the mixture—those butter pockets are what create the crispy clusters.
- Assemble the crisp. Spread the apple mixture evenly in the prepared baking dish. Drizzle about half of the salted caramel sauce over the apples—reserve the rest for serving. Sprinkle the oat crumble topping evenly over the apples, covering them completely. Don’t press the topping down; leave it loose so it can crisp up nicely.
- Bake the crisp. Place the dish on a baking sheet to catch any drips (trust me on this one). Bake for 40-45 minutes, until the filling is bubbling around the edges and the topping is golden brown and crisp. If the topping is browning too quickly after 30 minutes, tent loosely with aluminum foil for the remaining time.
- Cool and serve. Remove the crisp from the oven and let it cool on a wire rack for at least 15 minutes. This resting time is crucial—the filling needs to set up, and the topping needs to firm up. If you serve it too soon, it’ll be runny. Drizzle the remaining caramel sauce over the top, sprinkle with a little extra flaky sea salt, and serve warm.
One thing I learned the hard way: don’t skip the lemon juice. I made a batch without it once because I thought it was optional, and the apples turned brown and the filling tasted flat. That little bit of acid makes everything brighter. Also, if your caramel seizes up after adding the cream, don’t panic. Just return it to low heat and whisk gently—it should smooth out. If it doesn’t, you can add a splash more cream and whisk until it comes together.
Cooking Tips & Techniques
After making this recipe more times than I care to count, I’ve picked up a few tricks that make a real difference. Let me share what I’ve learned.
The apple situation. I cannot stress this enough—use a mix of apple varieties. Granny Smith apples hold their shape and provide tartness, while Honeycrisp or Fuji apples break down slightly and create that jammy texture. If you use only one type, you’ll miss out on the complexity. I once used all McIntosh apples, and the filling turned into applesauce. Delicious applesauce, sure, but not what we’re going for here.
The caramel timing. Making caramel can be intimidating, but it doesn’t have to be. The biggest mistake I made early on was walking away from the pan. Caramel goes from perfect to burnt in about 30 seconds. Stay with it, watch the color, and trust your eyes more than a timer. When it’s the color of a dark penny, it’s ready. If you’re nervous, you can make the caramel a day ahead and store it in the fridge. Just warm it gently before using.
The crumble texture. Cold butter is non-negotiable here. I pop my butter in the freezer for 10 minutes before I start making the crumble. And when I’m working the butter into the flour mixture, I use my fingertips and work quickly. Warm hands melt the butter, and melted butter means a dense, greasy topping instead of a light, crispy one. If your kitchen is warm, chill the crumble mixture in the fridge for 10 minutes before sprinkling it over the apples.
Multitasking strategy. Here’s how I time it: Start the caramel first because it needs the most attention. While the caramel is cooling, prep the apples. While the apples are sitting in the sugar mixture, make the crumble. Assemble everything, and by then the oven should be preheated. Total active time is about 15 minutes, and you’re not running around like a crazy person.
Variations & Adaptations
One of the best things about this recipe is how flexible it is. Here are some variations I’ve tried and loved.
Gluten-Free Version. Substitute the all-purpose flour in both the filling and the crumble with a good gluten-free flour blend. I’ve had great results with Bob’s Red Mill 1-to-1 Baking Flour. Make sure your oats are certified gluten-free as well. The texture will be slightly more delicate, but the flavor is still spot-on.
Dairy-Free Version. Use vegan butter in the crumble and coconut cream instead of heavy cream in the caramel. I’ve tried this with Miyoko’s vegan butter and it worked beautifully. The caramel will have a slight coconut undertone, which actually pairs nicely with the apples. Just make sure your vegan butter is cold when you make the crumble.
Seasonal Fruit Swaps. In the summer, try this with sliced peaches and raspberries instead of apples. Reduce the sugar slightly since peaches are sweeter. In the winter, pears and cranberries make a gorgeous combination. The oat crumble works with almost any fruit, honestly.
Spice It Up. Add ¼ teaspoon of cardamom or ginger to the apple mixture for a different flavor profile. I made a version with cardamom and a pinch of black pepper once, and it was surprisingly amazing. The pepper adds warmth without any heat.
Individual Servings. Divide the mixture among 6-8 ramekins and bake for about 20-25 minutes instead of 40-45. These are perfect for dinner parties—everyone gets their own little dish with extra crispy edges.
My personal favorite variation? I add a tablespoon of bourbon to the apple mixture and use pecans instead of walnuts in the crumble. The bourbon adds this warm, oaky depth that makes the whole thing feel extra special. I made this for a Friendsgiving once, and someone asked for the recipe before they even finished their first serving.
Serving & Storage Suggestions
This perfect salted caramel apple crisp is best served warm, about 15-20 minutes after it comes out of the oven. That’s the sweet spot where the filling has set up but is still luscious, and the topping is at its crispiest. A scoop of vanilla ice cream is the classic pairing—the cold creaminess against the warm, spiced apples is pure magic. But don’t stop there. A dollop of whipped cream, a drizzle of heavy cream, or even a spoonful of Greek yogurt works beautifully too.
For a more decadent presentation, serve it in shallow bowls with an extra drizzle of the reserved salted caramel sauce and a pinch of flaky sea salt on top. If you’re feeling fancy, add a sprig of fresh thyme or a cinnamon stick as garnish. It’s simple but looks impressive.
Storage: Cover the cooled crisp tightly with foil or plastic wrap and store in the refrigerator for up to 4 days. The topping will lose some of its crispness over time, but the flavor actually gets better as the apples continue to absorb the caramel.
Reheating: To bring back some of that crispy topping, reheat individual portions in a 350°F oven for about 10 minutes, or in an air fryer at 325°F for 5-6 minutes. The microwave works in a pinch, but the topping will be soft. If you’re reheating the whole dish, cover with foil and warm at 350°F for 15-20 minutes, then remove the foil for the last 5 minutes to re-crisp the top.
Freezing: You can freeze the unbaked crisp for up to 3 months. Assemble everything in a freezer-safe dish, wrap tightly with plastic wrap and foil, and freeze. Bake directly from frozen, adding about 15-20 minutes to the baking time. Baked crisp also freezes well—just cool completely, wrap tightly, and freeze. Thaw in the refrigerator overnight and reheat as directed.
One thing I’ve noticed: this crisp is even better the next day. The flavors meld together overnight, and the caramel seeps into every apple slice. I sometimes make it a day ahead on purpose, just so I can have those leftovers.
Nutritional Information & Benefits
Let’s be real—this is a dessert, and it’s meant to be enjoyed. But there are some redeeming qualities worth mentioning.
Estimated Nutritional Values (per serving, based on 8 servings):
- Calories: 420
- Total Fat: 18g
- Saturated Fat: 10g
- Carbohydrates: 64g
- Fiber: 5g
- Sugar: 42g
- Protein: 4g
- Sodium: 280mg
Health Highlights: Apples are packed with fiber and vitamin C, and the fiber in oats is great for heart health and digestion. The cinnamon in this recipe has anti-inflammatory properties, and the nuts (if you add them) provide healthy fats and protein. The salted caramel is definitely a treat, but using real butter and cream means you’re avoiding the artificial ingredients found in store-bought caramel sauces.
Dietary Considerations: This recipe contains gluten, dairy, and nuts (if added). For a gluten-free version, use certified gluten-free oats and a gluten-free flour blend. For a dairy-free version, substitute vegan butter and coconut cream. The recipe is naturally egg-free and vegetarian.
My personal take? I don’t believe in guilt when it comes to dessert. Food is about pleasure and connection, and this apple crisp delivers both. A reasonable portion—about ⅛ of the dish—fits perfectly into a balanced diet. And honestly, the satisfaction of eating something this delicious means you’re less likely to reach for processed sweets later. That’s my story, and I’m sticking to it.
Conclusion
This perfect salted caramel apple crisp with oat crumble is more than just a dessert—it’s the recipe I chased for three years, the one that brought back a food memory I thought I’d lost forever. And now it’s yours. The combination of tender, spiced apples, buttery oat crumble, and that silky salted caramel running through everything is honestly something special.
What I love most about this recipe is how adaptable it is. Make it with whatever apples you have on hand. Swap the nuts for something else or leave them out entirely. Double the caramel sauce if you’re feeling extra indulgent. This is your crisp now, and you should make it your own. The first time you pull it out of the oven and see that golden topping bubbling with caramel, you’ll understand why I couldn’t let this recipe go.
I’d love to hear how it turns out for you. Did you try a different fruit combination? Add a spice I didn’t think of? Serve it with something unexpected? Drop a comment below and let me know—I read every single one, and your variations might inspire my next test batch. And if you loved this recipe, share it with someone who needs a little comfort food in their life. Because honestly, that’s what this is all about.
Happy baking, friends. Your kitchen is about to smell incredible.
Frequently Asked Questions
Can I use quick oats instead of old-fashioned rolled oats?
I wouldn’t recommend it. Quick oats are more finely processed and will absorb too much moisture, resulting in a mushy, dense topping instead of the crispy, textured crumble we’re going for. Old-fashioned oats give you those lovely clusters and a much better texture.
Why did my caramel turn out grainy?
Grainy caramel usually happens when sugar crystals form during cooking. This can happen if you stir the sugar while it’s melting or if moisture gets into the pan. To avoid this, swirl the pan instead of stirring, and make sure your saucepan is completely dry before you start. If your caramel does turn grainy, you can save it by adding a splash of water and reheating gently until it smooths out.
Can I prepare this apple crisp ahead of time?
Absolutely. You can assemble the entire crisp (without baking) up to 24 hours in advance. Cover it tightly and store it in the refrigerator. When you’re ready to bake, just add about 10 minutes to the baking time since you’re starting from cold. The caramel sauce can be made up to a week ahead and stored in the fridge.
What’s the best way to reheat leftover apple crisp?
For the best results, reheat individual portions in a 350°F oven for about 10 minutes or in an air fryer at 325°F for 5-6 minutes. This helps restore some of the crispiness to the topping. The microwave works in a pinch, but the topping will be soft. If you’re reheating a large portion, cover with foil and warm at 350°F for 15-20 minutes.
Can I freeze this salted caramel apple crisp?
Yes! You can freeze it either before or after baking. To freeze unbaked, assemble everything in a freezer-safe dish, wrap tightly, and freeze for up to 3 months. Bake from frozen, adding 15-20 minutes to the baking time. To freeze baked crisp, let it cool completely, wrap tightly, and freeze. Thaw in the refrigerator overnight and reheat in the oven.
Pin This Recipe!
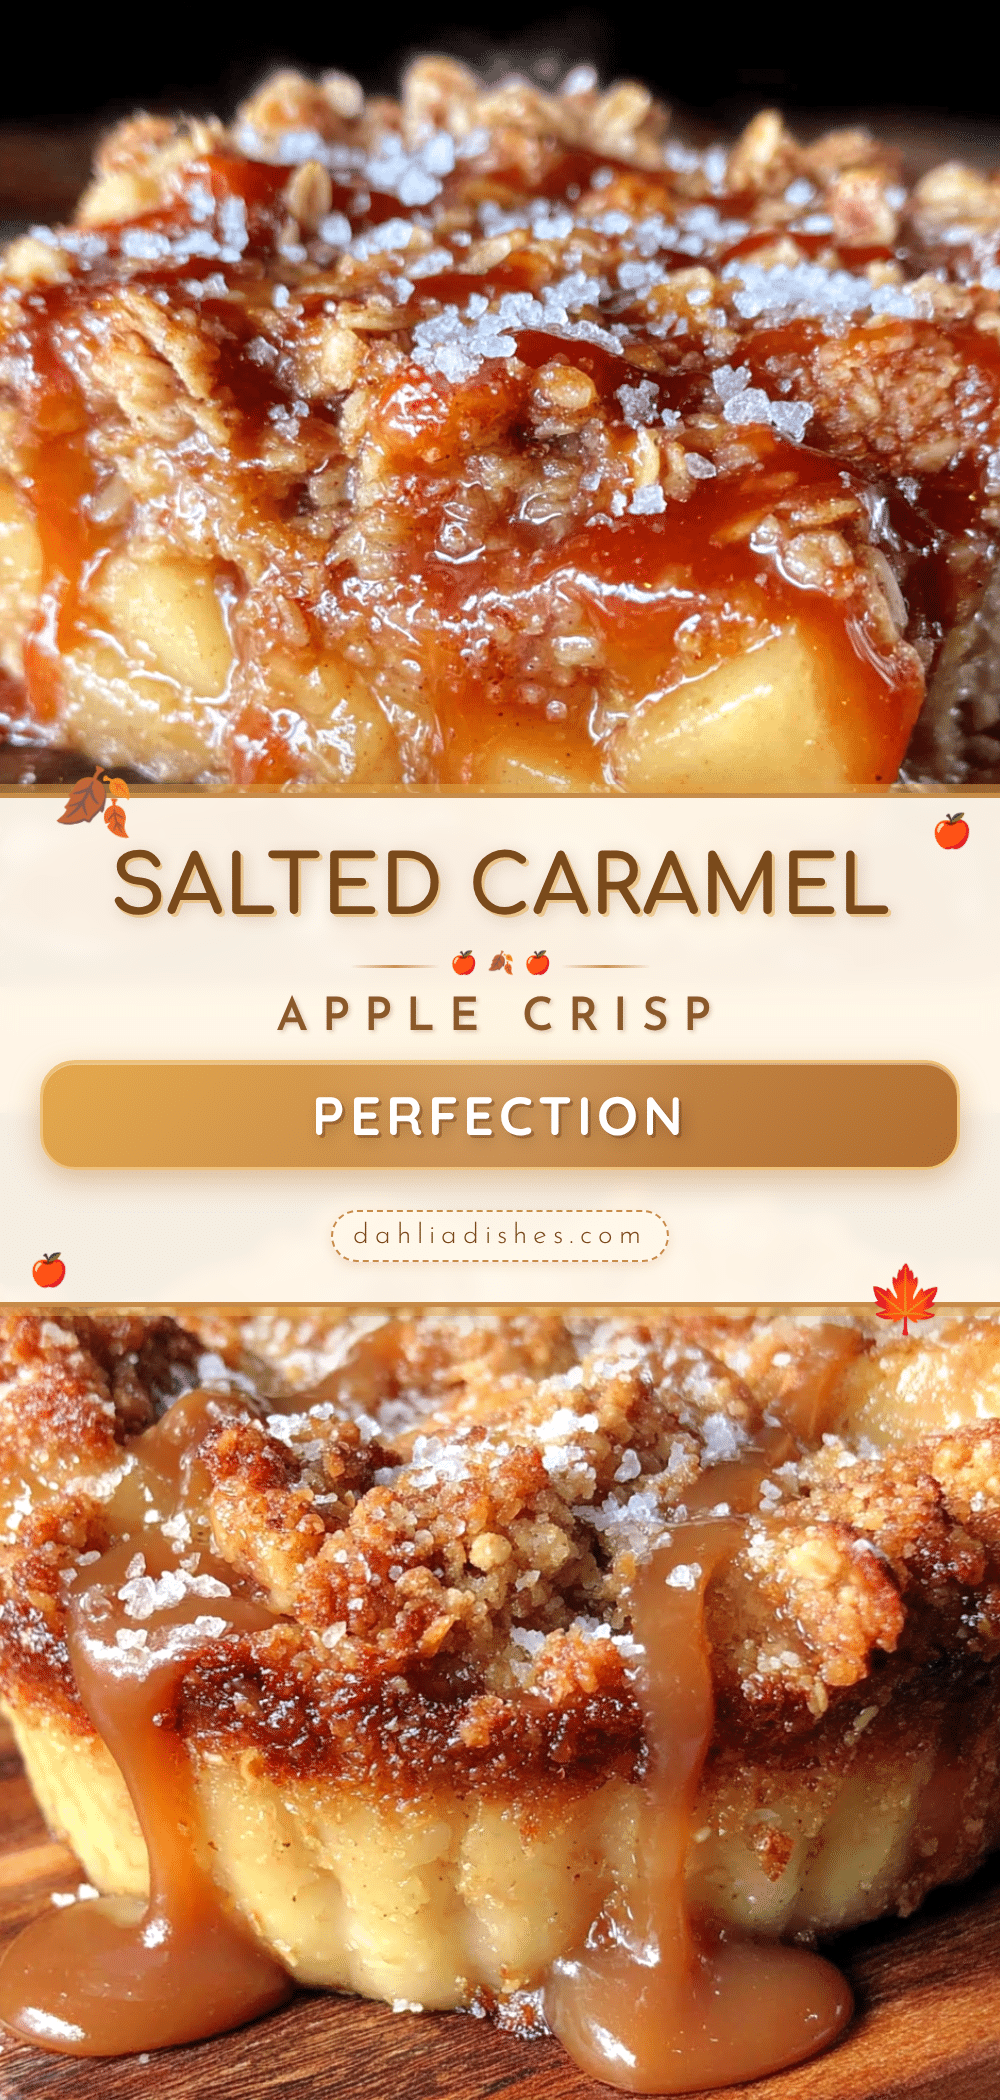
Perfect Salted Caramel Apple Crisp: Easy Homemade Dessert

This perfect salted caramel apple crisp with oat crumble is the result of an obsession to recreate a beloved bakery dessert. The combination of tender, spiced apples with a buttery oat crumble and silky salted caramel creates something that feels both familiar and completely new.
- Prep Time: 15 minutes
- Cook Time: 45 minutes
- Total Time: 1 hour
- Yield: 8 servings 1x
- Category: Dessert
- Cuisine: American
Ingredients
- 6 medium apples, peeled, cored, and sliced into ¼-inch thick pieces (mix of Granny Smith and Honeycrisp)
- ¼ cup granulated sugar
- ¼ cup light brown sugar, packed
- 2 tablespoons all-purpose flour
- 1 teaspoon ground cinnamon
- ¼ teaspoon ground nutmeg
- ¼ teaspoon salt
- 1 tablespoon lemon juice
- 1 teaspoon vanilla extract
- ½ cup granulated sugar (for caramel)
- 3 tablespoons unsalted butter, cut into small pieces (for caramel)
- ¼ cup heavy cream, at room temperature (for caramel)
- ½ teaspoon flaky sea salt (for caramel), plus more for sprinkling
- 1 cup old-fashioned rolled oats
- ½ cup all-purpose flour
- ½ cup light brown sugar, packed
- ¼ teaspoon ground cinnamon
- ¼ teaspoon salt
- ½ cup unsalted butter, cold and cut into small cubes
- ¼ cup chopped pecans or walnuts (optional)
Instructions
- Preheat your oven to 350°F (175°C). Position the rack in the center of the oven. Grease your 9×13-inch baking dish with a little butter or non-stick spray.
- Make the salted caramel sauce first. In a small, heavy-bottomed saucepan, spread the ½ cup of granulated sugar in an even layer. Heat over medium heat, watching carefully as the sugar begins to melt around the edges. Swirl the pan occasionally—don’t stir with a spoon, just gently swirl. This takes about 5-7 minutes. The sugar will clump at first, then smooth out into a deep amber liquid. The moment it turns the color of a copper penny, remove it from the heat immediately. Add the butter pieces a…
- Prepare the apples. In a large mixing bowl, combine the sliced apples with the granulated sugar, brown sugar, flour, cinnamon, nutmeg, salt, lemon juice, and vanilla extract. Toss everything together with your hands or a large spoon until the apples are evenly coated. Let them sit for about 5 minutes—this helps the apples release some of their juices, which will create that wonderful syrupy filling.
- Make the oat crumble topping. In a medium mixing bowl, whisk together the rolled oats, flour, brown sugar, cinnamon, and salt. Add the cold butter cubes. Use a pastry cutter, two forks, or your fingertips to work the butter into the dry ingredients until the mixture resembles coarse meal with some pea-sized butter pieces remaining. If you’re using nuts, stir them in now. Don’t overwork the mixture—those butter pockets are what create the crispy clusters.
- Assemble the crisp. Spread the apple mixture evenly in the prepared baking dish. Drizzle about half of the salted caramel sauce over the apples—reserve the rest for serving. Sprinkle the oat crumble topping evenly over the apples, covering them completely. Don’t press the topping down; leave it loose so it can crisp up nicely.
- Bake the crisp. Place the dish on a baking sheet to catch any drips. Bake for 40-45 minutes, until the filling is bubbling around the edges and the topping is golden brown and crisp. If the topping is browning too quickly after 30 minutes, tent loosely with aluminum foil for the remaining time.
- Cool and serve. Remove the crisp from the oven and let it cool on a wire rack for at least 15 minutes. This resting time is crucial—the filling needs to set up, and the topping needs to firm up. If you serve it too soon, it’ll be runny. Drizzle the remaining caramel sauce over the top, sprinkle with a little extra flaky sea salt, and serve warm.
Notes
Don’t skip the lemon juice—it keeps the apples from browning and adds brightness. If your caramel seizes up after adding the cream, return it to low heat and whisk gently until smooth. For best results, use a mix of apple varieties like Granny Smith and Honeycrisp. Cold butter is essential for the crumble topping. The crisp is even better the next day as flavors meld.
Nutrition
- Serving Size: 1/8 of the dish
- Calories: 420
- Sugar: 42
- Sodium: 280
- Fat: 18
- Saturated Fat: 10
- Carbohydrates: 64
- Fiber: 5
- Protein: 4
Keywords: apple crisp, salted caramel, oat crumble, fall dessert, easy dessert, homemade apple crisp


