Love this? Save it for later!
Share the inspiration with your friends
My sister-in-law claimed she hated white chocolate. For years. Every birthday, every holiday, every time someone brought out a box of cookies, she’d give that little shrug and say, “Not my thing.” I believed her. I mean, why wouldn’t I? She’s a dark chocolate purist through and through, the kind of person who judges a brownie by its bitterness. So imagine my surprise last July when I caught her standing in front of my open pantry, elbow-deep in a bag of these no-bake avalanche cookies. She had one shoved halfway in her mouth already, and she froze like a raccoon caught in a flashlight beam.
“These are different,” she mumbled, crumbs flying. And honestly? She was right.
That’s the thing about summer snacking, you know? You want something that hits that sweet, crunchy, cold spot without turning on the oven and turning your kitchen into a sauna. These no-bake avalanche cookies are that thing. They came together on a Tuesday when the heat index was pushing a hundred and I had a bag of white chocolate chips that needed using up. I wasn’t trying to convert anyone. I was just trying to survive the afternoon without melting into a puddle on my kitchen floor.
But here’s the kicker—the texture is what gets you. The crispy rice cereal stays snappy, the peanut butter adds this savory richness that cuts through the sweetness, and the white chocolate? It sets up firm but not rock hard, so each bite has this satisfying snap before it melts on your tongue. I’ve made them for three different barbecues this summer, and every single time, someone who “doesn’t like white chocolate” asks for the recipe. Maybe you’ve been there, watching someone eat their words along with a cookie. It never gets old.
Why You’ll Love This Recipe
Let me tell you why these no-bake avalanche cookies have earned a permanent spot in my summer rotation. I’ve tested this recipe about seven times now, tweaking the ratios and the chilling time, and I can say with confidence that this version is the one.
- No Oven Required: When it’s ninety-five degrees outside, the last thing you want to do is preheat anything. These come together on the stovetop in about ten minutes. Your kitchen stays cool, and you stay sane.
- Pantry-Friendly Ingredients: You probably have everything already. White chocolate chips, creamy peanut butter, crispy rice cereal, and a little powdered sugar. No fancy grocery trips, no hunting for obscure ingredients.
- Perfect for Summer Gatherings: Barbecues, pool parties, picnics, road trips—these cookies travel like a dream. They don’t melt in the sun the way regular chocolate cookies do, and they’re sturdy enough to toss in a bag without crumbling.
- Crowd-Pleaser Status: I’ve brought these to three different events this summer. They disappeared first every single time. Kids grab them. Adults sneak them. Even my white-chocolate-skeptic sister-in-law asks for them now.
- That Texture Combination: The creamy white chocolate, the crunchy cereal, the salty-sweet peanut butter—it’s the kind of bite that makes you close your eyes for a second. Honestly, it’s next-level comfort food disguised as a simple cookie.
What makes this recipe different from all the other no-bake cookies out there? It’s the ratio. Most recipes end up too sweet or too crumbly. I spent a few batches figuring out the exact balance where the white chocolate coats every piece of cereal without drowning it, and the peanut butter adds just enough salt to keep things interesting. It’s not just another version. It’s the version I keep coming back to.
What Ingredients You Will Need
This recipe uses simple, wholesome ingredients that come together to deliver bold flavor and satisfying texture without any fuss. Most of these are pantry staples you probably already have on hand, which makes these no-bake avalanche cookies perfect for spontaneous summer cravings.
- White Chocolate Chips (2 cups / 340g) – I recommend Ghirardelli or Guittard for the best melt and flavor. The cheaper brands sometimes seize up or leave a waxy coating. Look for real cocoa butter on the ingredient list. (adds that creamy, melt-in-your-mouth texture)
- Creamy Peanut Butter (1 cup / 260g) – Use the processed stuff here, not natural peanut butter that separates. The stabilizers help the cookies set properly. I use Skippy or Jif. (provides structure and that salty-sweet balance)
- Unsalted Butter (¼ cup / 57g) – Adds richness and helps the white chocolate melt smoothly. If you only have salted butter, just skip adding any extra salt later.
- Powdered Sugar (1½ cups / 180g) – Sifted if you’re feeling fancy, but honestly, I’ve skipped sifting plenty of times and it worked fine. (helps bind everything together and adds sweetness without graininess)
- Crispy Rice Cereal (3 cups / 85g) – Regular Rice Krispies work perfectly. The generic store brand is fine too. Don’t use puffed rice—it’s too delicate and will crush when you mix. (adds that signature crunch)
- Vanilla Extract (1 teaspoon) – Pure vanilla is better, but imitation works in a pinch. It rounds out the sweetness and makes the white chocolate taste more complex.
- Salt (¼ teaspoon) – Just a pinch to cut the sweetness. If your peanut butter is already salted, you can skip this, but I like the contrast.
For substitutions, you can use almond butter instead of peanut butter if you need a nut-free option, though the texture will be slightly softer. Gluten-free crispy rice cereal is widely available now—just check the label. And if you’re dairy-free, look for a good-quality dairy-free white chocolate chips; they’re getting easier to find these days.
Equipment Needed
You don’t need much for these no-bake avalanche cookies, which is part of the beauty. Here’s what you’ll want to have ready:
- Medium Saucepan – For melting the white chocolate, peanut butter, and butter together. A heavy-bottomed pan works best to prevent scorching.
- Large Mixing Bowl – Big enough to hold all the cereal without spilling over the sides. I use my biggest stainless steel bowl.
- Rubber Spatula – For folding everything together gently. A wooden spoon works too, but the spatula gets every last bit of chocolate mixture.
- Baking Sheet – Lined with parchment paper or a silicone baking mat. The cookies won’t stick, and cleanup is a breeze.
- Cookie Scoop (about 1½ tablespoons) – For uniform cookies. You can use two spoons if you don’t have one, but the scoop makes it so much faster. I got mine for three dollars at a kitchen supply store, and it’s one of my most-used tools.
- Measuring Cups and Spoons – Standard set. Nothing fancy here.
If you don’t have a cookie scoop, just wet your hands slightly and roll the mixture into balls. It works perfectly fine, though your cookies won’t be quite as uniform. The taste is exactly the same, so don’t stress about it.
Preparation Method
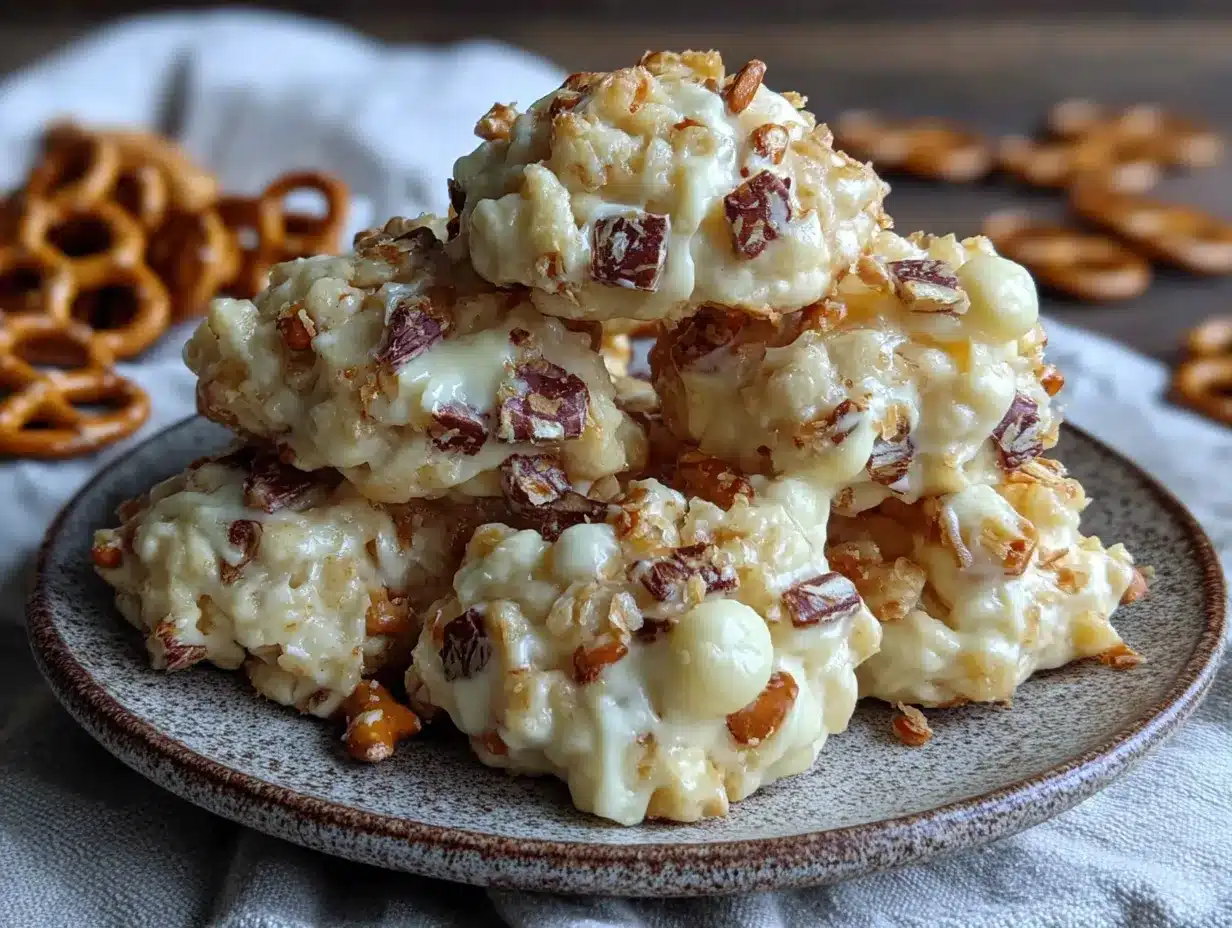
These no-bake avalanche cookies come together fast, so I like to have everything measured and ready before I start. Trust me on this—once that white chocolate mixture is melted, you don’t want to be hunting for the powdered sugar.
- Line your baking sheet with parchment paper or a silicone mat. Set it aside where it can sit flat in the fridge later. I clear a shelf in my refrigerator ahead of time so I’m not shuffling things around with hot cookie mixture in my hands.
- In a medium saucepan over low heat, combine the white chocolate chips, creamy peanut butter, and unsalted butter. Stir constantly with your rubber spatula. This takes about 3 to 4 minutes. The mixture will look grainy and separated at first—don’t panic. Keep stirring. It will come together into a smooth, glossy sauce. The key here is low heat. I learned this the hard way after scorching my first batch. White chocolate burns easily, and once it’s burnt, there’s no saving it.
- Remove the pan from the heat as soon as everything is melted and smooth. Stir in the vanilla extract and salt. The mixture should be thick but pourable, like a warm caramel sauce. Let it cool for exactly 2 minutes. This is important—if you add the powdered sugar while the mixture is too hot, it will seize up and turn into a crumbly mess. If it’s too cool, it will be hard to stir everything together.
- Add the powdered sugar in two additions, stirring well after each. The mixture will thicken significantly and start to look like a soft dough. It should pull away from the sides of the pan slightly. If it seems too thin, let it sit for another minute to firm up. If it seems too thick, you can add a teaspoon of warm water, but I’ve never needed to.
- Pour the mixture over the crispy rice cereal in your large mixing bowl. Fold gently with your rubber spatula until every piece of cereal is coated. This takes about 1 to 2 minutes of patient folding. Don’t stir too aggressively or you’ll crush the cereal, and then you lose that satisfying crunch. You want each piece to stay intact, just wrapped in that sweet, peanut-buttery coating.
- Working quickly while the mixture is still warm and pliable, scoop heaping tablespoons onto the prepared baking sheet. I use my cookie scoop and press firmly to pack each one, then release it onto the parchment. Space them about an inch apart—they don’t spread. If the mixture starts to get too firm to scoop, pop the bowl in the microwave for 10 seconds to soften it back up.
- Refrigerate the cookies for at least 1 hour before serving. This is non-negotiable. They need that time to set up properly. I’ve tried rushing it at 30 minutes, and the cookies were too soft and fell apart. At 1 hour, they’re perfect—firm but not rock hard, with a clean snap when you bite into them.
- Optional finishing touch: If you want them to look extra pretty, drizzle a little melted white chocolate over the tops before they set. I do this when I’m bringing them to a party. It takes two extra minutes and makes them look like something from a bakery.
Cooking Tips & Techniques
After making these no-bake avalanche cookies more times than I can count, I’ve picked up a few tricks that make the process smoother and the results more consistent.
Watch your heat. White chocolate is temperamental. It seizes up when it gets too hot, turning into a grainy, unworkable mess. Always melt it on low heat and stir constantly. If you see any steam rising from the pan, you’re too hot. Pull it off the burner and keep stirring off the heat. I ruined my first batch by walking away for thirty seconds. Never again.
Let the mixture cool before adding sugar. This is the mistake I see most often in recipe comments. People dump the powdered sugar in while the mixture is still piping hot, and it turns into a crumbly, greasy disaster. Two minutes of cooling makes all the difference. Set a timer if you have to.
Pack the scoops firmly. When you’re scooping the cookies, press the mixture into the scoop with some pressure. Loose cookies fall apart. Firmly packed cookies hold their shape beautifully. I press three times: scoop, press, release. It becomes muscle memory after the first tray.
Chill thoroughly. I know it’s tempting to sneak one after 30 minutes. I’ve done it. They’re edible but soft. The magic happens at the 1-hour mark when the white chocolate fully sets and the texture firms up. For the best experience, wait the full hour.
Multitasking tip: While the cookies are chilling, I wash my dishes and wipe down the counters. The mixture leaves a bit of a sticky residue on the pan, but if you fill it with hot soapy water right away, it comes off easily. Let it sit overnight, and you’ll be scrubbing for ten minutes.
Variations & Adaptations
These no-bake avalanche cookies are surprisingly flexible. I’ve played around with different add-ins and substitutions, and here are some combinations I’ve enjoyed:
- Chocolate Lover’s Version: Swap half the white chocolate chips for milk chocolate or semi-sweet chips. You get a marbled effect that’s both pretty and delicious. I did this for a friend who claimed white chocolate “doesn’t count as real chocolate,” and she ate six.
- Crunchy Peanut Butter Version: Use crunchy peanut butter instead of creamy for little bits of peanut in every bite. The texture contrast is fantastic. Just make sure it’s the processed kind, not natural.
- Add-In Extravaganza: Fold in ½ cup of mini chocolate chips, ¼ cup of shredded coconut, or ¼ cup of chopped peanuts after the cereal is coated. I made a batch with all three once, and it was basically a candy bar in cookie form. No regrets.
- Vegan Adaptation: Use dairy-free white chocolate chips and a vegan butter substitute. I’ve tested this with Earth Balance and it worked well. The texture was slightly softer, so I chilled them for an extra 30 minutes.
- Holiday Twist: Add a drop of peppermint extract and fold in crushed candy canes. I made these for Christmas last year, and they were a hit. The red and white speckles look festive without any extra effort.
The base recipe is forgiving, so feel free to experiment. Just keep the ratios roughly the same—too many add-ins and the cookies won’t hold together.
Serving & Storage Suggestions
These no-bake avalanche cookies are best served cold, straight from the refrigerator. The texture is perfect at that temperature—firm with a clean snap, but not hard enough to hurt your teeth. I like to arrange them on a white platter for summer parties; the contrast between the white cookies and the dish looks really clean and inviting.
For a summer dessert board, I pair them with fresh strawberries, dark chocolate-dipped pretzels, and a bowl of vanilla ice cream. The salty-sweet combination works beautifully with juicy fruit. They also go great with iced coffee or a cold glass of milk—my personal favorite pairing on a hot afternoon.
Storage: Keep these cookies in an airtight container in the refrigerator for up to 2 weeks. I stack them between layers of parchment paper so they don’t stick together. They actually get better after a day or two as the flavors meld together. Just don’t leave them out at room temperature for more than a few hours, especially in warm weather. The white chocolate can soften and lose its shape.
Freezer instructions: These freeze beautifully. Layer them in a freezer-safe container with parchment between layers, and they’ll keep for up to 3 months. To serve, just transfer them to the refrigerator for a few hours to thaw. You can eat them straight from the freezer too—they’re extra crunchy that way, like a frozen candy bar.
Reheating note: You don’t need to reheat these. They’re meant to be eaten cold. If you somehow end up with warm cookies (left out too long at a picnic), just pop them back in the fridge for 20 minutes and they’ll firm right up again.
Nutritional Information & Benefits
Let’s be real—these no-bake avalanche cookies are a treat, not a health food. But I think it’s helpful to know what’s in them so you can enjoy them mindfully.
Per cookie (based on 24 cookies): approximately 180 calories, 10g fat, 22g carbohydrates, 3g protein, 15g sugar. These numbers will vary based on your specific ingredients and how big you scoop them.
What’s good about them: The peanut butter adds a bit of protein and healthy fats, which helps balance out the sugar and keeps you feeling satisfied longer than a plain sugar cookie would. The crispy rice cereal is fortified with iron and B vitamins, so there’s that. And honestly, sometimes you just need a cookie that makes you happy. I think that counts for something.
Dietary considerations: These cookies contain dairy (white chocolate, butter) and peanuts (peanut butter), so they’re not suitable for those with allergies to those ingredients. They are egg-free and can be made gluten-free with certified gluten-free crispy rice cereal. For a vegan version, use dairy-free white chocolate and plant-based butter.
I personally appreciate that these are smaller than bakery cookies—one is usually enough to satisfy my sweet tooth without going overboard. But I’ve also eaten three in a sitting, and I’m not ashamed to admit it.
Conclusion
These no-bake avalanche cookies have become my go-to summer treat for good reason. They’re quick, they’re easy, and they somehow convince even the most stubborn white-chocolate-haters to come around. There’s something deeply satisfying about watching someone take that first bite, expecting to be disappointed, and then seeing their eyes go wide when they realize how good it actually is.
I hope you give these a try, especially on one of those sweltering days when you want something sweet but can’t bear to turn on the oven. Feel free to play around with the add-ins and make them your own—that’s the beauty of a simple recipe like this. And if you do make them, I’d love to hear about it. Drop a comment below and let me know how they turned out, or share your own twist on the recipe. Happy summer snacking, friends!
Frequently Asked Questions
Can I use natural peanut butter in this recipe?
I wouldn’t recommend it. Natural peanut butter separates easily and doesn’t have the stabilizers that help these cookies set properly. You’ll end up with greasy, crumbly cookies that don’t hold their shape. Stick with processed peanut butter like Skippy or Jif for the best results.
Why did my white chocolate seize up?
White chocolate seizes when it gets too hot or when even a tiny drop of water gets into the mixture. Always melt it on low heat, stir constantly, and make sure your utensils and pan are completely dry. If it does seize, you can try adding a teaspoon of vegetable oil and stirring vigorously, but honestly, it’s usually better to start over.
How long do these cookies last?
Stored in an airtight container in the refrigerator, these cookies stay fresh for up to 2 weeks. They’ll also keep in the freezer for up to 3 months. Just make sure they’re well-sealed so they don’t pick up any fridge odors.
Can I make these without a cookie scoop?
Absolutely. Use two spoons to scoop and shape the mixture, or lightly wet your hands and roll them into balls. The cookies won’t be perfectly uniform, but they’ll taste exactly the same. I’ve done both methods many times.
My cookies are too crumbly. What went wrong?
This usually happens if the mixture was too hot when you added the powdered sugar, or if you didn’t pack the scoops firmly enough. Next time, let the mixture cool for exactly 2 minutes before adding the sugar, and press the scoops firmly into your cookie scoop or hands. If your current batch is too crumbly, you can try melting a little extra white chocolate and stirring it in to rebind everything.
Pin This Recipe!
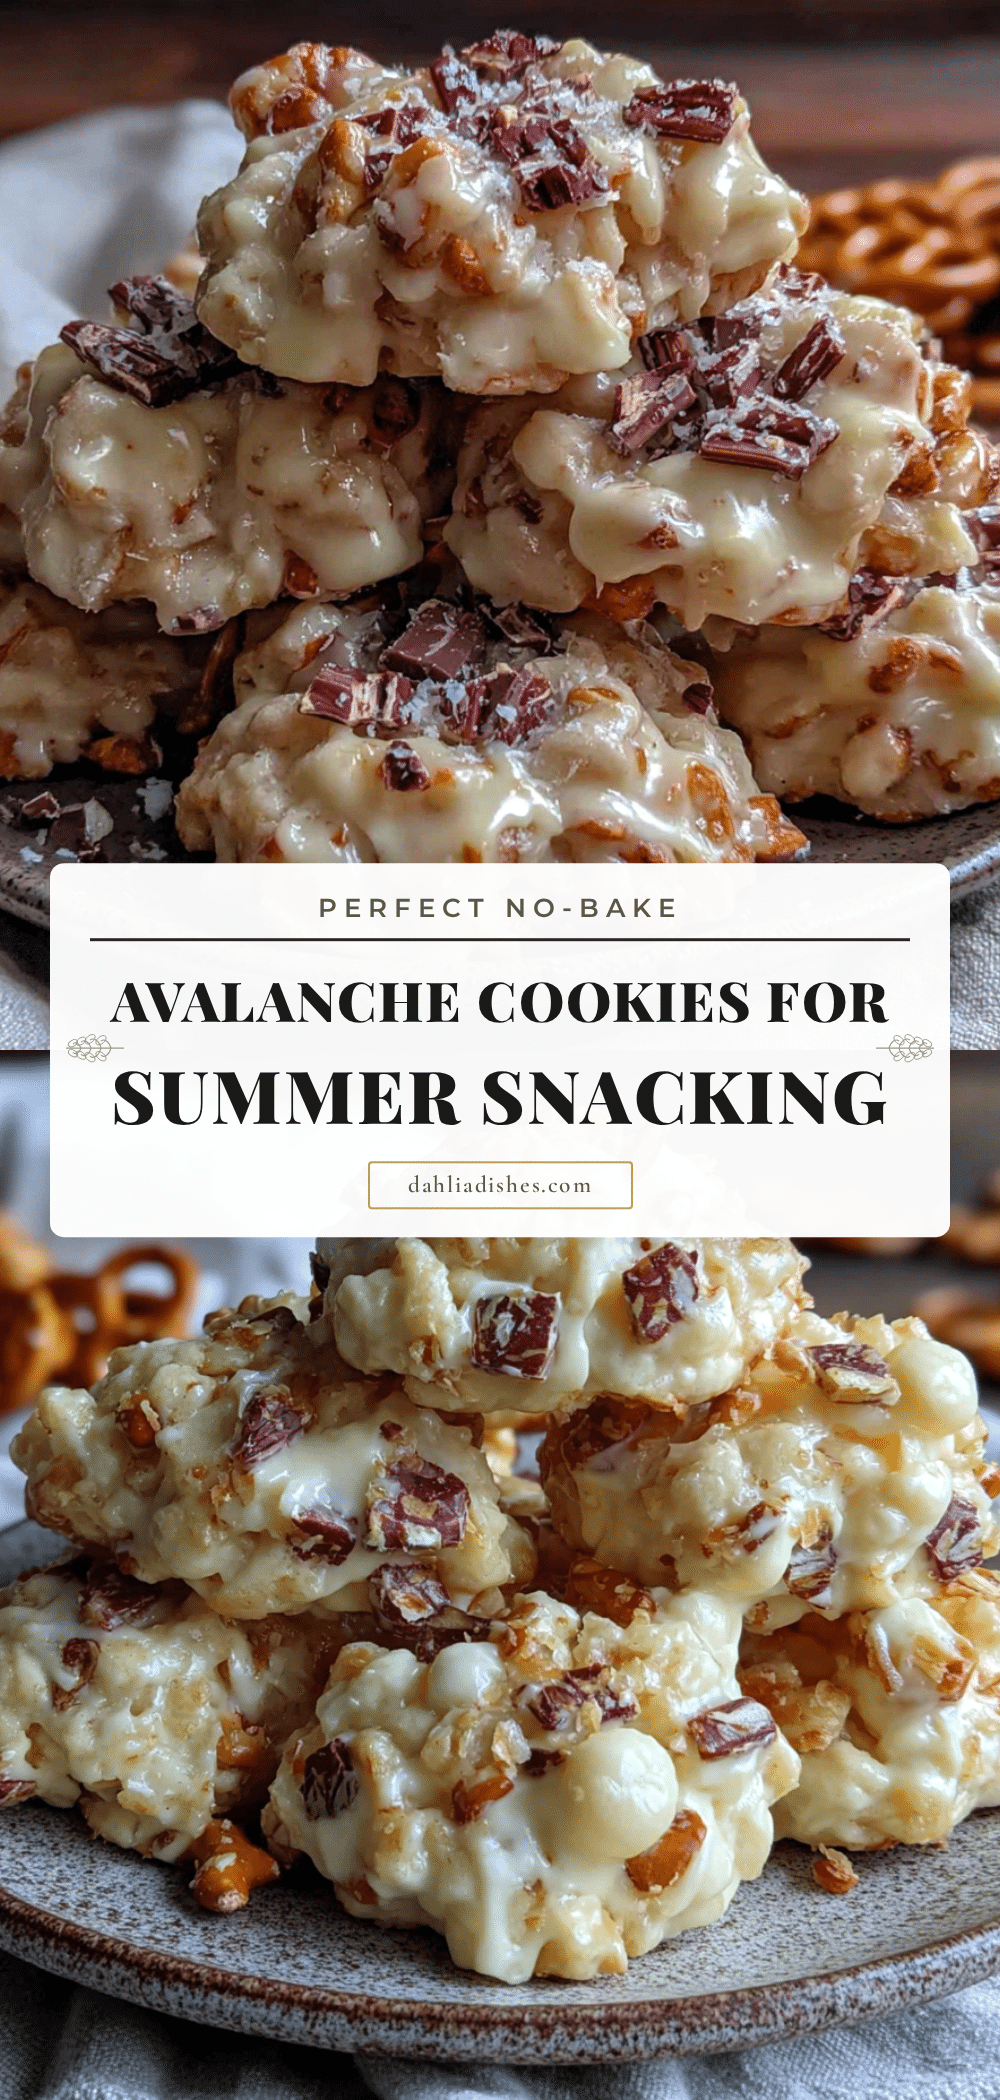
Perfect No-Bake Avalanche Cookies for Easy Summer Treats

These no-bake avalanche cookies are the perfect summer treat—no oven required, made with pantry-friendly ingredients, and featuring a creamy white chocolate, crunchy cereal, and salty-sweet peanut butter combination that even white chocolate skeptics love.
- Prep Time: 15 minutes
- Cook Time: 5 minutes
- Total Time: 1 hour 20 minutes (includes chilling)
- Yield: 24 cookies 1x
- Category: Dessert
- Cuisine: American
Ingredients
- 2 cups (340g) white chocolate chips
- 1 cup (260g) creamy peanut butter (processed, like Skippy or Jif)
- ¼ cup (57g) unsalted butter
- 1½ cups (180g) powdered sugar
- 3 cups (85g) crispy rice cereal (e.g., Rice Krispies)
- 1 teaspoon vanilla extract
- ¼ teaspoon salt
Instructions
- Line a baking sheet with parchment paper or a silicone mat. Set aside.
- In a medium saucepan over low heat, combine white chocolate chips, creamy peanut butter, and unsalted butter. Stir constantly until melted and smooth, about 3-4 minutes.
- Remove from heat. Stir in vanilla extract and salt. Let cool for exactly 2 minutes.
- Add powdered sugar in two additions, stirring well after each, until mixture thickens and pulls away from sides of pan.
- Pour mixture over crispy rice cereal in a large mixing bowl. Fold gently until every piece of cereal is coated, about 1-2 minutes.
- Working quickly while mixture is warm, scoop heaping tablespoons (about 1½ tablespoons each) onto prepared baking sheet, spacing about 1 inch apart. Press firmly to pack.
- Refrigerate for at least 1 hour before serving.
- Optional: Drizzle melted white chocolate over tops before setting for a bakery look.
Notes
Use processed peanut butter (not natural) for best structure. Let mixture cool 2 minutes before adding powdered sugar to prevent seizing. Pack scoops firmly to prevent crumbling. Chill at least 1 hour for proper texture. Store in airtight container in refrigerator up to 2 weeks, or freeze up to 3 months.
Nutrition
- Serving Size: 1 cookie
- Calories: 180
- Sugar: 15
- Sodium: 100
- Fat: 10
- Saturated Fat: 5
- Carbohydrates: 22
- Fiber: 1
- Protein: 3
Keywords: no-bake cookies, avalanche cookies, white chocolate cookies, summer treats, easy cookies, no oven cookies, peanut butter cookies


