Love this? Save it for later!
Share the inspiration with your friends
This was supposed to be a batch of simple peanut butter cookies. Just a quick bake for a Tuesday night, you know? I had the butter softening on the counter, the peanut butter measured out, and I was feeling pretty confident. Then I realized I was completely out of chocolate chips. Not a single one in the pantry. I stood there, staring at the empty spot on the shelf, with the mixer going and the dough already starting to come together. I was already late starting dinner, and the last thing I wanted was a trip to the grocery store with a toddler who had just woken up from a nap. Honestly, I almost just scraped the whole thing into the trash.
But then I remembered the bag of Hershey’s Kisses I had stashed in the back of the freezer from a holiday baking spree. It was a desperate move, a last-ditch effort to salvage the night. I unwrapped a few, pressed them into the center of the dough balls, and popped the tray in the oven, fully expecting a melty, misshapen mess. What came out was nothing like the plan — and better. The chocolate didn’t melt into a puddle; it stayed perfectly perched in a little crater, a shiny, sweet crown on a nutty, soft throne.
That first bite had this unexpected harmony. The soft, salty-sweet cookie, the snap of the chocolate shell, the way it all just melted together. I mean, I actually laughed out loud. It was one of those happy kitchen accidents that makes you feel like you accidentally stumbled onto a secret. Maybe you’ve been there, staring at a half-made recipe and a missing ingredient, feeling that little pang of defeat. Let me tell you, this is the kind of “failure” you want to have. I’ve been making these peanut butter blossom cookies for every gathering since, and they never fail to disappear before anything else on the table. They are the reason I now keep a bag of Kisses in my freezer at all times.
Why You’ll Love This Recipe
These aren’t just cookies; they’re a guaranteed win for any host. I’ve tested this recipe more times than I can count, tweaking the bake time and the dough temperature to get that perfect soft-yet-sturdy texture that holds the chocolate kiss without crumbling. Trust me, I’ve had my share of cracked cookies and sunken chocolates so I could bring you this foolproof version.
- Unbelievably Easy: The dough comes together in one bowl with no electric mixer required if you’re feeling strong. It’s the perfect recipe to make with kids or when you’re short on time before guests arrive.
- Simple Ingredients: You likely have everything in your pantry right now. Peanut butter, sugar, an egg, flour — that’s the heart of it. No fancy extracts or hard-to-find items.
- Perfect for Hosting: These are the ultimate party cookie. They look impressive on a platter, they’re easy to grab and eat, and they pair beautifully with coffee, tea, or a cold glass of milk.
- Crowd-Pleaser: I have yet to meet a single person who doesn’t love these. They’re a nostalgic classic that appeals to both kids and adults. They always get rave reviews.
- Next-Level Comfort Food: The combination of soft, salty peanut butter and smooth milk chocolate is pure magic. It’s the kind of cookie that makes you close your eyes after the first bite.
What makes this recipe different from the rest is the texture. We’re not going for a dry, crumbly cookie. This version uses a specific ratio of butter to peanut butter that creates a tender, almost melt-in-your-mouth crumb that’s sturdy enough to hold the chocolate. It’s the best version of the classic, perfected through trial and error so you don’t have to go through it yourself.
What Ingredients You Will Need
This recipe uses simple, wholesome ingredients to deliver that classic, crowd-pleasing flavor. Most of these are pantry staples, which makes this the perfect recipe to whip up on a whim.
- 1 ¾ cups (220g) all-purpose flour – Spoon and level it for the most accurate measurement. Too much flour will make the cookies dry.
- 1 teaspoon baking soda – This helps the cookies spread just the right amount and gives them a soft texture. Make sure it’s fresh!
- ½ teaspoon salt – A crucial ingredient. It balances the sweetness and enhances the peanut butter flavor. I use fine sea salt.
- ½ cup (113g) unsalted butter, softened – Let it sit at room temperature for about 30 minutes. It should be soft enough to leave a dent when you press it, but not melty. I prefer unsalted to control the salt level.
- ½ cup (100g) granulated sugar – This adds sweetness and helps with spreading. You’ll also need extra for rolling the dough balls.
- ½ cup (110g) packed light brown sugar – Brown sugar adds moisture and a hint of molasses flavor, which makes the cookies extra soft and chewy.
- 1 large egg, room temperature – A room-temperature egg mixes more evenly into the creamed butter and sugar, creating a smoother dough.
- 1 teaspoon vanilla extract – Use pure vanilla extract if you have it. It adds a lovely warmth to the flavor profile.
- 1 cup (256g) creamy peanut butter – I recommend using a standard brand like Jif or Skippy for the best texture. Natural, oily peanut butter can cause the cookies to spread too much and become greasy. Do not use natural peanut butter here.
- About 36 Hershey’s Kisses, unwrapped – Milk chocolate is the classic choice, but you can use dark chocolate, white chocolate, or even caramel-filled Kisses for a fun twist. You’ll need to unwrap these while the cookies are baking, so get a helper if you can!
Equipment Needed
You don’t need a fancy kitchen to make these cookies. Just a few basic tools that you probably already own.
- Large mixing bowl – Any bowl will work, but a wide, shallow one makes it easier to mix everything together.
- Electric hand mixer or stand mixer – A hand mixer is perfect for this recipe. It makes creaming the butter and sugars effortless. A sturdy wooden spoon and some elbow grease will also get the job done.
- Measuring cups and spoons – For accurate measurements, especially for the flour and peanut butter.
- Baking sheets – I recommend using light-colored, rimmed baking sheets. Dark sheets can cause the bottoms of the cookies to brown too quickly.
- Parchment paper or silicone baking mats – This is non-negotiable for me. It prevents sticking and ensures even baking without the need for greasing the pan.
- Cooling rack – Essential for letting the cookies cool completely so the chocolate sets properly.
- Small bowl – For the extra granulated sugar you’ll use to roll the dough balls.
If you don’t have a stand mixer, don’t worry. A hand mixer or even a good old-fashioned whisk and spoon will work perfectly. I’ve made these in a tiny apartment kitchen with just a bowl and a spatula, and they turned out just as good.
Preparation Method
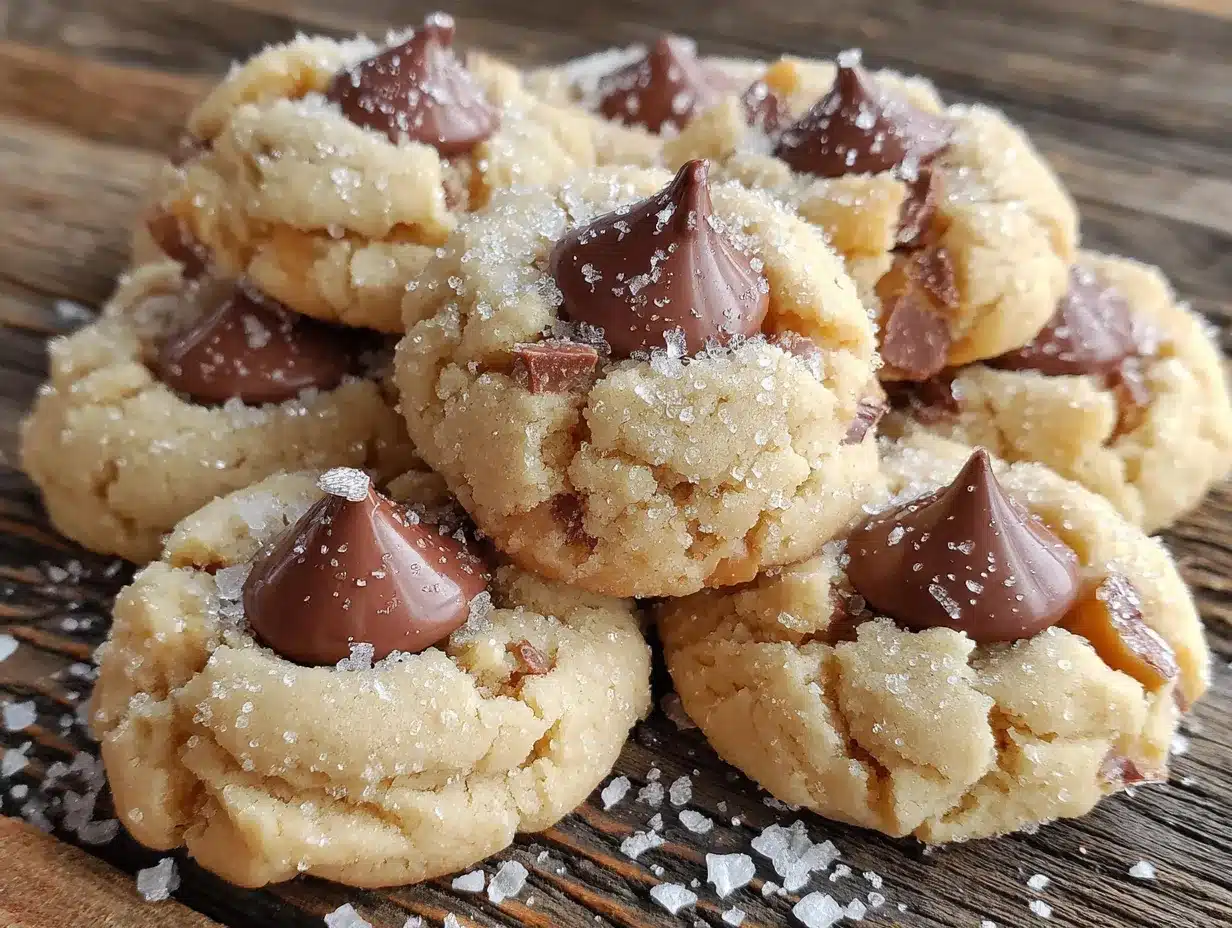
Follow these steps carefully, and you’ll have a perfect batch of peanut butter blossom cookies every single time. I’ve added little notes from my own experience to help you avoid the mistakes I’ve made!
- Preheat and Prep: Preheat your oven to 375°F (190°C). Line two baking sheets with parchment paper or silicone baking mats. This is a key step—don’t skip it or your cookies might stick.
- Whisk Dry Ingredients: In a medium bowl, whisk together the 1 ¾ cups (220g) all-purpose flour, 1 teaspoon baking soda, and ½ teaspoon salt. Set this aside. Whisking ensures everything is evenly distributed so you don’t get a pocket of baking soda in one cookie.
- Cream Butter and Sugars: In a large mixing bowl, beat the ½ cup (113g) softened unsalted butter, ½ cup (100g) granulated sugar, and ½ cup (110g) packed light brown sugar together until light and fluffy. This takes about 2-3 minutes with an electric mixer on medium speed. You’ll see the color lighten and the texture become airy. Don’t rush this step—it’s the foundation for a soft cookie.
- Add Wet Ingredients: Beat in the 1 large egg and 1 teaspoon vanilla extract until well combined. The mixture might look a little curdled for a second, but that’s okay. Keep mixing until it’s smooth again.
- Mix in Peanut Butter: Add the 1 cup (256g) creamy peanut butter and mix on low speed until just combined. Scrape down the sides and bottom of the bowl with a spatula to make sure everything is incorporated.
- Combine Wet and Dry: Gradually add the flour mixture to the peanut butter mixture, mixing on low speed until just combined. Be careful not to overmix. Stop as soon as you no longer see streaks of flour. Overmixing will develop the gluten and make the cookies tough.
- Chill the Dough (Important!): Cover the bowl with plastic wrap and refrigerate the dough for at least 1 hour. This is a crucial step I learned the hard way. Chilling the dough prevents the cookies from spreading too thin in the oven, ensuring they stay thick and soft enough to hold the chocolate kiss. You can even chill it for up to 3 days.
- Shape and Roll: Once the dough is chilled, preheat your oven again if you turned it off. Place about ¼ cup (50g) of granulated sugar in a small bowl. Scoop rounded tablespoons of dough (about 1.5 tablespoons each) and roll them into smooth balls. Roll each ball in the sugar to coat completely. Place the sugared dough balls about 2 inches apart on the prepared baking sheets.
- Bake: Bake for 10-12 minutes, or until the cookies are set around the edges and just lightly golden on the bottom. The centers will still look a little soft and puffy. Do not overbake! They will continue to set on the hot baking sheet.
- Add the Kisses: Remove the baking sheet from the oven and let it cool on a wire rack for 2-3 minutes. While the cookies are still warm, gently press one Hershey’s Kiss into the center of each cookie. Press down just until the cookie cracks slightly around the edges. If you press too hard, the cookie will break. Let the cookies cool on the baking sheet for another 5 minutes before transferring them to a wire rack to cool completely. The chocolate will firm up as they cool.
Cooking Tips & Techniques
Over the years, I’ve made plenty of mistakes with these peanut butter blossom cookies, so let me save you the trouble. The biggest one? Not chilling the dough. I was impatient once and skipped it, thinking, “How much of a difference can it really make?” The answer is a huge difference. The cookies spread into flat, thin discs that couldn’t hold the chocolate kiss. They were still tasty, but they looked nothing like the classic cookie. Chilling is non-negotiable.
Another common mistake is overbaking. These cookies will look soft and slightly puffy when you pull them out. That’s exactly what you want. They’ll continue to bake on the hot sheet from the residual heat. If you wait until they look fully golden brown, they’ll be dry and crumbly once they cool. Trust the 10-12 minute mark and the visual cue of the edges being set.
When it comes to timing, I like to get the dough made and chilled the night before a party. Then, on the day of, all I have to do is roll, bake, and press. It makes the whole process feel effortless, which is exactly what you want when you’re hosting. Also, unwrap the Kisses while the cookies are baking. It’s a perfect little task to do while you wait, and it prevents that frantic scramble when the hot cookies are waiting for you.
For consistent results, use a cookie scoop to portion the dough. It ensures every cookie is the same size, so they all bake evenly. And always use a light-colored baking sheet. Dark sheets absorb more heat and can burn the bottoms of your cookies before the centers are done.
Variations & Adaptations
One of the best things about this recipe is how easy it is to adapt. I love playing around with different flavors, and here are a few of my favorite variations.
- Chocolate Peanut Butter Blossoms: For an extra dose of chocolate, swap ¼ cup (30g) of the all-purpose flour for ¼ cup (20g) of unsweetened cocoa powder. This creates a chocolate-peanut butter cookie base that’s absolutely divine with the milk chocolate kiss on top.
- Nut-Free Version: You can easily make these with a seed butter like sunflower seed butter. Just be aware that sunflower seed butter can sometimes turn a little green when baked due to a chemical reaction. It’s perfectly safe to eat, but if you want to avoid the color change, add a teaspoon of lemon juice to the dough.
- Different Chocolate Centers: Don’t limit yourself to milk chocolate! Dark chocolate Kisses, white chocolate Kisses, or even the caramel-filled ones are all fantastic. I once used the peppermint bark Kisses during the holidays, and they were a huge hit. You can also use a chocolate truffle or a Rolo candy for a gooey caramel center.
- Gluten-Free Option: I’ve had great success using a 1:1 gluten-free all-purpose flour blend. Look for one that contains xanthan gum. The texture will be slightly more tender, but they still taste amazing and hold their shape perfectly.
Serving & Storage Suggestions
These cookies are best served at room temperature, which makes them perfect for a party buffet or cookie platter. The chocolate should be fully set and firm, offering that satisfying snap when you bite into it. I love arranging them on a large, rustic wooden board with some fresh berries and a few sprigs of mint for a pop of color. They pair beautifully with a hot cup of coffee, a glass of cold milk, or even a scoop of vanilla ice cream for a decadent dessert.
For storage, place the completely cooled cookies in an airtight container at room temperature. They will stay fresh and delicious for up to 5 days. I find that the flavors actually meld together even more after a day, making them taste even better. Do not store them in the refrigerator, as the cold can dry them out and make the chocolate bloom (turn white and chalky).
These cookies also freeze wonderfully. Place the cooled cookies in a single layer in a freezer-safe container or bag, separating the layers with parchment paper. They can be frozen for up to 3 months. To thaw, simply let them sit at room temperature for about 30 minutes. The chocolate will be just as perfect as the day you baked them.
Nutritional Information & Benefits
While these are definitely a treat, they do offer a few surprising benefits. Peanut butter is a great source of plant-based protein and healthy fats, which can help keep you feeling satisfied. The protein also helps balance out the sugar, preventing that dramatic energy crash you sometimes get from other sweets.
Here is an estimated nutritional breakdown per cookie (based on 36 cookies):
| Nutrient | Amount |
|---|---|
| Calories | ~150 |
| Fat | 8g |
| Carbohydrates | 18g |
| Protein | 3g |
| Sugar | 12g |
Please note that these values are estimates and can vary based on the specific brands of ingredients you use. For those with dietary restrictions, please be aware that this recipe contains peanuts, dairy (butter), gluten (flour), and eggs. I always recommend using high-quality, fresh ingredients for the best flavor and texture, even in a treat like this.
Conclusion
These peanut butter blossom cookies are more than just a recipe; they’re a little piece of baking magic that started from a moment of panic in my own kitchen. They are the perfect example of how a simple, classic cookie can be elevated with just a little bit of patience and a good story. I love that they are both nostalgic and impressive, easy enough for a Tuesday night but special enough for a holiday party.
I encourage you to make them your own. Experiment with the chocolate centers, try a different nut butter, or just follow the recipe exactly as written. Either way, I promise you’ll end up with a batch of cookies that will make you the star of any gathering. Please, drop a comment below and let me know how they turned out! Did you try a fun variation? I’d love to hear about your own happy kitchen accidents. Happy baking, friends!
Frequently Asked Questions
Why did my cookies spread too thin?
The most common reason is that the dough wasn’t chilled long enough. Make sure to refrigerate it for at least 1 hour. Also, using natural peanut butter can cause excess spreading because it has a different fat content.
Can I use crunchy peanut butter?
Absolutely! While I prefer creamy for a smoother texture, crunchy peanut butter adds a lovely little crunch and works perfectly in this recipe.
How do I prevent the chocolate kiss from falling off?
Make sure you press the kiss into the cookie while it’s still warm, but after it has cooled for 2-3 minutes on the baking sheet. If the cookie is too hot, the chocolate will melt completely and slide off. If it’s too cool, the cookie won’t hold it.
Can I make the dough ahead of time?
Yes! You can prepare the dough, wrap it tightly in plastic wrap, and refrigerate it for up to 3 days. You can also freeze the unbaked dough balls for up to 3 months. Just bake them from frozen, adding a minute or two to the bake time.
My cookies came out dry. What went wrong?
This is usually a sign of overbaking or overmeasuring the flour. Make sure to spoon the flour into your measuring cup and level it off. Also, pull the cookies out of the oven when the edges are set but the centers still look soft.
Pin This Recipe!
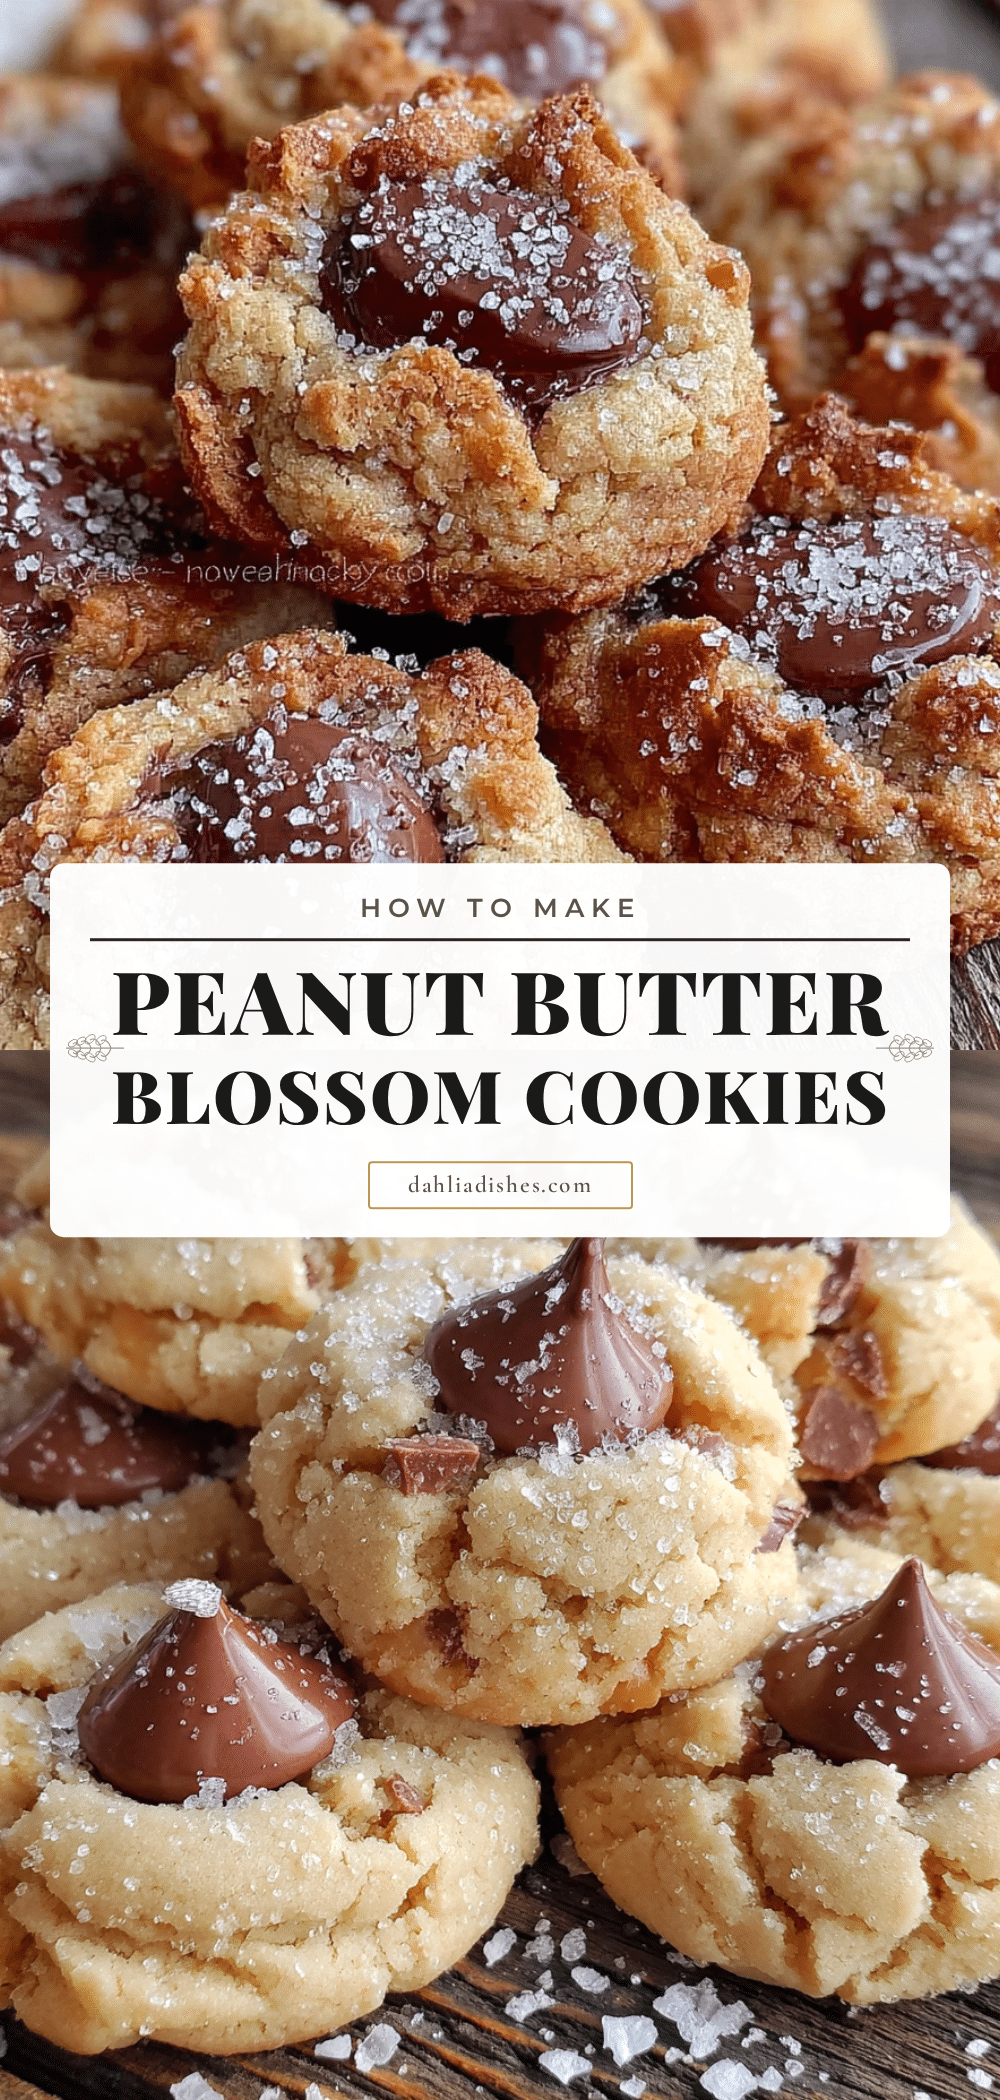
Perfect Easy Peanut Butter Blossom Cookies
Soft, salty-sweet peanut butter cookies topped with a chocolate Hershey’s Kiss. This foolproof recipe creates tender, melt-in-your-mouth cookies that are perfect for any gathering.
- Prep Time: 15 minutes
- Cook Time: 12 minutes
- Total Time: 1 hour 27 minutes (includes 1 hour chilling)
- Yield: 36 cookies 1x
- Category: Dessert
- Cuisine: American
Ingredients
- 1 ¾ cups (220g) all-purpose flour
- 1 teaspoon baking soda
- ½ teaspoon salt
- ½ cup (113g) unsalted butter, softened
- ½ cup (100g) granulated sugar (plus extra for rolling)
- ½ cup (110g) packed light brown sugar
- 1 large egg, room temperature
- 1 teaspoon vanilla extract
- 1 cup (256g) creamy peanut butter (e.g., Jif or Skippy)
- About 36 Hershey’s Kisses, unwrapped
Instructions
- Preheat oven to 375°F (190°C). Line two baking sheets with parchment paper or silicone baking mats.
- In a medium bowl, whisk together flour, baking soda, and salt. Set aside.
- In a large mixing bowl, beat butter, granulated sugar, and brown sugar until light and fluffy (about 2-3 minutes).
- Beat in egg and vanilla extract until well combined.
- Mix in peanut butter on low speed until just combined. Scrape down sides of bowl.
- Gradually add flour mixture to peanut butter mixture, mixing on low until just combined. Do not overmix.
- Cover bowl with plastic wrap and refrigerate dough for at least 1 hour (up to 3 days).
- Place about ¼ cup (50g) granulated sugar in a small bowl. Scoop rounded tablespoons of dough (about 1.5 tablespoons each) and roll into smooth balls. Roll each ball in sugar to coat.
- Place sugared dough balls about 2 inches apart on prepared baking sheets.
- Bake for 10-12 minutes, until edges are set and bottoms are lightly golden. Centers will still look soft.
- Remove from oven and let cool on baking sheet for 2-3 minutes. Gently press one Hershey’s Kiss into the center of each warm cookie.
- Let cookies cool on baking sheet for 5 minutes, then transfer to a wire rack to cool completely.
Notes
Chilling the dough is crucial to prevent spreading. Do not use natural peanut butter. Unwrap Kisses while cookies bake. Press Kiss into cookie after 2-3 minutes of cooling, not immediately. Store in airtight container at room temperature for up to 5 days. Freeze for up to 3 months.
Nutrition
- Serving Size: 1 cookie
- Calories: 150
- Sugar: 12
- Sodium: 120
- Fat: 8
- Saturated Fat: 3
- Carbohydrates: 18
- Fiber: 1
- Protein: 3
Keywords: peanut butter blossom cookies, Hershey's Kiss cookies, easy peanut butter cookies, classic Christmas cookies, soft peanut butter cookies


