Love this? Save it for later!
Share the inspiration with your friends
There used to be a tiny coffee shop tucked into a converted garage in my neighborhood that made the most ridiculous pumpkin cheesecake bar I have ever tasted. They called it the “Fall Forward” — a thick, spiced pumpkin custard on a buttery Biscoff crust, swirled with creamy cheesecake and drizzled with cookie butter. When they closed unexpectedly last October (a victim of rising rent and a broken espresso machine, according to the handwritten sign on the door), I felt a genuine pang of loss. I mean, I actually stood there staring at the locked door, holding my reusable mug, wondering what I was going to do for the rest of autumn without one of those bars.
After seven tries — seven, let me tell you, some of them were real kitchen disasters — I finally got it. The problem was that the original was so rich it practically required a nap afterward. So I started tweaking. I swapped out some of the heavy cream for Greek yogurt, cut back on the butter in the crust, and used a lighter cream cheese blend. The result? A bar that tastes just as decadent as the one I used to buy on rainy Tuesday mornings, but one that doesn’t leave you feeling like you need to run a marathon to burn it off. Honestly, I think it might even be better.
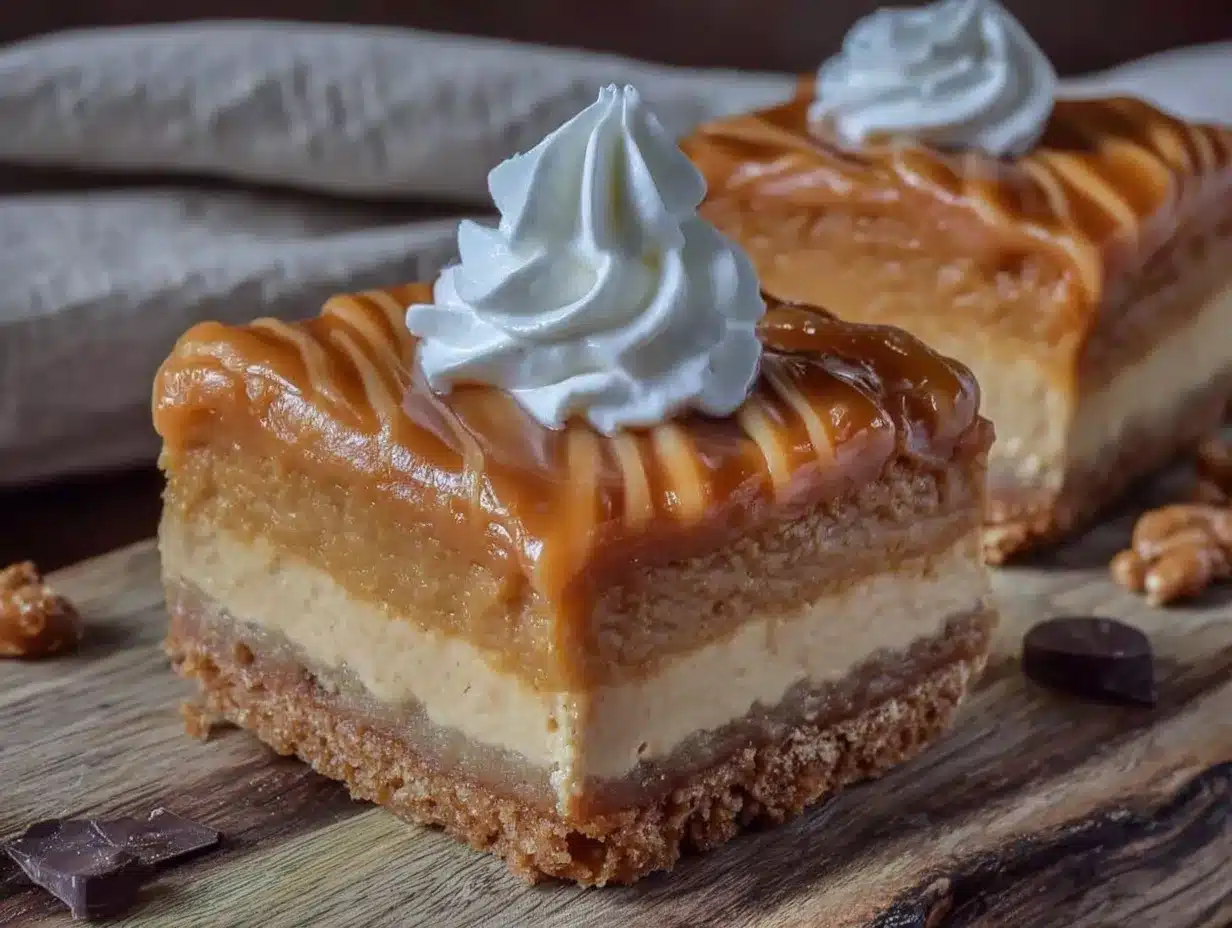
These lighter Biscoff pumpkin cheesecake bars have that same spiced, cozy flavor I was chasing — the kind that makes you close your eyes after the first bite. They have the crunch of the cookie crust, the silky pumpkin layer, and those gorgeous swirls of cheesecake that make every slice look like a work of art. Maybe you have been there — that moment when a bakery or café closes and you realize you took their signature treat for granted. Well, this is my happy ending to that story. And I am pretty sure once you try these, they will become your fall baking staple too.
Why You Will Love This Recipe
I have tested this recipe more times than I care to admit, and each batch taught me something new. These lighter Biscoff pumpkin cheesecake bars are the result of all that trial and error — the version that finally made me stop tweaking and start sharing. Here is why they work so well.
- Quick & Easy: These bars come together in about 30 minutes of active prep time. The oven does the rest of the work. Perfect for a busy weeknight when you are craving something seasonal but do not want to spend hours in the kitchen.
- Simple Ingredients: No fancy grocery trips needed. You likely already have pumpkin puree, eggs, and cream cheese in your fridge. The Biscoff cookies and cookie butter are the only special items, and they are easy to find at most supermarkets now.
- Perfect for Fall Gatherings: Whether it is a Thanksgiving potluck, a cozy Friendsgiving, or just a Sunday afternoon treat, these bars fit right in. They travel well, slice neatly, and look impressive on a dessert platter.
- Crowd-Pleaser: I brought a batch to my neighbor’s Halloween party last week, and they disappeared within fifteen minutes. I am not exaggerating. People kept asking for the recipe, and no one believed me when I said they were lighter.
- Unbelievably Delicious: The combination of spiced pumpkin, tangy cheesecake, and caramelized Biscoff flavor is next-level comfort food. The texture is creamy, crunchy, and smooth all at once.
What makes these different from other pumpkin cheesecake bars is the balance. I use a combination of Greek yogurt and reduced-fat cream cheese to cut the heaviness without losing any of the richness. The crust is pressed thin so every bite has the perfect ratio of cookie to filling. And the swirl — oh, that swirl — it is not just for looks. It ensures every bar has that beautiful marbled effect and a little bit of everything in each forkful.
This recipe is not just good — it is the kind that makes you close your eyes after the first bite. It is comfort food reimagined: healthier, faster, but with the same soul-soothing satisfaction. Perfect for impressing guests without stress, or turning a simple fall evening into something memorable.
What Ingredients You Will Need
This recipe uses simple, wholesome ingredients to deliver bold flavor and satisfying texture without the fuss. Most of these are pantry staples or easy to find at your local grocery store. Let me walk you through each one.
For the Biscoff Crust
- Biscoff cookies, crushed into fine crumbs (about 2 cups of crumbs) — I use the classic Lotus Biscoff cookies. They have that warm, spiced flavor that pairs so well with pumpkin.
- Unsalted butter, melted (4 tablespoons, or 60g) — I use salted butter in a pinch and just skip the added salt. The butter binds the crumbs together and gives the crust that satisfying crunch.
- Granulated sugar (1 tablespoon, or 12g) — just a touch to enhance the sweetness of the crust.
For the Pumpkin Layer
- Pumpkin puree (1 cup, or 245g) — make sure you grab pure pumpkin puree, not pumpkin pie filling. I prefer Libby’s for its consistent texture and flavor.
- Light brown sugar (½ cup, or 100g, packed) — the molasses notes in brown sugar deepen the pumpkin flavor beautifully.
- Large eggs (2, at room temperature) — room temperature eggs blend more smoothly into the filling, giving you a silky texture.
- Greek yogurt (¼ cup, or 60g, plain, non-fat) — this is my secret swap for heavy cream. It adds creaminess and a subtle tang without all the fat.
- Pumpkin pie spice (2 teaspoons, or 4g) — you can use store-bought or make your own with cinnamon, ginger, nutmeg, and cloves.
- Vanilla extract (1 teaspoon, or 5ml) — pure vanilla adds warmth and rounds out the spices.
- Cornstarch (1 tablespoon, or 8g) — this helps stabilize the pumpkin layer so it sets up firm but still creamy.
For the Cheesecake Swirl
- Reduced-fat cream cheese (8 ounces, or 226g, softened) — I use Neufchâtel cheese for a lighter option. It has about a third less fat than regular cream cheese but still tastes rich.
- Granulated sugar (¼ cup, or 50g) — just enough to sweeten the cheesecake layer without overpowering the pumpkin.
- Greek yogurt (2 tablespoons, or 30g, plain, non-fat) — again, this replaces some of the heavy cream or sour cream you would normally see in cheesecake.
- Large egg yolk (1, at room temperature) — the yolk adds richness and helps the swirl set properly.
- Vanilla extract (½ teaspoon, or 2.5ml) — a little goes a long way in enhancing the cream cheese flavor.
For the Topping
- Biscoff cookie butter (3 tablespoons, or 45g, warmed slightly) — this is the finishing touch. Drizzle it over the top before baking for that signature Biscoff flavor in every bite.
- Optional: A few crushed Biscoff cookies for garnish, because why not?
When selecting your ingredients, look for firm, small-curd Greek yogurt for best texture. I find that Fage or Chobani work really well here. For the pumpkin puree, stick with canned for consistency — fresh pumpkin can be too watery and throw off the texture of the bars.
Equipment Needed
You do not need a fully stocked professional kitchen to make these lighter Biscoff pumpkin cheesecake bars. Here is what you will need.
- 8×8-inch baking pan — this is the perfect size for these bars. If you use a 9×9 pan, the bars will be thinner and may bake faster, so keep an eye on them.
- Parchment paper — line your pan with parchment, leaving some overhang on two sides. This creates handy “handles” for lifting the bars out cleanly.
- Food processor or rolling pin — to crush the Biscoff cookies into fine crumbs. I use my food processor because it is faster, but a sealed plastic bag and a rolling pin work just as well.
- Mixing bowls — you will need a few different sizes for the crust, pumpkin layer, and cheesecake swirl.
- Electric hand mixer or stand mixer — for beating the cream cheese until smooth. A whisk and some elbow grease will work too, but the mixer makes it easier.
- Rubber spatula — for folding and spreading the layers evenly.
- Measuring cups and spoons — precise measurements matter in baking, so use proper measuring tools.
I have made this recipe using both a food processor and a manual method, and honestly, both work fine. If you do not have a food processor, just place the cookies in a zip-top bag and crush them with a rolling pin. It is a little more work, but it gets the job done. For the mixer, even a cheap hand mixer from the grocery store will work perfectly.
Preparation Method
Let me walk you through this step by step. I have made these bars so many times that I have the process down to a science. Follow along, and you will have a perfect pan of lighter Biscoff pumpkin cheesecake bars in no time.
- Preheat your oven to 325°F (163°C). Line your 8×8-inch baking pan with parchment paper, leaving a couple inches of overhang on two sides. This will make lifting the bars out so much easier later.
- Make the crust. Place the Biscoff cookies in your food processor and pulse until they become fine crumbs. You should have about 2 cups of crumbs. Transfer them to a medium bowl, add the melted butter and granulated sugar, and stir until the mixture looks like wet sand. Press this mixture firmly into the bottom of your prepared pan. I use the bottom of a measuring cup to really pack it down evenly. Bake the crust for 8 minutes, then set it aside to cool slightly while you make the fillings.
- Prepare the pumpkin layer. In a large bowl, whisk together the pumpkin puree, light brown sugar, eggs, Greek yogurt, pumpkin pie spice, vanilla extract, and cornstarch. Whisk until the mixture is completely smooth and no streaks of yogurt remain. The cornstarch helps prevent the pumpkin layer from being too soft, so do not skip it. Set this aside.
- Make the cheesecake swirl. In a separate medium bowl, beat the softened cream cheese with an electric hand mixer until it is smooth and creamy, about 1 minute. Add the granulated sugar, Greek yogurt, egg yolk, and vanilla extract, and beat again until everything is combined and silky. Be careful not to overmix — you just want it smooth, not whipped.
- Assemble the layers. Pour the pumpkin mixture over the pre-baked crust and spread it into an even layer with your spatula. Then, drop spoonfuls of the cheesecake mixture randomly over the top of the pumpkin layer. Do not spread it — you want those distinct pockets of cheesecake to create the swirl effect.
- Create the swirl. Take a butter knife or a skewer and gently drag it through the cheesecake and pumpkin layers in a figure-eight pattern. Do this about 6 to 8 times, being careful not to scrape into the crust. You want a marbled look, not a fully blended mixture. Warm the Biscoff cookie butter slightly in the microwave (about 10 seconds), then drizzle it over the top in thin lines. Use the same knife to gently swirl the cookie butter into the top layer.
- Bake the bars. Place the pan in the preheated oven and bake for 35 to 40 minutes. The edges should look set and slightly puffed, but the center will still have a slight jiggle when you gently shake the pan. That jiggle is your friend — it means the bars will be creamy, not dry.
- Cool completely. Let the bars cool in the pan on a wire rack for about 1 hour at room temperature. Then, transfer the pan to the refrigerator and chill for at least 3 hours, or overnight. This step is crucial — the bars need time to set up properly. I know it is tempting to dig in right away, but trust me, the wait is worth it.
- Slice and serve. Once the bars are fully chilled, use the parchment overhang to lift them out of the pan. Place them on a cutting board and slice into 9 or 16 squares, depending on how generous you want your servings. Wipe your knife clean between cuts for the neatest slices.
One thing I learned the hard way: do not rush the chilling process. I once tried to slice these after only an hour in the fridge, and they were a gooey mess. Give them the full 3 hours, and you will be rewarded with clean, beautiful bars.
Cooking Tips & Techniques
Over the course of those seven test batches, I made plenty of mistakes. Let me share what I learned so you can skip the trial and error.
Room temperature ingredients matter. I know it is tempting to use cold cream cheese straight from the fridge, but it will leave you with lumpy cheesecake swirl. Let your cream cheese, eggs, and yogurt sit on the counter for about 30 minutes before you start. If you are short on time, you can soften the cream cheese in the microwave for about 10 seconds on low power.
Do not overmix the cheesecake. When you beat the cream cheese mixture, stop as soon as it looks smooth. Overmixing incorporates too much air, which can cause the swirl to puff up and crack during baking. You want it dense and creamy, not fluffy.
Watch the jiggle. The biggest mistake I made in my early attempts was overbaking the bars. I kept waiting for the center to look completely firm, and by the time it did, the edges were dry and the texture was rubbery. The center should still wobble slightly when you shake the pan. It will continue to set as it cools.
Use a hot knife for clean slices. After chilling, run your knife under hot water, wipe it dry, and then slice. Repeat this between each cut. It makes a huge difference in getting those clean, bakery-style edges.
Chill overnight for best results. I know I said 3 hours minimum, but honestly, overnight is better. The flavors meld together, the texture firms up perfectly, and the Biscoff flavor becomes even more pronounced. I usually make these the day before I plan to serve them.
Variations & Adaptations
One of the best things about this recipe is how adaptable it is. Here are some variations I have tried and loved.
Gluten-Free Version: Swap the Biscoff cookies for a gluten-free speculoos cookie. There are several brands available now, and they work exactly the same way. Just make sure your cookie butter is also gluten-free — most are, but it is worth checking the label.
Dairy-Free Adaptation: Use a dairy-free cream cheese alternative (I like Kite Hill or Tofutti) and a dairy-free yogurt. For the crust, use a plant-based butter substitute. The texture will be slightly softer, so chill the bars for at least 4 hours before slicing.
Vegan Option: Replace the eggs with flax eggs (1 tablespoon ground flaxseed mixed with 3 tablespoons water per egg) and use a vegan cream cheese. The bars will be a bit denser but still delicious. I tested this version for a friend’s vegan birthday party, and it was a hit.
Extra Spiced: If you love warm fall flavors, add an extra teaspoon of pumpkin pie spice to the pumpkin layer and a pinch of cinnamon to the cheesecake swirl. You can also mix a little cinnamon into the crust before pressing it into the pan.
Chocolate Twist: Drizzle melted dark chocolate over the cooled bars instead of — or in addition to — the Biscoff cookie butter. The bitterness of the dark chocolate balances the sweetness beautifully.
I once made a batch with a gingersnap crust instead of Biscoff, and it was fantastic. The ginger adds a little heat that plays nicely with the pumpkin. Feel free to experiment with whatever cookies you have on hand.
Serving & Storage Suggestions
These lighter Biscoff pumpkin cheesecake bars are versatile enough for any occasion. Here is how I like to serve and store them.
Serving Temperature: I prefer these bars chilled, straight from the fridge. The texture is firm and creamy, almost like a cheesecake bite. If you like a softer texture, let them sit at room temperature for about 10 minutes before serving.
Presentation Ideas: Arrange the bars on a platter and dust them lightly with a pinch of cinnamon or pumpkin pie spice. Add a small dollop of whipped cream on top for an extra touch. For a more decadent presentation, drizzle a little extra warmed Biscoff cookie butter over each bar just before serving.
Complementary Dishes: These bars pair beautifully with a hot cup of coffee, a chai latte, or a glass of cold milk. If you are serving them as part of a dessert spread, they go well with apple crisp, pecan pie, or a simple vanilla ice cream.
Storage Instructions: Store the bars in an airtight container in the refrigerator for up to 5 days. Place a sheet of parchment paper between layers to prevent them from sticking together. They actually taste even better on the second day, as the flavors have more time to meld.
Freezing Tips: These bars freeze beautifully. Slice them into individual portions, wrap each one tightly in plastic wrap, and place them in a freezer-safe bag or container. They will keep for up to 3 months. To thaw, transfer a bar to the refrigerator overnight or let it sit at room temperature for about 20 minutes.
I always make a double batch and freeze half. It is my secret weapon for unexpected guests or late-night fall cravings.
Nutritional Information & Benefits
I am not a nutritionist, but I do pay attention to what goes into my food. Here is a rough estimate of the nutritional values per bar (based on 9 servings).
- Calories: Approximately 285
- Fat: 14g
- Carbohydrates: 34g
- Protein: 6g
- Fiber: 2g
- Sugar: 22g
These numbers are lower than traditional pumpkin cheesecake bars because of the swaps I made — Greek yogurt instead of heavy cream, reduced-fat cream cheese instead of full-fat, and less butter in the crust. The pumpkin itself is a nutritional powerhouse, packed with vitamin A, fiber, and antioxidants.
For those watching their sugar intake, you can reduce the brown sugar in the pumpkin layer to ⅓ cup and still get good results. The Biscoff cookies and cookie butter do add sugar, so this is not a low-sugar dessert, but it is a lighter option that satisfies that fall craving without derailing your healthy eating goals.
These bars are vegetarian and can be made gluten-free or dairy-free with the substitutions I mentioned earlier. They contain eggs, dairy, and gluten in their standard form, so keep that in mind if you are serving guests with allergies.
Conclusion
These lighter Biscoff pumpkin cheesecake bars are everything I wanted them to be — and honestly, a little more. They bring back that cozy memory of my neighborhood coffee shop, but they also stand on their own as a delicious, crowd-pleasing dessert that just happens to be a little lighter than the original. The combination of spiced pumpkin, creamy cheesecake, and that signature Biscoff crunch is something I find myself craving all autumn long.
I hope you give these a try and make them your own. Maybe you will add a little extra spice, or swap in a different cookie crust, or drizzle them with chocolate instead of cookie butter. That is the beauty of a good recipe — it is a starting point, not a rulebook. I would love to hear how yours turn out. Drop a comment below and let me know if you tried any fun variations, or tag me in your photos if you share them online. Happy baking, and here is to finding comfort in every bite.
Frequently Asked Questions
Can I use fresh pumpkin instead of canned?
You can, but I would not recommend it for this recipe. Fresh pumpkin puree tends to be more watery than canned, which can make the pumpkin layer too soft and prevent it from setting properly. If you really want to use fresh, roast the pumpkin until very tender, then puree it and drain it through a cheesecloth or fine-mesh strainer for at least an hour to remove excess moisture.
Can I make these bars ahead of time?
Absolutely. In fact, I prefer to make them a day ahead. The bars need at least 3 hours to chill and set, but overnight chilling gives them the best texture and allows the flavors to meld together beautifully. They will keep in the refrigerator for up to 5 days, so you can easily prepare them for a party or holiday gathering well in advance.
Why did my cheesecake swirl sink into the pumpkin layer?
This usually happens if the cheesecake mixture is too thin or if you overmix it when swirling. Make sure your cream cheese is fully softened before you beat it, and do not add extra liquid. Also, when you are creating the swirl, use gentle, shallow strokes — you do not need to drag the knife all the way to the bottom of the pan. Just a few light figure-eights on the surface will create a beautiful marbled effect.
Can I freeze these bars?
Yes, they freeze wonderfully. Slice the bars into individual portions, wrap each one tightly in plastic wrap, and place them in a freezer-safe bag or container. They will keep for up to 3 months. When you are ready to enjoy one, simply thaw it in the refrigerator overnight or let it sit at room temperature for about 20 minutes. The texture remains creamy and delicious.
What can I use instead of Biscoff cookies?
If you cannot find Biscoff cookies, you can use any crunchy, spiced cookie as a substitute. Gingersnaps are my favorite alternative — they have a similar warmth and crunch. Graham crackers will also work in a pinch, though the flavor will be less spiced. Just adjust the amount of butter slightly if your chosen cookie is more or less absorbent. You want the crust mixture to feel like wet sand when pressed together.
Pin This Recipe!
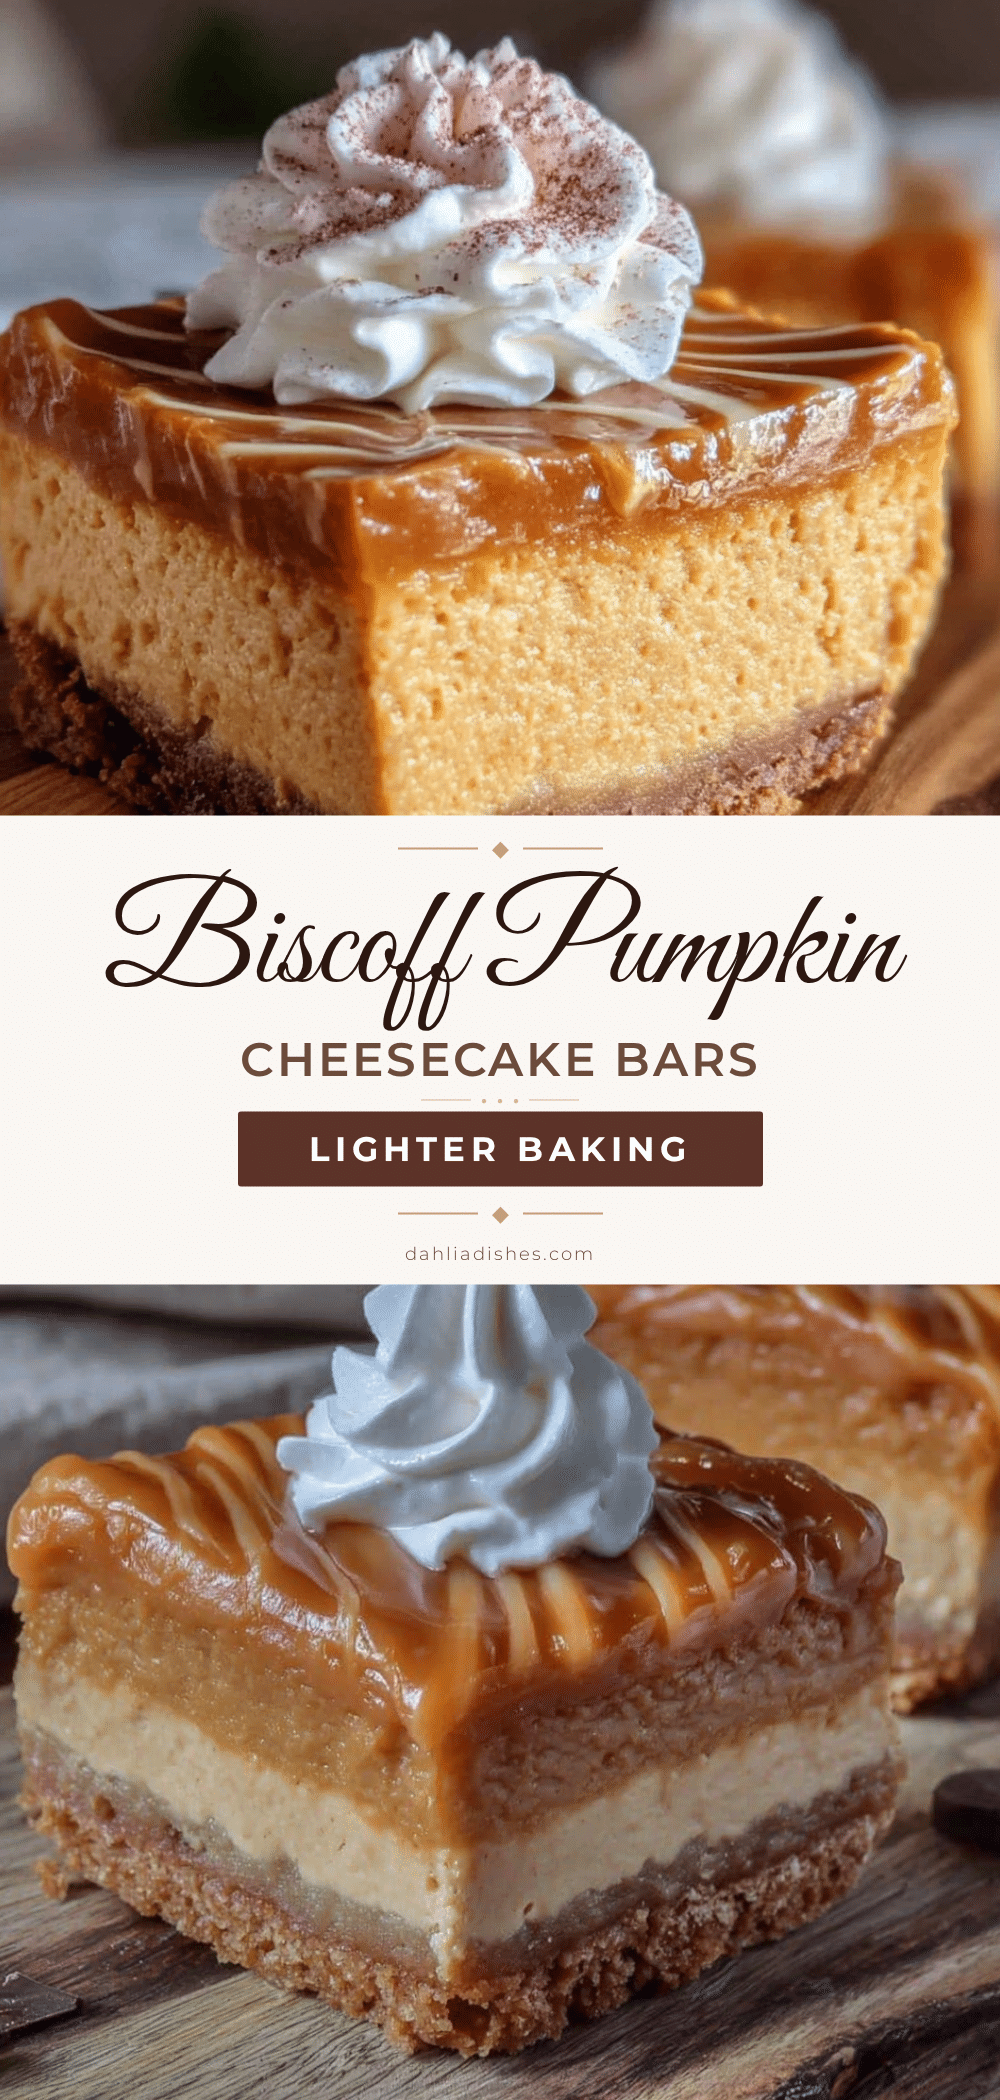
Lighter Biscoff Pumpkin Cheesecake Bars: Easy Fall Dessert
These lighter Biscoff pumpkin cheesecake bars have that same spiced, cozy flavor I was chasing — the kind that makes you close your eyes after the first bite. They have the crunch of the cookie crust, the silky pumpkin layer, and those gorgeous swirls of cheesecake that make every slice look like a work of art.
- Prep Time: 30 minutes
- Cook Time: 35-40 minutes
- Total Time: 4 hours 10 minutes (including chilling)
- Yield: 9-16 servings 1x
- Category: Dessert
- Cuisine: American
Ingredients
- For the Biscoff Crust:
- 2 cups Biscoff cookies, crushed into fine crumbs (about 200g)
- 4 tablespoons unsalted butter, melted (60g)
- 1 tablespoon granulated sugar (12g)
- For the Pumpkin Layer:
- 1 cup pumpkin puree (245g)
- ½ cup light brown sugar, packed (100g)
- 2 large eggs, at room temperature
- ¼ cup plain non-fat Greek yogurt (60g)
- 2 teaspoons pumpkin pie spice (4g)
- 1 teaspoon vanilla extract (5ml)
- 1 tablespoon cornstarch (8g)
- For the Cheesecake Swirl:
- 8 ounces reduced-fat cream cheese (Neufchâtel), softened (226g)
- ¼ cup granulated sugar (50g)
- 2 tablespoons plain non-fat Greek yogurt (30g)
- 1 large egg yolk, at room temperature
- ½ teaspoon vanilla extract (2.5ml)
- For the Topping:
- 3 tablespoons Biscoff cookie butter, warmed slightly (45g)
- Optional: a few crushed Biscoff cookies for garnish
Instructions
- Preheat your oven to 325°F (163°C). Line an 8×8-inch baking pan with parchment paper, leaving a couple inches of overhang on two sides.
- Make the crust: Place the Biscoff cookies in a food processor and pulse until they become fine crumbs (about 2 cups). Transfer to a medium bowl, add melted butter and granulated sugar, and stir until the mixture looks like wet sand. Press firmly into the bottom of the prepared pan using the bottom of a measuring cup. Bake for 8 minutes, then set aside to cool slightly.
- Prepare the pumpkin layer: In a large bowl, whisk together pumpkin puree, light brown sugar, eggs, Greek yogurt, pumpkin pie spice, vanilla extract, and cornstarch until completely smooth and no streaks remain. Set aside.
- Make the cheesecake swirl: In a separate medium bowl, beat the softened cream cheese with an electric hand mixer until smooth and creamy, about 1 minute. Add granulated sugar, Greek yogurt, egg yolk, and vanilla extract, and beat until combined and silky. Do not overmix.
- Assemble the layers: Pour the pumpkin mixture over the pre-baked crust and spread into an even layer. Drop spoonfuls of the cheesecake mixture randomly over the top. Do not spread.
- Create the swirl: Using a butter knife or skewer, gently drag through the cheesecake and pumpkin layers in a figure-eight pattern about 6 to 8 times, being careful not to scrape into the crust. Warm the Biscoff cookie butter slightly (about 10 seconds in microwave), then drizzle over the top in thin lines. Gently swirl the cookie butter into the top layer with the knife.
- Bake: Place the pan in the preheated oven and bake for 35 to 40 minutes. The edges should look set and slightly puffed, but the center will still have a slight jiggle when gently shaken.
- Cool completely: Let the bars cool in the pan on a wire rack for about 1 hour at room temperature. Then transfer to the refrigerator and chill for at least 3 hours, or overnight.
- Slice and serve: Once fully chilled, use the parchment overhang to lift the bars out of the pan. Place on a cutting board and slice into 9 or 16 squares. Wipe the knife clean between cuts for neat slices.
Notes
Do not rush the chilling process. Give the bars at least 3 hours in the refrigerator for clean slices. For best results, chill overnight. Use room temperature ingredients for a smooth cheesecake swirl. Do not overmix the cheesecake to avoid cracks. The center should jiggle slightly when done baking; it will set as it cools. Use a hot knife for clean slices.
Nutrition
- Serving Size: 1 bar (based on 9 se
- Calories: 285
- Sugar: 22
- Sodium: 220
- Fat: 14
- Saturated Fat: 7
- Carbohydrates: 34
- Fiber: 2
- Protein: 6
Keywords: Biscoff, pumpkin, cheesecake bars, fall dessert, lighter, easy, cookie butter, Thanksgiving, Friendsgiving


