Love this? Save it for later!
Share the inspiration with your friends
The office holiday potluck was in four hours and I’d completely forgotten. Like, completely. I was standing in my kitchen at 7 AM in my pajamas, staring at the fridge like it might magically produce a three-tiered cake or a tray of perfectly decorated cookies. Everyone else would be bringing their grandmother’s famous recipes or something they’d spent all weekend perfecting. Me? I had a box of vanilla wafers, some cream cheese that was about to expire, and a vague memory of a dip I’d seen online once. Let me tell you, the panic was real.
I texted my coworker Sarah, who organizes these things, and asked if I could just bring store-bought cookies. She said yes, but I could hear the disappointment in her emoji response. So I took a deep breath, opened the pantry, and decided to work with what I had. I mean, how hard could it be to make something that looked festive? The answer, honestly, was not hard at all. I threw things together, crossed my fingers, and walked into that potluck feeling like I was bringing a science experiment.
The dip sat there on the dessert table, looking suspiciously simple next to the elaborate gingerbread houses and frosted sugar cookies. But then people started trying it. And then they came back for seconds. And then Sarah asked me for the recipe before the party was even over. That’s how this Light No-Bake Christmas Tree Cake Dip became my accidental holiday hero. It’s the recipe that taught me you don’t need hours in the kitchen or a long shopping list to bring something people actually remember. Maybe you’ve been in that same spot, staring down a potluck deadline with nothing but pantry odds and ends. This one’s for you.
Why You’ll Love This Recipe
This isn’t just another dessert dip that leaves you feeling sluggish. It’s a light, creamy, festive treat that tastes indulgent but won’t weigh you down. I’ve tested this recipe about seven times now, tweaking the ratios until it hit that perfect balance between rich and refreshing. Here is why it works so well:
- Ready in 5 Minutes: No oven, no stovetop, no waiting. Just mix, chill if you want, and serve. Perfect for those last-minute holiday emergencies.
- Simple Ingredients: You probably have most of these in your kitchen right now. No weird specialty items or expensive extracts.
- Perfect for Holiday Parties: It looks festive and fun on any dessert table, but it’s light enough that people can go back for more without regret.
- Crowd-Pleaser: Kids love the cookie-dipping aspect, and adults appreciate that it’s not overly sweet or heavy.
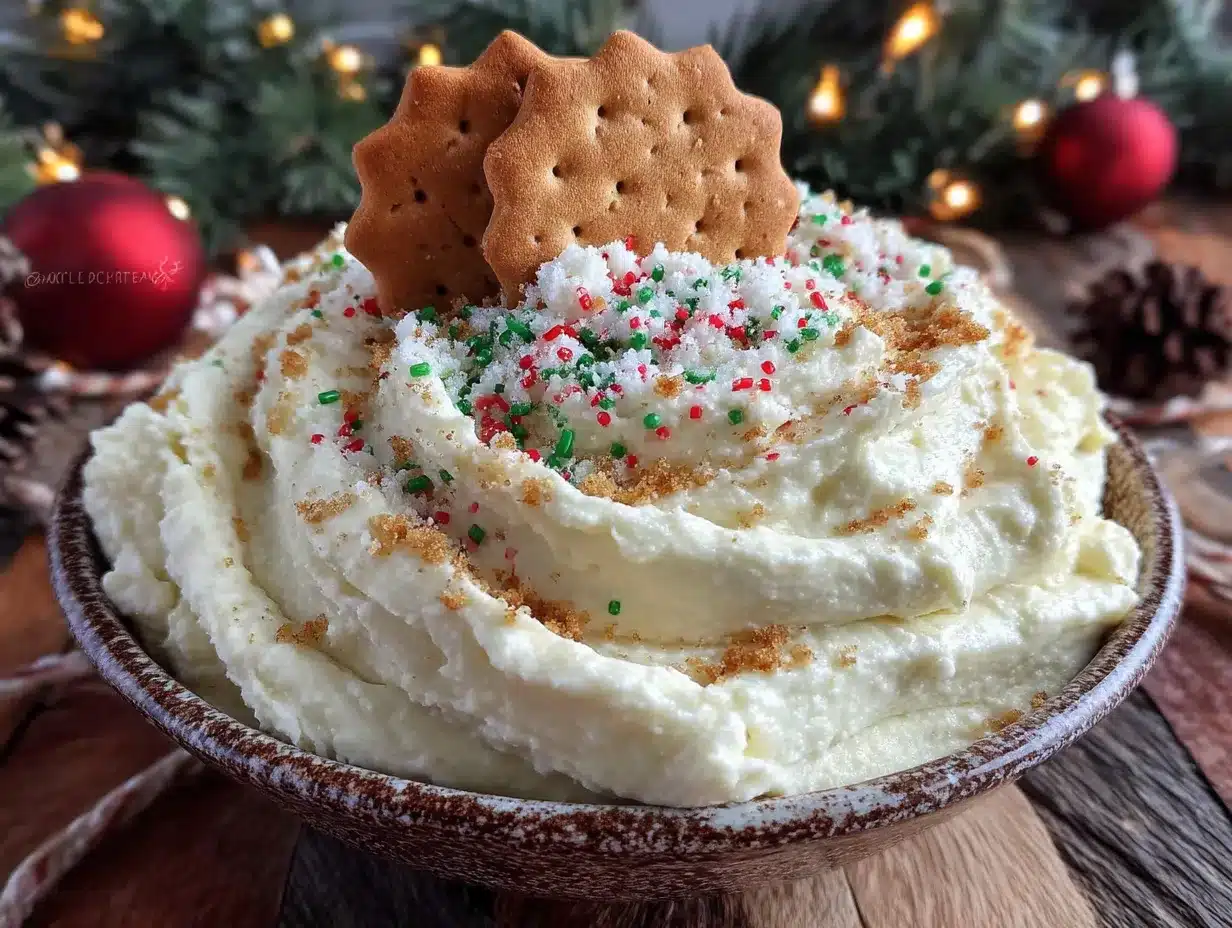
- Unbelievably Delicious: The texture is what gets people. It’s creamy and fluffy, with that nostalgic vanilla wafer crunch and a hint of holiday magic from the sprinkles.
What makes this recipe different from other dessert dips is the lightened-up approach. Instead of heavy cream and tons of sugar, I use a clever combination that keeps the richness without the guilt. It’s comfort food reimagined—healthier, faster, but with the same soul-soothing satisfaction. Perfect for impressing guests without stress, or turning a simple holiday gathering into something memorable.
What Ingredients You Will Need
This recipe uses simple, wholesome ingredients to deliver that festive flavor without the fuss. Most of these are pantry staples, especially during the holiday season. Here is everything you need:
For the Dip Base
- 8 oz cream cheese, softened to room temperature (I recommend Philadelphia for the smoothest texture)
- 1 cup plain Greek yogurt (full-fat or 2% works best for creaminess; use dairy-free coconut yogurt if needed)
- 1/2 cup powdered sugar (adds sweetness without graininess)
- 1 teaspoon vanilla extract (pure vanilla makes a difference here)
- 1/4 teaspoon almond extract (optional, but it adds that bakery-style flavor)
- 1 cup Cool Whip Lite (or your favorite whipped topping, thawed)
For the Christmas Tree Effect
- Green food coloring (gel works best for vibrant color without thinning the dip)
- 1/4 cup holiday sprinkles (the mix of red, green, and white stars or round sprinkles looks amazing)
- Vanilla wafers (I use Nilla Wafers for dipping; about 1 box)
For the Topping (Optional but Recommended)
- 2 tablespoons powdered sugar (for dusting, like snow on the tree)
- Extra sprinkles (for garnish)
- Pretzel sticks (to look like a tree trunk underneath)
Ingredient Selection Tips: Look for cream cheese that is block-style, not whipped, for the best structure. Greek yogurt should be thick and creamy—I prefer Fage or Chobani. If you want a dairy-free version, use vegan cream cheese and coconut yogurt, but note that the texture will be slightly less firm.
Substitution Guidance: For a lower-sugar option, use powdered monk fruit sweetener instead of powdered sugar. You can also swap the Cool Whip with homemade stabilized whipped cream if you prefer. Just whip 1 cup heavy cream with 2 tablespoons powdered sugar until stiff peaks form.
Equipment Needed
You don’t need fancy kitchen gadgets for this one, which is part of the beauty. Here is what you’ll need:
- Large mixing bowl (any size works, but bigger makes mixing easier)
- Electric hand mixer (or a stand mixer, or even a strong arm and a whisk)
- Rubber spatula (for scraping down the sides and folding in the whipped topping)
- Serving platter or shallow bowl (a white plate makes the green dip pop)
- Piping bag or zip-top bag (for shaping the dip into a tree; you can also just spread it)
- Measuring cups and spoons
If you don’t have an electric mixer, you can absolutely do this by hand. Just make sure your cream cheese is really soft so it mixes smoothly. I’ve made this with just a whisk and a lot of elbow grease, and it turned out perfectly fine. For the piping bag, a gallon-sized zip-top bag with the corner snipped off works like a charm. I learned that trick after my actual piping bag split open mid-squeeze during a trial run. Messy, but effective!
Preparation Method
Follow these steps, and you’ll have a gorgeous Christmas tree dip in no time. I’ve included all the little details that make the difference between good and great.
- Soften the cream cheese. Take your cream cheese out of the fridge about 30 minutes before you start. If you’re in a hurry, microwave it in 10-second bursts until soft but not melted. You want it to be room temperature so it mixes smoothly without lumps.
- Beat the cream cheese. In your large mixing bowl, beat the softened cream cheese with an electric mixer on medium speed until it’s completely smooth and fluffy, about 2 minutes. Scrape down the sides of the bowl with your spatula halfway through.
- Add the yogurt and sugar. Add the Greek yogurt, powdered sugar, vanilla extract, and almond extract (if using). Beat on low speed until combined, then increase to medium and beat for another minute until the mixture is light and airy. It should look like a thick, creamy frosting at this point.
- Fold in the whipped topping. Add the thawed Cool Whip Lite to the bowl. Use your rubber spatula to gently fold it in, cutting through the center and scraping around the edges. Don’t overmix—you want to keep the airiness. Fold just until you don’t see any white streaks. This takes about 30 seconds.
- Add the color. Add a few drops of green food coloring. Start with 3-4 drops, mix well, then add more if you want a deeper color. I usually end up using about 6-8 drops of gel coloring for that classic Christmas tree green. Mix until the color is even throughout.
- Fold in the sprinkles. Gently fold in about 3 tablespoons of your holiday sprinkles. Reserve the rest for topping. Be gentle here—you don’t want the sprinkles to bleed their color into the dip. Just a few folds and you’re done.
- Shape the tree. Transfer the dip to a piping bag or zip-top bag with the corner snipped off. On your serving platter, pipe the dip into a cone or triangle shape, starting from the bottom and working your way up. If you don’t want to pipe, you can just spoon the dip onto the platter and shape it into a tree with a spatula. It doesn’t have to be perfect—the sprinkles and dusting will hide any imperfections.
- Decorate the tree. Sprinkle the remaining sprinkles over the tree dip. Dust with powdered sugar using a fine-mesh strainer for that snowy effect. Arrange pretzel sticks at the base to look like a tree trunk. You can also add a star-shaped sprinkle or a yellow candy star on top.
- Chill (optional but recommended). Refrigerate the dip for about 15-20 minutes before serving. This helps it firm up slightly and makes it easier to scoop with the wafers. If you’re in a rush, you can serve it immediately—it will just be a bit softer.
Sensory Cues: At step 3, the mixture should smell sweet and vanilla-forward. At step 5, the color should be a vibrant, even green—like a Christmas tree in a bakery window. When you fold the sprinkles in, you should hear a gentle click as they incorporate into the creamy base.
Troubleshooting: If your dip seems too thin, it might be because the cream cheese wasn’t cold enough or the yogurt was too watery. Pop it in the fridge for 30 minutes to firm up. If it’s too thick, add a tablespoon of milk or more yogurt and mix gently.
Cooking Tips & Techniques
I’ve made this dip enough times to know where things can go sideways. Here are the lessons I learned the hard way so you don’t have to.
Temperature matters. The first time I made this, I used cold cream cheese straight from the fridge. Big mistake. The mixture was lumpy and took forever to smooth out. Now I always set the cream cheese out ahead of time. If you forget, cut it into small cubes and let them sit for 10 minutes—that speeds up the softening process.
Don’t overmix the whipped topping. I once got distracted and kept folding until the mixture became dense and almost buttery. The lightness is what makes this dip so good. Fold just until combined, and stop the second you don’t see white streaks anymore.
Gel food coloring is your friend. Liquid food coloring will thin out your dip and give you a pale, watery green. Gel coloring gives you that vibrant, Insta-worthy color without changing the texture. I use Wilton brand, and a little goes a long way.
Timing strategy. You can make the dip base (without the sprinkles) up to 24 hours in advance. Just keep it in the fridge and fold in the sprinkles and shape it right before serving. This is perfect if you’re prepping for a party and want to minimize day-of work.
The pretzel trunk trick. I learned this from a friend who makes Christmas tree cakes every year. Arrange the pretzel sticks at the base of the dip before you dust with powdered sugar. The sugar will settle on the pretzels too, making them look frosted. It adds a nice salty crunch that balances the sweet dip.
Variations & Adaptations
This recipe is incredibly flexible. Here are some ways I’ve adapted it for different occasions and dietary needs:
Dairy-Free Version
Use vegan cream cheese (I like Kite Hill) and dairy-free Greek yogurt. Swap the Cool Whip Lite with a coconut-based whipped topping. The texture will be slightly softer, so chill it for an extra 10 minutes before serving.
Peppermint Twist
Replace the vanilla extract with peppermint extract (use 1/2 teaspoon—it’s strong!) and fold in crushed candy canes instead of sprinkles. This version is perfect for Christmas Eve gatherings and pairs beautifully with chocolate wafers for dipping.
Chocolate Lover’s Version
Add 2 tablespoons of unsweetened cocoa powder to the cream cheese mixture before adding the yogurt. Use chocolate sprinkles and top with mini chocolate chips. The green color won’t show, so shape it into a mound and call it a “chocolate Yule log dip.”
Skinny Version
Use Neufchâtel cheese (low-fat cream cheese) and nonfat Greek yogurt. Replace powdered sugar with a sugar-free alternative. This version has about half the calories but still tastes creamy and indulgent.
Serving & Storage Suggestions
This dip is best served chilled or at room temperature. I prefer it straight from the fridge because the texture is firmer and the wafers scoop up nicely without breaking.
What to serve with it: Vanilla wafers are classic, but you can also use graham crackers, pretzels, apple slices, or shortbread cookies. For a low-carb option, use cucumber rounds or celery sticks. The sweet-salty combo with pretzels is honestly my favorite.
Complementary dishes: This dip pairs beautifully with a hot cup of cocoa or spiced apple cider. If you’re serving it at a party, set it next to a platter of Christmas cookies or a fruit tray. The lightness of the dip balances out heavier desserts like fudge or cheesecake.
Storage instructions: Cover the dip tightly with plastic wrap or transfer it to an airtight container. It will keep in the refrigerator for up to 3 days. The texture might soften slightly, but it will still taste great.
Reheating: This is a no-bake recipe, so there’s no reheating needed. If the dip has been in the fridge for a while and seems too firm, let it sit at room temperature for 10 minutes before serving.
How flavors develop: Honestly, this dip tastes even better the next day. The vanilla wafer crumbs that inevitably mix in soften slightly and create this almost cake-like texture. It’s dangerous—I’ve definitely eaten it straight from the container with a spoon.
Nutritional Information & Benefits
Here’s the estimated nutritional breakdown per serving (about 1/4 cup of dip, without wafers):
- Calories: 120
- Fat: 7g
- Carbohydrates: 12g
- Protein: 4g
- Sugar: 9g
Health Benefits: Greek yogurt adds protein and probiotics, which support gut health. Cream cheese provides calcium for strong bones. By using lightened-up ingredients, this dip has about 40% fewer calories than traditional cream cheese dessert dips.
Dietary Considerations: This recipe is vegetarian and can be made gluten-free by using gluten-free wafers or dippers. It contains dairy, so it’s not suitable for vegans unless you use the substitutions listed above. It contains no nuts (unless you add the almond extract, which is optional).
Personal Wellness Perspective: I love that this recipe lets me enjoy a festive treat without the post-dessert slump. It’s satisfying enough to feel like a real indulgence, but light enough that I don’t regret it later. That’s the sweet spot, isn’t it?
Conclusion
This Light No-Bake Christmas Tree Cake Dip is proof that you don’t need a complicated recipe to create something memorable. It came from a moment of panic and a pantry full of odds and ends, and now it’s the thing people ask me to bring every year. That’s the kind of recipe worth keeping in your back pocket.
I hope you make this your own. Add more sprinkles, skip the tree shape and just serve it in a bowl, or experiment with different extracts. The beauty of this recipe is that it’s forgiving and flexible. It wants to work with whatever you have.
If you try this recipe, I’d love to hear about it. Drop a comment below and let me know how it turned out, what dippers you used, or if you came up with a fun variation. And if you share it on social media, tag me—I love seeing your creations. Here’s to stress-free holidays and desserts that actually make you feel good!
Frequently Asked Questions
Can I make this dip ahead of time?
Yes! You can make the dip base up to 24 hours in advance. Just keep it in an airtight container in the fridge, then fold in the sprinkles and shape it right before serving.
Can I use regular whipped cream instead of Cool Whip?
Absolutely. Whip 1 cup of heavy cream with 2 tablespoons of powdered sugar until stiff peaks form, then fold it in gently. The texture will be even lighter and more luxurious.
How do I get the dip to hold its tree shape?
Chill the dip for 15-20 minutes before shaping it. If it’s still too soft, add an extra 2 tablespoons of powdered sugar to stiffen it up. You can also pipe it into a cone shape and refrigerate for 30 minutes before decorating.
What can I use instead of vanilla wafers for dipping?
Graham crackers, pretzels, apple slices, shortbread cookies, or even celery sticks all work great. For a low-carb option, use cucumber rounds or pork rinds.
Can I freeze this dip?
I don’t recommend freezing it. The texture becomes watery and grainy when thawed because of the dairy content. It’s best made fresh and stored in the fridge for up to 3 days.
Pin This Recipe!
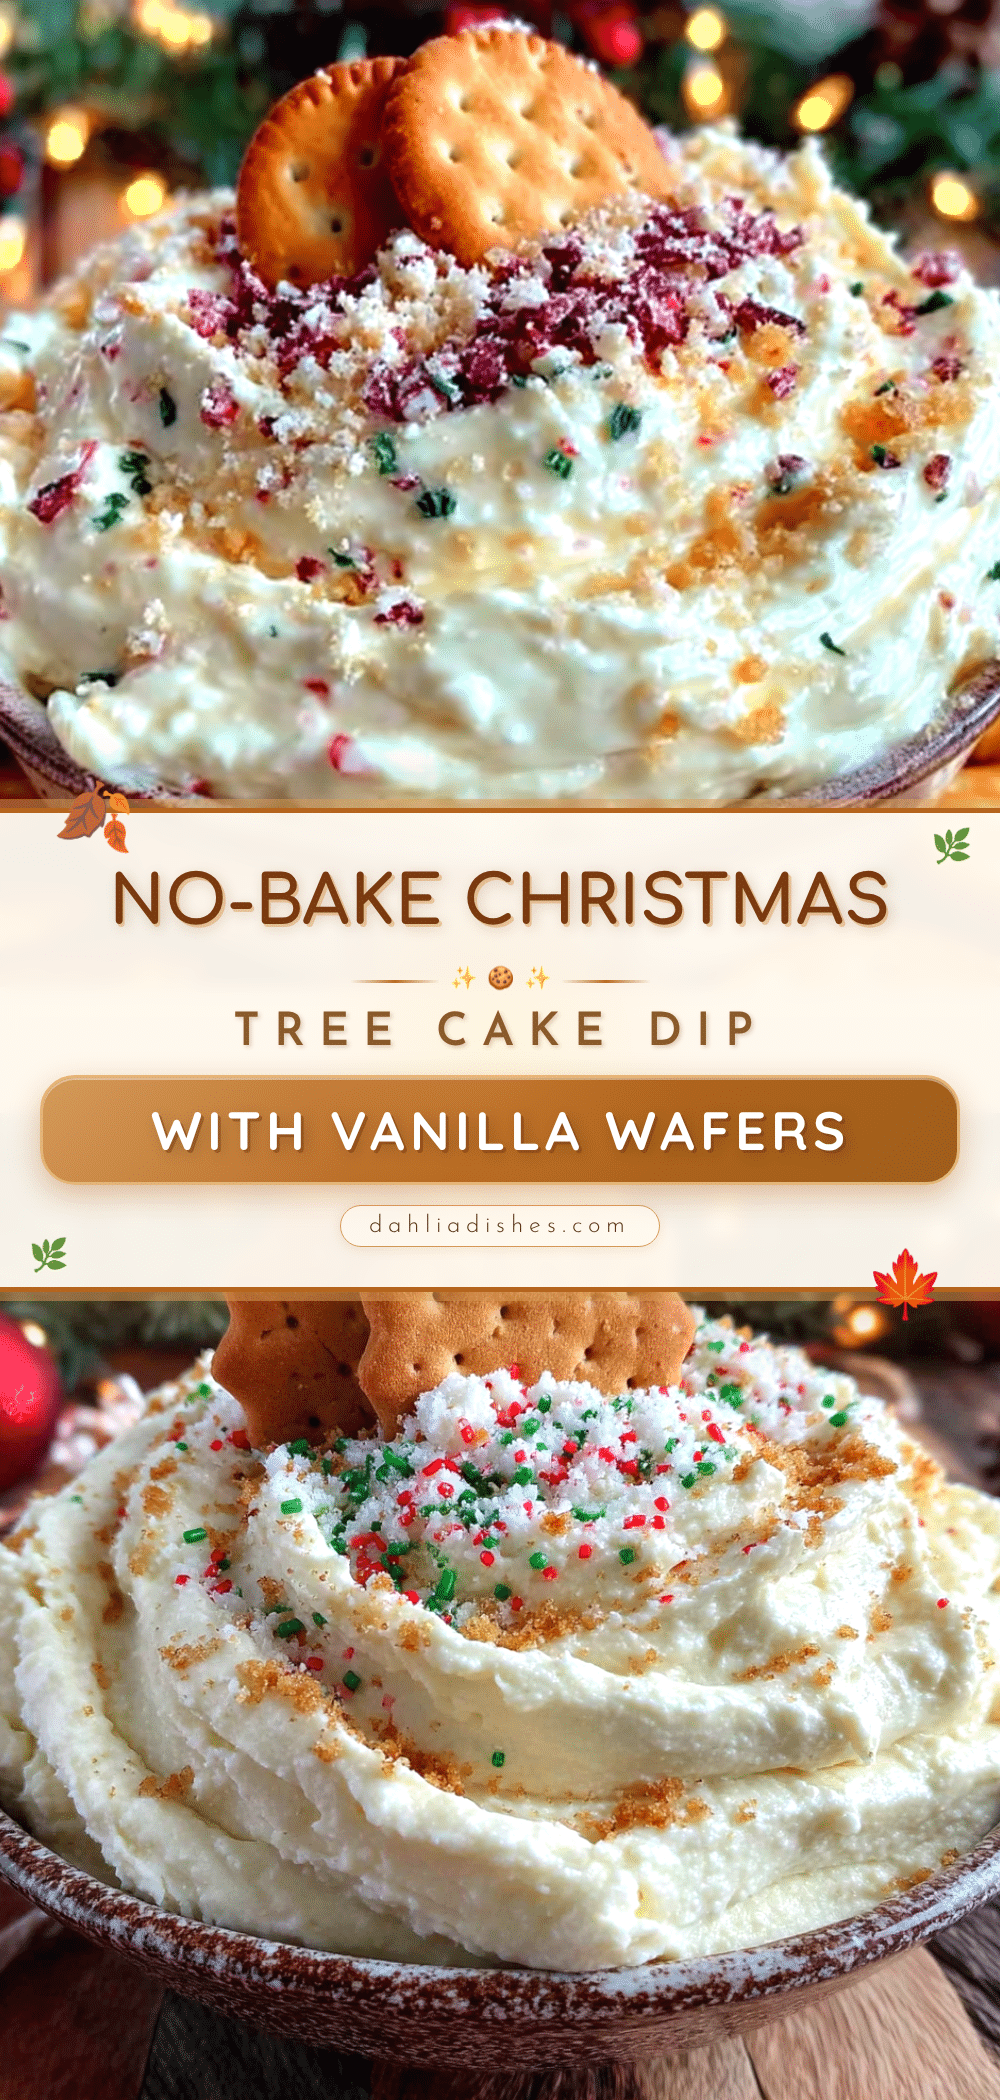
Light No-Bake Christmas Tree Cake Dip (Easy 5-Minute Recipe)

A light, creamy, festive dessert dip that tastes indulgent but won’t weigh you down. Ready in 5 minutes with simple ingredients, perfect for holiday parties and last-minute potlucks.
- Prep Time: 5 minutes
- Cook Time: 0 minutes
- Total Time: 5 minutes
- Yield: 8 servings 1x
- Category: Dessert
- Cuisine: American
Ingredients
- 8 oz cream cheese, softened to room temperature
- 1 cup plain Greek yogurt (full-fat or 2%)
- 1/2 cup powdered sugar
- 1 teaspoon vanilla extract
- 1/4 teaspoon almond extract (optional)
- 1 cup Cool Whip Lite, thawed
- Green food coloring (gel preferred)
- 1/4 cup holiday sprinkles
- Vanilla wafers (about 1 box)
- 2 tablespoons powdered sugar (for dusting)
- Extra sprinkles (for garnish)
- Pretzel sticks (for tree trunk)
Instructions
- Soften the cream cheese by letting it sit at room temperature for 30 minutes or microwaving in 10-second bursts until soft.
- In a large mixing bowl, beat the softened cream cheese with an electric mixer on medium speed until smooth and fluffy, about 2 minutes. Scrape down the sides halfway through.
- Add the Greek yogurt, powdered sugar, vanilla extract, and almond extract (if using). Beat on low until combined, then increase to medium and beat for another minute until light and airy.
- Gently fold in the thawed Cool Whip Lite with a rubber spatula until no white streaks remain, about 30 seconds.
- Add 3-4 drops of green food coloring, mix well, then add more (up to 6-8 drops) for a deeper color. Mix until evenly colored.
- Gently fold in about 3 tablespoons of holiday sprinkles, reserving the rest for topping.
- Transfer the dip to a piping bag or zip-top bag with the corner snipped off. Pipe onto a serving platter in a cone or triangle shape. Alternatively, spoon and shape with a spatula.
- Sprinkle the remaining sprinkles over the tree dip. Dust with powdered sugar using a fine-mesh strainer. Arrange pretzel sticks at the base for a tree trunk.
- Refrigerate for 15-20 minutes before serving to firm up (optional but recommended). Serve with vanilla wafers or other dippers.
Notes
For best results, use block-style cream cheese and thick Greek yogurt. Gel food coloring gives vibrant color without thinning the dip. The dip can be made up to 24 hours in advance (without sprinkles) and stored in the fridge. For a dairy-free version, use vegan cream cheese and coconut yogurt. For a lower-sugar option, use powdered monk fruit sweetener.
Nutrition
- Serving Size: 1/4 cup dip (without
- Calories: 120
- Sugar: 9
- Sodium: 120
- Fat: 7
- Saturated Fat: 4
- Carbohydrates: 12
- Protein: 4
Keywords: Christmas tree dip, no-bake dessert, holiday dip, cream cheese dip, easy dessert, 5-minute recipe, festive dip


