Love this? Save it for later!
Share the inspiration with your friends
There used to be this tiny bakery on the corner of Elm and 5th in my old neighborhood called “The Frosted Spatula.” They had this window display that stopped traffic—literally. People would pull over just to photograph it. Every December, they’d feature a “Christmas Tree Cheesecake Dip” that was so light, so creamy, and so ridiculously festive that I’d buy two containers every single week. When they closed their doors after the landlord doubled the rent, I actually mourned for three days. No joke. After twelve attempts—some that ended up in the trash, one that I accidentally over-sweetened so badly it could’ve doubled as frosting—I finally cracked the code.
The secret, honestly, is in the chill time and the ratio of cream cheese to whipped topping. I mean, you’d think a no-bake dip would be simple, but getting that fluffy texture that doesn’t slide off your graham cracker takes finesse. Let me tell you, the first time I nailed it, I literally texted my sister a photo with the caption “WE’RE BACK.” She didn’t get it until she tasted it at our family Christmas party, and then she got it. This Festive No-Bake Christmas Tree Cheesecake Dip is my gift to anyone who ever stood outside a shuttered bakery, missing something they couldn’t quite recreate. It’s the kind of dessert that makes you close your eyes after the first bite—and maybe you’ve been there, staring at a closed sign, wondering if you’d ever taste that magic again.
Why You’ll Love This Recipe
This isn’t just another cheesecake dip. It’s the one that disappears in ten minutes flat at every holiday gathering. I’ve tested this on my picky nephew, my health-conscious sister-in-law, and my dad who “doesn’t do sweets”—and every single one of them went back for seconds. Here’s why this recipe stands out:
- Quick & Easy: Comes together in under 10 minutes of active prep time. No baking, no water baths, no stress. Perfect for those last-minute holiday cravings.
- Simple Ingredients: You probably have cream cheese, powdered sugar, and vanilla in your fridge right now. The only special purchase is the green food coloring and some festive sprinkles.
- Perfect for Holiday Parties: This is the dessert that steals the show at Christmas Eve gatherings, cookie swaps, and ugly sweater parties. It looks fancy without the fuss.
- Crowd-Pleaser: Kids love the sweetness and the fun shape. Adults love the creamy texture and the nostalgic flavor. It’s a win-win.
- Unbelievably Delicious: The combination of tangy cream cheese, sweet whipped topping, and crunchy graham crackers is pure comfort food magic. It’s like eating cheesecake filling with a spoon—but socially acceptable.
What makes this different from every other cheesecake dip recipe out there? It’s the texture. I spent weeks perfecting the ratio so it’s light enough to scoop without breaking your cracker but thick enough to hold that Christmas tree shape. Plus, the mint extract gives it a subtle holiday freshness that makes people ask, “What’s in this?” It’s comfort food reimagined—faster, easier, but with the same soul-soothing satisfaction.
What Ingredients You Will Need
This Festive No-Bake Christmas Tree Cheesecake Dip uses simple, wholesome ingredients to deliver that bakery-quality flavor without the fuss. Most of these are pantry staples, so you’re probably already halfway there.
- 16 oz cream cheese, softened to room temperature (I recommend Philadelphia for the creamiest texture; the store brands can sometimes be grainy)
- 1 cup powdered sugar, sifted (sifting prevents lumps—trust me on this one)
- 1 teaspoon vanilla extract (pure vanilla, not imitation, for that rich depth)
- 1/2 teaspoon peppermint extract (optional but recommended for that holiday zing)
- 2 cups frozen whipped topping, thawed (Cool Whip works perfectly; or use homemade whipped cream if you’re feeling ambitious)
- Green gel food coloring (gel works better than liquid—it gives you that vibrant Christmas tree green without thinning the dip)
- 1/4 cup holiday sprinkles (mix of red, green, and gold for decorating)
- 1/4 cup mini chocolate chips (for the “ornaments” on your tree)
- 1 star-shaped cookie or candy (a yellow star fruit snack or a star-shaped sprinkle for the top)
- Graham crackers, vanilla wafers, or pretzels for dipping (I love using a mix of sweet and salty)
Ingredient Selection Tips: Look for cream cheese that’s fully softened—if it’s cold, your dip will be lumpy. For the green color, I prefer Wilton gel food coloring because a tiny drop goes a long way. If you’re making this for a crowd, double the recipe because it goes fast. And honestly, the peppermint extract is non-negotiable in my house—it’s what makes this taste like Christmas in a bowl.
Substitution Guidance: Need a dairy-free option? Use dairy-free cream cheese and coconut whipped topping. The texture will be slightly different, but still delicious. For a lower-sugar version, swap the powdered sugar with monk fruit sweetener—just note that the texture might be a bit grainier.
Equipment Needed
You don’t need a fancy kitchen for this one. Here’s what you’ll need:
- Large mixing bowl (glass or stainless steel works best)
- Hand mixer or stand mixer (a whisk works in a pinch, but your arm will thank you for the mixer)
- Rubber spatula for scraping the bowl clean
- Serving platter or cutting board (at least 12 inches wide for the tree shape)
- Piping bag or zip-top bag (for shaping the tree if you want it extra neat)
- Small offset spatula (or a butter knife for spreading)
- Parchment paper (optional, for easy cleanup)
I’ve made this with just a whisk and a bowl before, and honestly, it works—just takes a little more elbow grease. If you don’t have a piping bag, just spoon the mixture onto the platter and shape it with a spatula. The imperfections make it look homemade and charming.
Preparation Method
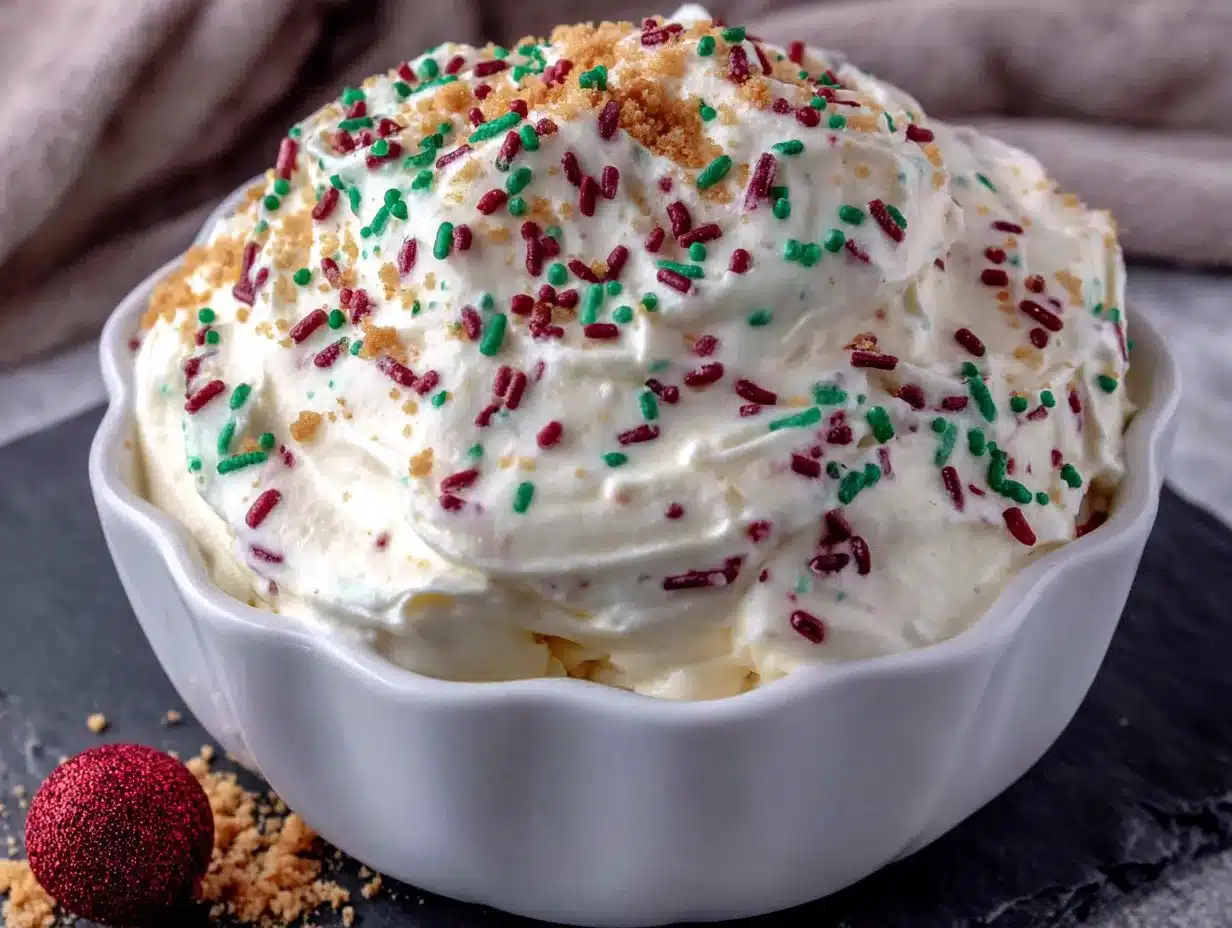
- Soften the cream cheese: Take your cream cheese out of the fridge at least 30 minutes before starting. If you’re in a rush, microwave it in 10-second bursts until it’s soft but not melted. You want it to give slightly when you press it.
- Beat the cream cheese: In your large mixing bowl, beat the softened cream cheese with a hand mixer on medium speed for about 2 minutes until it’s completely smooth and fluffy. Scrape down the sides with your spatula halfway through. No lumps allowed here—this is the foundation of your dip.
- Add the sugar and extracts: Add the sifted powdered sugar, vanilla extract, and peppermint extract. Beat on low speed first to avoid a sugar cloud, then increase to medium for another 2 minutes until everything is well combined and silky. Taste it here—you should get a nice balance of tangy and sweet.
- Fold in the whipped topping: Gently fold in the thawed whipped topping using your spatula. Don’t beat it—fold it. You want to keep that airy texture. Fold until just combined, with no white streaks remaining. This should take about 30 seconds.
- Add the color: Add 3-4 drops of green gel food coloring and fold gently until the color is evenly distributed. Add more if you want a deeper green—I usually go for a medium pine tree green, not neon. Remember, the color deepens slightly as it chills.
- Shape the tree: Transfer the mixture onto your serving platter. Using a spatula or piping bag, shape it into a Christmas tree cone. Start with a wide base and taper it up to a point at the top. Don’t stress about perfection—the sprinkles hide everything.
- Chill the dip: Place the platter in the refrigerator for at least 2 hours, or up to overnight. This is the hardest part—waiting. But the dip needs this time to firm up so it holds its shape when you serve it. If you skip this, you’ll have a sad green puddle.
- Decorate: Once chilled, press mini chocolate chips into the dip as “ornaments” scattered across the tree. Sprinkle the holiday sprinkles generously over the entire surface. Place the star at the top. Arrange your dipping items around the base of the tree.
- Serve: Bring it to the table and watch people’s faces light up. Serve immediately with graham crackers, vanilla wafers, or pretzels. The dip should be firm but scoopable—like a thick mousse.
Sensory Cue: When you fold in the whipped topping, you’ll feel it lighten in your hands. The mixture should look like a fluffy cloud when you’re done. When you shape it, the dip should hold its form without being stiff—it should feel like soft play dough.
Cooking Tips & Techniques
I’ve made this dip at least twenty times, and I’ve learned a few things the hard way. First, never use liquid food coloring. I did that once, and my dip turned into a watery mess that wouldn’t hold its shape. Gel coloring is your friend—it’s concentrated and doesn’t add extra liquid.
Another mistake I made early on was using cold cream cheese straight from the fridge. The lumps were impossible to beat out, and the dip had this weird cottage cheese texture. Let it sit out for 30 minutes, or microwave it carefully. I once microwaved it for 30 seconds and ended up with partially melted cheese—not ideal.
For the best texture, don’t overmix once you add the whipped topping. You want to keep those air bubbles intact. Overmixing deflates everything and leaves you with a dense, heavy dip. Fold gently, like you’re handling a fragile gift.
Timing tip: Make this the night before your party. The dip actually tastes better after it’s had time to chill and let the flavors meld. Plus, it frees up your day-of for other holiday prep. Just shape and decorate it before serving.
Variations & Adaptations
This recipe is endlessly customizable. Here are some of my favorite twists:
- Chocolate Peppermint: Add 1/4 cup cocoa powder to the cream cheese mixture for a chocolate base, then top with crushed candy canes instead of sprinkles. It’s like a peppermint brownie in dip form.
- Vegan Version: Use dairy-free cream cheese and coconut whipped cream. The coconut flavor actually pairs beautifully with the peppermint. Just make sure your cream cheese is fully softened—vegan versions can be a bit firmer.
- Berry Christmas Tree: Skip the green coloring and instead shape the dip into a tree, then top with fresh raspberries and blueberries as “ornaments.” It’s naturally colorful and adds a tart contrast to the sweet dip.
- Spiced Cheesecake: Add 1 teaspoon of cinnamon and 1/2 teaspoon of nutmeg to the cream cheese mixture for a gingerbread-inspired version. Top with crushed gingerbread cookies for dipping.
I tried the chocolate peppermint version last year for a cookie swap, and it was gone before the actual cookies. People were dipping pretzels into it like they hadn’t eaten in days. It’s now my go-to for parties where I know there will be chocolate lovers.
Serving & Storage Suggestions
Serve this dip chilled, straight from the fridge. The texture is best when it’s cold but not frozen—firm enough to hold its shape but soft enough to scoop easily. I like to arrange the dipping items around the base of the tree in a circular pattern, like presents under a tree.
For presentation, use a white platter to make the green tree pop. Add some extra sprinkles around the base for a “snow” effect. If you’re feeling fancy, tuck a few sprigs of fresh rosemary around the platter for a natural holiday look.
Storage: Cover any leftover dip tightly with plastic wrap and refrigerate for up to 3 days. The texture will firm up more as it sits, so let it sit at room temperature for 10 minutes before serving leftovers. Do not freeze—the texture becomes grainy and watery when thawed.
Reheating: This is a no-bake dip, so there’s no reheating needed. If it’s too firm straight from the fridge, just let it sit out for 5-10 minutes to soften slightly. The flavors actually develop more overnight—day-old dip is even better.
Nutritional Information & Benefits
Per serving (about 1/4 cup of dip, not including dippers): Approximately 220 calories, 14g fat, 22g carbs, 3g protein. This is a treat, so enjoy it in moderation—it’s meant for special occasions.
The cream cheese provides a good source of calcium and protein, while the peppermint extract can aid digestion. Yes, I’m reaching here—this is dessert, not a health food. But hey, the sprinkles have zero calories if you don’t count them, right?
Dietary considerations: This recipe contains dairy and gluten (from the dippers). For a gluten-free version, serve with fresh fruit like apple slices or strawberries. For a lower-sugar option, use sugar-free pudding mix and monk fruit sweetener. Always check labels for allergens if serving to guests with sensitivities.
Conclusion
This Festive No-Bake Christmas Tree Cheesecake Dip is more than just a dessert—it’s a memory in the making. It’s the thing your kids will remember when they think of holiday parties. It’s the dish your coworkers will ask you to bring every year. And honestly, it’s the recipe that finally helped me move on from The Frosted Spatula. I mean, I still miss that little bakery, but now I have something better—a recipe that’s mine, that I can share, and that I know will bring smiles to every table it graces.
I’d love to hear how yours turns out! Did you add your own twist? Did your family fight over the last scoop? Drop a comment below and let me know. And if you’re feeling generous, share this recipe with a friend who needs a little holiday magic. Happy dipping, friends—may your holidays be sweet and your cheesecake dip be perfectly green.
Frequently Asked Questions
Can I make this dip ahead of time?
Absolutely! Make it up to 24 hours in advance. Just shape the tree and chill it, then add the decorations right before serving to keep the sprinkles from bleeding their color.
Can I use homemade whipped cream instead of Cool Whip?
Yes, but it’s less stable. Whip 1 cup of heavy cream with 2 tablespoons of powdered sugar until stiff peaks form, then fold it in. The dip will be a bit softer and won’t hold its shape as long, so serve it within an hour of decorating.
How do I get the tree shape perfect?
Use a piping bag with a large round tip to pipe the mixture into a cone shape, then smooth it with a spatula. Or just spoon it onto the platter and shape it with your hands (lightly greased with cooking spray to prevent sticking).
Can I freeze this dip?
I don’t recommend it. The texture becomes grainy and watery when thawed. Stick to refrigeration for best results.
What if I don’t have peppermint extract?
No problem! Use 1 extra teaspoon of vanilla extract instead. Or try almond extract for a nutty twist. The dip will still taste amazing—just a little less “Christmasy.”
Pin This Recipe!
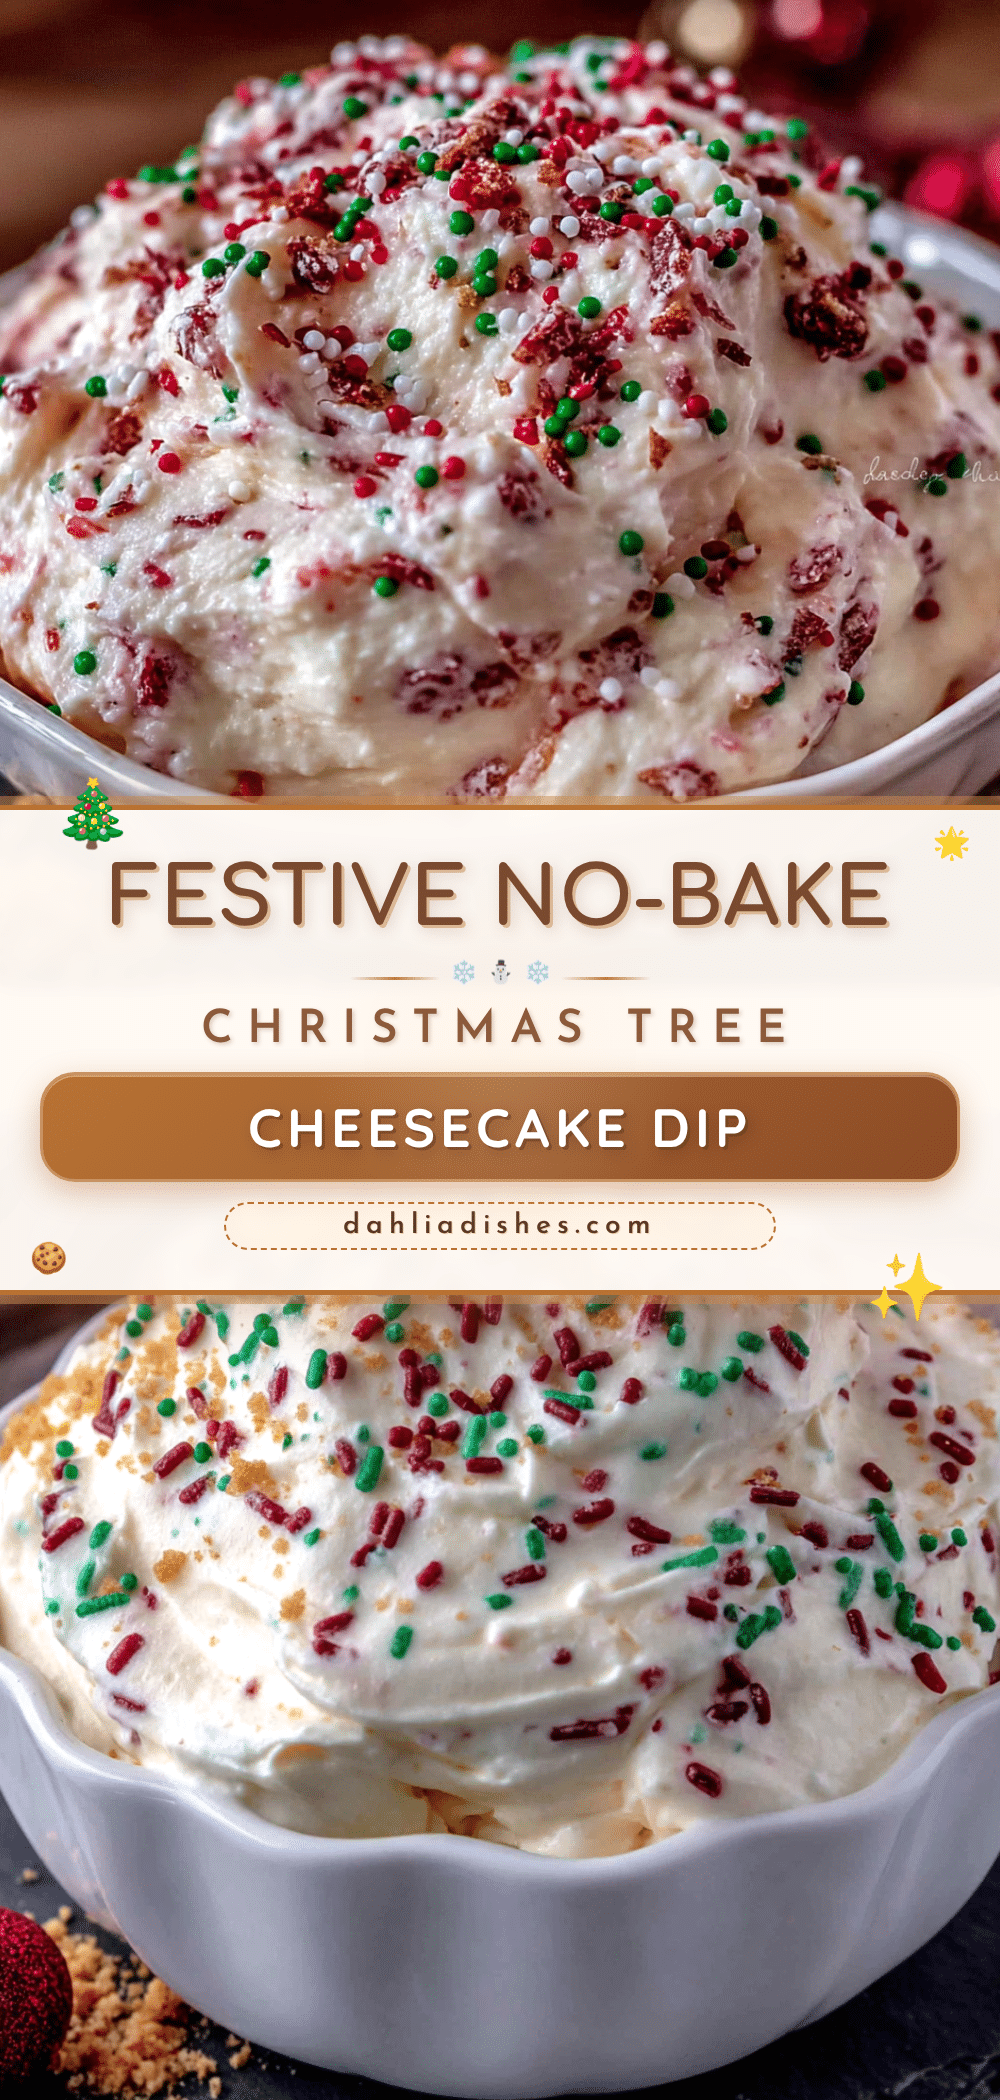
Festive No-Bake Christmas Tree Cheesecake Dip: Easy 10-Minute Dessert

This no-bake cheesecake dip is shaped like a Christmas tree and comes together in just 10 minutes. It’s creamy, festive, and perfect for holiday parties.
- Prep Time: 10 minutes
- Cook Time: 0 minutes
- Total Time: 2 hours 10 minutes (includes chilling)
- Yield: 8 servings 1x
- Category: Dessert
- Cuisine: American
Ingredients
- 16 oz cream cheese, softened to room temperature
- 1 cup powdered sugar, sifted
- 1 teaspoon vanilla extract
- 1/2 teaspoon peppermint extract (optional)
- 2 cups frozen whipped topping, thawed
- Green gel food coloring
- 1/4 cup holiday sprinkles
- 1/4 cup mini chocolate chips
- 1 star-shaped cookie or candy
- Graham crackers, vanilla wafers, or pretzels for dipping
Instructions
- Soften the cream cheese: Take your cream cheese out of the fridge at least 30 minutes before starting. If you’re in a rush, microwave it in 10-second bursts until it’s soft but not melted.
- Beat the cream cheese: In your large mixing bowl, beat the softened cream cheese with a hand mixer on medium speed for about 2 minutes until it’s completely smooth and fluffy. Scrape down the sides with your spatula halfway through.
- Add the sugar and extracts: Add the sifted powdered sugar, vanilla extract, and peppermint extract. Beat on low speed first to avoid a sugar cloud, then increase to medium for another 2 minutes until everything is well combined and silky.
- Fold in the whipped topping: Gently fold in the thawed whipped topping using your spatula. Don’t beat it—fold it. Fold until just combined, with no white streaks remaining.
- Add the color: Add 3-4 drops of green gel food coloring and fold gently until the color is evenly distributed. Add more if you want a deeper green.
- Shape the tree: Transfer the mixture onto your serving platter. Using a spatula or piping bag, shape it into a Christmas tree cone. Start with a wide base and taper it up to a point at the top.
- Chill the dip: Place the platter in the refrigerator for at least 2 hours, or up to overnight.
- Decorate: Once chilled, press mini chocolate chips into the dip as ‘ornaments’ scattered across the tree. Sprinkle the holiday sprinkles generously over the entire surface. Place the star at the top. Arrange your dipping items around the base of the tree.
- Serve: Bring it to the table and watch people’s faces light up. Serve immediately with graham crackers, vanilla wafers, or pretzels.
Notes
For best texture, let cream cheese soften fully. Use gel food coloring to avoid thinning the dip. Chill at least 2 hours to firm up. Can be made up to 24 hours ahead; add decorations just before serving. Do not freeze.
Nutrition
- Serving Size: 1/4 cup of dip (not
- Calories: 220
- Sugar: 18
- Sodium: 160
- Fat: 14
- Saturated Fat: 8
- Carbohydrates: 22
- Protein: 3
Keywords: no-bake cheesecake dip, Christmas tree dip, holiday dessert, easy dessert, 10-minute dessert


