Love this? Save it for later!
Share the inspiration with your friends
I swore I didn’t need another one-pan chicken recipe. My collection was already overflowing—lemon herb, creamy mushroom, spicy cajun—you name it, I’d tested it. Then a Tuesday night in February happened. I’d come home late, starving, with exactly zero energy for a sink full of dishes. The fridge offered chicken thighs, garlic, and a half-used stick of butter. Rice was in the pantry. I remember standing there, hands on my hips, thinking “this is going to be boring.”
And honestly? That first bite felt like a betrayal of everything I thought I knew about simple cooking. The rice was fluffy, infused with garlic butter in a way that made each grain taste like it had been individually kissed by flavor. The chicken skin was crispy, the meat underneath tender enough to fall apart with a fork. I ate straight from the pan, standing at the counter, because I couldn’t wait another thirty seconds to plate it. Maybe you’ve been there—that moment when a meal you threw together out of desperation becomes the one you crave on repeat.
This easy one-pan garlic butter chicken and rice isn’t fancy. It doesn’t have a complicated marinade or a list of hard-to-find ingredients. What it does have is that rare quality of tasting like you spent hours in the kitchen when you actually spent thirty minutes. The garlic butter does something magical to the rice as it cooks, creating a savory, almost risotto-like creaminess without any of the stirring. I’ve made this on busy weeknights, for company that showed up unannounced, and honestly, just for myself on a Sunday afternoon when I wanted comfort without the cleanup. It’s the recipe that made me stop collecting one-pan dinners and start actually cooking them.
Why You’ll Love This Recipe
Let me tell you why this one stands out from every other chicken and rice recipe you’ve seen. I’ve tested this exact method at least a dozen times, tweaking the liquid ratio, adjusting the garlic amount, and even trying different pan sizes to get it just right. Here’s what makes it worth your time:
- One Pan, Minimal Mess : Everything cooks in a single skillet or Dutch oven. That means one pan to wash, not a pile of pots and cutting boards. Your future self will thank you.
- Pantry-Friendly Ingredients : Chicken, rice, garlic, butter, broth, and a few basic seasonings. No trips to a specialty store, no hunting for obscure spices. You probably have all of this right now.
- Weeknight Fast : From start to table in about 45 minutes. Most of that time is hands-off, letting the pan do the work while you set the table or pour a glass of wine.
- Restaurant-Quality Results : The garlic butter creates a rich, savory depth that makes the rice taste like it came from a cozy bistro. The chicken gets beautifully golden and stays incredibly moist.
- Crowd Approved : I’ve served this to picky kids, skeptical in-laws, and hungry neighbors. Every single person asked for the recipe. It’s one of those rare dishes that pleases everyone without trying too hard.
This recipe is different because of the technique. Instead of adding the garlic butter at the end as a finishing touch, you cook the rice directly in it, allowing the flavors to infuse every single grain. The chicken browns first, creating fond (those brown bits) on the bottom of the pan that dissolve into the rice as it cooks, adding layers of flavor you just can’t get from dumping everything in at once. It’s comfort food that feels special but requires almost no effort. Perfect for those evenings when you need a hug in a bowl but don’t have the energy for a complicated production.
What Ingredients You Will Need
This recipe relies on simple, everyday ingredients that work together to create something truly satisfying. No complicated shopping list here—just honest food that delivers big flavor.
- Chicken thighs (bone-in, skin-on) – 4 to 6 pieces (about 1.5 pounds / 680 grams). The bone keeps the meat moist during cooking, and the skin gets wonderfully crispy. Boneless thighs work too, but reduce the cooking time by about 10 minutes.
- Unsalted butter – 4 tablespoons (56 grams), divided. I use Kerrygold for its rich flavor, but any good-quality butter works. Salted butter is fine—just reduce the added salt slightly.
- Garlic – 6 to 8 cloves, minced. Fresh garlic is non-negotiable here. The pre-minced stuff in a jar won’t give you the same aromatic punch. I’ve tried both, and fresh makes a noticeable difference.
- Yellow onion – 1 medium, diced (about 1 cup / 150 grams). Adds sweetness and depth to the rice.
- Long-grain white rice – 1½ cups (285 grams). Basmati or jasmine work beautifully. Avoid short-grain rice, which can turn gummy. Rinse the rice in a fine-mesh strainer until the water runs clear—this removes excess starch and prevents clumping.
- Chicken broth – 2½ cups (590 ml). Low-sodium is best so you can control the salt level. Homemade broth takes this to another level, but a good store-bought brand like Swanson or Kitchen Basics works perfectly.
- Dried thyme – 1 teaspoon. Adds an earthy, slightly floral note that pairs beautifully with garlic butter. Fresh thyme works too—use 1 tablespoon of leaves.
- Paprika – 1 teaspoon. I prefer smoked paprika for a subtle smokiness, but sweet paprika is fine. This gives the chicken a beautiful color.
- Salt – 1½ teaspoons (9 grams), divided. Diamond Crystal kosher salt is my go-to. If using table salt, reduce to 1 teaspoon.
- Black pepper – ½ teaspoon, freshly ground. Don’t skip this—it wakes up all the other flavors.
- Fresh parsley – 2 tablespoons, chopped, for garnish. Optional but adds a fresh pop of color and brightness.
- Lemon wedges – For serving. A squeeze of lemon juice right before eating cuts through the richness of the butter beautifully.
Equipment Needed
You don’t need a fancy kitchen to make this recipe. Here’s what you’ll need:
- Large, heavy-bottomed skillet or Dutch oven – A 12-inch (30 cm) skillet with a lid is ideal. Cast iron, stainless steel, or enameled cast iron all work great. The heavy bottom ensures even heat distribution and prevents the rice from burning. I use my trusty Lodge cast iron skillet—it’s been with me through dozens of these dinners.
- Tongs – For flipping the chicken and stirring the rice. A spatula works too, but tongs give you better control.
- Cutting board and knife – For mincing garlic and dicing onion.
- Fine-mesh strainer – For rinsing the rice. A bowl works if you don’t have one—just rinse and drain carefully.
- Measuring cups and spoons – For accuracy. Eyeballing works for some recipes, but getting the liquid ratio right is crucial for perfect rice.
- Lid or tight-fitting foil – Your pan needs a cover to trap steam while the rice cooks. If your skillet doesn’t have a lid, a sheet of heavy-duty aluminum foil works as a makeshift cover.
If you’re on a budget, a basic non-stick skillet with a lid is perfectly fine. Just be careful not to use high heat, which can damage the non-stick coating over time.
Preparation Method
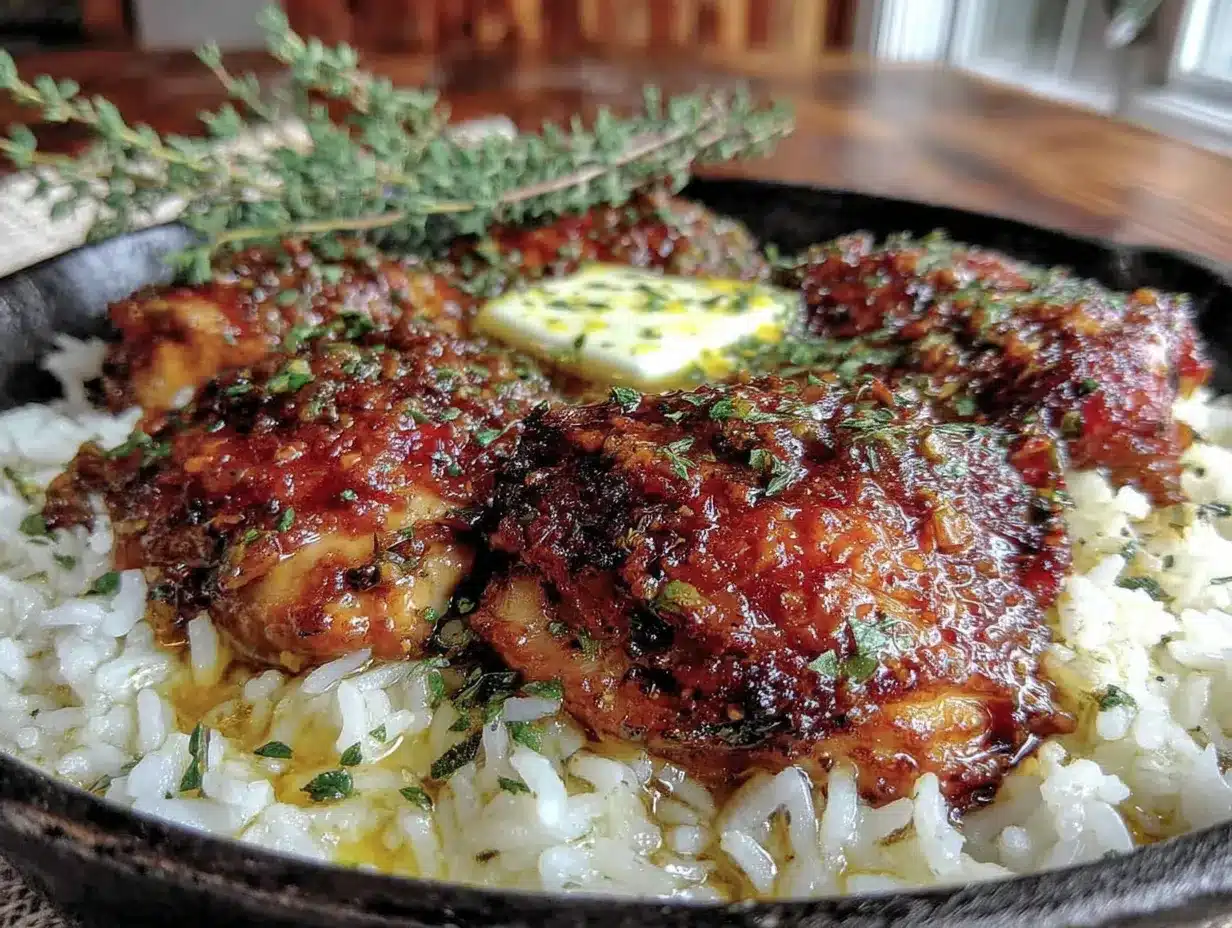
Follow these steps carefully, and you’ll have a perfect one-pan meal every time. The key is patience during the browning stage—don’t rush it.
-
Prep your ingredients first. Mince the garlic, dice the onion, and rinse the rice in a fine-mesh strainer until the water runs clear. Pat the chicken thighs dry with paper towels—this is crucial for crispy skin. Season both sides of the chicken with 1 teaspoon salt, ½ teaspoon pepper, and the paprika.
-
Heat your pan over medium-high heat. Add 2 tablespoons of the butter. Let it melt and foam, but don’t let it brown. The sizzle when you add the chicken should be immediate and lively—that’s how you know the pan is hot enough.
-
Sear the chicken, skin-side down first. Place the thighs in the pan, skin-side down, being careful not to crowd them. Cook without moving for 5-6 minutes, until the skin is deep golden brown and crispy. Flip and cook the other side for 4 minutes. The chicken won’t be cooked through yet—that’s fine. Transfer the chicken to a plate and set aside. Leave the browned bits in the pan—they’re pure flavor.
-
Cook the aromatics. Reduce the heat to medium. Add the remaining 2 tablespoons of butter to the pan. Once melted, add the diced onion and cook for 3-4 minutes, stirring occasionally, until softened and translucent. Add the minced garlic and cook for 30 seconds, just until fragrant. Stir constantly—garlic burns fast and turns bitter.
-
Toast the rice. Add the rinsed rice to the pan. Stir to coat every grain in the garlic butter mixture. Cook for 2 minutes, stirring frequently. The rice will start to smell nutty and look slightly translucent at the edges. This step builds flavor and helps the rice stay separate after cooking.
-
Add the broth and thyme. Pour in the chicken broth and add the dried thyme. Stir everything together, scraping the bottom of the pan with a wooden spoon to release any browned bits. Bring the liquid to a gentle boil—you should see small bubbles across the surface.
-
Nestle the chicken back in. Place the seared chicken thighs on top of the rice, skin-side up. Any juices that accumulated on the plate should go into the pan too—that’s flavor you don’t want to waste. The chicken should sit partially submerged in the liquid.
-
Cover and simmer. Reduce the heat to low, cover the pan tightly with a lid or foil, and let it cook undisturbed for 20 minutes. I know it’s tempting to peek, but resist—lifting the lid releases steam and can make the rice gummy. Set a timer and walk away.
-
Rest before serving. After 20 minutes, turn off the heat but keep the pan covered. Let it rest for 5-10 minutes. This allows the rice to absorb any remaining liquid and the chicken to finish cooking gently. The rice should be fluffy and tender, and the chicken should reach an internal temperature of 165°F (74°C).
-
Fluff and garnish. Remove the chicken to a clean plate. Fluff the rice with a fork—gently, don’t stir or mash it. Taste and adjust salt if needed. Return the chicken to the pan, sprinkle with fresh parsley, and serve with lemon wedges on the side.
Cooking Tips & Techniques
After making this recipe more times than I can count, I’ve picked up a few tricks that make a real difference. Here’s what I wish someone had told me:
Don’t skip drying the chicken. I learned this the hard way after a soggy-skinned disaster. Patting the chicken dry with paper towels removes surface moisture, which is the enemy of browning. Wet chicken steams instead of sears, and you’ll end up with pale, rubbery skin instead of that gorgeous golden crust.
Watch your heat during the rice cooking stage. The first time I made this, I left the heat on medium instead of reducing it to low. Twenty minutes later, I lifted the lid to find scorched rice on the bottom and undercooked rice on top. Low and slow is the way to go. If your stovetop runs hot, use the lowest setting possible.
Rinse your rice. I used to skip this step because I was impatient. The result was sticky, clumpy rice that didn’t have that nice separate-grain texture. Rinsing removes the excess starch that causes gumminess. Run it under cold water in a fine-mesh strainer until the water runs clear—usually about 30 seconds of rinsing.
Let the pan rest. That 5-10 minute rest at the end isn’t optional. The rice continues to absorb liquid during this time, and the carryover heat finishes cooking the chicken gently. I once served it immediately after the 20 minutes and the rice was slightly crunchy in the center. Patience pays off.
Use a timer. It’s easy to get distracted—I’ve answered the doorbell mid-recipe and lost track of time. Set a timer for every stage, especially the 20-minute covered simmer. Your future self will thank you.
Variations & Adaptations
This recipe is forgiving and adaptable. Here are some ways to make it your own:
Vegetable Add-Ins : Add 1 cup of frozen peas and carrots during the last 5 minutes of cooking. Or stir in a handful of fresh spinach right before serving—it wilts into the rice beautifully. Sliced mushrooms sautéed with the onions add an earthy depth that’s absolutely wonderful.
Herb Swaps : Not a thyme fan? Use 1 teaspoon of dried rosemary or oregano instead. Fresh basil stirred in at the end gives it a bright, almost Italian vibe. I once used a teaspoon of curry powder instead of thyme and ended up with a delicious garlic butter chicken curry situation—highly recommended.
Spice It Up : Add ½ teaspoon of red pepper flakes along with the garlic for a gentle heat. Or stir in a chopped jalapeño with the onions. My neighbor likes to drizzle sriracha over her serving, and honestly, it works.
Dairy-Free Version : Substitute the butter with a high-quality vegan butter or use 3 tablespoons of olive oil instead. The flavor changes slightly but remains delicious. Use a dairy-free broth to keep it fully plant-based.
Different Proteins : Boneless, skinless chicken breasts work—just reduce the initial searing time to 3 minutes per side and check for doneness earlier. Turkey thighs or even thick pork chops are excellent alternatives. For a vegetarian version, sear thick slices of halloumi cheese and proceed with the recipe.
Brown Rice Option : If you prefer brown rice, increase the broth to 3 cups and the cooking time to 40-45 minutes. The texture is chewier but equally satisfying. Just keep the heat low and check for doneness before serving.
Serving & Storage Suggestions
This dish is complete on its own, but a few simple sides can round it out beautifully.
Serving Temperature : Serve hot, straight from the pan. The rice should be steaming, and the chicken skin should still have a bit of crunch. A squeeze of fresh lemon juice right before eating brightens all the flavors and cuts through the richness of the butter.
What to Serve With It : A simple green salad with a lemon vinaigrette balances the richness perfectly. Steamed green beans or roasted asparagus add color and crunch. For something heartier, serve with a side of crusty bread to soak up any remaining garlic butter sauce—trust me, you won’t want to waste a drop.
Storage : Leftovers keep well in an airtight container in the refrigerator for up to 4 days. The flavors actually meld together overnight, making the second-day version even better. I’ve been known to make a double batch just for leftovers.
Reheating : The best way to reheat is in a skillet over medium-low heat with a splash of chicken broth or water. Cover and cook for 5-7 minutes, stirring occasionally, until heated through. The microwave works in a pinch—add a tablespoon of water and cover with a damp paper towel to prevent the rice from drying out.
Freezing : This dish freezes well for up to 3 months. Cool completely, then transfer to a freezer-safe container. Thaw overnight in the refrigerator before reheating. The rice texture will be slightly softer after freezing, but the flavor remains excellent.
Nutritional Information & Benefits
Here’s an approximate nutritional breakdown per serving (based on 4 servings, using chicken thighs with skin):
- Calories : 520-580
- Protein : 32g
- Fat : 24g (10g saturated)
- Carbohydrates : 45g
- Fiber : 1g
- Sodium : 680mg
Chicken thighs are rich in B vitamins, particularly niacin and vitamin B6, which support energy metabolism and brain health. Garlic is known for its anti-inflammatory properties and immune-boosting compounds. The butter provides fat-soluble vitamins A, D, and E, though it’s best enjoyed in moderation as part of a balanced diet.
For a lighter version, use boneless, skinless chicken thighs and reduce the butter to 2 tablespoons. The flavor will still be fantastic, just slightly less indulgent. This recipe is naturally gluten-free—just double-check your chicken broth label to ensure it’s certified gluten-free if that’s a concern.
Conclusion
This easy one-pan garlic butter chicken and rice has earned a permanent spot in my weekly rotation, and I think it will in yours too. It’s the kind of recipe that proves you don’t need complicated techniques or exotic ingredients to create something genuinely memorable. The garlic butter rice alone is worth making—it’s so good I’ve caught myself eating it straight from the pan with a spoon, long after the chicken was gone.
I hope you’ll make this your own. Add extra garlic if you’re bold. Throw in some vegetables you need to use up. Serve it to friends who think they can’t cook, and watch their faces light up when they realize how simple it was. That’s the beauty of a recipe like this—it builds confidence in the kitchen while feeding the people you love.
If you try this recipe, I’d love to hear about it. Drop a comment below and let me know how it turned out, what variations you tried, or if you have a favorite one-pan meal of your own. And if you snap a photo, tag me—I love seeing your creations. Happy cooking, friend.
Frequently Asked Questions
Can I use boneless, skinless chicken breasts instead of thighs?
Absolutely. Boneless, skinless chicken breasts work well—just reduce the initial searing time to 3 minutes per side and check the internal temperature earlier. They cook faster than thighs, so start checking for doneness around the 15-minute mark. The meat will be leaner and slightly less moist than thighs, but still delicious.
Why is my rice still crunchy after 20 minutes?
This usually happens for one of two reasons: the heat was too high and the liquid evaporated too quickly, or the pan wasn’t covered tightly enough. Next time, make sure your lid fits snugly and the heat is on the lowest setting. If your rice is still crunchy, add ¼ cup of hot broth, re-cover, and cook for another 5 minutes.
Can I make this recipe in a slow cooker or Instant Pot?
For an Instant Pot, use the sauté function to brown the chicken and cook the aromatics, then add the rice and broth, and pressure cook on high for 6 minutes. Let the pressure release naturally for 5 minutes before quick-releasing. For a slow cooker, brown the chicken first, then add everything and cook on low for 3-4 hours—but note that the rice may become softer and more porridge-like in texture.
Is this recipe gluten-free?
Yes, as written, this recipe is naturally gluten-free. All the ingredients—chicken, rice, butter, garlic, onion, broth, and spices—are gluten-free. Just be sure to check the label on your chicken broth, as some brands may contain gluten additives. Most major brands are safe, but it’s always worth a quick look.
Can I double this recipe?
You can, but you’ll need a larger pan—at least a 14-inch skillet or a large Dutch oven. The key is not to overcrowd the pan during the browning stage. Sear the chicken in batches if needed, and keep the liquid-to-rice ratio the same. The cooking time may need to increase by 5-10 minutes since there’s more volume in the pan.
Pin This Recipe!
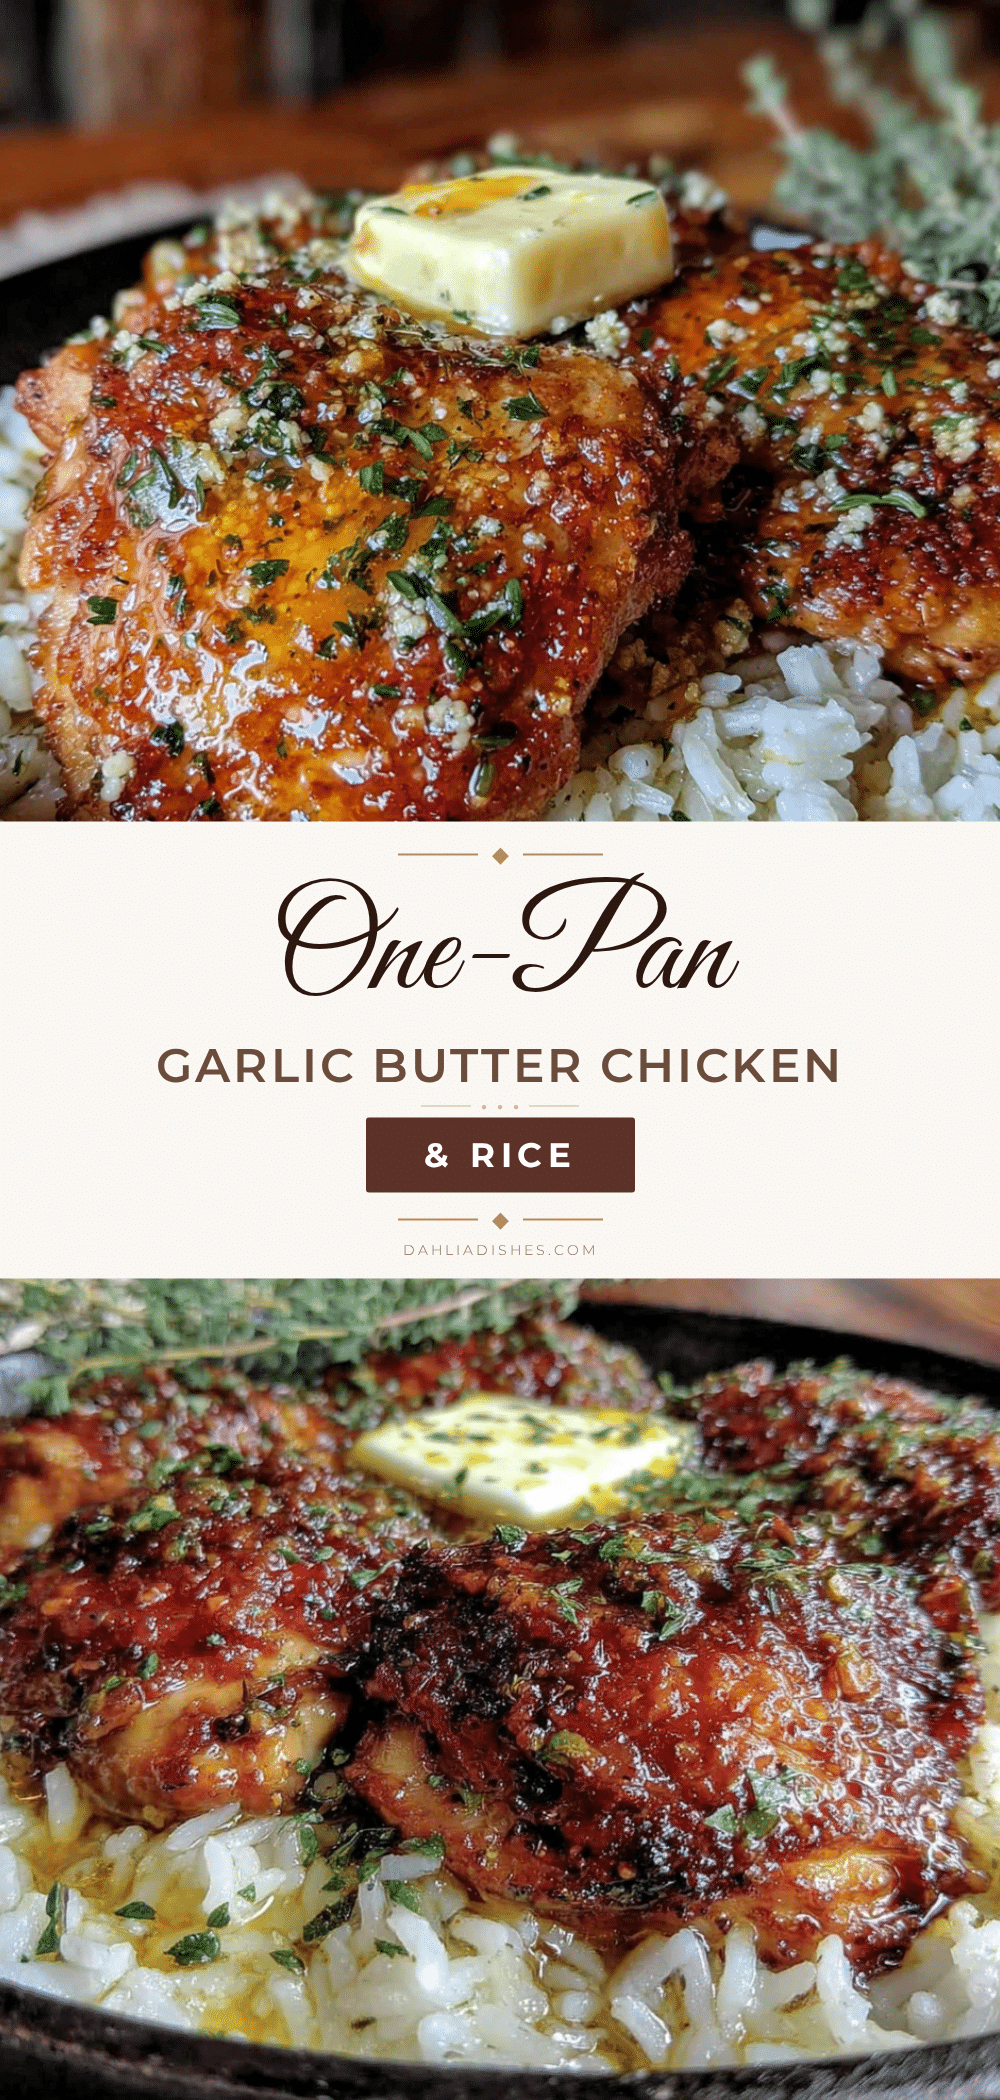
Easy One-Pan Garlic Butter Chicken and Rice

A simple, comforting one-pan meal featuring crispy-skinned chicken thighs and fluffy rice infused with garlic butter. Ready in about 45 minutes with minimal cleanup, this recipe delivers restaurant-quality results using pantry-friendly ingredients.
- Prep Time: 15 minutes
- Cook Time: 30 minutes
- Total Time: 45 minutes
- Yield: 4 servings 1x
- Category: Main Course
- Cuisine: American
Ingredients
- 4 to 6 bone-in, skin-on chicken thighs (about 1.5 pounds / 680 grams)
- 4 tablespoons (56 grams) unsalted butter, divided
- 6 to 8 cloves garlic, minced
- 1 medium yellow onion, diced (about 1 cup / 150 grams)
- 1½ cups (285 grams) long-grain white rice (such as basmati or jasmine), rinsed
- 2½ cups (590 ml) low-sodium chicken broth
- 1 teaspoon dried thyme
- 1 teaspoon paprika (smoked or sweet)
- 1½ teaspoons (9 grams) salt, divided
- ½ teaspoon freshly ground black pepper
- 2 tablespoons fresh parsley, chopped (for garnish)
- Lemon wedges (for serving)
Instructions
- Prep ingredients: Mince garlic, dice onion, rinse rice until water runs clear. Pat chicken thighs dry with paper towels. Season both sides with 1 teaspoon salt, ½ teaspoon pepper, and paprika.
- Heat a large, heavy-bottomed skillet or Dutch oven over medium-high heat. Add 2 tablespoons butter. Let melt and foam, but not brown.
- Sear chicken skin-side down for 5-6 minutes until deep golden brown. Flip and cook 4 minutes. Transfer to a plate; leave browned bits in pan.
- Reduce heat to medium. Add remaining 2 tablespoons butter. Cook diced onion 3-4 minutes until softened. Add garlic; cook 30 seconds until fragrant.
- Add rinsed rice; stir to coat in garlic butter. Cook 2 minutes, stirring frequently, until rice smells nutty.
- Pour in chicken broth and add thyme. Stir, scraping up browned bits. Bring to a gentle boil.
- Nestle chicken thighs skin-side up into the rice. Pour in any accumulated juices from the plate.
- Cover tightly with lid or foil. Reduce heat to low. Cook undisturbed for 20 minutes.
- Turn off heat; let rest covered for 5-10 minutes. Rice should be fluffy; chicken should reach 165°F (74°C) internally.
- Remove chicken to a plate. Fluff rice with a fork. Return chicken, garnish with parsley, and serve with lemon wedges.
Notes
Don’t skip drying the chicken for crispy skin. Rinse rice to remove excess starch. Keep heat low during simmering to prevent scorching. Let the pan rest after cooking for best texture. For a lighter version, use boneless, skinless thighs and reduce butter to 2 tablespoons.
Nutrition
- Serving Size: 1 serving (about 1 c
- Calories: 550
- Sugar: 2
- Sodium: 680
- Fat: 24
- Saturated Fat: 10
- Carbohydrates: 45
- Fiber: 1
- Protein: 32
Keywords: one-pan chicken, garlic butter chicken, chicken and rice, easy weeknight dinner, one skillet meal


