Love this? Save it for later!
Share the inspiration with your friends
Honestly? These cookie bars are a game-changer. You get all the chewy, buttery, chocolate-loaded goodness of a classic chocolate chip cookie, but without the fuss of chilling dough, rolling individual balls, or cleaning a stand mixer. It’s the kind of recipe that makes you wonder why you’ve been doing it the hard way all along.
- No Mixer Required: Just a bowl, a spoon, and a little elbow grease. Perfect for when your mixer is buried in the back of the cabinet or you just don’t feel like hauling it out.
- One Bowl, Minimal Mess: All the mixing happens in a single bowl. Less dishes means more time to actually enjoy the warm, gooey results.
- Ready in Under 30 Minutes: From the moment you start measuring to pulling a golden pan out of the oven, it’s about 25 minutes. This is weeknight dessert at its finest.
- Perfectly Chewy Every Time: The texture is spot-on—crispy edges with a soft, chewy center. No more worrying about over-baked or under-baked cookies.
- Crowd-Pleasing Size: One pan makes a generous batch, perfect for potlucks, bake sales, or just having a stash in the fridge for when a cookie craving hits.
This isn’t just another dessert bar recipe. The secret is in the technique—melting the butter and letting it cool just slightly creates that perfect chewy texture without needing a mixer. It’s the kind of recipe that feels like a warm hug, the one you’ll find yourself making on a rainy Tuesday afternoon just because.
What Ingredients You Will Need
This recipe relies on simple, pantry-friendly ingredients that come together to create something truly special. No weird specialty items here—just the good stuff that makes a cookie bar taste like home.
- Unsalted Butter (½ cup / 1 stick): Melted and slightly cooled. Using unsalted butter lets you control the salt level. I prefer Kerrygold for its rich flavor, but any good-quality butter works.
- Light Brown Sugar (¾ cup, packed): This is the key to that deep, caramel-like flavor and soft, chewy texture. Don’t skip packing it firmly into the measuring cup.
- Granulated Sugar (¼ cup): Adds a bit of crispness to the edges and balances the molasses notes of the brown sugar.
- Large Egg (1, room temperature): Helps bind everything together. If you forgot to take it out of the fridge, place it in a bowl of warm water for 5 minutes.
- Vanilla Extract (1 teaspoon): Pure vanilla extract is worth the splurge here—it adds a warmth that imitation just can’t match.
- All-Purpose Flour (1 ¾ cups): Spoon and level your flour for the most accurate measurement. Scooping directly from the bag can pack in too much, leading to dry bars.
- Baking Soda (½ teaspoon): Helps the bars spread just enough and gives them a tender crumb.
- Salt (½ teaspoon): Balances the sweetness and enhances the chocolate flavor. I like using fine sea salt.
- Semi-Sweet Chocolate Chips (1 ½ cups): My go-to is Ghirardelli, but use your favorite. You can also chop up a chocolate bar for those lovely melty pools of chocolate.
Ingredient Note: For the best results, make sure your egg is at room temperature. It incorporates more smoothly into the melted butter, creating a more even batter. If you’re in a rush, you can microwave the egg in its shell for 5-7 seconds (just be careful, it can explode if overheated!).
Equipment Needed
One of the best things about this recipe is how little equipment it requires. You probably already own everything you need.
- 8×8-inch Baking Pan: This is the perfect size for thick, chewy bars. A 9×9-inch pan will work, but your bars will be thinner and may bake a few minutes faster.
- Large Mixing Bowl: Any bowl will do, but a wider bowl makes mixing easier.
- Wooden Spoon or Sturdy Spatula: A silicone spatula works great for scraping the bowl clean.
- Parchment Paper: This is my secret weapon. Lining the pan with parchment paper creates “handles” that let you lift the entire slab of cookie bars out cleanly for easy cutting.
- Measuring Cups and Spoons: For accurate measurements.
- Cooling Rack: Optional, but helps the bars cool evenly without getting soggy on the bottom.
Preparation Method
- Preheat and Prep: Preheat your oven to 350°F (175°C). Line your 8×8-inch baking pan with parchment paper, leaving an overhang on two opposite sides. This is your “sling” for lifting the bars out later.
- Melt the Butter: Place the ½ cup of unsalted butter in a microwave-safe bowl and melt it in 30-second intervals until fully melted. Set it aside to cool for about 5 minutes. You want it warm, not hot—if it’s too hot, it can cook the egg.
- Mix the Sugars and Butter: In your large mixing bowl, combine the melted butter with the ¾ cup packed brown sugar and ¼ cup granulated sugar. Stir with your wooden spoon until well combined and the mixture looks like wet sand. It should be smooth and glossy.
- Add the Egg and Vanilla: Crack the room-temperature egg into the bowl and add the 1 teaspoon of vanilla extract. Stir vigorously until everything is fully incorporated and the batter looks smooth and slightly thickened. This takes about 30 seconds of good mixing.
- Add the Dry Ingredients: Sprinkle the 1 ¾ cups of all-purpose flour, ½ teaspoon of baking soda, and ½ teaspoon of salt over the wet mixture. Fold everything together with your spoon or spatula until just combined. A few streaks of flour are okay—over-mixing will make the bars tough.
- Fold in the Chocolate Chips: Gently fold in the 1 ½ cups of semi-sweet chocolate chips until they are evenly distributed throughout the dough. The dough will be thick and slightly sticky—that’s exactly what you want.
- Press into the Pan: Transfer the dough to your prepared baking pan. Use your hands or the back of a spatula to press it into an even layer. Don’t worry if it seems like a small amount; it will spread and rise beautifully.
- Bake: Place the pan in the preheated oven and bake for 20-25 minutes. The edges should be golden brown and set, while the center will still look slightly soft and puffy. A toothpick inserted into the center should come out with a few moist crumbs, not wet batter.
- Cool and Cut: Place the pan on a cooling rack and let the bars cool for at least 20 minutes. Use the parchment paper sling to lift the entire slab out of the pan. Transfer to a cutting board and cut into 9 or 16 squares. For clean cuts, use a sharp knife and wipe it clean between slices.
Cooking Tips & Techniques
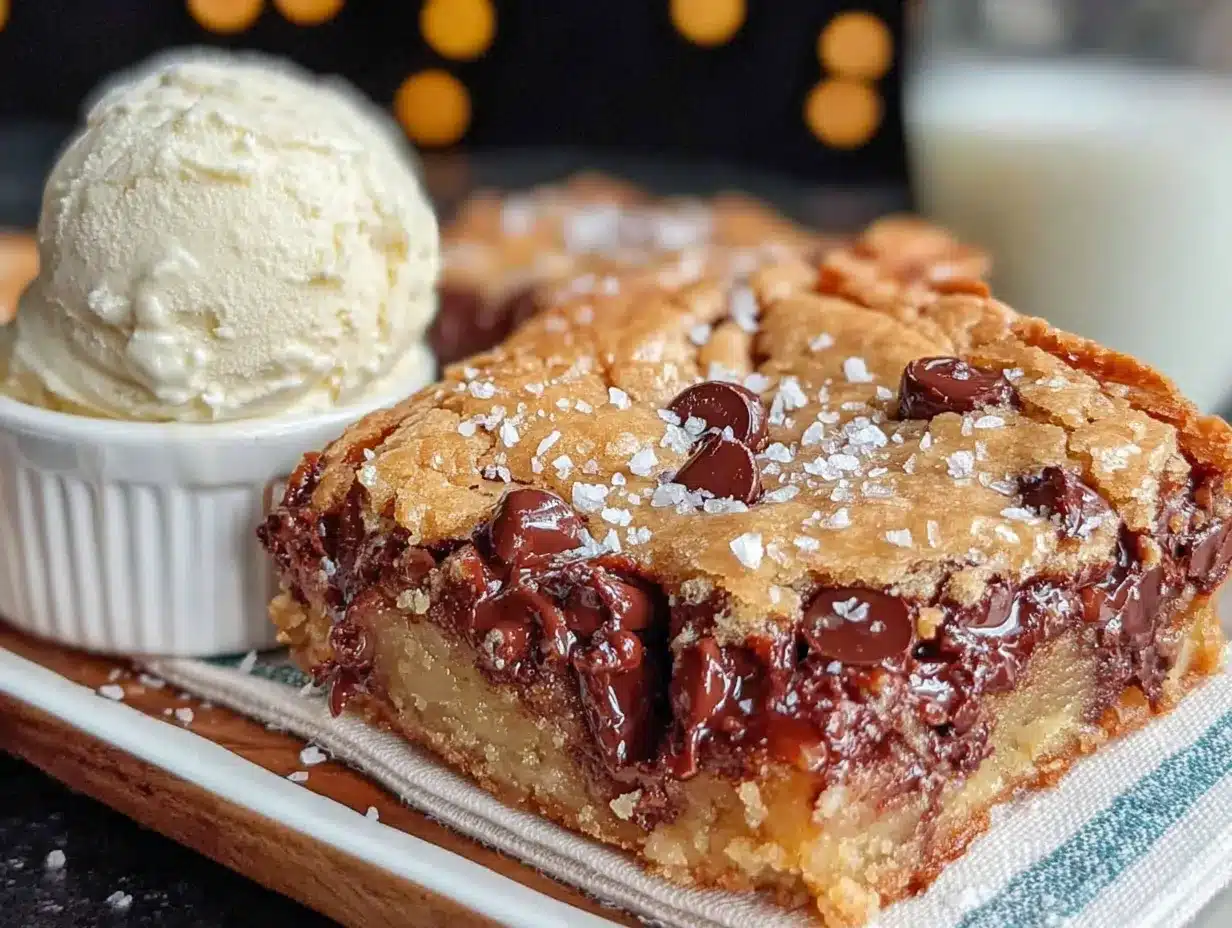
Let me save you from a few mistakes I’ve made along the way. First, don’t over-bake these bars. The temptation is to wait until the center looks completely set, but by then, they’ll be dry. Pull them when the center is still a little puffy and soft—they’ll continue to set as they cool.
I once forgot to line my pan with parchment paper. The bars stuck so badly I ended up with a pan full of crumbles. It was still delicious (hello, cookie bar parfait), but it was a mess. Trust me on the parchment paper sling.
Another tip: let the melted butter cool. I’ve been impatient and added the egg to hot butter before. The result was a greasy, slightly scrambled mess. Not my finest baking moment. Give that butter a few minutes to chill out.
If you want extra crispy edges, press a few extra chocolate chips right into the top of the dough before baking. It makes for a prettier presentation and gives you those melty chocolate pools on top.
Variations & Adaptations
These cookie bars are incredibly forgiving and easy to customize. Here are a few ways I’ve played around with the recipe:
- Chocolate Lover’s Version: Swap ¼ cup of the flour for ¼ cup of unsweetened cocoa powder. Use dark chocolate chips for an even richer, more decadent bar.
- Gluten-Free Adaptation: Use a 1:1 gluten-free baking flour blend (I like King Arthur Measure for Measure). No other adjustments needed—the bars come out just as chewy and delicious.
- Add-In Swaps: Replace the chocolate chips with an equal amount of white chocolate chips and dried cranberries, or use peanut butter chips and butterscotch chips for a classic flavor combo. Chopped nuts like walnuts or pecans add a lovely crunch.
- M&M Cookie Bars: Swap the chocolate chips for 1 ½ cups of M&Ms. Press a few extra on top before baking for a colorful, festive look that kids absolutely love.
- Vegan Option: Use a flax egg (1 tablespoon ground flaxseed mixed with 3 tablespoons water, let sit for 5 minutes) and a plant-based butter. The texture is slightly different but still incredibly satisfying.
Serving & Storage Suggestions
These cookie bars are best served slightly warm, when the chocolate chips are still a little melty and the texture is at its peak of chewy goodness. A glass of cold milk is the classic pairing, but they’re also wonderful with a scoop of vanilla ice cream for an extra-special treat.
Storage: Keep leftover bars in an airtight container at room temperature for up to 5 days. To keep them soft, add a slice of bread to the container—it absorbs excess moisture and keeps the bars from drying out. Replace the bread slice every day or two.
Freezing: These bars freeze beautifully. Wrap individual bars tightly in plastic wrap, then place them in a freezer-safe bag or container. They’ll keep for up to 3 months. To thaw, simply leave them on the counter for about 30 minutes, or pop one in the microwave for 10-15 seconds for that fresh-from-the-oven feeling.
I’ve noticed that the flavors actually deepen after a day or two. Something about the brown sugar and vanilla melding together creates an even more complex, caramel-like flavor. Not that they usually last that long in my house.
Nutritional Information & Benefits
Let’s be real—these are a treat, not a health food. But knowing what’s in them can help you enjoy them mindfully. Per serving (based on 16 bars):
- Calories: Approximately 220
- Fat: 11g
- Carbohydrates: 30g
- Protein: 3g
- Fiber: 1g
- Sugar: 18g
The dark chocolate chips offer a small dose of antioxidants, and the butter provides a little vitamin A. The brown sugar gives you a quick energy boost (perfect for that afternoon slump). For a slightly lighter option, you can reduce the chocolate chips to 1 cup and add a handful of oats for more fiber.
If you’re watching your sugar intake, you could try using a sugar substitute like Swerve Brown, but I’ll be honest—the texture changes a bit. Sometimes a classic treat is worth the splurge.
Conclusion
These Easy No-Mixer Chocolate Chip Cookie Bars are the recipe you’ll turn to again and again. They’re simple enough for a beginner baker, quick enough for a last-minute dessert emergency, and delicious enough to impress anyone who takes a bite. No fancy equipment, no complicated steps—just pure, uncomplicated cookie joy.
I love that this recipe has become my go-to for bake sales, last-minute guests, and those evenings when I just need something warm and sweet. It’s the kind of recipe that feels like a secret weapon—simple on the surface, but deeply satisfying in every way.
Now I want to hear from you! Have you tried these bars? Did you add your own twist? Drop a comment below and let me know how they turned out. And if you loved them, share this recipe with a friend who needs a little cookie therapy in their life.
Happy baking, friends. You’ve got this.
Frequently Asked Questions
Can I use salted butter instead of unsalted?
Yes, you can. Just reduce the added salt in the recipe to ¼ teaspoon to avoid overly salty bars.
Why did my cookie bars turn out dry?
The most common culprit is over-baking. Pull the bars when the center still looks slightly soft and puffy. They’ll continue to set as they cool. Also, make sure you’re measuring your flour correctly—spoon it into the cup and level it off.
Can I double this recipe?
Absolutely! Double all the ingredients and bake in a 9×13-inch pan. You’ll need to increase the baking time to about 28-32 minutes. Keep an eye on them and test with a toothpick.
Can I make the dough ahead of time?
Yes. You can prepare the dough, press it into the lined pan, cover it tightly with plastic wrap, and refrigerate for up to 48 hours. Let it sit at room temperature for 15 minutes before baking, and add a couple of minutes to the bake time.
Can I use dark brown sugar instead of light brown sugar?
Yes, dark brown sugar will give your bars a deeper, more molasses-rich flavor and a slightly softer, chewier texture. It’s a delicious swap if you have it on hand.
Pin This Recipe!
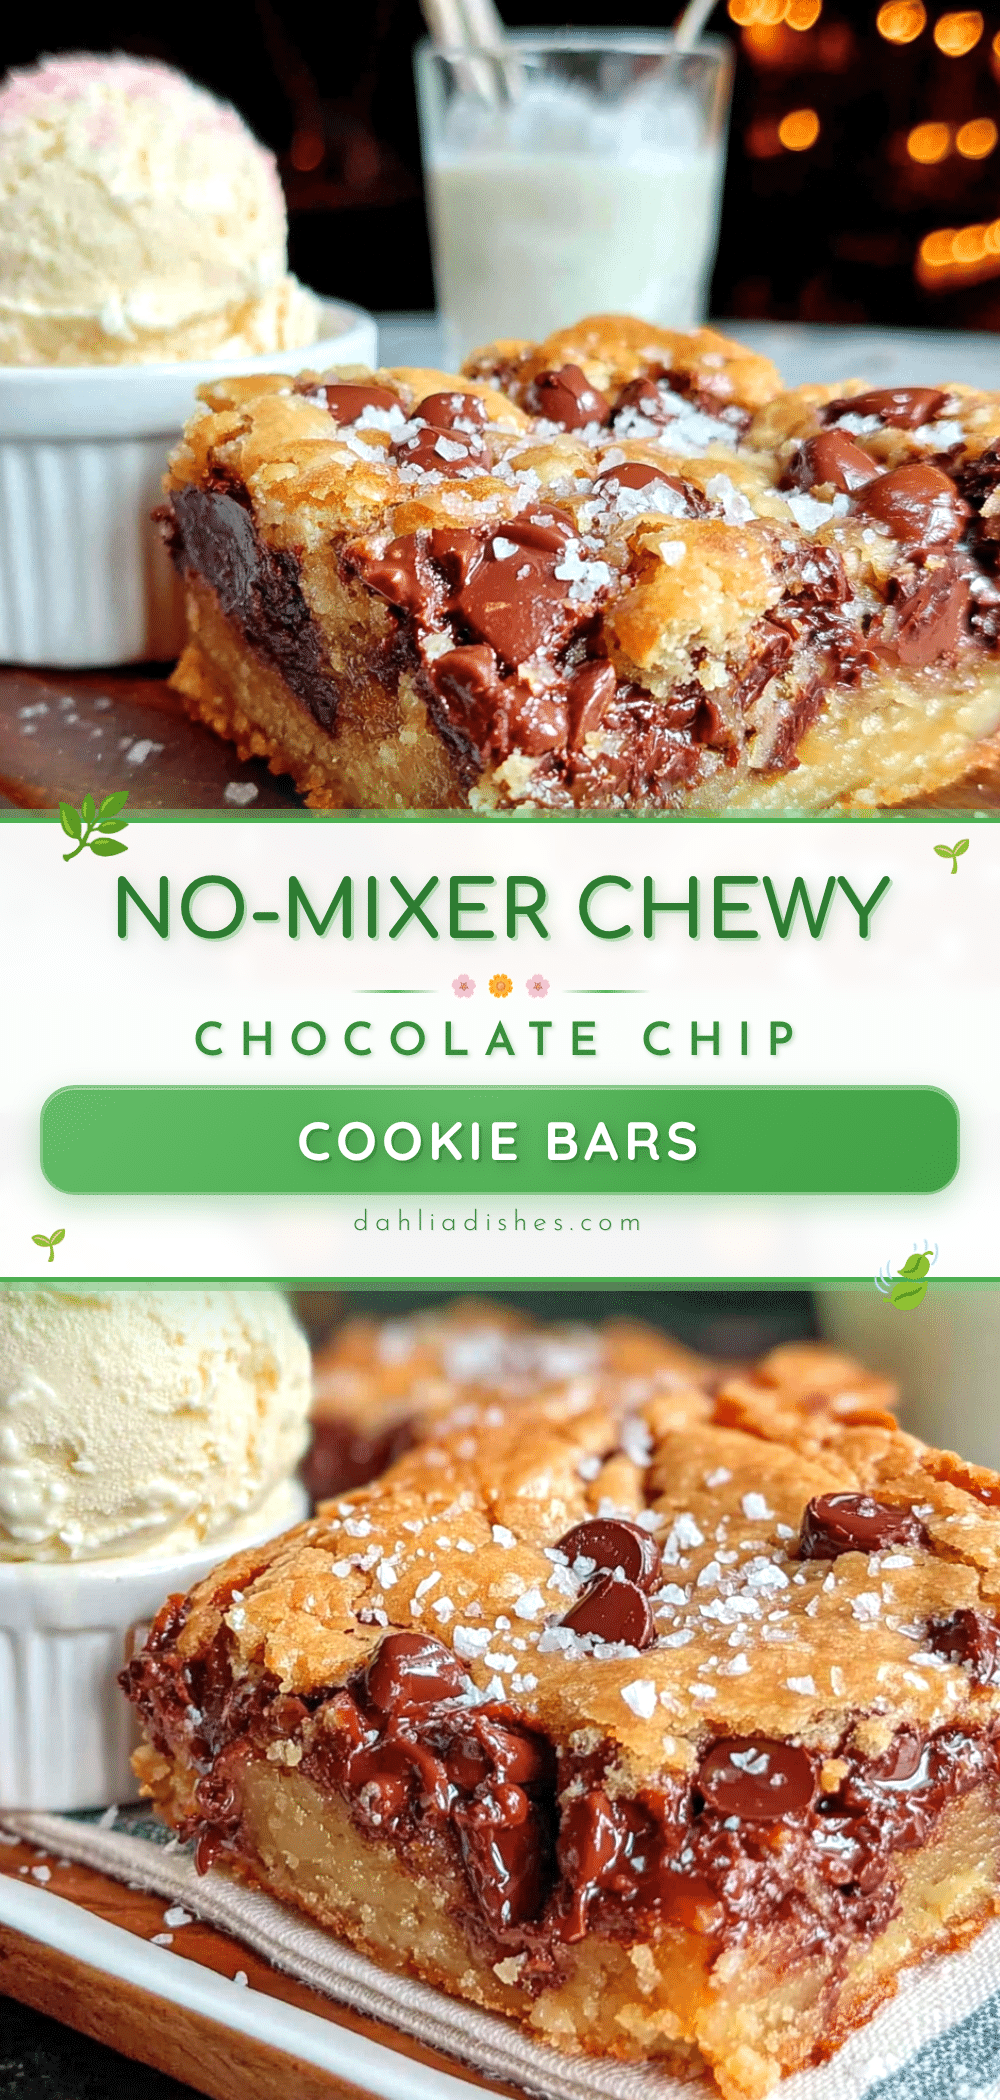
Easy No-Mixer Chocolate Chip Cookie Bars (Best 1-Bowl Recipe)

These cookie bars are a game-changer. You get all the chewy, buttery, chocolate-loaded goodness of a classic chocolate chip cookie, but without the fuss of chilling dough, rolling individual balls, or cleaning a stand mixer.
- Prep Time: 10 minutes
- Cook Time: 25 minutes
- Total Time: 35 minutes
- Yield: 16 servings 1x
- Category: Dessert
- Cuisine: American
Ingredients
- ½ cup (1 stick) unsalted butter, melted and slightly cooled
- ¾ cup packed light brown sugar
- ¼ cup granulated sugar
- 1 large egg, room temperature
- 1 teaspoon pure vanilla extract
- 1 ¾ cups all-purpose flour, spooned and leveled
- ½ teaspoon baking soda
- ½ teaspoon fine sea salt
- 1 ½ cups semi-sweet chocolate chips
Instructions
- Preheat oven to 350°F (175°C). Line an 8×8-inch baking pan with parchment paper, leaving an overhang on two opposite sides.
- Melt the butter in a microwave-safe bowl in 30-second intervals until fully melted. Set aside to cool for about 5 minutes.
- In a large mixing bowl, combine the melted butter with the brown sugar and granulated sugar. Stir until well combined and the mixture looks like wet sand, smooth and glossy.
- Add the room-temperature egg and vanilla extract. Stir vigorously until fully incorporated and the batter is smooth and slightly thickened, about 30 seconds.
- Sprinkle the flour, baking soda, and salt over the wet mixture. Fold together until just combined. A few streaks of flour are okay.
- Gently fold in the chocolate chips until evenly distributed. The dough will be thick and slightly sticky.
- Transfer the dough to the prepared pan. Press into an even layer using your hands or the back of a spatula.
- Bake for 20-25 minutes. The edges should be golden brown and set, while the center will still look slightly soft and puffy. A toothpick inserted into the center should come out with a few moist crumbs, not wet batter.
- Place the pan on a cooling rack and let cool for at least 20 minutes. Use the parchment paper sling to lift the entire slab out of the pan. Transfer to a cutting board and cut into 9 or 16 squares.
Notes
Don’t over-bake. Pull the bars when the center is still slightly soft and puffy; they will continue to set as they cool. Let melted butter cool before adding egg to avoid scrambling. For clean cuts, use a sharp knife and wipe it clean between slices.
Nutrition
- Serving Size: 1 bar (based on 16 b
- Calories: 220
- Sugar: 18
- Sodium: 150
- Fat: 11
- Saturated Fat: 6
- Carbohydrates: 30
- Fiber: 1
- Protein: 3
Keywords: chocolate chip cookie bars, no mixer, one bowl, easy dessert, chewy cookie bars


