Love this? Save it for later!
Share the inspiration with your friends
I was supposed to be making a ginger-soy braised chicken that Tuesday night. The kind that simmers for an hour while you clean the kitchen and pretend you’re on a cooking show. I had the ginger peeled, the soy sauce measured, and I was feeling pretty good about myself honestly. Then I grabbed the honey instead of the brown sugar—they’re right next to each other on my shelf, and let’s face it, when you’re juggling a phone call and a hungry cat winding around your ankles, mistakes happen. I poured a generous glug of honey into the pan before I even realized what I’d done.
I stood there staring at the sticky golden mess thinking, well, this is ruined. The ginger was already in the pan, sizzling away, and the chicken thighs were browning nicely on one side. I couldn’t exactly scoop the honey back out. So I just went with it. I added a little garlic (because garlic fixes everything), a splash of soy sauce, and some rice vinegar, crossed my fingers, and let it cook. Thirty minutes later, I pulled the pan out of the oven and nearly dropped it when I tasted the sauce. It was sweet, savory, sticky, and absolutely ridiculous in the best way.
That night I ate two thighs standing over the kitchen counter, burning my tongue because I couldn’t wait for them to cool. My neighbor Linda texted me later asking what smelled so good, and I had to admit I had no idea what to call it. Honey garlic chicken? Accident chicken? Whatever the name, it became the dinner I made three times that week just to prove it wasn’t a fluke. And now, every time I make these Easy Honey Garlic Chicken Thighs, I remember that moment of panic turning into pure relief. Maybe you’ve had one of those kitchen disasters that somehow worked out better than the original plan? This is that recipe. The one that stays in your rotation because it’s too good to forget.
Why You’ll Love This Recipe
Let me tell you why this one-pan wonder has earned a permanent spot in my weekly dinner rotation. I’ve tested this recipe at least a dozen times—tweaking the honey-to-soy ratio, adjusting the cooking time, even trying it with different cuts of chicken. What I landed on is the version that works every single time without fail.
- One Pan, Minimal Mess : Everything cooks in a single skillet or baking dish. You get caramelized, sticky chicken without a sink full of dishes. That’s a win in my book any night of the week.
- Pantry-Friendly Ingredients : Honey, soy sauce, garlic, chicken thighs—chances are you already have most of this stuff. No specialty grocery trips required. I’ve made this on a Tuesday when my fridge was practically empty except for the essentials.
- Perfect for Busy Weeknights : From start to finish, you’re looking at about 35 minutes. The oven does most of the work while you throw together a quick vegetable or rice on the side.
- Crowd-Pleasing Flavor : The sweet and savory combo hits everyone differently—kids love the honey glaze, adults appreciate the garlicky depth. I’ve brought this to potlucks and watched the pan empty in minutes.
- Unbelievably Juicy Results : Chicken thighs stay moist and tender thanks to the fat content and the sticky sauce that locks in moisture. No dry chicken here, I promise.
What makes this recipe different from the dozens of honey garlic chicken recipes out there? It’s the balance. Most versions are either too sweet or too salty, but this one hits that perfect middle ground where the honey doesn’t overpower and the garlic doesn’t burn. The technique of searing the thighs first, then finishing them in the oven with the sauce, creates a caramelized exterior while keeping the inside perfectly tender. It’s not just another version—it’s the one I keep coming back to, and the one my friends text me for.
This is the kind of meal that makes you close your eyes after the first bite. It’s comfort food that feels special but takes almost no effort. Perfect for those evenings when you want something satisfying without spending hours in the kitchen.
What Ingredients You Will Need
This recipe relies on a handful of simple, everyday ingredients that come together to create something surprisingly complex. Here’s what you’ll need and why each one matters.
- Bone-in, skin-on chicken thighs (6-8 thighs, about 2 pounds) : I prefer thighs for their rich flavor and forgiving nature—they stay juicy even if you cook them a few minutes too long. The skin crisps up beautifully in the pan. If you can only find boneless, skinless thighs, reduce the cooking time by about 10 minutes.
- 1/3 cup honey : Use a good-quality honey here—it’s the star of the show. I like local wildflower honey for its floral notes, but any runny honey works. Avoid crystallized honey unless you melt it first, or it won’t incorporate smoothly into the sauce.
- 1/4 cup low-sodium soy sauce : Regular soy sauce works too, but low-sodium gives you more control over the salt level. Tamari or coconut aminos are excellent substitutes if you’re gluten-free.
- 6 cloves garlic, minced : Fresh garlic is non-negotiable here. The pre-minced stuff in a jar just doesn’t deliver the same punch. I go heavy on the garlic because it mellows and sweetens as it cooks, creating that irresistible aroma.
- 2 tablespoons rice vinegar : This brightens the sauce and cuts through the sweetness. Apple cider vinegar or white wine vinegar can step in if needed, but rice vinegar is my top pick for its mild acidity.
- 1 tablespoon olive oil : For searing the chicken. Avocado oil or vegetable oil works just as well. You want something with a decent smoke point.
- 1 teaspoon sesame oil (optional) : A drizzle at the end adds a nutty, toasty flavor that takes the dish over the top. Don’t skip it if you have some on hand.
- 1/2 teaspoon red pepper flakes (optional) : For a gentle heat that balances the sweetness. Leave it out if you’re serving kids or prefer a milder dish.
- Salt and black pepper to taste : Season the chicken generously before searing. It makes a real difference.
- Fresh parsley or green onions for garnish : Not just for looks—the freshness cuts through the richness of the sauce.
I recommend using a brand like Mike’s Hot Honey if you want a spicy-sweet kick, or Nature Nate’s for a pure, consistent honey flavor. For soy sauce, Kikkoman is my go-to for its balanced taste. These are small choices that add up to a better final dish.
Equipment Needed
You don’t need a fancy kitchen to pull off this recipe. Here’s what you’ll actually use:
- Large oven-safe skillet (10-12 inches): Cast iron is ideal for even heat and a great sear, but any oven-safe skillet works. I use my trusty Lodge cast iron that I’ve had for years—it’s seasoned to perfection and gives the chicken that gorgeous golden crust.
- Small bowl : For whisking together the sauce ingredients. Nothing fancy.
- Whisk or fork : To combine the honey, soy sauce, vinegar, and garlic smoothly.
- Tongs : For flipping the chicken without piercing the skin. Silicone-tipped tongs are gentle on non-stick pans.
- Meat thermometer : Not strictly necessary, but it takes the guesswork out of doneness. Chicken thighs are safe at 165°F, but I pull them at 175°F for that fall-apart tenderness.
- Cutting board and knife : For mincing garlic and chopping garnish.
If you don’t have an oven-safe skillet, sear the chicken in a regular pan, then transfer everything to a baking dish before popping it in the oven. I’ve done this plenty of times when my cast iron was already occupied. Budget-friendly tip: a basic 12-inch cast iron skillet costs around $20 and will last you a lifetime with proper care.
Preparation Method
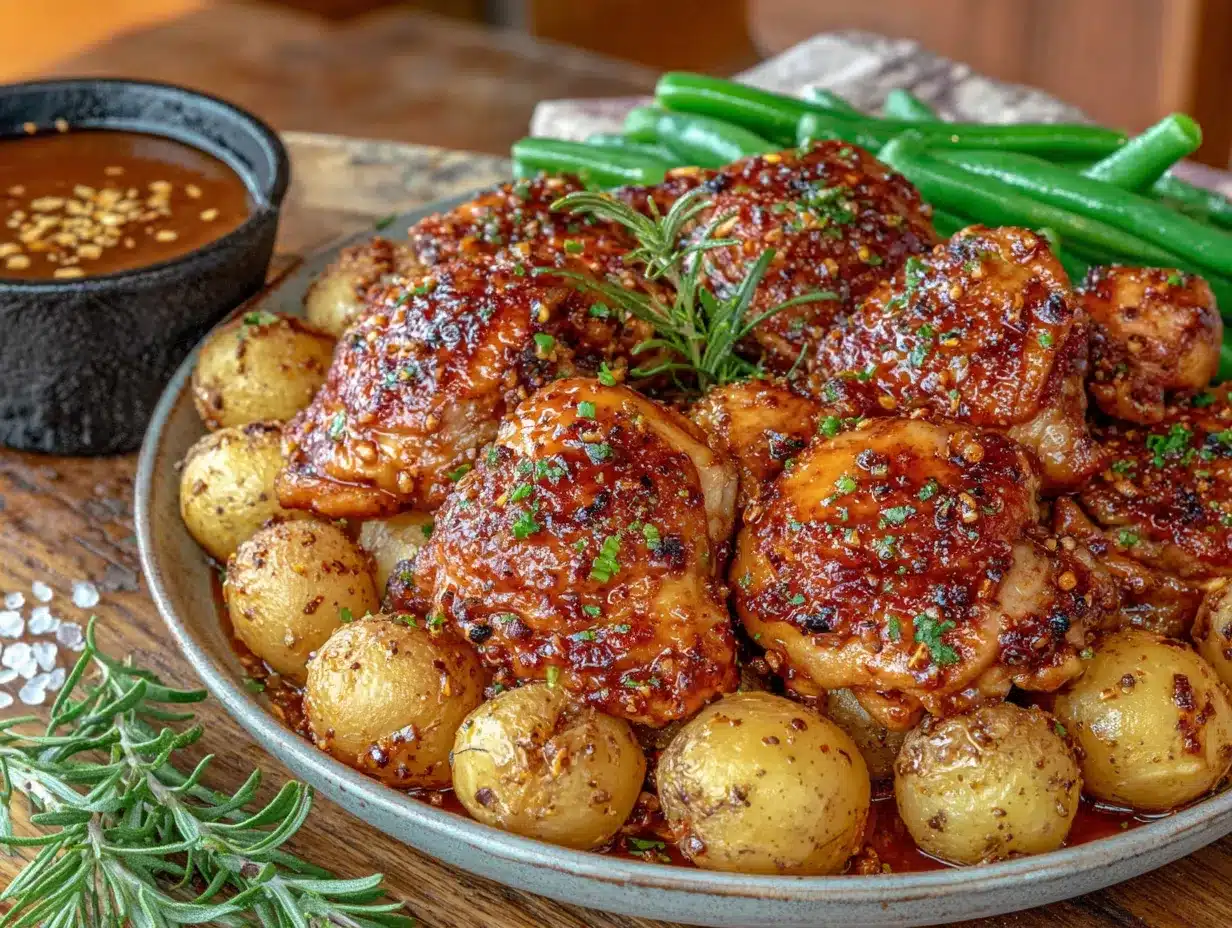
Let’s walk through this step by step. I’ll include all the little details I wish someone had told me the first time I made it.
- Preheat your oven to 400°F (200°C). Give it a full 15 minutes to reach temperature. A properly hot oven is key for that caramelized finish.
- Pat the chicken thighs dry with paper towels. This is crucial—wet skin won’t crisp up. Season both sides generously with salt and pepper. Don’t be shy here; the seasoning is your foundation.
- Heat the olive oil in your oven-safe skillet over medium-high heat. Wait until the oil shimmers and moves easily around the pan. You want it hot enough that the chicken sizzles the second it hits the surface.
- Place the chicken thighs skin-side down in the skillet. Don’t crowd them—leave a little space between each piece. Cook undisturbed for 5-6 minutes until the skin is deep golden brown and crispy. I know it’s tempting to peek, but let that crust develop.
- Flip the thighs using tongs. Cook for another 3-4 minutes on the second side. The chicken should release easily from the pan; if it sticks, give it another minute.
- While the chicken sears, make the sauce. In a small bowl, whisk together the honey, soy sauce, rice vinegar, minced garlic, and red pepper flakes if using. The garlic will smell amazing already—that’s a good sign.
- Pour the sauce over the chicken in the skillet. Tilt the pan to distribute it evenly. Don’t worry if it looks thin—it will reduce and thicken as it cooks.
- Transfer the skillet to the preheated oven. Bake for 20-25 minutes, basting the chicken with the pan juices halfway through. Use a spoon to drizzle that sticky sauce right over the skin. The kitchen will smell like the best restaurant you’ve ever been to.
- Check for doneness. The chicken should reach an internal temperature of 175°F (80°C) for thighs. The sauce should be bubbling and thickened, clinging to the chicken like a glossy coat.
- Optional: Broil for 2-3 minutes at the end. If you want extra caramelization, switch the oven to broil and watch closely. The sugar in the honey can burn fast, so don’t walk away.
- Remove from the oven and let rest for 5 minutes. This allows the juices to redistribute. Drizzle with sesame oil and sprinkle with fresh parsley or sliced green onions before serving.
A quick note: if your sauce seems too thin after baking, you can transfer the chicken to a plate and simmer the sauce on the stovetop for 2-3 minutes to reduce it further. I’ve done this when I wanted extra sticky glaze for drizzling over rice.
Cooking Tips & Techniques
After making this recipe more times than I can count, I’ve collected a few hard-won lessons. Let me save you some trouble.
Don’t skip the searing step. I know it’s tempting to just throw everything in the pan and let the oven do the work, but that initial sear is where the magic happens. The Maillard reaction—that browning process—creates layers of flavor you simply can’t get from baking alone. Plus, crispy skin is non-negotiable in my book.
Watch the garlic. Minced garlic can burn easily, especially under the broiler. If you notice the garlic turning dark brown or black, your sauce will taste bitter. I learned this the hard way when I got distracted by a phone call and came back to acrid-smelling garlic. Now I add the garlic to the sauce just before pouring it over the chicken, and I keep a close eye on it during the last few minutes of cooking.
Use a meat thermometer. I resisted this for years, thinking I could tell by touch or timing alone. But chicken thighs are forgiving, sure—they’re also easy to undercook if you’re in a rush. A simple instant-read thermometer costs about $10 and eliminates all the guesswork. Stick it into the thickest part of the thigh without touching the bone.
Double the sauce if you’re a sauce person. Some nights I want extra to drizzle over rice or vegetables. I just whisk together 1/2 cup honey, 1/3 cup soy sauce, and 4 extra garlic cloves. The extra sauce reduces beautifully in the pan alongside the chicken.
Let the chicken rest. I know you’re hungry. I know it smells incredible. But cutting into the chicken immediately will send all those juices running onto the plate instead of staying in the meat. Five minutes of patience makes a noticeable difference.
One mistake I still make sometimes: using too high heat for the sear and burning the honey residue in the pan. Keep it at medium-high, not screaming hot. If you see black specks forming in the pan, turn the heat down immediately.
Variations & Adaptations
This recipe is wonderfully flexible. Here are some ways I’ve adapted it depending on what I have on hand or who I’m feeding.
Spicy Honey Garlic Chicken : Add 1-2 teaspoons of sriracha or gochujang to the sauce for a fiery kick. I made this version for a game night and my friend Dave, who claims he can handle any heat, was reaching for his water glass—but he went back for seconds anyway.
Garlic-Lemon Twist : Replace the rice vinegar with fresh lemon juice and add a teaspoon of lemon zest. The citrus brightens everything up and makes it feel lighter, perfect for spring or summer dinners.
Slow Cooker Adaptation : Sear the chicken as directed, then transfer to a slow cooker with the sauce. Cook on low for 4-5 hours or high for 2-3 hours. The texture is different—more fall-apart tender than crispy—but it’s a great hands-off option for busy days.
Gluten-Free Version : Use tamari or coconut aminos instead of soy sauce. Everything else is naturally gluten-free. I’ve tested this with tamari and honestly couldn’t tell the difference.
Vegetable Add-Ins : Toss broccoli florets, bell pepper slices, or snap peas into the pan during the last 10 minutes of baking. They soak up the sauce and become a complete meal in one pan. I did this on a night when I was too lazy to make a side dish, and it was a happy accident.
Thighs vs. Drumsticks : This recipe works beautifully with chicken drumsticks too. Increase the baking time to 30-35 minutes and use the same temperature. Drumsticks are great for kids who love eating off the bone.
Serving & Storage Suggestions
This dish is incredibly versatile when it comes to serving. Here’s how I like to enjoy it.
Serve it hot , straight from the oven, with the sauce spooned over the top. The sticky glaze should coat each thigh generously. I usually let the chicken rest for 5 minutes on a cutting board before serving, then drizzle the pan sauce over everything.
Perfect pairings include steamed jasmine rice or coconut rice to soak up that extra sauce. For vegetables, I love roasted broccoli, sautéed green beans, or a simple cucumber salad with rice vinegar. The freshness balances the richness of the chicken. A side of crusty bread is also fantastic for wiping the plate clean—don’t judge me.
For drinks , a crisp white wine like Sauvignon Blanc or a light lager works beautifully. If you’re going non-alcoholic, iced green tea with a splash of lemon is refreshing alongside the sweet-savory chicken.
Storage : Leftover chicken keeps in an airtight container in the refrigerator for up to 4 days. The flavors actually deepen overnight, so leftovers might taste even better the next day. I’ve been known to make extra just for lunch the next day.
Reheating : The oven is your best bet for maintaining that crispy skin. Place the chicken on a baking sheet and warm at 350°F for 10-12 minutes. The microwave works in a pinch, but the skin will get soft. If you’re in a hurry, a hot skillet with a splash of water can revive the sauce and reheat the chicken in about 5 minutes.
Freezer-friendly : Yes! Cool the chicken completely, then store in a freezer-safe container with the sauce for up to 3 months. Thaw overnight in the refrigerator and reheat in the oven or on the stovetop. I’ve done this for busy weeks and it’s a lifesaver.
Nutritional Information & Benefits
Here’s a rough estimate per serving (based on 2 thighs with sauce):
- Calories : ~420
- Protein : 32g
- Fat : 22g
- Carbohydrates : 24g
- Sugar : 22g
- Sodium : 680mg
These numbers will vary depending on the exact ingredients and portion sizes. Chicken thighs are higher in fat than breasts, but that fat is what keeps them juicy and flavorful. They’re also a great source of protein, B vitamins, and selenium, which supports immune function.
Honey provides natural sweetness with some antioxidants, though it’s still sugar, so moderation is key. Garlic offers anti-inflammatory properties and may support heart health. If you’re watching your sodium, use low-sodium soy sauce and reduce the added salt.
This recipe fits into a balanced diet when paired with vegetables and whole grains. For a lower-carb option, skip the rice and serve with roasted vegetables or a big salad. For a lower-fat version, you can use boneless, skinless thighs, though you’ll lose some of that crispy texture.
Potential allergens include soy (from soy sauce) and sesame (if using sesame oil). Always check labels if you’re cooking for someone with allergies.
Conclusion
This Easy Honey Garlic Chicken Thighs recipe started as a mistake, but it’s become one of those dishes I genuinely look forward to making. It’s simple enough for a Tuesday night when you’re tired and hungry, yet impressive enough to serve to guests who’ll think you spent hours in the kitchen. The sticky, sweet-savory sauce, the crispy skin, the tender meat—it all comes together in one pan with minimal effort and maximum payoff.
I want you to make this recipe your own. Add more garlic if you’re a garlic lover like me. Throw in some chili flakes if you want heat. Serve it over rice, noodles, or just with a fork and no shame. The beauty of a simple recipe is that it leaves room for your personal touch.
Honestly, I still can’t believe that panicked honey-pouring moment turned into something this good. It reminds me that not everything in the kitchen has to go according to plan. Sometimes the best dishes come from the happy accidents. So go ahead, grab that honey, and don’t be afraid to make a mess. You might just discover your new favorite dinner.
I’d love to hear how yours turns out! Drop a comment below with your twist on the recipe, or tag me in your photos if you share them online. Happy cooking, friends.
Frequently Asked Questions
Can I use chicken breasts instead of thighs?
Yes, but you’ll need to adjust the cooking time. Boneless, skinless chicken breasts cook faster—about 15-18 minutes in the oven. Check for doneness at 165°F. The breasts won’t be as juicy as thighs, so consider brining them first for extra moisture.
How do I prevent the honey from burning?
Keep your oven temperature at 400°F and don’t skip the searing step before baking. If you’re broiling at the end, watch it closely—the sugar in honey can burn in under a minute. Also, make sure your garlic is minced finely so it doesn’t burn before the chicken is done.
Can I make this recipe in an air fryer?
Absolutely. Sear the chicken in a skillet first, then transfer to the air fryer basket. Pour the sauce over the chicken and air fry at 375°F for 12-15 minutes, flipping halfway through. The skin gets extra crispy this way. Just be sure to line the basket with foil for easy cleanup.
Is this recipe gluten-free?
It can be! Use tamari or coconut aminos instead of regular soy sauce. All other ingredients are naturally gluten-free. Double-check your honey and vinegar labels to be safe, though most brands are gluten-free.
How do I thicken the sauce if it’s too thin?
Remove the chicken from the pan and simmer the sauce on the stovetop over medium heat for 3-5 minutes. It will reduce and thicken as the water evaporates. You can also mix 1 teaspoon of cornstarch with 2 teaspoons of cold water and stir it into the simmering sauce for a quick thickener.
Pin This Recipe!
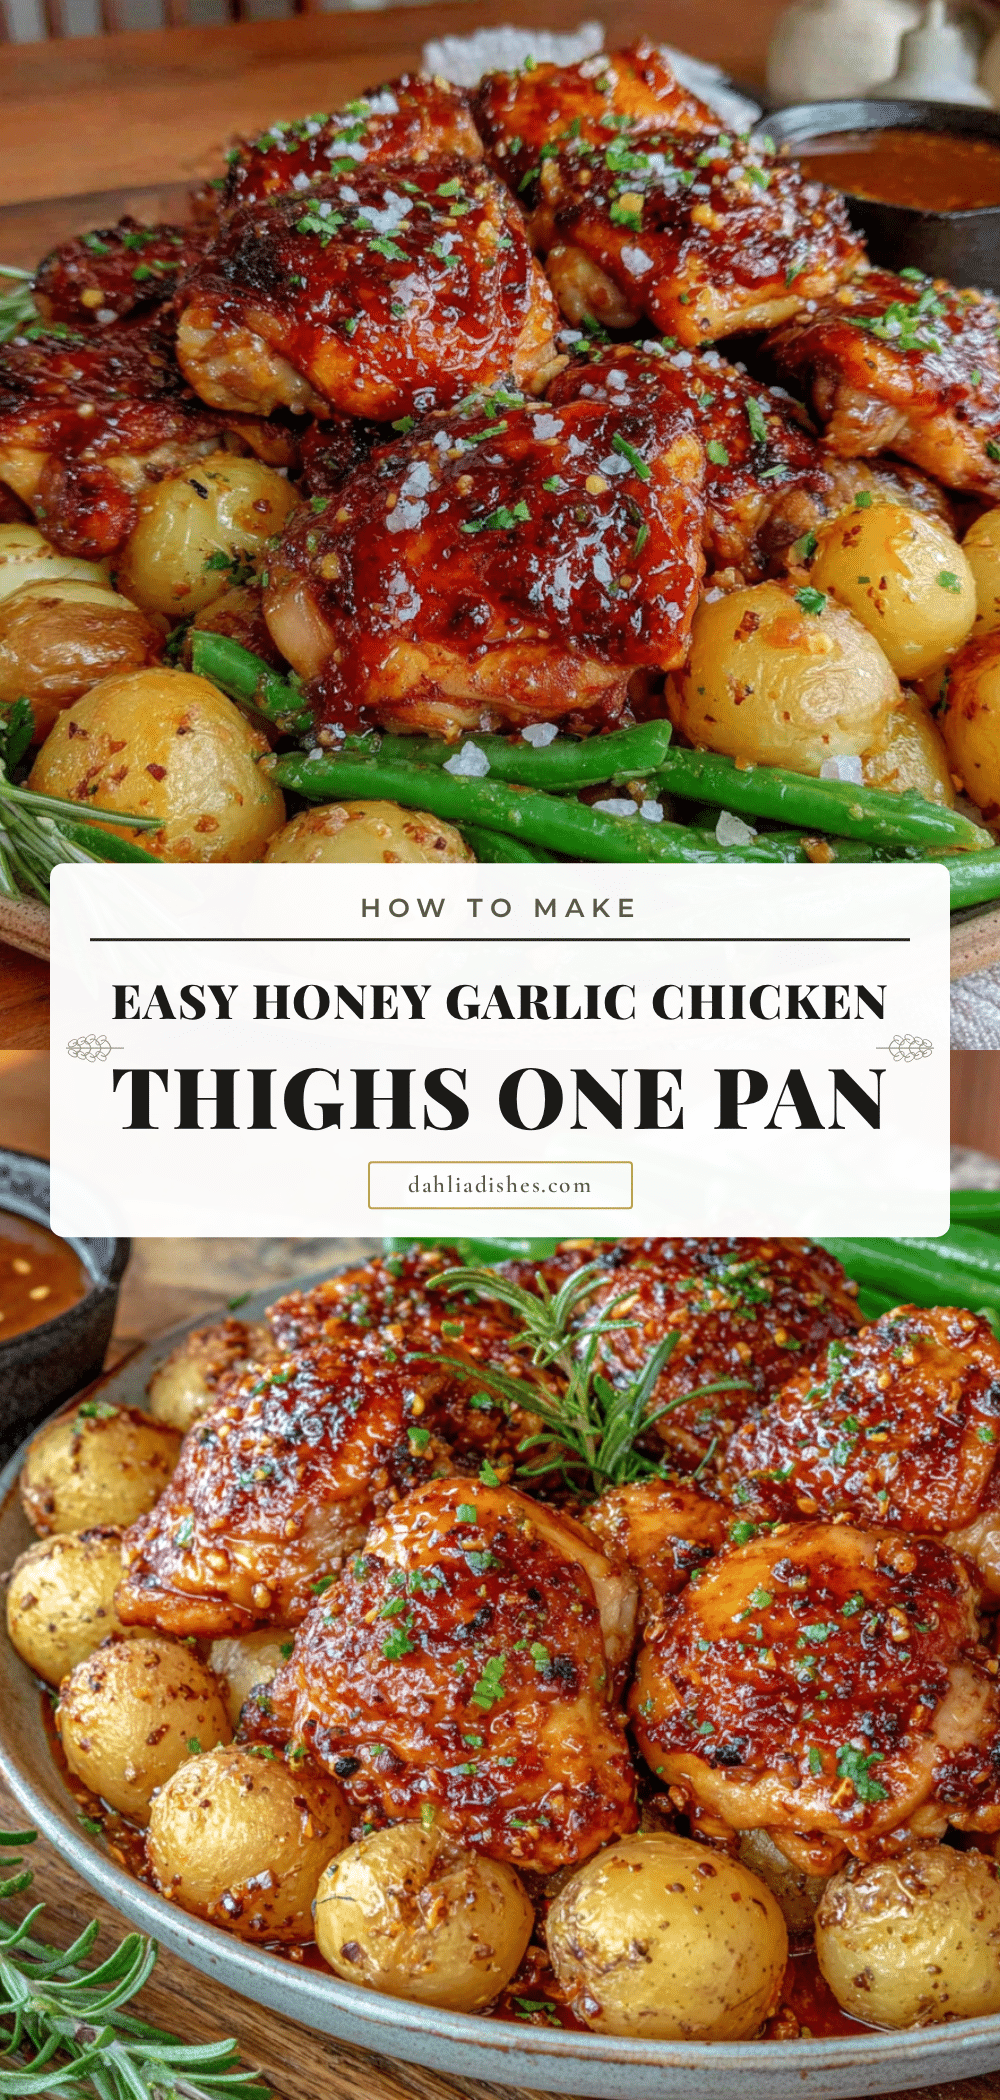
Easy Honey Garlic Chicken Thighs: Best One Pan Recipe

This Easy Honey Garlic Chicken Thighs recipe started as a mistake, but it’s become one of those dishes I genuinely look forward to making. It’s simple enough for a Tuesday night when you’re tired and hungry, yet impressive enough to serve to guests who’ll think you spent hours in the kitchen.
- Prep Time: 10 minutes
- Cook Time: 30 minutes
- Total Time: 40 minutes
- Yield: 4 servings 1x
- Category: Main Course
- Cuisine: American
Ingredients
- 6–8 bone-in, skin-on chicken thighs (about 2 pounds)
- 1/3 cup honey
- 1/4 cup low-sodium soy sauce
- 6 cloves garlic, minced
- 2 tablespoons rice vinegar
- 1 tablespoon olive oil
- 1 teaspoon sesame oil (optional)
- 1/2 teaspoon red pepper flakes (optional)
- Salt and black pepper to taste
- Fresh parsley or green onions for garnish
Instructions
- Preheat your oven to 400°F (200°C). Give it a full 15 minutes to reach temperature.
- Pat the chicken thighs dry with paper towels. Season both sides generously with salt and pepper.
- Heat the olive oil in your oven-safe skillet over medium-high heat until the oil shimmers.
- Place the chicken thighs skin-side down in the skillet. Cook undisturbed for 5-6 minutes until the skin is deep golden brown and crispy.
- Flip the thighs using tongs. Cook for another 3-4 minutes on the second side.
- While the chicken sears, make the sauce. In a small bowl, whisk together the honey, soy sauce, rice vinegar, minced garlic, and red pepper flakes if using.
- Pour the sauce over the chicken in the skillet. Tilt the pan to distribute it evenly.
- Transfer the skillet to the preheated oven. Bake for 20-25 minutes, basting the chicken with the pan juices halfway through.
- Check for doneness. The chicken should reach an internal temperature of 175°F (80°C) for thighs.
- Optional: Broil for 2-3 minutes at the end for extra caramelization.
- Remove from the oven and let rest for 5 minutes. Drizzle with sesame oil and sprinkle with fresh parsley or sliced green onions before serving.
Notes
Don’t skip the searing step—it creates layers of flavor. Watch the garlic to prevent burning. Use a meat thermometer for perfect doneness. Double the sauce if you’re a sauce person. Let the chicken rest for 5 minutes before serving.
Nutrition
- Serving Size: 2 thighs with sauce
- Calories: 420
- Sugar: 22
- Sodium: 680
- Fat: 22
- Saturated Fat: 6
- Carbohydrates: 24
- Protein: 32
Keywords: honey garlic chicken, one pan chicken, chicken thighs, easy dinner, weeknight dinner, sticky chicken, honey chicken


