Love this? Save it for later!
Share the inspiration with your friends
My aunt wasn’t trying to impress anyone. I’d stopped by to drop off a casserole dish I’d borrowed, and the smell hit me before I even got through the back door. It was November, sure, but Thanksgiving was still a week away. She was standing at the stove in her worn-out slippers, stirring a pot with this completely nonchalant expression, like she was just making soup on a random Tuesday.
“What is that?” I asked, already peering over her shoulder. She shrugged and said it was just gravy. Just gravy. But the color was this deep, rich mahogany brown, nothing like the pale, lumpy stuff I’d been making from packets for years. She hadn’t even roasted a turkey yet—that was happening the next day. She just had a pot of simmering liquid and a whisk, and she was humming along to some oldies station on the radio.
I stood there for a solid twenty minutes, watching her work. She didn’t have a recipe written down. She just knew. A splash of this, a pinch of that. She told me she’d been making her gravy this way for thirty years, long before the turkey ever hit the oven. “Why wait?” she said, catching my confused look. “Gravy doesn’t need a bird to be good. It just needs patience and a little love.” Honestly, I felt a little embarrassed. Here I was, stressing every year about last-minute gravy panic, and she’d been making it ahead of time all along.
That day changed everything for me. I went home, called her three times with questions, and finally nailed a version that actually worked. And you know what? It’s better than any gravy I’ve ever made with actual turkey drippings. Maybe you’ve been there—standing over a hot stove on Thanksgiving morning, trying to scrape browned bits from a roasting pan while guests are asking where the wine opener is. This recipe fixes all of that. Let me tell you, it’s a game-changer.
Why You’ll Love This Recipe
Let’s be real for a second. Thanksgiving is stressful enough without worrying about gravy at the last minute. I’ve been there—the turkey is resting, the mashed potatoes are getting cold, and you’re frantically whisking lumps out of a pan while your brother-in-law asks if dinner is ready yet. This recipe solves that problem completely.
- Make-Ahead Magic: You can make this gravy up to three days in advance. Three days! That means one less thing to worry about on the big day.
- No Drippings Required: This is the real secret. You don’t need a roasted turkey to make incredible gravy. It uses chicken stock, butter, and a few pantry staples to create that same deep, savory flavor.
- Perfectly Smooth Every Time: No lumps, no floury taste, no guessing. The technique is foolproof, even if you’ve never made gravy from scratch before.
- Rich, Restaurant-Quality Flavor: The secret is in the browning. We’re taking the time to develop deep color and flavor, just like my aunt did in her slippers that day.
- Stress-Free Holiday Hosting: Imagine walking into your kitchen on Thanksgiving morning and seeing your gravy already made, just waiting to be reheated. That’s the kind of peace of mind this recipe gives you.
This isn’t just another gravy recipe. It’s the one that makes you close your eyes after the first bite. It’s comfort food in its purest form—warm, silky, and full of flavor. It’s perfect for impressing guests without breaking a sweat, or for turning a simple weeknight dinner into something that feels like a holiday.
What Ingredients You Will Need
This recipe uses simple, humble ingredients to create something truly special. You probably have most of these in your kitchen right now, which is the whole point. No fancy shopping trips, no obscure spices.
- Unsalted butter (1/2 cup / 1 stick): Always use unsalted so you can control the salt level. I prefer Kerrygold for its rich flavor, but any good-quality butter works.
- All-purpose flour (1/2 cup): This is our thickening agent. Regular AP flour is perfect. For a gluten-free version, use a 1:1 gluten-free flour blend.
- Chicken stock (4 cups / 32 ounces): This is the backbone of your gravy. Use a good-quality stock—I recommend Kitchen Basics or Swanson’s unsalted. Low-sodium is key here so you can season it yourself. Homemade stock is even better if you have it.
- Turkey wings or drumsticks (1 to 2 pounds, optional but recommended): This is the secret to getting that deep turkey flavor without actual drippings. You’ll roast these first to create a rich, meaty base. If you can’t find turkey parts, chicken thighs work beautifully.
- Onion (1 medium, quartered): Adds sweetness and depth. Yellow or white onions work best.
- Carrot (1 large, chopped into chunks): Adds a subtle sweetness and helps build the flavor base.
- Celery (2 stalks, chopped): Classic aromatics. Don’t skip this—it adds that savory, earthy note.
- Fresh thyme (4 to 5 sprigs): Earthy and slightly floral. Fresh is best here, but you can use 1 teaspoon dried if that’s all you have.
- Bay leaves (2): Adds a subtle herbal note. Remove before serving.
- Black pepper (1 teaspoon, freshly ground): Freshly ground makes a real difference. Don’t use the pre-ground stuff.
- Salt (to taste): Start with 1/2 teaspoon and adjust at the end. Remember, your stock might already be salty.
- Optional: A splash of dry sherry or white wine (1/4 cup): This adds a lovely acidity that brightens the gravy. My aunt never used it, but I’ve found it adds a nice complexity.
Equipment Needed
You don’t need a fancy kitchen for this recipe. Just a few basic tools that you probably already own.
- Large roasting pan or rimmed baking sheet: For roasting the turkey parts and vegetables. A 9×13-inch pan works great.
- Large pot or Dutch oven (at least 5 quarts): For making the stock and the gravy. I love my Le Creuset, but any heavy-bottomed pot works.
- Fine-mesh strainer or cheesecloth: For straining out the solids. A fine-mesh strainer is easier to clean. If you don’t have one, you can use a regular colander lined with a clean kitchen towel.
- Whisk: A good whisk is your best friend here. It helps prevent lumps and ensures a smooth gravy.
- Measuring cups and spoons: For accuracy. Eyeballing can lead to disaster.
- Sharp knife and cutting board: For chopping the vegetables.
- Ladle: For serving the finished gravy.
- Airtight container: For storing the gravy in the refrigerator or freezer.
Preparation Method
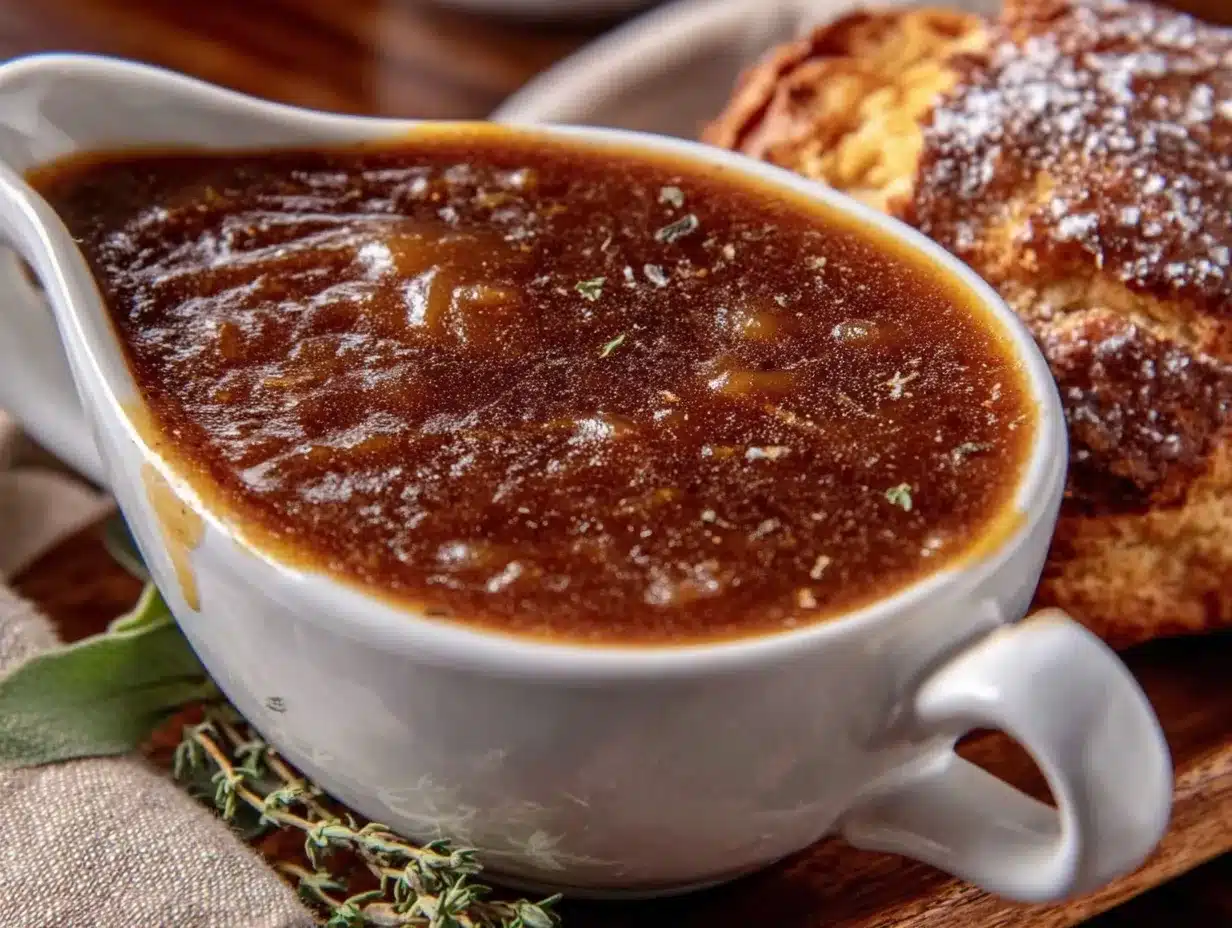
Alright, let’s get to it. This might look like a lot of steps, but trust me, it’s mostly hands-off time. The actual work is minimal.
- Roast the turkey parts and vegetables. Preheat your oven to 400°F (200°C). Place the turkey wings or drumsticks, quartered onion, chopped carrot, and chopped celery on your roasting pan. Drizzle with a little olive oil and toss to coat. Roast for 45 minutes to 1 hour, until the turkey is deeply browned and the vegetables are caramelized. The smell in your kitchen right now is incredible. Don’t rush this step—the deep color equals deep flavor.
- Make the stock. Transfer the roasted turkey and vegetables to your large pot. Pour about 1/2 cup of water into the hot roasting pan and scrape up all the browned bits from the bottom. Pour this liquid into the pot with the turkey and vegetables. Add the chicken stock, fresh thyme sprigs, bay leaves, and black pepper. Bring everything to a boil over medium-high heat.
- Simmer the stock. Once it’s boiling, reduce the heat to low and let it simmer gently for about 1 hour. You’ll see the liquid reduce slightly and the flavors concentrate. The stock should smell rich and savory. Skim off any foam that rises to the top with a spoon—it’s just impurities and will make your gravy cloudy.
- Strain the stock. Place your fine-mesh strainer over a large bowl or another pot. Carefully pour the stock through the strainer, catching all the solids. Discard the solids (or pick the meat off the turkey wings and save it for a snack—I won’t judge). You should have about 3 to 4 cups of rich, brown stock. Set it aside.
- Make the roux. In the same pot you used for the stock (rinse it out quickly), melt the butter over medium heat. Once it’s fully melted and bubbling, whisk in the flour. Keep whisking constantly for 2 to 3 minutes. The roux will turn a light golden color and smell a bit like toasted nuts. This is where the magic happens. Don’t let it burn—if it turns dark brown, start over.
- Whisk in the stock. Slowly pour your strained stock into the roux while whisking constantly. Start with a thin stream, then increase to a steady pour. Keep whisking the whole time to prevent lumps. The mixture will thicken almost immediately. If you’re using the optional sherry or white wine, add it now.
- Simmer the gravy. Bring the gravy to a gentle simmer and let it cook for 5 to 7 minutes, whisking occasionally. It will thicken further as it cooks. If it gets too thick, add a little more chicken stock or water to thin it out. Taste it and add salt as needed. Remember, you can always add more salt, but you can’t take it out.
- Cool and store. Remove the pot from the heat. Let the gravy cool completely at room temperature (about 30 minutes). Once cool, transfer it to an airtight container and refrigerate for up to 3 days, or freeze for up to 3 months.
Cooking Tips & Techniques
I’ve made this gravy more times than I can count, and I’ve learned a few things the hard way. Here are my best tips to make sure yours turns out perfect.
- Don’t skip the roasting step. I know it’s tempting to just use store-bought stock and skip the turkey parts. But roasting the meat and vegetables is what gives this gravy its deep, complex flavor. It’s the closest you’ll get to actual turkey drippings without roasting a whole bird.
- Low and slow is your friend. When you’re making the roux, keep the heat at medium or medium-low. High heat will burn the flour, and burnt flour tastes bitter. Patience pays off here.
- Whisk like you mean it. Lumps happen when you add liquid to a roux too quickly or stop whisking. Keep that whisk moving. If you do get lumps, don’t panic—just pour the gravy through your fine-mesh strainer at the end.
- Season at the end, not the beginning. Your stock might already have salt, and the turkey parts add their own saltiness. Always taste the finished gravy before adding more salt. I once ruined a batch by adding salt too early—it was practically a salt lick.
- Make extra and freeze it. This gravy freezes beautifully. I always double the recipe and freeze half in a zip-top bag. Then on a random Tuesday night, I can have amazing gravy with mashed potatoes without any effort. It’s my little secret.
Variations & Adaptations
This recipe is incredibly flexible. Here are a few ways to make it your own.
- Gluten-Free Version: Swap the all-purpose flour for a 1:1 gluten-free flour blend or cornstarch. If using cornstarch, mix 1/4 cup cornstarch with 1/4 cup cold water to make a slurry, then whisk it into the hot stock after you’ve made the roux.
- Vegan Version: Use vegetable stock and skip the turkey parts. Roast extra mushrooms (cremini or shiitake) with the vegetables for added umami. Use olive oil or vegan butter instead of regular butter.
- Herb-Infused Gravy: Add a sprig of fresh rosemary or sage along with the thyme. These earthy herbs pair beautifully with the rich gravy. Just remove them before straining.
- Mushroom Gravy: Sauté 8 ounces of sliced mushrooms in the pot before making the roux. Remove them, make the roux, then add them back in with the stock. This makes an incredible gravy for vegetarian meals or beef dishes.
- Spicy Kick: Add 1/4 teaspoon of cayenne pepper or a dash of hot sauce at the end. It doesn’t make the gravy spicy—it just adds a subtle warmth that wakes up your taste buds.
Serving & Storage Suggestions
This gravy is incredibly versatile. Here’s how to serve it and keep it at its best.
- Serving Temperature: Serve the gravy hot, straight from the pot. If you’ve made it ahead, reheat it gently on the stovetop over medium-low heat, whisking occasionally. Add a splash of stock or water if it’s too thick.
- What to Serve It With: Obviously, this is perfect for turkey. But don’t stop there. It’s amazing on mashed potatoes, roasted chicken, pork chops, or even a simple baked potato. I’ve used it as a sauce for meatloaf, and it was incredible.
- Refrigerator Storage: Store in an airtight container for up to 3 days. The flavors actually deepen and meld together overnight, so it might taste even better the next day.
- Freezer Storage: This gravy freezes like a dream. Let it cool completely, then pour it into a freezer-safe zip-top bag or container. Lay the bag flat in the freezer—it saves space and thaws faster. It will keep for up to 3 months.
- Reheating from Frozen: Thaw the gravy in the refrigerator overnight, then reheat on the stovetop. If you’re in a hurry, you can reheat it directly from frozen in a saucepan over low heat, whisking constantly. It might need a little extra stock to loosen it up.
Nutritional Information & Benefits
Let’s be honest—gravy isn’t health food. But it’s comfort food, and that has its own kind of value. Here’s a rough breakdown per serving (about 1/4 cup).
- Calories: Approximately 110-130 per serving
- Fat: 8-10 grams (mostly from butter)
- Carbohydrates: 6-8 grams
- Protein: 2-3 grams
- Sodium: 250-400 mg (varies based on stock and added salt)
The good news is that this gravy is made from real, whole ingredients. The butter provides a small amount of vitamin A, and the stock adds collagen and minerals from the turkey bones. If you make the vegan version, you’ll get additional fiber and antioxidants from the mushrooms and vegetables. Everything in moderation, right? A little gravy on your mashed potatoes is a beautiful thing.
Conclusion
This gravy has become a staple in my kitchen, and not just for Thanksgiving. I make it for Sunday roasts, for cozy weeknight dinners, and sometimes just because I’m craving something warm and comforting. It reminds me of my aunt’s kitchen, of that moment when I realized that the best recipes don’t come from fancy techniques or rare ingredients. They come from people who just know how to make something good.
I hope you give this recipe a try. Maybe you’ll make it for a holiday dinner, or maybe you’ll make it on a random Tuesday when you need a little comfort. Either way, I promise it will be worth it. And if you come up with your own twist—a different herb, a splash of wine, a secret ingredient—I’d love to hear about it. Drop a comment below and let me know how it turned out. Happy cooking, friends!
Frequently Asked Questions
Can I use store-bought chicken stock instead of making my own?
Absolutely. Use a good-quality, low-sodium chicken stock. I recommend Kitchen Basics or Swanson’s. The key is to avoid stock that’s too salty, because you’ll be reducing it and concentrating the flavor.
How far in advance can I make this gravy?
You can make it up to 3 days ahead and keep it in the refrigerator. It also freezes beautifully for up to 3 months. Just thaw it overnight in the fridge and reheat gently on the stovetop.
My gravy turned out lumpy. What did I do wrong?
Lumps usually happen when you add the stock to the roux too quickly or stop whisking. Don’t worry—just pour the finished gravy through a fine-mesh strainer to remove the lumps. It will be perfectly smooth.
Can I make this gravy without roasting the turkey parts?
You can, but you’ll lose a lot of flavor. The roasting step is what gives the gravy its deep, rich color and meaty taste. If you’re in a real pinch, use a high-quality turkey or chicken stock and add a splash of soy sauce or Worcestershire sauce for umami.
How do I thin out gravy that’s too thick?
Simply whisk in a little more chicken stock or water, a tablespoon at a time, until it reaches your desired consistency. Reheat it gently while you do this. If it’s too thin, let it simmer a few more minutes to reduce and thicken.
Pin This Recipe!
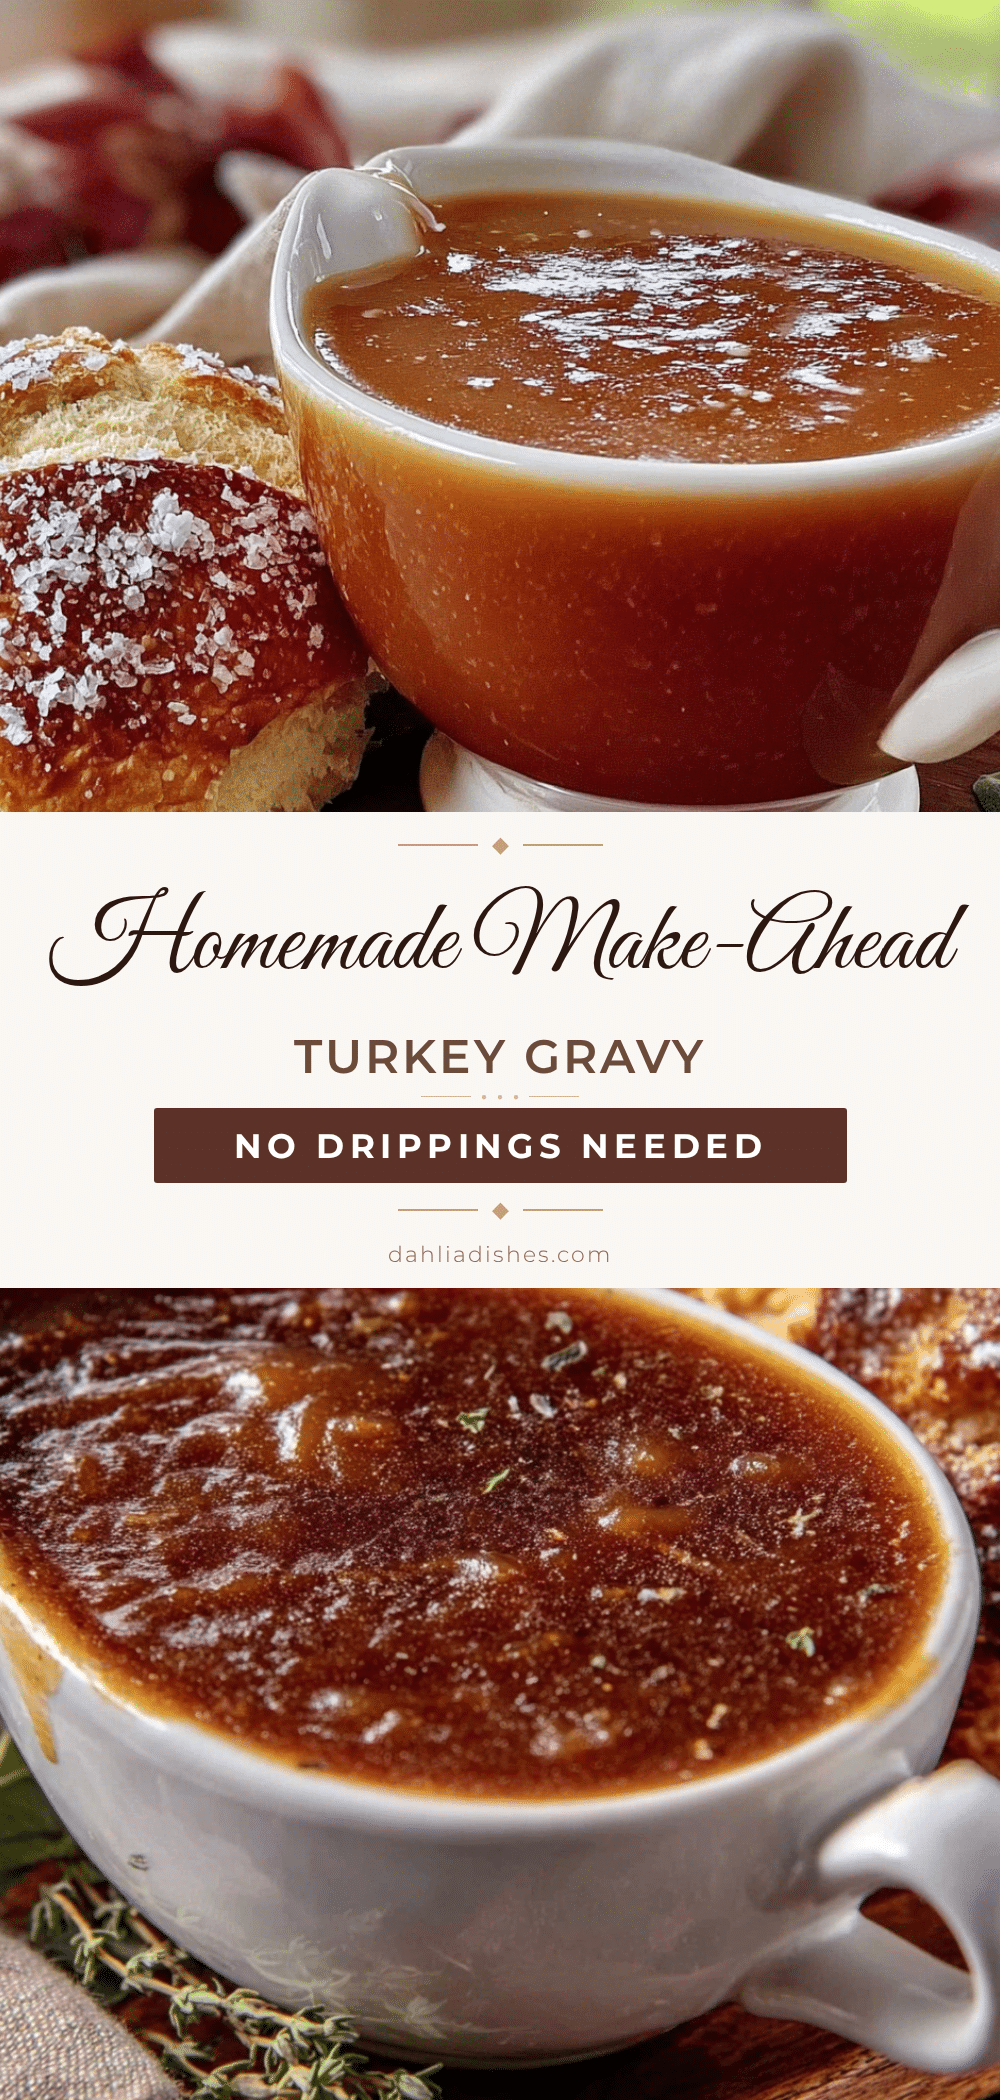
Easy Homemade Make-Ahead Turkey Gravy – No Drippings

This make-ahead turkey gravy is rich, smooth, and full of deep flavor, made without any turkey drippings. Perfect for stress-free holiday hosting, it can be prepared up to three days in advance.
- Prep Time: 20 minutes
- Cook Time: 1 hour 45 minutes
- Total Time: 2 hours 5 minutes
- Yield: 8 servings 1x
- Category: Sauce
- Cuisine: American
Ingredients
- 1/2 cup (1 stick) unsalted butter
- 1/2 cup all-purpose flour
- 4 cups (32 ounces) chicken stock, preferably low-sodium
- 1 to 2 pounds turkey wings or drumsticks (optional but recommended)
- 1 medium onion, quartered
- 1 large carrot, chopped into chunks
- 2 stalks celery, chopped
- 4 to 5 sprigs fresh thyme
- 2 bay leaves
- 1 teaspoon freshly ground black pepper
- Salt to taste
- 1/4 cup dry sherry or white wine (optional)
Instructions
- Preheat oven to 400°F (200°C). Place turkey wings or drumsticks, quartered onion, chopped carrot, and chopped celery on a roasting pan. Drizzle with olive oil and toss to coat. Roast for 45 minutes to 1 hour, until turkey is deeply browned and vegetables are caramelized.
- Transfer roasted turkey and vegetables to a large pot. Pour about 1/2 cup water into the hot roasting pan, scrape up browned bits, and add to the pot. Add chicken stock, fresh thyme sprigs, bay leaves, and black pepper. Bring to a boil over medium-high heat.
- Reduce heat to low and simmer gently for about 1 hour, skimming off any foam that rises. The liquid should reduce slightly and flavors concentrate.
- Strain the stock through a fine-mesh strainer into a large bowl or pot. Discard solids. You should have about 3 to 4 cups of rich stock. Set aside.
- In the same pot (rinsed), melt butter over medium heat. Whisk in flour and cook, whisking constantly, for 2 to 3 minutes until roux turns light golden and smells nutty.
- Slowly pour the strained stock into the roux while whisking constantly to prevent lumps. If using, add the sherry or white wine now.
- Bring gravy to a gentle simmer and cook for 5 to 7 minutes, whisking occasionally, until thickened. Add salt to taste.
- Remove from heat and let cool completely at room temperature (about 30 minutes). Transfer to an airtight container and refrigerate for up to 3 days, or freeze for up to 3 months.
Notes
For a gluten-free version, use a 1:1 gluten-free flour blend or cornstarch slurry. For a vegan version, use vegetable stock, skip turkey parts, and use olive oil or vegan butter. The gravy can be frozen for up to 3 months.
Nutrition
- Serving Size: 1/4 cup
- Calories: 120
- Sugar: 1
- Sodium: 325
- Fat: 9
- Saturated Fat: 5
- Carbohydrates: 7
- Protein: 2
Keywords: turkey gravy, make-ahead gravy, no drippings gravy, Thanksgiving gravy, homemade gravy


