Love this? Save it for later!
Share the inspiration with your friends
The office potluck was in 12 hours and I’d completely forgotten. Everyone else would be bringing their signature dishes—Linda’s famous seven-layer dip that she spends all morning on, Mark’s smoked brisket that he baby-sits for 18 hours, and probably some fancy charcuterie board from that new specialty shop downtown. I had a pound of breakfast sausage in the fridge, a block of cheddar, and a box of Bisquick that was probably collecting dust since last Christmas. Honestly, I almost just stopped for a deli platter on the way. But then I remembered my mom’s old trick for when she needed to bring something fast to a church function. She’d whip up these little cheddar sausage balls that somehow disappeared before anything else on the table. I mean, it was three ingredients. Three. How good could they possibly be?
So I threw them together in about fifteen minutes—mixing, rolling, baking—and showed up with a tray of these golden, slightly crispy-on-the-outside, tender-on-the-inside bites. Let me tell you, the panic was real as I walked in. But then people started grabbing them. And grabbing more. Someone asked for the recipe before the main dishes even came out. I actually felt kind of sheepish telling them it was just sausage, cheese, and baking mix. Like, surely this didn’t count as real cooking, right? But the tray was empty in twenty minutes. Linda’s seven-layer dip sat untouched for another hour. I’m not saying these little balls stole the show, but… okay, they totally stole the show.
That’s the thing about this recipe. It’s almost embarrassing how simple it is. But you know that feeling when something just works? When the combination of a few basic ingredients creates something way better than the sum of its parts? That’s these cheddar sausage balls. They’re salty, cheesy, a little bit savory, and incredibly addictive. I’ve been making them for every gathering since that potluck—game days, brunches, holiday parties, you name it. And every single time, someone asks for the recipe. Now I just smile and say, “You’re not going to believe how easy it is.”
Why You’ll Love This Recipe
Let’s be real for a second. Weeknights are chaos. You’re tired, the clock is ticking, and you still need to get food on the table or bring something to an event. These cheddar sausage balls are basically the superhero of last-minute recipes. Here’s why they work so well:
- Quick & Easy: From start to finish, we’re talking about 25 minutes. Mix, roll, bake, done. That’s faster than ordering takeout in some neighborhoods.
- Simple Ingredients: Three ingredients. That’s it. You probably already have the baking mix in your pantry, and sausage and cheese are fridge staples for most of us. No fancy grocery runs required.
- Perfect for Any Occasion: Game day snack? Check. Holiday appetizer? Check. Breakfast on the go? Absolutely. Potluck hero? You already know the answer.
- Crowd-Pleaser: Kids love them. Adults devour them. I’ve never seen anyone take one bite and not reach for another. They’re just that good.
- Unbelievably Delicious: The texture is what gets me every time. Crispy golden edges, soft and tender inside, with that salty, cheesy, savory flavor that hits every craving.
What makes these different from other sausage ball recipes? It’s the ratio, honestly. I’ve tested versions with more cheese, less baking mix, different sausage types. This specific combination gives you the perfect texture—not too dense, not too crumbly. They hold together beautifully but still feel light. And because the cheese melts and gets slightly crispy on the outside, you get this amazing contrast in every bite.
This recipe isn’t just good—it’s the kind that makes you close your eyes after the first bite. It’s comfort food at its most honest: no pretension, no fuss, just pure satisfaction. Perfect for impressing guests without breaking a sweat, or turning a regular Tuesday night into something a little more special.
What Ingredients You Will Need
This recipe uses three humble ingredients to create something genuinely delicious. No complicated shopping list, no obscure spices—just pantry staples that come together beautifully.
- 1 pound ground breakfast sausage (I recommend Jimmy Dean regular or mild for best flavor—the seasoning is perfect for these. You can use hot sausage for a spicy kick, but the original is classic for a reason.)
- 2 cups shredded sharp cheddar cheese (Sharp gives you the most flavor, but medium cheddar works too. Pre-shredded is fine in a pinch, but freshly shredded melts better and gives you a creamier texture. I’ve used both and honestly, the pre-shredded works okay—just know it might be a tiny bit drier.)
- 1 ½ cups baking mix (Bisquick is the classic choice. The generic store brand works perfectly too—I’ve tested it. This is what gives the balls their structure and that slightly fluffy texture.)
Optional add-ins (not required, but nice touches):
- ¼ teaspoon garlic powder (adds a subtle savory depth)
- ¼ teaspoon onion powder (rounds out the flavor nicely)
- Pinch of black pepper (if you want a little extra kick)
- Fresh chopped parsley for garnish (makes them look pretty on a platter)
The beauty of this recipe is its simplicity. You don’t need anything beyond the three main ingredients. The sausage already has salt and spices, the cheese brings richness and saltiness, and the baking mix provides the perfect structure. It’s a formula that works.
One thing I’ve learned through trial and error: don’t use low-fat or turkey sausage. They release too much moisture and the balls can turn out greasy and fall apart. Stick with regular pork breakfast sausage for the best results. And if you can, buy a block of cheddar and shred it yourself. It takes two extra minutes and makes a noticeable difference in how the cheese melts into the mixture.
For a gluten-free version, use a gluten-free baking mix like Bob’s Red Mill. I’ve tested it and it works beautifully—just follow the same measurements. The texture is slightly different, but still delicious.
Equipment Needed
You don’t need a fancy kitchen to make these cheddar sausage balls. Here’s what you’ll need:
- Large mixing bowl (Any bowl works—I use a stainless steel one because it’s easy to clean. Glass or ceramic is fine too.)
- Measuring cups (For the baking mix and cheese. If you’re using pre-shredded cheese, you can eyeball it, but measuring gives you consistent results.)
- Baking sheet (A standard half-sheet pan works great. Line it with parchment paper for easy cleanup—trust me, you’ll thank yourself later.)
- Cookie scoop or tablespoon (For uniform balls. A cookie scoop makes this step so much faster and gives you evenly sized balls that cook at the same rate. But your hands work perfectly fine too.)
- Spatula (For transferring the baked balls to a serving platter.)
- Optional: Stand mixer or hand mixer (You can mix everything by hand with a sturdy spoon. I do it by hand most of the time because it’s faster and I don’t want to wash extra dishes. But if you have arthritis or just want to save a little effort, a mixer works.)
That’s really it. No food processor, no special pans, no gadgets. This is the kind of recipe that proves you don’t need expensive equipment to make something amazing.
Preparation Method
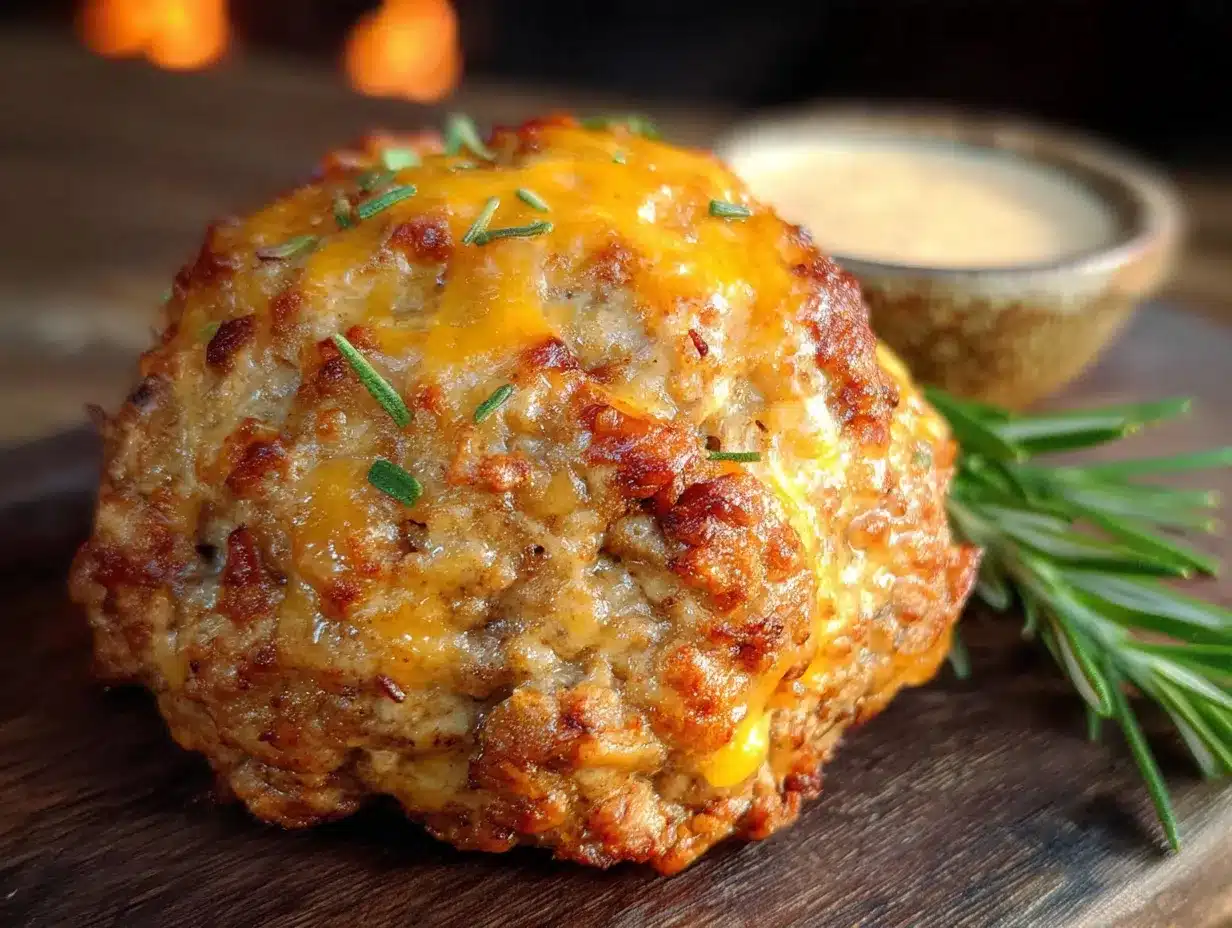
Alright, let’s get cooking. This is so simple you’ll barely believe it works, but trust the process.
- Preheat your oven to 375°F (190°C). Line a baking sheet with parchment paper. This makes cleanup almost nonexistent, which is honestly my favorite part.
- Combine the ingredients. In a large bowl, add the 1 pound of breakfast sausage, 2 cups of shredded sharp cheddar cheese, and 1 ½ cups of baking mix. If you’re adding garlic powder, onion powder, or black pepper, throw those in now too. Use your hands to mix everything together—I know it’s a little messy, but your hands work best here. The heat of your fingers helps the fat in the sausage soften and combine with the baking mix. Mix until everything is evenly distributed and the mixture holds together when pressed. It should look like a slightly crumbly but cohesive dough. Don’t overmix, or the balls can get tough.
- Shape the balls. Using a cookie scoop or your hands, form the mixture into 1-inch balls. You should get about 24 to 30 balls, depending on size. Place them on the prepared baking sheet, spacing them about 1 inch apart. They don’t spread much, so you can fit them pretty close together. I usually fit about 20 on a standard sheet and bake in two batches if needed.
- Bake. Pop the baking sheet into the preheated oven and bake for 18 to 22 minutes. At the 15-minute mark, check on them. You want them golden brown on the outside and cooked through. The internal temperature should reach 160°F (71°C) if you want to be precise. The cheese will be bubbly and the edges will look crispy. If you like them extra crispy, leave them in for another 2 minutes, but watch closely so they don’t burn.
- Cool slightly. Let the sausage balls rest on the baking sheet for 2 to 3 minutes. This helps them set and makes them easier to move without falling apart. Then transfer them to a serving platter or wire rack.
- Serve warm. These are best served warm, when the cheese is still melty and the edges are crispy. But honestly, they’re pretty great at room temperature too—which is why they disappear so fast at parties.
Pro tip from someone who’s made these way too many times: If the mixture feels too dry and crumbly, add a tablespoon of milk or water. If it feels too wet and sticky, add a little more baking mix. The humidity in your kitchen and the fat content of your sausage can affect the texture. Don’t stress—just adjust as you go.
The first time I made these, I used hot sausage because that’s what I had. They turned out amazing, but my kids couldn’t eat them. Now I stick with mild and add a pinch of cayenne to the batch when I want heat. Lesson learned: know your audience!
Cooking Tips & Techniques
After making these cheddar sausage balls more times than I can count, I’ve picked up a few tricks that make a real difference. Let me share what I’ve learned the hard way so you don’t have to.
Don’t overmix the dough. This is the number one mistake I see. When you overmix, the gluten in the baking mix develops too much, and your sausage balls turn out tough and dense instead of light and tender. Mix just until everything comes together. A few streaks of baking mix are fine—they’ll disappear as you shape the balls.
Use cold cheese. Shred your cheese straight from the fridge. Cold cheese incorporates better into the sausage mixture without melting prematurely. If your cheese is too warm, it can make the dough greasy and the balls might spread too much during baking.
Wet your hands slightly. If the mixture is sticking to your hands while shaping the balls, lightly dampen your palms with water. This prevents sticking without adding extra flour or baking mix that could dry out the dough.
Make them uniform. Using a cookie scoop ensures all your balls are the same size, which means they’ll cook evenly. Nothing worse than some balls being overcooked while others are still raw in the middle. If you don’t have a scoop, just try to keep them roughly the same size.
Don’t crowd the pan. Leave at least an inch of space between each ball. They need room for hot air to circulate so they brown evenly. If you cram them together, they’ll steam instead of crisp up.
Check for doneness. The biggest mistake? Underbaking. Sausage needs to reach 160°F internally. If you’re unsure, cut one open—it should be browned all the way through, not pink. Better to bake a couple extra minutes than serve undercooked sausage.
Let them rest. I know it’s tempting to grab one right out of the oven, but letting them rest for a few minutes makes a huge difference. They hold together better and the flavors settle. Plus, you won’t burn your mouth!
One time I forgot to add the baking mix entirely. I just mixed sausage and cheese, shaped them into balls, and baked. They turned into greasy little pucks. It was a sad day. So yes, the baking mix matters—it’s the structure that holds everything together.
Variations & Adaptations
One of the best things about this recipe is how customizable it is. Here are some variations I’ve tried and loved:
- Spicy Sausage Balls: Use hot breakfast sausage instead of mild. Or add ½ teaspoon of red pepper flakes and a pinch of cayenne to the mixture. These are perfect for game day if you like heat.
- Cheese Swaps: Try pepper jack for a spicy, melty twist. Or use a mix of cheddar and mozzarella for extra stretchiness. Smoked gouda gives them a deeper, almost barbecue-like flavor that’s incredible.
- Herb & Garlic Version: Add 1 teaspoon of dried rosemary or thyme and an extra clove of minced garlic. This gives them a more sophisticated, almost dinner-party vibe.
- Gluten-Free Adaptation: Use a gluten-free baking mix like Bob’s Red Mill. The texture is slightly more delicate, but they still taste amazing. Just handle them gently when shaping.
- Breakfast Sausage Balls: Add 2 tablespoons of maple syrup to the mixture for a sweet-savory combo. Serve them alongside scrambled eggs for a breakfast that feels fancy but takes 20 minutes.
- Keto-Friendly Option: Replace the baking mix with ½ cup almond flour and ½ cup grated parmesan. They won’t be as fluffy, but they’ll be low-carb and still delicious.
My personal favorite variation? I add a little bit of finely diced jalapeño and use pepper jack cheese. The heat builds slowly and the cheese gets all stretchy. It’s dangerous how many I can eat in one sitting.
Serving & Storage Suggestions
These cheddar sausage balls are incredibly versatile when it comes to serving. Here’s how to make the most of them:
Serving Temperature: Serve them warm for the best texture—crispy outside, soft inside. But they’re also fantastic at room temperature, which makes them perfect for buffets and potlucks. I’ve even eaten them cold straight from the fridge and still enjoyed them.
Dipping Sauces: These are fantastic on their own, but a good dip takes them to another level. Try them with honey mustard, ranch dressing, spicy mayo, or even a simple sriracha ketchup. For breakfast, maple syrup is a surprisingly good pairing.
What to Serve With: They’re great alongside scrambled eggs and fresh fruit for breakfast. For a party, pair them with veggie sticks, a cheese board, and some crackers. They also work beautifully as a side dish with soup or chili.
Storage: Store leftover sausage balls in an airtight container in the refrigerator for up to 4 days. They’ll lose some of their crispiness, but the flavor stays great.
Freezing: These freeze like a dream. Place the baked and cooled balls on a baking sheet and freeze until solid, then transfer to a freezer bag. They’ll keep for up to 3 months. To reheat, pop them in a 350°F oven for 10 minutes, or microwave for 30 seconds. You can also freeze the unbaked balls—just shape them, freeze on a sheet, then transfer to a bag. Bake from frozen, adding 5 minutes to the cooking time.
Reheating: The oven is best for restoring crispiness. Bake at 350°F for 5-7 minutes. The microwave works in a pinch but the texture gets softer. If you’re in a hurry, an air fryer at 350°F for 3-4 minutes works beautifully.
One thing I love about these is that the flavors actually meld and deepen after a day in the fridge. So if you’re making them for a party, feel free to bake them a day ahead and reheat just before serving. Nobody will know the difference.
Nutritional Information & Benefits
Let’s be honest—these cheddar sausage balls aren’t health food. But they’re made with real ingredients, and that counts for something. Here’s a rough estimate per ball (based on 24 balls):
- Calories: Approximately 120-140
- Protein: 7-8g
- Fat: 9-10g
- Carbohydrates: 5-6g
- Calcium: About 10% of your daily needs (thanks to the cheddar)
Dietary Considerations: This recipe contains gluten (from the baking mix) and dairy (from the cheese). For a gluten-free version, use a gluten-free baking mix. For a dairy-free version, try using dairy-free cheese shreds—they won’t melt exactly the same, but the flavor will still be good.
Potential Allergens: Wheat, dairy. Always check your sausage label for any additional allergens.
Healthier Twist: You can reduce the fat slightly by using turkey breakfast sausage and reduced-fat cheddar. The texture will be a bit drier, but they’re still tasty. I’ve made this swap for a friend who was watching her calories and she loved them.
Look, I’m not going to pretend these are a superfood. But they’re made from simple ingredients with no weird additives or preservatives. And honestly, sometimes you need a little indulgence. These are worth every bite.
Conclusion
These 3-ingredient cheddar sausage balls are proof that you don’t need a complicated recipe to make something truly special. They’re quick enough for a frantic weeknight, impressive enough for a party, and simple enough that anyone can make them—even on zero sleep and a prayer.
I love that this recipe has saved me more times than I can count. From forgotten potlucks to last-minute guests to mornings when I just need something warm and satisfying, these little balls have never let me down. They’re the kind of recipe that feels like a secret weapon, except now you know the secret too.
Don’t be afraid to make them your own. Add some spice, swap the cheese, experiment with different sausages. The basic formula is forgiving and flexible. And when you bring a tray of these to your next gathering, watch how fast they disappear. I promise you’ll feel like a hero—even if it only took you 25 minutes.
So go ahead, give them a try. And when someone asks for the recipe (they will), just smile and say, “You’re not going to believe how easy it is.” Then send them my way!
Have you made these? I’d love to hear how they turned out. Drop a comment below and let me know your favorite variation. And if you’re looking for more quick and easy appetizers, check out my crispy garlic chicken recipe for another weeknight winner.
Frequently Asked Questions
Can I make these ahead of time?
Absolutely! You can prepare the mixture, shape the balls, and refrigerate them unbaked for up to 24 hours. Just bake them right before serving. Or bake them fully, cool, and reheat in the oven at 350°F for 5-7 minutes.
Why did my sausage balls turn out greasy?
This usually happens if you used a very high-fat sausage or if the cheese was too warm when mixing. Try using regular breakfast sausage (not the super fatty kind) and make sure your cheese is cold. Also, don’t overmix, as that can break down the fat too much.
Can I use a different meat instead of sausage?
Yes! Ground pork, ground turkey, or even ground beef work in a pinch. Just know that the flavor will be different since breakfast sausage has specific seasonings. You might want to add some sage, thyme, or red pepper flakes to mimic that classic sausage taste.
How do I make these in an air fryer?
Preheat your air fryer to 375°F. Place the sausage balls in a single layer in the basket (don’t overcrowd). Cook for 10-12 minutes, shaking the basket halfway through. They’ll be extra crispy on the outside and perfectly cooked inside.
Can I double this recipe?
Yes, it doubles beautifully. Just make sure you have a large enough bowl to mix everything. You may need to bake in batches depending on your oven and baking sheet size. The cooking time stays the same.
Pin This Recipe!
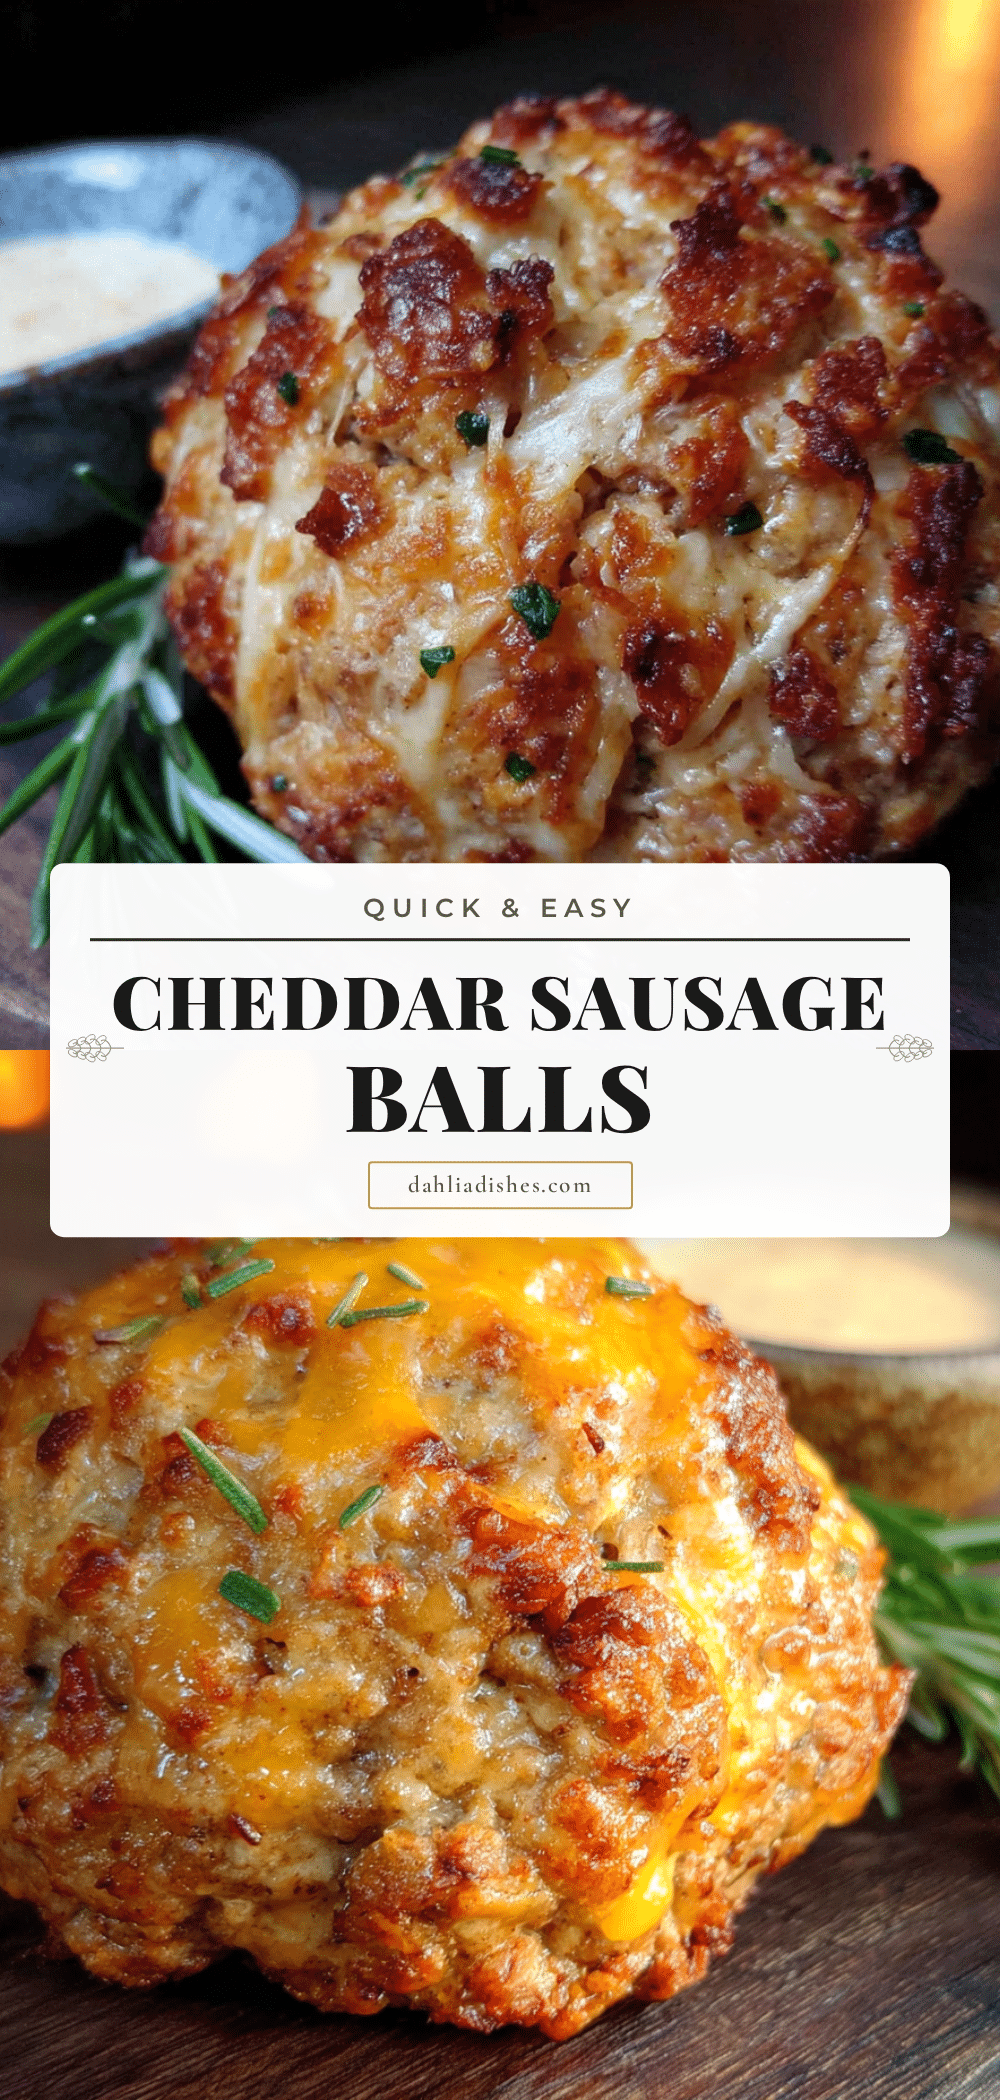
Easy 3-Ingredient Cheddar Sausage Balls Recipe

These 3-ingredient cheddar sausage balls are quick, easy, and perfect for any occasion. Made with breakfast sausage, sharp cheddar cheese, and baking mix, they’re golden, crispy on the outside, and tender on the inside—a crowd-pleasing appetizer or snack ready in just 25 minutes.
- Prep Time: 15 minutes
- Cook Time: 20 minutes
- Total Time: 35 minutes
- Yield: 24 to 30 balls (about 6 servings) 1x
- Category: Appetizer
- Cuisine: American
Ingredients
- 1 pound ground breakfast sausage (recommended: Jimmy Dean regular or mild)
- 2 cups shredded sharp cheddar cheese
- 1 ½ cups baking mix (e.g., Bisquick)
- ¼ teaspoon garlic powder (optional)
- ¼ teaspoon onion powder (optional)
- Pinch of black pepper (optional)
- Fresh chopped parsley for garnish (optional)
Instructions
- Preheat your oven to 375°F (190°C). Line a baking sheet with parchment paper.
- In a large bowl, combine the breakfast sausage, shredded cheddar cheese, and baking mix. Add optional garlic powder, onion powder, and black pepper if desired. Mix with your hands until evenly distributed and the mixture holds together when pressed. Do not overmix.
- Using a cookie scoop or your hands, shape the mixture into 1-inch balls. You should get about 24 to 30 balls. Place them on the prepared baking sheet, spacing them about 1 inch apart.
- Bake for 18 to 22 minutes, until golden brown on the outside and cooked through. The internal temperature should reach 160°F (71°C). For extra crispiness, bake for an additional 2 minutes, watching closely.
- Let the sausage balls rest on the baking sheet for 2 to 3 minutes before transferring to a serving platter or wire rack.
- Serve warm. They are also delicious at room temperature.
Notes
For best results, use regular pork breakfast sausage (not low-fat or turkey) and cold cheese shredded from a block. If the mixture feels too dry, add a tablespoon of milk or water; if too wet, add a little more baking mix. To freeze, bake and cool completely, then freeze in a single layer on a baking sheet before transferring to a freezer bag. Reheat in a 350°F oven for 10 minutes or microwave for 30 seconds.
Nutrition
- Serving Size: 4 to 5 balls
- Calories: 130
- Sugar: 1
- Sodium: 350
- Fat: 9.5
- Saturated Fat: 4
- Carbohydrates: 5.5
- Protein: 7.5
Keywords: sausage balls, cheddar sausage balls, 3-ingredient appetizer, easy appetizer, game day snack, potluck recipe, breakfast sausage balls


