Love this? Save it for later!
Share the inspiration with your friends
There used to be a tiny gastropub on the corner of 7th and Elm called The Copper Mug that made the most addictive honey-roasted pumpkin seeds I have ever tasted. When they closed their doors two winters ago—a rent hike, the rumor went—I genuinely mourned them. Not the place itself, though it had nice lighting. I mourned those seeds. They sat in little ceramic bowls on every table, glistening like tiny amber jewels, and I’d eat three servings before my burger even arrived.
After seventeen tries—seventeen, let me tell you, some of them truly sad and burnt—I finally cracked it. The secret, I discovered, wasn’t just the honey or the heat. It was a moment of panic when I realized I’d run out of parchment paper and had to use a silicone mat instead. That happy accident changed everything. The seeds roasted more evenly, the honey caramelized without burning, and the texture became this impossible thing—crispy on the outside, with a tiny pop when you bite down.
Honestly, I almost didn’t share this recipe. It felt like my little secret, my personal recreation of a lost flavor. But then I brought a bowl to a friend’s Halloween party, and someone actually asked me if I had catered them. A stranger. At a party. That’s the moment I knew I had to write this down. Maybe you’ve been there, chasing a taste from a place that no longer exists. This is that recipe for me. And now, hopefully, for you too.
Why You’ll Love This Recipe
Let’s be real—most pumpkin seed recipes are either too salty, too bland, or they turn into chewy little disappointments. Not these. These crispy honey roasted pumpkin seeds are the snack that disappears before the main course even hits the table. I’ve tested this recipe at four different gatherings now, and every single time, someone asks for the recipe before they’ve finished their first handful.
- Quick & Easy : From pumpkin to party bowl in under 45 minutes. Most of that time is just the oven working.
- Simple Ingredients : You probably have everything in your kitchen right now. Honey, butter, salt, and pumpkin seeds. That’s it.
- Perfect for Hosting : Make them ahead, store them in a jar, and pull them out when guests arrive. Zero last-minute stress.
- Crowd-Pleaser : I’ve watched kids pick these over candy. Adults fight over the last handful. It’s almost embarrassing.
- Unbelievably Delicious : The honey caramelizes into a thin, glass-like coating that shatters when you bite. The seed inside stays crunchy. It’s texture heaven.
What makes this recipe different from all the others? It’s the two-step roasting method. Most recipes just toss everything together and hope for the best. I separate the process—dry roast first to remove moisture, then coat and finish. This gives you that impossibly crisp texture without any chewiness. Plus, I use a specific honey-to-butter ratio that I tweaked over those seventeen attempts. It’s not too sweet, not too savory. It’s just right.
This isn’t just another pumpkin seed recipe. This is the one that makes you close your eyes after the first bite. It’s the snack that turns a simple gathering into something memorable. And honestly, it makes you look like a kitchen wizard with almost no effort.
What Ingredients You Will Need
This recipe uses simple, everyday ingredients to create something genuinely special. No obscure spices, no specialty stores. Just pantry staples that work together beautifully.
- Fresh pumpkin seeds – 2 cups, cleaned and patted completely dry. If you’re carving a pumpkin, save these! Otherwise, store-bought raw, hulled pumpkin seeds (pepitas) work perfectly. Just make sure they’re raw, not roasted or salted.
- Honey – 3 tablespoons. Use a good quality honey here—it’s the star. I prefer a mild wildflower honey, but any liquid honey works. Avoid creamed honey or honey that’s crystallized (it won’t coat evenly).
- Unsalted butter – 2 tablespoons, melted. Salted butter works in a pinch, but reduce the added salt later. The butter helps the honey spread and adds richness.
- Sea salt – ½ teaspoon, plus more for finishing. I use flaky sea salt for the final sprinkle—it adds little bursts of saltiness that contrast beautifully with the sweet coating.
- Cinnamon – ¼ teaspoon (optional but recommended). This adds warmth without being obvious. Nobody will say “this tastes like cinnamon,” but they’ll notice something cozy is happening.
- Vanilla extract – ½ teaspoon. Trust me on this one. It deepens the honey flavor and adds a subtle floral note. I learned this from a pastry chef friend, and it’s non-negotiable now.
Ingredient Selection Tips: Look for pumpkin seeds that are uniform in size for even roasting. If you’re using seeds from a fresh pumpkin, rinse them thoroughly in a colander to remove the stringy pulp, then spread them on a kitchen towel and pat them completely dry. Any moisture left on the seeds will steam them instead of roasting them, and you’ll lose that crispy texture.
Substitution Guidance: For a vegan version, use coconut oil instead of butter and maple syrup instead of honey. The flavor changes slightly—more coconutty, more earthy—but the texture stays just as crispy. If you’re avoiding sugar, you can try using a sugar-free honey substitute, but I haven’t tested that myself, so proceed with caution.
Equipment Needed
You don’t need fancy equipment for this recipe. That’s part of the beauty. But having the right tools makes the process smoother and the results more consistent.
- Baking sheet – A rimmed baking sheet is essential. The rim catches any honey-butter mixture that might bubble over. I use a half-sheet pan (18×13 inches) for even spacing.
- Silicone baking mat or parchment paper – Silicone mats are my preference now (remember my happy accident?). They prevent sticking better than parchment and are reusable. If using parchment, go for the unbleached kind.
- Large bowl – For mixing the seeds with the coating. A glass or stainless steel bowl works best.
- Spatula – A silicone spatula for scraping every last bit of honey mixture onto the seeds. Waste not, want not.
- Colander – For rinsing fresh pumpkin seeds. A fine-mesh colander is ideal so tiny seeds don’t escape.
- Kitchen towels – For drying the seeds thoroughly. Paper towels work too, but cloth is more eco-friendly.
- Airtight container – For storing the finished seeds. A glass jar with a tight lid keeps them crispy for up to two weeks.
Budget-Friendly Tip: If you don’t have a silicone mat, use parchment paper. If you don’t have parchment, lightly grease your baking sheet with butter. Just watch them closely—they’ll stick a bit more, and you’ll need to loosen them while they’re still warm.
Preparation Method
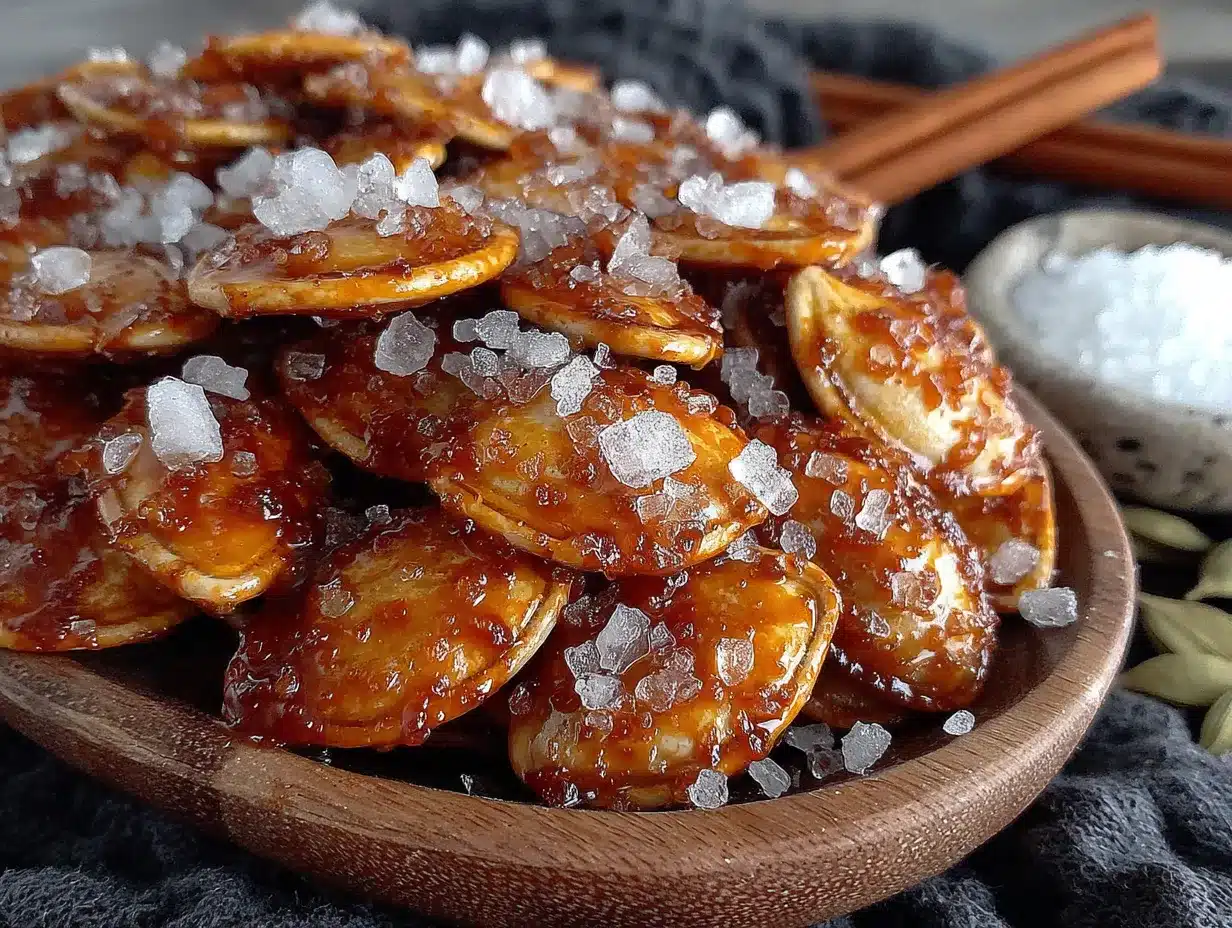
Follow these steps carefully, and you’ll have the crispiest, most addictive pumpkin seeds of your life. I’ve included sensory cues at each stage so you know exactly what to look for.
- Preheat your oven to 325°F (163°C). Line a rimmed baking sheet with a silicone mat or parchment paper. Getting the temperature right is crucial—too hot and the honey burns, too cool and the seeds never get crispy.
- Prepare the pumpkin seeds. If using fresh pumpkin seeds, rinse them in a colander under cold water, removing any stringy pumpkin flesh. Spread them on a clean kitchen towel and pat them completely dry. This step is more important than you think—wet seeds steam instead of roast. If using store-bought raw pepitas, skip this step.
- Dry roast the seeds first. Spread the clean, dry seeds in a single layer on the prepared baking sheet. Roast for 10 minutes, stirring halfway through. They should look slightly dry and feel warm to the touch. They won’t be golden yet—that’s fine. This step removes internal moisture, which is the secret to ultimate crispiness.
- Make the honey butter coating. While the seeds are dry-roasting, combine the melted butter, honey, vanilla extract, cinnamon (if using), and ½ teaspoon of sea salt in a small bowl. Whisk until smooth. The mixture should be liquid and glossy. If your honey is thick, warm it slightly in the microwave for 10 seconds.
- Coat the seeds. Remove the seeds from the oven and transfer them to a large bowl. Pour the honey butter mixture over the warm seeds. Stir with a spatula until every seed is coated. The warmth of the seeds helps the coating spread more evenly. You’ll see the seeds glistening—that’s what you want.
- Spread and roast again. Return the coated seeds to the baking sheet, spreading them in a single layer. Try to keep them from clumping together, but don’t stress about it too much—some clusters are delicious. Roast for 12-15 minutes, stirring every 5 minutes. Watch them carefully in the last few minutes. The honey can go from golden to burnt very quickly.
- Look for the color change. The seeds are done when they’re a deep golden brown and the coating looks bubbly and caramelized. You’ll smell a toasty, sweet aroma filling your kitchen. If you see any dark brown spots, pull them out immediately—those spots mean the honey is starting to burn.
- Cool completely. Remove the baking sheet from the oven and let the seeds cool on the sheet for 10 minutes. As they cool, the honey coating will harden into a crisp shell. Don’t touch them yet—they’re dangerously hot and the coating is still soft. After 10 minutes, use a spatula to loosen them from the mat. They should release easily if you used a silicone mat or parchment.
- Final salt sprinkle. While the seeds are still slightly warm, sprinkle a pinch of flaky sea salt over the top. This final touch makes a huge difference—it balances the sweetness and adds that professional touch.
- Break apart any clusters. Once completely cool, break apart any large clusters with your fingers. Some small clusters are fine—they’re actually great for snacking. Transfer to an airtight container.
Cooking Tips & Techniques
I learned most of these the hard way. Burnt honey, soggy seeds, and one particularly memorable batch that turned into a single, solid, candy-like sheet. Let me save you the trouble.
The biggest mistake people make is skipping the dry roast. I did it too, the first few times. I thought, “Why bother? The honey coating will crisp them up.” No. It won’t. The dry roast removes moisture from the seeds themselves. Without it, you get chewy seeds with a crispy coating—a sad, disappointing texture mismatch. Dry roast first. Always.
Watch the temperature like a hawk. My oven runs hot, so I actually set it to 315°F (157°C) and watch carefully. Every oven is different. If yours tends to burn things, drop the temperature by 10-15 degrees and roast a few minutes longer. The honey caramelizes at a specific temperature range, and going over that means burnt, bitter seeds.
Stirring is non-negotiable. Set a timer for every 5 minutes and stir those seeds. The honey coating pools in the center of the pan, and without stirring, the seeds on the edges burn while the ones in the middle stay undercooked. I learned this when I got distracted by a phone call and ended up with half a batch of charcoal.
Cooling is part of the cooking process. The seeds continue to crisp as they cool. Don’t rush this. Don’t put them in the fridge to speed things up—the condensation will make them soggy. Let them sit at room temperature, undisturbed, for at least 20 minutes. The patience pays off.
Double batch strategy for parties: If you’re making these for a gathering, make a double batch. I’m not joking. A single batch disappears in minutes. I once made three batches for a game night, and they were gone before halftime. People can’t stop eating them.
Variations & Adaptations
Once you’ve mastered the basic recipe, feel free to play around. Here are some variations I’ve tested and loved.
Spicy Honey Seeds – Add ½ teaspoon of cayenne pepper and ¼ teaspoon of smoked paprika to the honey butter mixture. The heat builds slowly and pairs beautifully with the sweet coating. I made these for a football party, and they were the first thing to go. My friend Mark said they were “dangerously addictive,” which I took as a compliment.
Maple Brown Sugar Version – Replace the honey with 3 tablespoons of maple syrup and add 1 tablespoon of packed brown sugar. The brown sugar adds a deeper, more complex sweetness. This version is especially good in the fall, when maple flavors feel right. I made this version for Thanksgiving last year, and my aunt asked me to bring them every year now.
Savory Herb Option – Skip the honey and vanilla entirely. Instead, toss the dry-roasted seeds with 2 tablespoons of melted butter, ½ teaspoon of garlic powder, ½ teaspoon of onion powder, ½ teaspoon of dried rosemary, and salt. Roast as directed. These are fantastic on salads or just as a savory snack with cocktails.
Vegan Adaptation – Use coconut oil instead of butter and maple syrup instead of honey. The coconut oil adds a subtle tropical note that works surprisingly well. I tested this for a vegan friend’s birthday party, and honestly, I might like it as much as the original.
Air Fryer Method – If you’re short on time, you can make these in an air fryer. Dry roast the seeds at 300°F (149°C) for 5 minutes, then toss with the coating and air fry at 300°F for another 5-7 minutes, shaking halfway through. Watch them closely—air fryers run hot and honey burns fast.
Serving & Storage Suggestions
These seeds are incredibly versatile. Here’s how to serve and store them for maximum enjoyment.
Serving Temperature: Serve at room temperature. The coating is at its crispiest when completely cooled. If you’ve stored them, let them sit out for 10 minutes before serving to take the chill off.
Presentation Ideas: For parties, I serve them in a wide, shallow bowl—something ceramic or wooden feels right. Sprinkle a little extra flaky salt on top just before serving for that fresh, professional look. For individual servings, small paper cones or ramekins work beautifully. I once served them in mini mason jars tied with twine for a fall wedding shower, and people went crazy for them.
What to Serve Alongside: These seeds pair beautifully with cheese boards—especially sharp cheddar or creamy brie. They’re also fantastic on salads (try them on a spinach salad with goat cheese and dried cranberries), sprinkled over roasted butternut squash soup, or just eaten by the handful straight from the bowl.
Storage Instructions: Store in an airtight container at room temperature for up to 2 weeks. Do not refrigerate—the humidity will soften the coating. If they lose their crispness, spread them on a baking sheet and reheat at 300°F (149°C) for 5 minutes. Let them cool completely before storing again.
Flavor Development: Interestingly, these seeds taste even better the next day. The flavors meld together, and the honey coating sets completely. I actually prefer making them a day before a party. Just store them in an airtight container and they’re perfect.
Nutritional Information & Benefits
While these are definitely a treat, they also pack some surprising nutritional benefits.
| Nutrient | Amount Per Serving (¼ cup) |
|---|---|
| Calories | 185 |
| Total Fat | 14g |
| Saturated Fat | 4g |
| Carbohydrates | 12g |
| Fiber | 2g |
| Sugar | 8g |
| Protein | 7g |
| Sodium | 180mg |
Health Benefits: Pumpkin seeds are actually nutritional powerhouses. They’re rich in magnesium, zinc, and healthy fats. Magnesium supports muscle function and sleep quality—perfect for a post-dinner snack. Zinc is great for immune health, especially during cold season. The protein and fiber content helps keep you full, so you’re less likely to overindulge (though honestly, these are hard to resist).
Dietary Considerations: This recipe is naturally gluten-free and nut-free. For a lower-sugar version, reduce the honey to 2 tablespoons—the seeds will still be delicious, just less sweet. For a dairy-free option, use coconut oil instead of butter as mentioned in the variations section.
Potential Allergens: This recipe contains dairy (butter) and honey (not suitable for infants under 1 year). Always check your pumpkin seed packaging for potential cross-contamination if serving to someone with severe allergies.
Conclusion
These crispy honey roasted pumpkin seeds are more than just a snack. They’re the recipe that brings people together, that makes a party feel special, that turns a simple bowl of seeds into the thing everyone talks about on the way home. I’ve made them for Halloween parties, Thanksgiving dinners, casual game nights, and even as homemade holiday gifts. Every single time, they deliver.
The best part? You can make them your own. Add more cinnamon, skip the vanilla, throw in some cayenne—the base recipe is forgiving and adaptable. That’s what I love about cooking. A recipe is just a starting point. Your kitchen, your taste, your twist.
I’d love to hear how these turn out for you. Did you try a variation? Did they disappear at your party? Drop a comment below and let me know. And if you’re looking for another crowd-pleasing snack, you might enjoy these crispy garlic chicken wings—they have that same addictive crunch with a completely different flavor profile. Happy roasting, friends!
Frequently Asked Questions
Can I use store-bought pumpkin seeds instead of fresh?
Absolutely! Store-bought raw pepitas work perfectly. Just skip the rinsing and drying steps and start with the dry roast. Make sure they’re raw and unsalted for the best results.
Why did my seeds turn out chewy instead of crispy?
This usually happens for one of two reasons: either you skipped the dry roast, or the seeds weren’t completely dry before coating. Moisture is the enemy of crispiness. Make sure to dry roast for the full 10 minutes and pat fresh seeds completely dry.
Can I make these ahead of time for a party?
Yes, and I actually recommend it! Make them 1-2 days ahead and store in an airtight container at room temperature. The flavors meld and the coating sets perfectly. Just don’t refrigerate them.
How do I clean fresh pumpkin seeds properly?
Place the seeds in a colander and rinse under cold water while rubbing them gently with your fingers to remove the stringy pulp. Spread them on a kitchen towel and pat dry thoroughly. Any remaining pulp will burn in the oven, so take your time.
Can I double or triple this recipe?
Yes, but don’t crowd the baking sheet. Use multiple sheets if needed, and rotate them halfway through roasting. Overcrowding traps steam and prevents crisping. For large batches, roast in batches for the best results.
Pin This Recipe!
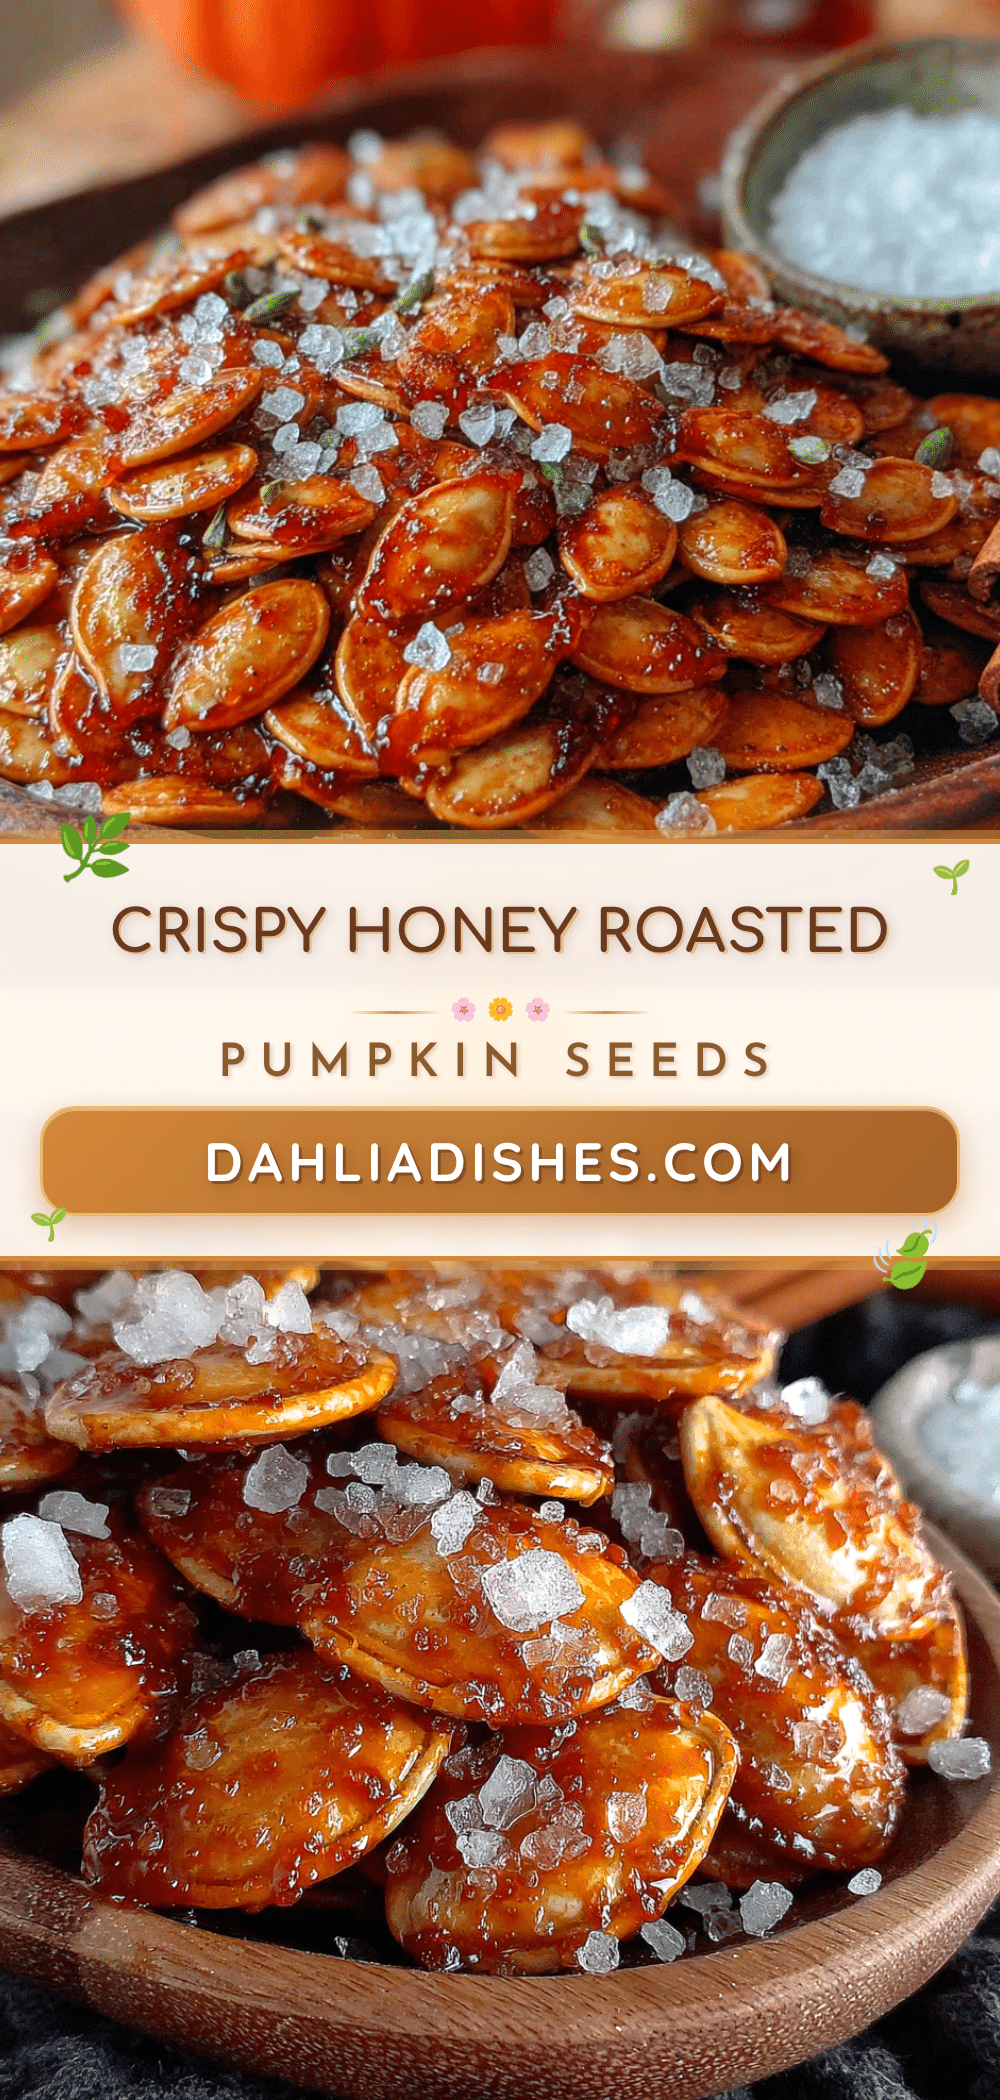
Crispy Honey Roasted Pumpkin Seeds – Easy Party Snack
These crispy honey roasted pumpkin seeds are the snack that disappears before the main course even hits the table. With a two-step roasting method and a perfect honey-to-butter ratio, they’re impossibly crisp, caramelized, and addictive.
- Prep Time: 10 minutes
- Cook Time: 25 minutes
- Total Time: 35 minutes
- Yield: 8 servings (¼ cup each) 1x
- Category: Snack
- Cuisine: American
Ingredients
- 2 cups fresh pumpkin seeds (or raw pepitas), cleaned and patted dry
- 3 tablespoons honey
- 2 tablespoons unsalted butter, melted
- ½ teaspoon sea salt, plus more for finishing
- ¼ teaspoon cinnamon (optional)
- ½ teaspoon vanilla extract
Instructions
- Preheat your oven to 325°F (163°C). Line a rimmed baking sheet with a silicone mat or parchment paper.
- If using fresh pumpkin seeds, rinse them in a colander under cold water, removing any stringy pumpkin flesh. Spread them on a clean kitchen towel and pat them completely dry. If using store-bought raw pepitas, skip this step.
- Spread the clean, dry seeds in a single layer on the prepared baking sheet. Dry roast for 10 minutes, stirring halfway through. They should look slightly dry and feel warm to the touch.
- While the seeds are dry-roasting, combine the melted butter, honey, vanilla extract, cinnamon (if using), and ½ teaspoon of sea salt in a small bowl. Whisk until smooth.
- Remove the seeds from the oven and transfer them to a large bowl. Pour the honey butter mixture over the warm seeds. Stir with a spatula until every seed is coated.
- Return the coated seeds to the baking sheet, spreading them in a single layer. Roast for 12-15 minutes, stirring every 5 minutes. Watch carefully in the last few minutes to prevent burning.
- The seeds are done when they’re a deep golden brown and the coating looks bubbly and caramelized. Remove from the oven immediately.
- Let the seeds cool on the baking sheet for 10 minutes. The coating will harden into a crisp shell as they cool.
- While the seeds are still slightly warm, sprinkle a pinch of flaky sea salt over the top.
- Once completely cool, break apart any large clusters with your fingers. Transfer to an airtight container.
Notes
The secret to ultimate crispiness is the two-step roasting method: dry roast first to remove moisture, then coat and finish. Watch the temperature carefully as honey can burn quickly. For best results, make 1-2 days ahead and store at room temperature. Do not refrigerate as humidity will soften the coating.
Nutrition
- Serving Size: ¼ cup
- Calories: 185
- Sugar: 8
- Sodium: 180
- Fat: 14
- Saturated Fat: 4
- Carbohydrates: 12
- Fiber: 2
- Protein: 7
Keywords: pumpkin seeds, honey roasted, crispy, party snack, fall recipe, Halloween snack, easy appetizer


