Love this? Save it for later!
Share the inspiration with your friends
My neighbor Dave, who I swear has never boiled water without setting off the smoke alarm, asked why I couldn’t just toss the chicken thighs straight into the skillet without coating them first. I started to explain why that wouldn’t work—something about the crust needing a dry surface, the Parmesan needing something to cling to, the whole science of browning. Then I stopped. Honestly? I had no good answer. I’d been dredging chicken in flour for years because that’s what my mom did, and her mom before her. But Dave, with his cheerful ignorance of all things culinary, had a point. What if the cheese itself could do the heavy lifting?
So I tried it. On a random Tuesday, with a package of chicken thighs I’d grabbed on sale and a block of Parmesan that was getting lonely in the fridge. I skipped the flour. I skipped the breadcrumbs. I just pressed a mixture of grated Parmesan, garlic, and a few pantry spices into the skin, and seared it skin-side down in a hot pan. The sizzle alone told me something was different—louder, more aggressive, like tiny applause. And when I flipped that thigh over, the crust was this deep, golden brown, almost lacquered-looking thing that I’d never achieved with flour. I actually laughed out loud. Dave, through the wall, probably thought I’d lost it.
The thing is, that first batch was for a small dinner party I was hosting that weekend. I’d planned to make something fancier, maybe a braised dish that took all afternoon. But after tasting that crust—salty, nutty, impossibly crispy—I knew I had to serve these crispy garlic parmesan chicken thighs instead. And you know that feeling when you bring a dish to the table and everyone goes quiet for a second? That happened. My friend Sarah actually asked for the recipe before she finished her first piece. I told her the secret was listening to a guy who burns toast. Maybe you’ve been there—where the best cooking advice comes from the least likely source.
Why You’ll Love This Recipe
Let me tell you why these crispy garlic parmesan chicken thighs have become my go-to for every party, potluck, and family dinner. First off, they’re ridiculously easy. I’m talking 10 minutes of prep, one skillet, and dinner is basically done. No marinating overnight, no complicated techniques, no stress. You just mix, press, and sear. That’s it.
- Quick & Easy : Comes together in under 30 minutes, perfect for busy weeknights or last-minute dinner party plans. You can even prep them earlier in the day and sear just before guests arrive.
- Simple Ingredients : Chicken thighs, Parmesan cheese, garlic, and a few pantry staples. No fancy grocery trips needed—you likely have everything in your kitchen right now.
- Perfect for Parties : These thighs are a showstopper on any buffet table. They’re easy to eat standing up, they stay crispy for a surprisingly long time, and they look gorgeous piled on a platter with fresh herbs.
- Crowd-Pleaser : I’ve served these to picky kids, health-conscious friends, and serious foodies. Every single person goes back for seconds. The crispy Parmesan crust is universally loved.
- Unbelievably Delicious : The texture is what gets you—that shatteringly crisp exterior giving way to juicy, tender meat underneath. It’s the kind of contrast that makes you close your eyes after the first bite.
What makes this recipe different from every other chicken thigh recipe out there? It’s the technique. By skipping the flour and using Parmesan as the primary crust, you get a nuttier, more complex flavor and a crust that stays crispy even as it cools. No soggy bottoms here. Plus, the garlic infuses the oil as it cooks, so every bite has that savory depth. This isn’t just another version of crispy chicken—it’s the best version I’ve ever made, and I’ve made a lot of chicken. It’s comfort food reimagined—healthier, faster, but with the same soul-soothing satisfaction. Perfect for impressing guests without stress, or turning a simple Tuesday dinner into something memorable.
What Ingredients You Will Need
This recipe uses simple, wholesome ingredients to deliver bold flavor and satisfying texture without the fuss. Most of these are probably already in your kitchen, which is exactly how I like to cook when I’m hosting.
For the Chicken
- 6 bone-in, skin-on chicken thighs (about 2.5 pounds total) — The skin is crucial here, as it renders fat and helps the Parmesan crust adhere. I prefer bone-in for extra juiciness, but boneless works too (just reduce cooking time by 5-7 minutes).
- 1 cup freshly grated Parmesan cheese — Please, please skip the pre-shredded stuff in the green can. Freshly grated Parmesan from a block melts better, browns more evenly, and has that nutty, salty flavor that makes this dish sing. I use Parmigiano-Reggiano when I’m feeling fancy.
- 4 cloves garlic, minced — Fresh garlic is non-negotiable here. The jarred stuff burns too easily and lacks that pungent kick. If you’re prepping ahead, you can mince the garlic and store it in a little olive oil.
- 1 teaspoon kosher salt — I use Diamond Crystal brand for its consistent texture. If you’re using fine table salt, reduce to ½ teaspoon.
- ½ teaspoon black pepper, freshly ground — Freshly ground makes a difference in the crust’s flavor profile.
- 1 teaspoon paprika — Adds a subtle smoky sweetness and helps with browning. Smoked paprika is lovely here if you have it.
- ½ teaspoon dried oregano — Brings that Italian-inspired flavor that pairs so well with Parmesan.
- ¼ teaspoon red pepper flakes (optional) — For a little heat. I add this when I’m serving a crowd that likes spice.
- 2 tablespoons olive oil — Use a good quality extra-virgin for flavor, or avocado oil for its high smoke point.
For Garnish
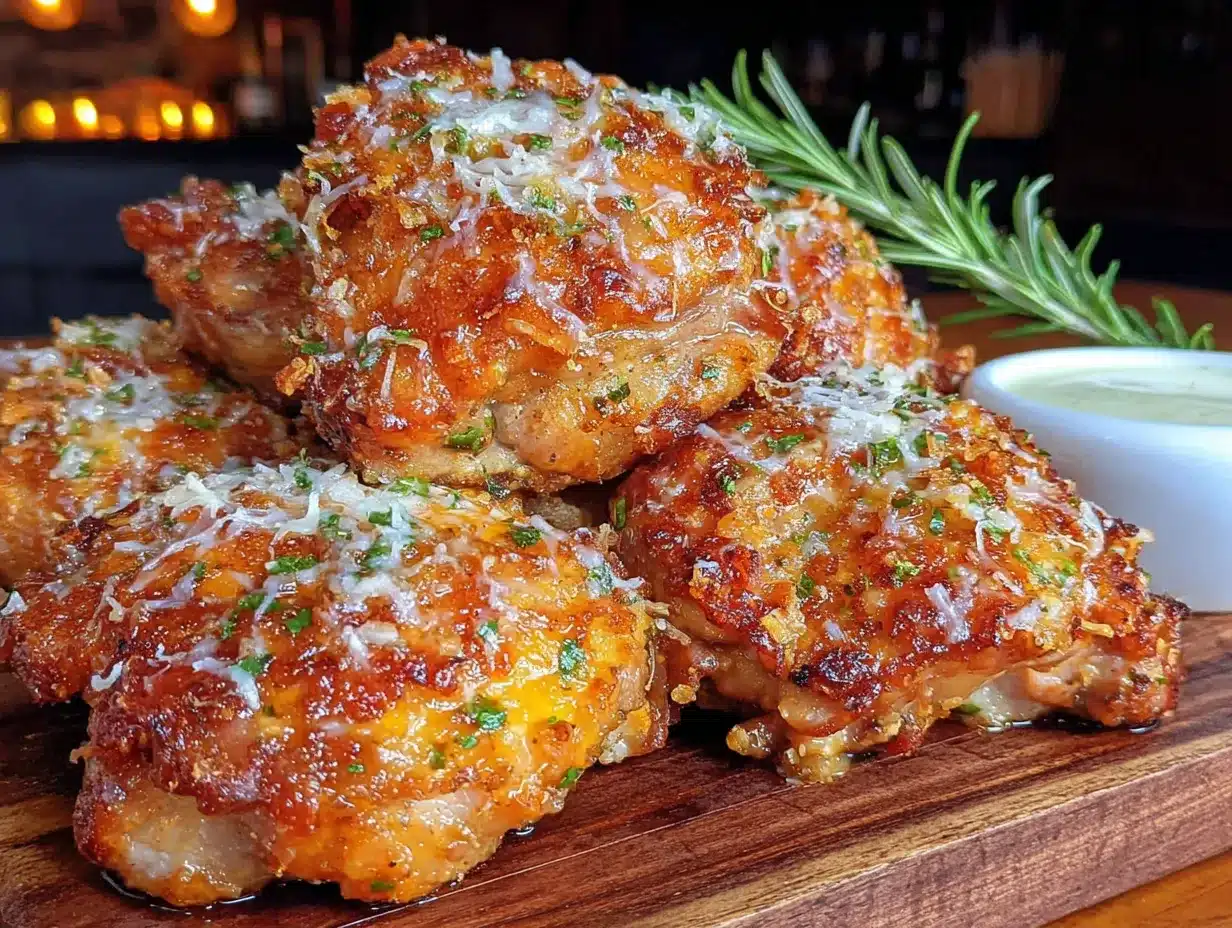
- Fresh parsley, chopped — Adds color and freshness.
- Lemon wedges — A squeeze of lemon right before serving cuts through the richness beautifully.
- Extra Parmesan shavings — Because more cheese is never a bad idea.
Ingredient Selection Tips: Look for chicken thighs with the skin still attached and not torn. The skin acts as a natural barrier that keeps the meat moist while the crust gets crispy. For the Parmesan, I’ve found that BelGioioso or Sartori brands consistently grate well and melt evenly. If you’re dairy-free, you can try a high-quality vegan Parmesan, but the texture won’t be quite the same. And for the garlic, avoid the pre-minced stuff in oil—it has a milder flavor and tends to burn faster.
Equipment Needed
You don’t need a lot of fancy gear for these crispy garlic parmesan chicken thighs. Here’s what I use:
- A large cast-iron skillet (12-inch) — This is my absolute favorite for this recipe. Cast iron holds heat evenly and gives you that gorgeous, even browning. If you don’t have one, a heavy-bottomed stainless steel skillet works great too.
- Box grater or microplane — For grating the Parmesan. A microplane gives you that fine, fluffy texture that clings beautifully to the chicken.
- Tongs — For flipping the chicken without tearing the crust. I prefer the ones with silicone tips to avoid scratching your pan.
- Small bowl — For mixing the Parmesan coating.
- Paper towels — For patting the chicken dry. This step is crucial for crispy skin.
- Meat thermometer — Not strictly necessary, but it takes the guesswork out of doneness. Chicken thighs are done at 165°F, but I pull them at 160°F and let carry-over cooking do the rest.
- Cutting board — For resting the chicken before serving.
Budget-friendly tip: If you don’t own a cast-iron skillet, check thrift stores. I found my favorite one for $8, and it was already seasoned. Also, a regular vegetable peeler can work in a pinch for grating Parmesan—just peel thin shavings instead.
Preparation Method
Let me walk you through this step by step. Trust me, it’s easier than you think, and the results are absolutely worth it.
- Prep the chicken (5 minutes): Pat the chicken thighs dry with paper towels. This is not optional—moisture is the enemy of crispy skin. Place them on a plate and let them sit at room temperature for 15 minutes while you prep everything else. This helps them cook more evenly.
- Make the Parmesan coating (3 minutes): In a small bowl, combine the freshly grated Parmesan, minced garlic, salt, pepper, paprika, oregano, and red pepper flakes if using. Mix with a fork until everything is evenly distributed. The garlic should be well incorporated so it doesn’t burn in clumps.
- Press the coating onto the chicken (5 minutes): Working with one thigh at a time, press the Parmesan mixture firmly onto the skin side. Use your fingers to really pack it on—you want a thick, even layer. Don’t worry if some falls off; it will crisp up in the pan anyway. I usually use about 2 tablespoons of the mixture per thigh. The flesh side gets nothing—just a little salt and pepper if you’re feeling generous.
- Heat the skillet (3 minutes): Place your cast-iron skillet over medium-high heat and add the olive oil. Let it heat until the oil shimmers—about 2-3 minutes. You want it hot enough that the chicken sizzles immediately when it hits the pan, but not so hot that the garlic burns. If you see wisps of smoke, turn the heat down slightly.
- Sear the chicken (12-15 minutes): Carefully place the chicken thighs skin-side down in the hot skillet. Do not crowd the pan—work in batches if necessary. Leave them alone for 6-8 minutes. I know it’s tempting to peek, but let the crust develop. You’ll see the edges turning golden brown and the fat rendering out. After 6 minutes, use your tongs to gently lift one edge and check the color. You’re looking for a deep, amber-golden crust. If it’s not there yet, give it another minute.
- Flip and finish cooking (8-10 minutes): Using your tongs, carefully flip each thigh over. The crust should be beautifully browned and intact. Reduce the heat to medium and cook for another 8-10 minutes, until the internal temperature reaches 160°F at the thickest part. The skin side will be perfectly crispy, and the meat will be juicy and tender.
- Rest and serve (5 minutes): Transfer the chicken to a cutting board or platter and let them rest for 5 minutes. This allows the juices to redistribute. Sprinkle with fresh parsley, add a squeeze of lemon, and shave a little extra Parmesan on top if you’re feeling fancy.
Sensory cue: During the searing phase, listen for that steady, happy sizzle. If it’s too quiet, your pan isn’t hot enough. If it’s popping and spitting aggressively, turn the heat down. The smell should be nutty and savory—that’s the Parmesan and garlic working their magic. The crust should feel firm and shatter when you cut into it, revealing juicy, tender meat underneath.
Cooking Tips & Techniques
I’ve made this recipe probably 30 times now, and I’ve learned a few things the hard way. Let me save you some trouble.
Patience is everything. The biggest mistake I see people make is flipping the chicken too early. I did it myself the first time—I got impatient, flipped after 4 minutes, and watched the entire Parmesan crust stick to the pan. It was heartbreaking. The crust needs time to bond with the skin and develop that deep golden color. Set a timer for 7 minutes and don’t touch it until it goes off.
Watch your heat. Medium-high is the sweet spot. Too high and the garlic burns before the chicken cooks through. Too low and the chicken steams instead of sears, leaving you with soggy skin. If you notice the garlic turning dark brown before the 6-minute mark, turn the heat down immediately. Burnt garlic tastes bitter and will ruin the whole dish.
Don’t skip the resting step. I know it’s hard when guests are hungry and the kitchen smells amazing, but those 5 minutes make a huge difference. The juices need time to settle back into the meat. If you cut into them right away, all that delicious moisture ends up on the cutting board instead of in your mouth.
Batch cooking for parties. If you’re making these for a crowd, sear them in batches and keep the finished thighs warm in a 200°F oven on a wire rack set over a baking sheet. The wire rack prevents the bottoms from getting soggy. I’ve kept them warm for up to 30 minutes with no loss of crispiness.
My biggest failure: The time I tried to use pre-shredded Parmesan because I was in a hurry. It didn’t melt properly, the crust was grainy and pale, and half of it fell off during flipping. Never again. Freshly grated is non-negotiable for that perfect, shatteringly crisp crust.
Variations & Adaptations
One of the things I love about this recipe is how adaptable it is. Here are some variations I’ve tried and loved:
- Spicy Buffalo Version: Add 2 tablespoons of hot sauce to the olive oil before searing, and mix ½ teaspoon cayenne pepper into the Parmesan coating. Serve with blue cheese dipping sauce and celery sticks. This is my husband’s favorite variation.
- Herb and Lemon: Add 2 tablespoons of fresh chopped rosemary and thyme to the Parmesan mixture, and replace the paprika with lemon zest. The citrus brightens up the richness beautifully. Perfect for spring gatherings.
- Air Fryer Method: Preheat your air fryer to 400°F. Place the coated thighs skin-side up in the basket (don’t overcrowd) and cook for 18-20 minutes, flipping halfway through. No need for oil—the chicken renders its own fat. The crust gets incredibly crispy, and cleanup is a breeze.
- Dairy-Free Adaptation: Substitute the Parmesan with a mixture of ½ cup nutritional yeast, ¼ cup almond flour, and 1 teaspoon salt. It won’t be exactly the same, but it’s surprisingly good and satisfies that craving for something crispy and savory.
- Keto/Low-Carb: This recipe is already naturally low-carb since there’s no flour. Just skip any starchy sides and serve with roasted vegetables or a big green salad. The fat content from the chicken and cheese makes it perfect for keto diets.
Personal variation: My favorite twist is adding a tablespoon of Dijon mustard to the olive oil before searing. It adds a subtle tanginess that cuts through the richness and complements the Parmesan beautifully. I discovered this by accident when I was out of regular mustard and just went for it.
Serving & Storage Suggestions
These crispy garlic parmesan chicken thighs are best served hot, right out of the skillet. But they’re surprisingly forgiving, which makes them perfect for entertaining.
Serving temperature: Serve them hot, but don’t panic if they cool down a bit while guests are mingling. The crust stays crispy longer than you’d expect—about 20-30 minutes on a platter. For parties, I arrange them on a large wooden board with lemon wedges, fresh parsley, and a bowl of garlic aioli for dipping.
What to serve alongside: These thighs pair beautifully with simple sides that don’t compete for attention. Try a creamy mashed potatoes to soak up the pan juices, or a crisp lemon parmesan spring salad for contrast. Roasted asparagus, garlic bread, or a simple orzo pasta with herbs are also excellent choices. For drinks, a crisp Sauvignon Blanc or a light lager cuts through the richness perfectly.
Storage instructions: Leftovers (if you have any!) can be stored in an airtight container in the refrigerator for up to 4 days. The crust will soften slightly, but the flavor remains excellent. To reheat, place them on a wire rack over a baking sheet in a 375°F oven for 10-12 minutes. This revives the crispiness better than a microwave ever could. You can also reheat them in an air fryer at 350°F for 5-6 minutes.
Freezing: These freeze beautifully. Let them cool completely, then wrap individually in plastic wrap and place in a freezer bag. They’ll keep for up to 3 months. Thaw overnight in the refrigerator and reheat in the oven or air fryer. I often make a double batch and freeze half for busy weeks.
Flavor development: Honestly, the flavors meld even more overnight. The garlic mellows, the Parmesan deepens, and the chicken becomes even more tender. Cold leftovers straight from the fridge are surprisingly delicious—I’ve been known to eat them over a salad for lunch the next day.
Nutritional Information & Benefits
Here’s the nutritional breakdown for one serving (one thigh, based on 6 servings):
| Nutrient | Amount |
|---|---|
| Calories | 385 |
| Protein | 32g |
| Fat | 26g |
| Saturated Fat | 8g |
| Carbohydrates | 2g |
| Fiber | 0g |
| Sugar | 0g |
| Sodium | 680mg |
| Calcium | 220mg |
| Iron | 1.5mg |
Health benefits: Chicken thighs are an excellent source of high-quality protein, which supports muscle health and keeps you feeling full. They’re also rich in B vitamins, particularly B6 and B12, which are essential for energy metabolism. Parmesan cheese is a good source of calcium and phosphorus, both important for bone health. The garlic in this recipe contains allicin, a compound known for its immune-boosting and anti-inflammatory properties.
Dietary considerations: This recipe is naturally gluten-free, low-carb, and keto-friendly. It contains dairy from the Parmesan cheese. For those watching sodium, you can reduce the added salt since Parmesan is naturally salty. If you’re looking for a lighter option, you can use chicken breast instead, though the texture won’t be as juicy.
Conclusion
These crispy garlic parmesan chicken thighs have become my signature party dish, and I’m honestly a little proud of that. They’re the recipe that made me realize sometimes the best cooking advice comes from the most unexpected places—like a neighbor who doesn’t know the difference between simmering and boiling. Every time I make them, I think of Dave and his ridiculous question that turned out to be genius.
What I love most about this recipe is how it brings people together. There’s something about that first bite—the crunch, the garlic, the juicy chicken—that makes everyone at the table smile. It’s the kind of dish that sparks conversation, gets people asking for the recipe, and makes you look like a hero in the kitchen with almost no effort.
I encourage you to make this recipe your own. Add more garlic if you’re a garlic lover (I always do). Throw in some extra herbs. Serve it with your favorite sides. And if someone asks you a question that seems silly, maybe give it a try—you never know what delicious accident might happen. Let me know in the comments how yours turn out, and don’t forget to share your own variations!
Frequently Asked Questions
Can I use boneless, skinless chicken thighs?
Yes, but the texture will be different. Boneless thighs cook faster (about 5-7 minutes per side) and won’t have the same crispy skin. The Parmesan crust will still be delicious, but you’ll miss that shatteringly crisp contrast. If you go this route, reduce the cooking time and check for doneness at 160°F.
Why did my Parmesan crust fall off?
This usually happens for one of three reasons: the chicken wasn’t patted dry enough, the pan wasn’t hot enough when you added the chicken, or you flipped it too early. Make sure your chicken is very dry, your pan is shimmering hot, and you let the crust cook undisturbed for at least 6-7 minutes before trying to flip.
Can I make these ahead of time for a party?
Absolutely! You can prep the chicken with the Parmesan coating up to 24 hours in advance and store it in the refrigerator. Just let it sit at room temperature for 15 minutes before searing. You can also fully cook them, then reheat in a 375°F oven for 10 minutes right before serving. The crust stays surprisingly crispy.
What’s the best way to grate Parmesan for this recipe?
I use a microplane for the finest, fluffiest texture that clings best to the chicken. A box grater’s fine side also works well. Avoid the large holes—those create chunks that burn before the chicken is cooked through. And please, skip the pre-shredded stuff entirely. It contains anti-caking agents that prevent proper melting and browning.
Can I use chicken breasts instead of thighs?
You can, but I don’t recommend it for this recipe. Chicken breasts are leaner and dry out more easily, especially with the longer cooking time needed to develop the crust. If you must use breasts, pound them to an even thickness (about ¾ inch) and reduce cooking time to 4-5 minutes per side. Check the internal temperature early to avoid dry chicken.
Pin This Recipe!
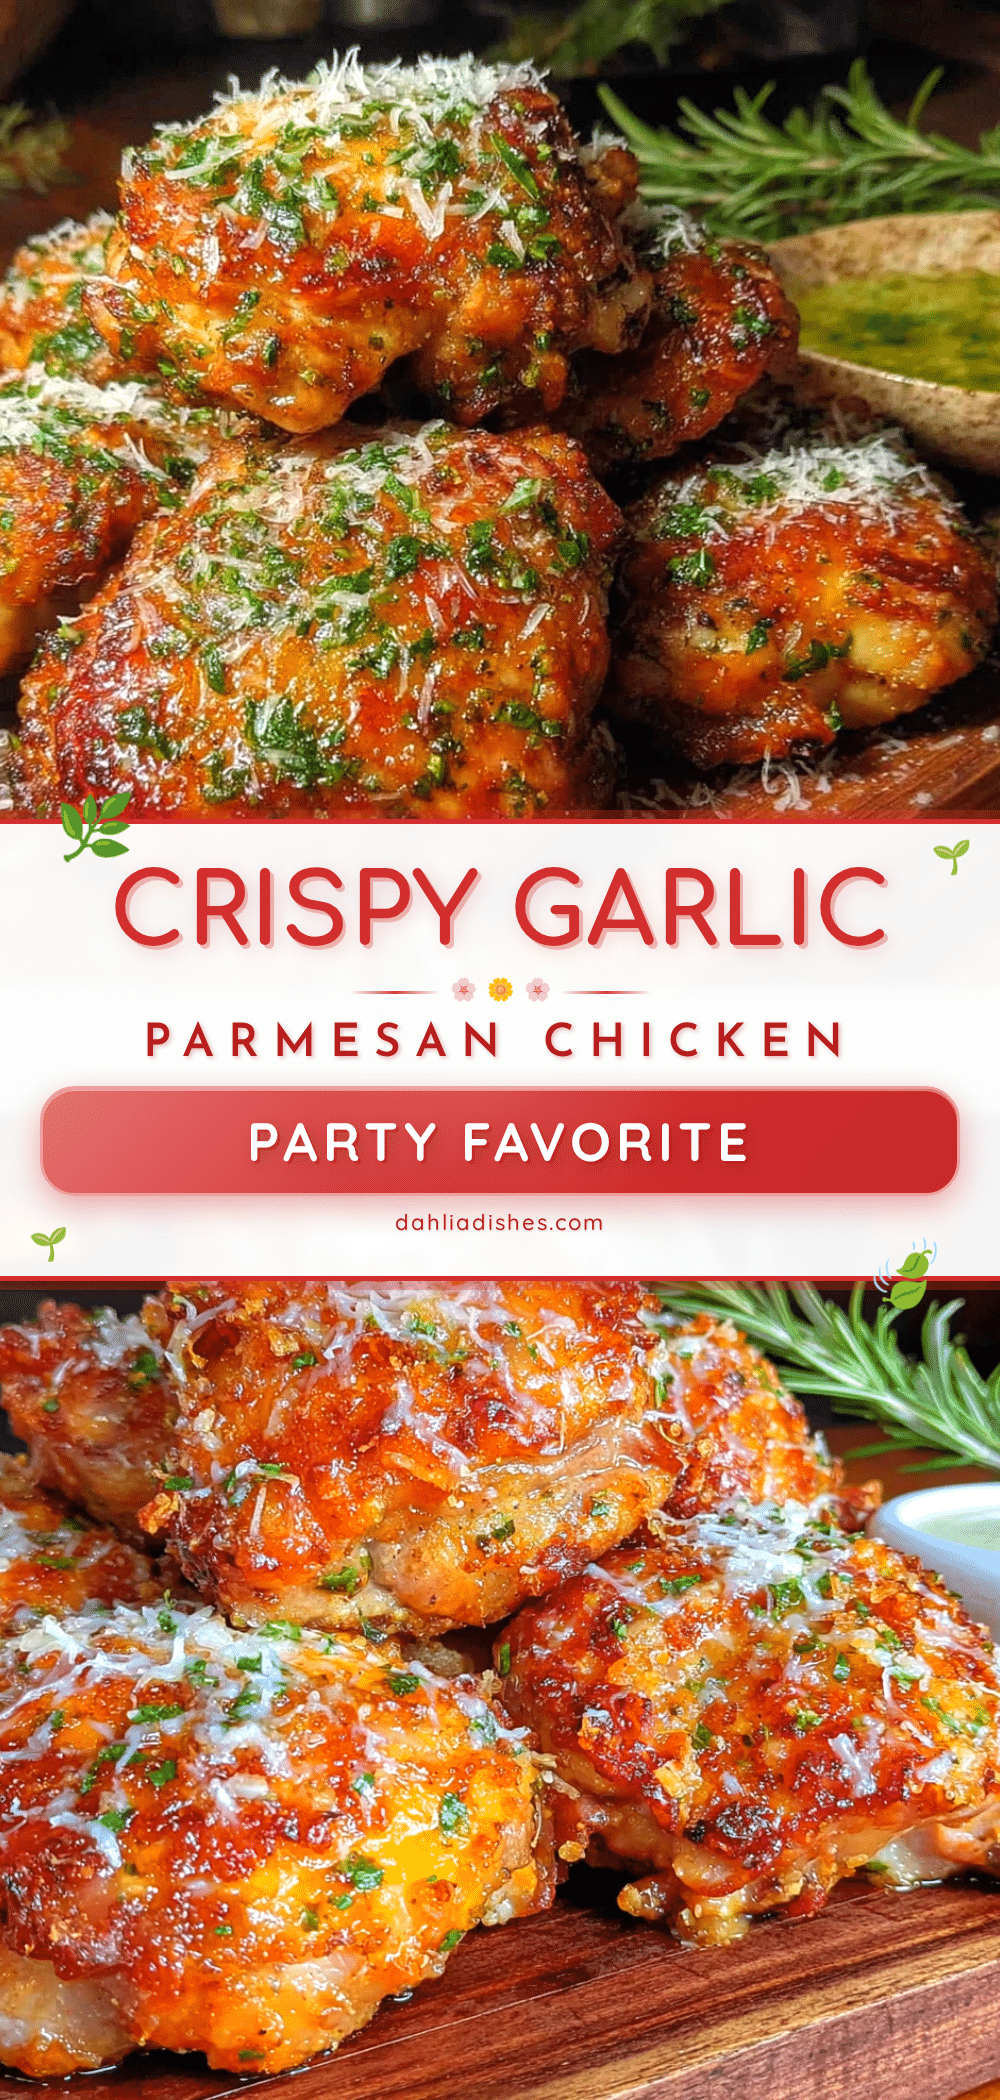
Crispy Garlic Parmesan Chicken Thighs – Easy Party Recipe

These crispy garlic parmesan chicken thighs are ridiculously easy, ready in under 30 minutes, and perfect for parties or weeknight dinners. The secret is skipping flour and using Parmesan as the primary crust for a nutty, shatteringly crisp exterior and juicy meat.
- Prep Time: 10 minutes
- Cook Time: 20 minutes
- Total Time: 30 minutes
- Yield: 6 servings 1x
- Category: Main Course
- Cuisine: Italian-American
Ingredients
- 6 bone-in, skin-on chicken thighs (about 2.5 pounds total)
- 1 cup freshly grated Parmesan cheese
- 4 cloves garlic, minced
- 1 teaspoon kosher salt
- ½ teaspoon black pepper, freshly ground
- 1 teaspoon paprika
- ½ teaspoon dried oregano
- ¼ teaspoon red pepper flakes (optional)
- 2 tablespoons olive oil
- Fresh parsley, chopped (for garnish)
- Lemon wedges (for garnish)
- Extra Parmesan shavings (for garnish)
Instructions
- Prep the chicken (5 minutes): Pat the chicken thighs dry with paper towels. Place them on a plate and let them sit at room temperature for 15 minutes while you prep everything else.
- Make the Parmesan coating (3 minutes): In a small bowl, combine the freshly grated Parmesan, minced garlic, salt, pepper, paprika, oregano, and red pepper flakes if using. Mix with a fork until evenly distributed.
- Press the coating onto the chicken (5 minutes): Working with one thigh at a time, press the Parmesan mixture firmly onto the skin side. Use about 2 tablespoons of the mixture per thigh. The flesh side gets just a little salt and pepper if desired.
- Heat the skillet (3 minutes): Place a large cast-iron skillet over medium-high heat and add the olive oil. Heat until the oil shimmers, about 2-3 minutes.
- Sear the chicken (12-15 minutes): Carefully place the chicken thighs skin-side down in the hot skillet. Do not crowd the pan. Leave them undisturbed for 6-8 minutes until the crust is deep amber-golden. Check by lifting one edge with tongs.
- Flip and finish cooking (8-10 minutes): Flip each thigh over using tongs. Reduce heat to medium and cook for another 8-10 minutes until the internal temperature reaches 160°F at the thickest part.
- Rest and serve (5 minutes): Transfer the chicken to a cutting board or platter and let rest for 5 minutes. Sprinkle with fresh parsley, add a squeeze of lemon, and shave extra Parmesan on top if desired.
Notes
Pat chicken very dry for crispy skin. Do not flip too early or crust may stick. Freshly grated Parmesan is essential; pre-shredded will not work. For parties, keep finished thighs warm in a 200°F oven on a wire rack over a baking sheet for up to 30 minutes.
Nutrition
- Serving Size: 1 chicken thigh
- Calories: 385
- Sodium: 680
- Fat: 26
- Saturated Fat: 8
- Carbohydrates: 2
- Protein: 32
Keywords: crispy chicken thighs, garlic parmesan chicken, easy party recipe, skillet chicken, low-carb chicken, keto chicken


