Love this? Save it for later!
Share the inspiration with your friends
The church potluck was in two hours and I’d completely forgotten. I was standing in my kitchen on a Sunday morning, still in my pajamas, staring at a pack of chicken thighs I’d defrosted with no real plan. Everyone else would be bringing their signature dishes—Mrs. Patterson’s famous mac and cheese, the Johnson family’s seven-layer dip, that one casserole that always disappears in ten minutes. And me? I had chicken thighs, some Parmesan that was starting to look sad in the fridge, and honestly, a mild sense of panic.
I’d been to enough potlucks to know you don’t show up empty-handed. Not at this church. These folks took their food seriously. I needed something that looked like I’d put in effort but could actually come together without a trip to the store. So I grabbed the chicken, the cheese, some breadcrumbs I’d forgotten I had, and just started throwing things together. No recipe. No plan. Just pure, desperate hope.
That was the first time I made these crispy baked Parmesan chicken thighs. And let me tell you—I walked into that potluck late, carrying a baking dish, fully prepared for polite nods and a half-eaten pan to take home. Instead, someone asked for the recipe before I’d even set it down. By the end of the meal, the dish was scraped clean. Mrs. Patterson herself came over to ask what I’d done to that chicken. I mean, that’s when you know you’ve got something.
Maybe you’ve been there—needing a recipe that looks like you spent hours on it but actually comes together in about thirty minutes. Something crispy, cheesy, and satisfying without requiring a deep fryer or a culinary degree. That’s what these chicken thighs are. They’re the recipe you’ll make when you need to impress but don’t have time to stress. And honestly, they’ve become my go-to for busy weeknights, last-minute guests, and yes, every potluck since.
Why You’ll Love This Recipe
I’ve tested this recipe more times than I can count, tweaking the coating, adjusting the temperature, figuring out exactly how to get that perfect crunch without drying out the meat. After years of trial and error in my own kitchen, I can confidently say—this version works every single time.
- Quick & Easy: From fridge to table in about 30 minutes. No marinating, no complicated steps, no fuss.
- Simple Ingredients: You probably have most of these in your pantry right now. No fancy grocery store trips required.
- Perfect for Busy Weeknights: When you need dinner on the table fast but still want something that feels special.
- Crowd-Pleaser: Kids love the crispy coating, adults love the flavor, and everyone goes back for seconds.
- Unbelievably Delicious: The combination of crispy panko, salty Parmesan, and juicy chicken is pure comfort food magic.
What makes this recipe different from all the other baked chicken recipes out there? It’s the technique. Instead of a soggy breadcrumb coating that slides off, these thighs get a double-coating method that sticks like it’s glued on. Plus, baking at a higher temperature gives you that golden-brown crust without needing to fry. It’s not just another chicken recipe—it’s the one I’ve perfected after making it for every occasion imaginable.
This is the kind of recipe that makes you close your eyes after the first bite. Seriously. The crunch gives way to tender, juicy meat, and the Parmesan adds this nutty, savory depth that plain breadcrumbs just can’t match. It’s comfort food that comes together fast, impresses without stress, and turns a simple Tuesday night into something memorable.
What Ingredients You Will Need
This recipe uses simple, everyday ingredients to create something truly special. No obscure spices or hard-to-find items—just honest, flavorful components that work together beautifully.
For the Chicken
- 4 bone-in, skin-on chicken thighs (about 1.5 pounds total) — Bone-in gives you more flavor and juiciness, but boneless works too (just reduce cooking time)
- 1/2 cup all-purpose flour — Creates the first layer that helps the coating stick
- 2 large eggs — Acts as the glue between the flour and breadcrumb coating
- 1 tablespoon Dijon mustard — Adds tang and helps the egg wash cling better (trust me on this one)
- 1 cup panko breadcrumbs — These give you that ultra-crispy texture that regular breadcrumbs can’t match
- 1/2 cup grated Parmesan cheese — Use the real stuff from a block, not the green can. It melts better and tastes infinitely better
- 1 teaspoon garlic powder — For that savory backbone
- 1 teaspoon onion powder — Adds subtle sweetness and depth
- 1/2 teaspoon paprika — Smoked paprika if you have it, regular works fine too
- 1/2 teaspoon salt — I prefer kosher salt for better seasoning control
- 1/4 teaspoon black pepper — Freshly ground if possible
- 2 tablespoons olive oil — Drizzled on top for extra crispiness and golden color
- Fresh parsley — For garnish, optional but pretty
Ingredient Tips
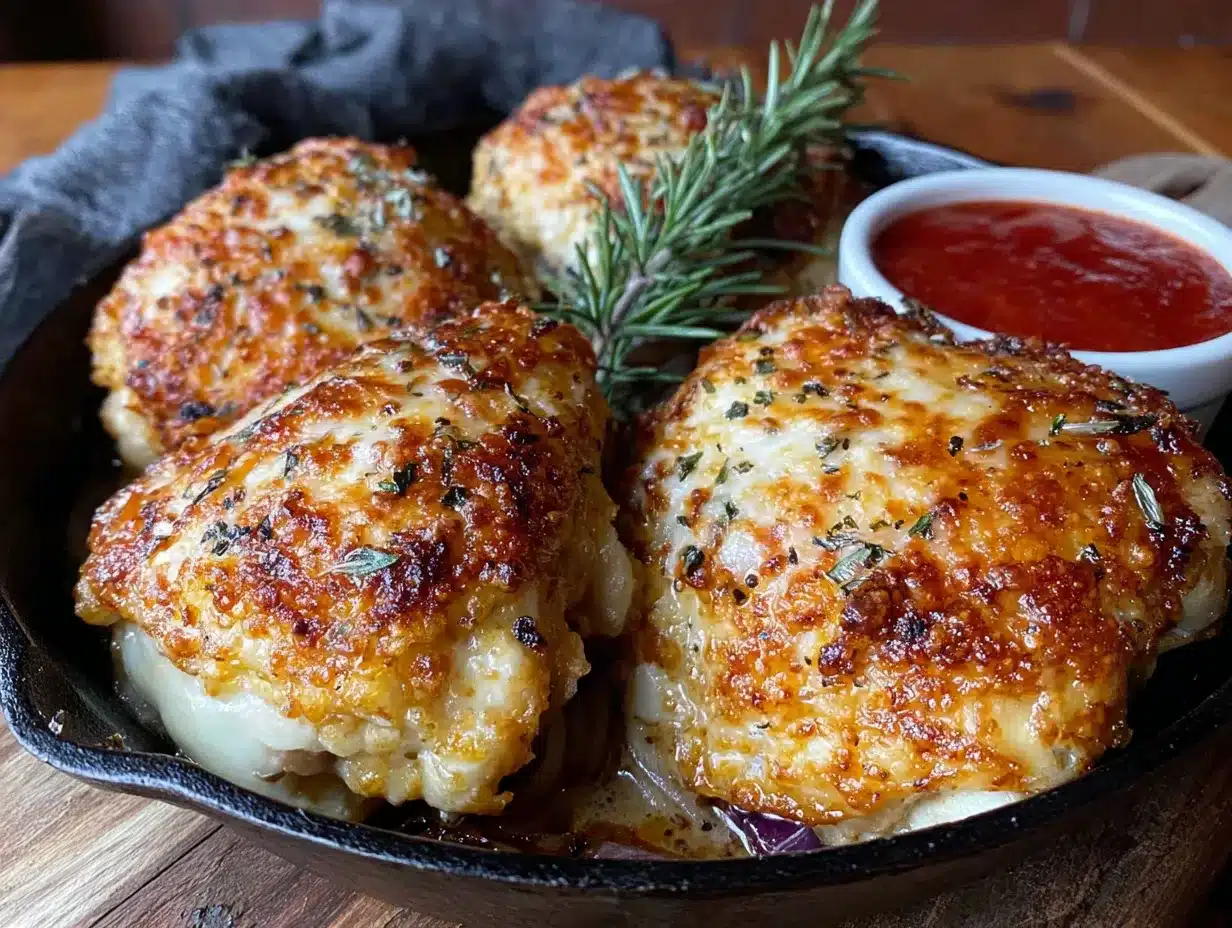
I recommend using Kikkoman panko breadcrumbs for the best texture—they’re lighter and flakier than store brands I’ve tried. For the Parmesan, BelGioioso or Parmigiano-Reggiano are my go-to choices. And don’t skip the Dijon mustard in the egg wash—I know it sounds weird, but it adds a subtle tang and helps the coating adhere better. I learned that trick from a chef friend years ago, and it’s never let me down.
If you need a gluten-free option, swap the flour with almond flour or gluten-free all-purpose blend, and use gluten-free panko. For a dairy-free version, use nutritional yeast instead of Parmesan—it gives a similar savory, cheesy flavor without the dairy.
Equipment Needed
- Baking sheet — A rimmed baking sheet works best to catch any drips
- Wire rack — Placing the chicken on a rack over the baking sheet lets air circulate underneath for maximum crispiness. If you don’t have one, just flip the chicken halfway through
- Three shallow bowls — For the flour, egg wash, and breadcrumb mixture. Pie plates work great
- Tongs — Makes coating and transferring the chicken much less messy
- Meat thermometer — Not strictly necessary, but it takes the guesswork out of doneness. I use a ThermoPro instant-read thermometer and it’s been worth every penny
- Cheese grater — For grating fresh Parmesan. The pre-shredded stuff has anti-caking agents that don’t melt as well
If you don’t have a wire rack, no worries—just line your baking sheet with parchment paper and flip the chicken halfway through baking. It won’t be quite as crispy on the bottom, but it’ll still be delicious. And honestly, I’ve made this recipe without a meat thermometer for years. You can tell the chicken is done when the juices run clear and the coating is golden brown.
Preparation Method
- Preheat your oven to 425°F (220°C). Place a wire rack on a rimmed baking sheet and spray it lightly with cooking spray. This high heat is key for getting that crispy coating without frying.
- Set up your coating station. In the first shallow bowl, mix the flour with 1/2 teaspoon salt and 1/4 teaspoon pepper. In the second bowl, whisk together the eggs and Dijon mustard until smooth. In the third bowl, combine the panko breadcrumbs, grated Parmesan, garlic powder, onion powder, and paprika. Mix everything together with your fingers to distribute the cheese evenly.
- Pat the chicken thighs dry with paper towels. This is important—excess moisture will make the coating slide off. Season both sides of each thigh with a pinch of salt and pepper.
- Coat each thigh. First, dredge a chicken thigh in the flour mixture, shaking off any excess. Then dip it into the egg wash, letting any extra drip off. Finally, press it firmly into the panko-Parmesan mixture, making sure every surface is covered. Don’t be shy—really press the coating on. Place the coated thigh on the prepared wire rack. Repeat with all four thighs.
- Drizzle with olive oil. This is the secret step that makes the coating extra golden and crispy. Drizzle about 1/2 tablespoon of olive oil over each thigh, or use a pastry brush to spread it evenly.
- Bake for 25-30 minutes, until the coating is deep golden brown and the internal temperature of the thickest part of the thigh reaches 165°F (74°C). No need to flip—the wire rack lets the heat circulate all around. If you’re not using a rack, flip the chicken carefully at the 15-minute mark.
- Let rest for 5 minutes before serving. This lets the juices redistribute so every bite is tender and moist. Garnish with fresh parsley if you’re feeling fancy.
Pro tip from my kitchen: If the coating isn’t as golden as you’d like after 25 minutes, switch the oven to broil for the last 1-2 minutes. Watch it carefully—it can go from perfect to burnt in seconds. I learned that one the hard way.
Sensory cues to look for: The coating should be a deep golden brown and feel firm to the touch. When you tap it with a fork, it should sound crisp. The chicken should release easily from the rack—if it sticks, it needs another minute or two. And that smell? Your kitchen will smell like a fancy Italian restaurant.
Cooking Tips & Techniques
I’ve made this recipe at least fifty times, and I’ve learned a few things along the way. Here are the tips that make the biggest difference.
Don’t skip drying the chicken. I know it seems like a small step, but moisture is the enemy of crispiness. If your chicken is wet, the coating will steam instead of crisp, and you’ll end up with a sad, soggy mess. Pat those thighs dry like your dinner depends on it—because it kind of does.
Use panko, not regular breadcrumbs. Regular breadcrumbs are too fine and dense. They absorb oil and get heavy. Panko is light, flaky, and creates that shatteringly crisp texture you’re after. I once ran out of panko and used Italian breadcrumbs instead—the result was edible but not nearly as good. Lesson learned.
Press the coating on firmly. Don’t just roll the chicken in the breadcrumb mixture—press it in with your hands. Really pack it on there. The coating should feel thick and even, not patchy. This is one of those steps where being aggressive actually helps.
Let the coated chicken rest for 5 minutes before baking. This gives the coating time to adhere to the chicken. I know you’re hungry, but that short rest makes a real difference in how well the coating stays on during baking.
One mistake I made early on: I used to crowd the chicken on the baking sheet. Big mistake. The thighs need space for hot air to circulate, or they’ll steam instead of crisp. Give them at least an inch of space on all sides.
Multitasking tip: While the chicken bakes, you have 25 minutes to make a quick side dish. I usually throw together a simple salad or roast some vegetables on the other side of the oven. The timing works out perfectly.
Variations & Adaptations
This recipe is wonderfully flexible. Here are some ways I’ve adapted it over the years.
Spicy Parmesan Chicken: Add 1/2 teaspoon cayenne pepper and 1 teaspoon red pepper flakes to the breadcrumb mixture. My husband loves this version—it gives the chicken a nice kick without being overwhelming. I’ve also mixed in some chopped jalapeños for extra heat.
Herb-Crusted Version: Mix 2 tablespoons of fresh herbs into the breadcrumb mixture. Rosemary, thyme, and oregano work beautifully. I made this for Easter one year, and everyone raved about how aromatic the chicken was. Dried herbs work too—just use about 1 tablespoon total.
Lemon-Parmesan Chicken: Add 1 tablespoon of lemon zest to the breadcrumb mixture and serve with lemon wedges. The brightness of the lemon cuts through the richness of the Parmesan beautifully. This is my go-to summer version.
Gluten-Free Adaptation: Use almond flour instead of regular flour, and gluten-free panko breadcrumbs. The texture is slightly different—a bit more delicate—but still delicious. I’ve made this for friends with celiac disease, and they couldn’t tell the difference.
Air Fryer Version: Cook at 375°F (190°C) for 15-18 minutes, flipping halfway through. The air fryer gives you an even crispier coating in less time. Just make sure not to overcrowd the basket—work in batches if needed.
My personal favorite variation: I once added a tablespoon of truffle oil to the olive oil drizzle before baking. It felt completely indulgent, but honestly, it was incredible. The earthy truffle flavor paired perfectly with the salty Parmesan. Perfect for when you want to impress dinner guests.
Serving & Storage Suggestions
These chicken thighs are best served hot, straight from the oven, when the coating is at its crispiest. I like to let them rest for 5 minutes on the wire rack before serving—this keeps the bottom from getting soggy on the plate.
What to serve with them: A simple green salad with lemon vinaigrette cuts through the richness beautifully. Roasted asparagus or green beans are classic pairings. For something heartier, try garlic mashed potatoes or a creamy risotto. And honestly, they’re amazing with just a side of marinara sauce for dipping—like chicken Parmesan without the pasta.
Storage: Leftover chicken thighs will keep in an airtight container in the refrigerator for up to 4 days. The coating will soften as they sit, but they’re still delicious.
Reheating: The oven is your best friend here. Reheat at 375°F (190°C) for 10-12 minutes, or until the coating crisps back up. The microwave will make the coating soggy, so avoid it if you can. If you’re in a hurry, an air fryer at 350°F (175°C) for 5-6 minutes works beautifully.
Freezing: You can freeze the baked chicken thighs for up to 3 months. Let them cool completely, then wrap each thigh individually in plastic wrap and place them in a freezer bag. To reheat, thaw in the refrigerator overnight, then reheat in the oven as directed above. The coating won’t be quite as crispy as fresh, but it’s still a solid option for meal prep.
Flavor development: Honestly, these are best fresh from the oven. The coating stays crispy, the chicken is perfectly juicy, and everything is at its peak. That said, cold leftovers make an amazing chicken salad the next day—just chop the chicken up and mix with some mayo, celery, and herbs.
Nutritional Information & Benefits
Here’s the approximate nutritional breakdown for one chicken thigh (based on using bone-in, skin-on thighs and the full coating amount):
- Calories: 380-420
- Protein: 32g
- Fat: 22g
- Carbohydrates: 14g
- Fiber: 1g
- Sugar: 1g
Health benefits: Chicken thighs are an excellent source of lean protein, which supports muscle health and keeps you feeling full. They also provide B vitamins, particularly B6 and B12, which are important for energy metabolism. Parmesan cheese adds calcium and protein, while the olive oil provides heart-healthy monounsaturated fats.
Dietary considerations: This recipe can be made gluten-free and dairy-free with simple substitutions. It’s naturally low-carb and keto-friendly if you use almond flour instead of regular flour. For a lower-fat option, you can use boneless, skinless chicken thighs—just reduce the cooking time to 20-22 minutes.
Potential allergens: This recipe contains dairy (Parmesan) and gluten (flour and panko). Eggs are also used in the coating. Adjust accordingly for your dietary needs.
I personally love that this recipe feels indulgent but isn’t deep-fried. You get all the satisfaction of crispy, cheesy chicken without the heavy oil and extra calories. It’s the kind of meal that makes you feel good about what you’re eating—and that matters, you know?
FAQs
Can I use chicken breasts instead of thighs?
Absolutely. Boneless, skinless chicken breasts work well—just adjust the cooking time to 20-25 minutes, depending on thickness. Check for an internal temperature of 165°F (74°C). The coating might not be quite as crispy since breasts have less fat, but it’s still delicious.
Why is my coating falling off?
This usually happens for one of three reasons: the chicken wasn’t dried properly, the coating wasn’t pressed on firmly enough, or the chicken was moved too soon after baking. Pat the chicken dry, press the coating on with conviction, and let it rest for 5 minutes after baking before serving.
Can I make these ahead of time?
You can prep the coated chicken up to 4 hours ahead and keep it in the refrigerator. Just place the coated thighs on the wire rack, cover loosely with plastic wrap, and bake when you’re ready. The coating might lose a tiny bit of crispiness, but it’s still great.
What’s the best way to reheat leftovers?
The oven or air fryer is your best bet. Reheat at 375°F (190°C) for 10-12 minutes in the oven, or 5-6 minutes in an air fryer at 350°F (175°C). The microwave will make the coating soggy, so avoid it if you want that crispy texture back.
Can I freeze the coated but unbaked chicken?
Yes! Place the coated thighs on a baking sheet and freeze until solid, then transfer to a freezer bag. Bake from frozen at 425°F (220°C) for 30-35 minutes, or until the internal temperature reaches 165°F (74°C). You might need to add 5-10 minutes to the cooking time.
Conclusion
These crispy baked Parmesan chicken thighs have saved my dinner plans more times than I can count. They’re the recipe I turn to when I need something reliable, delicious, and impressive without the stress. Whether you’re feeding your family on a busy Tuesday or bringing a dish to a potluck, this recipe delivers every single time.
I love that this recipe proves you don’t need a deep fryer or complicated techniques to get restaurant-quality crispy chicken at home. Just simple ingredients, a few smart tricks, and about thirty minutes of your time. It’s comfort food made easy—and honestly, isn’t that what we all need?
Try it this week and see for yourself. And when you do, come back and let me know how it turned out. Did you add your own twist? Find a new favorite side dish to serve with it? I’d love to hear about your experience. Leave a comment below or tag me in your photos—I’m always looking for new inspiration from this amazing community of home cooks.
Now go make some crispy, cheesy, absolutely irresistible chicken. Your dinner table is waiting.
Pin This Recipe!
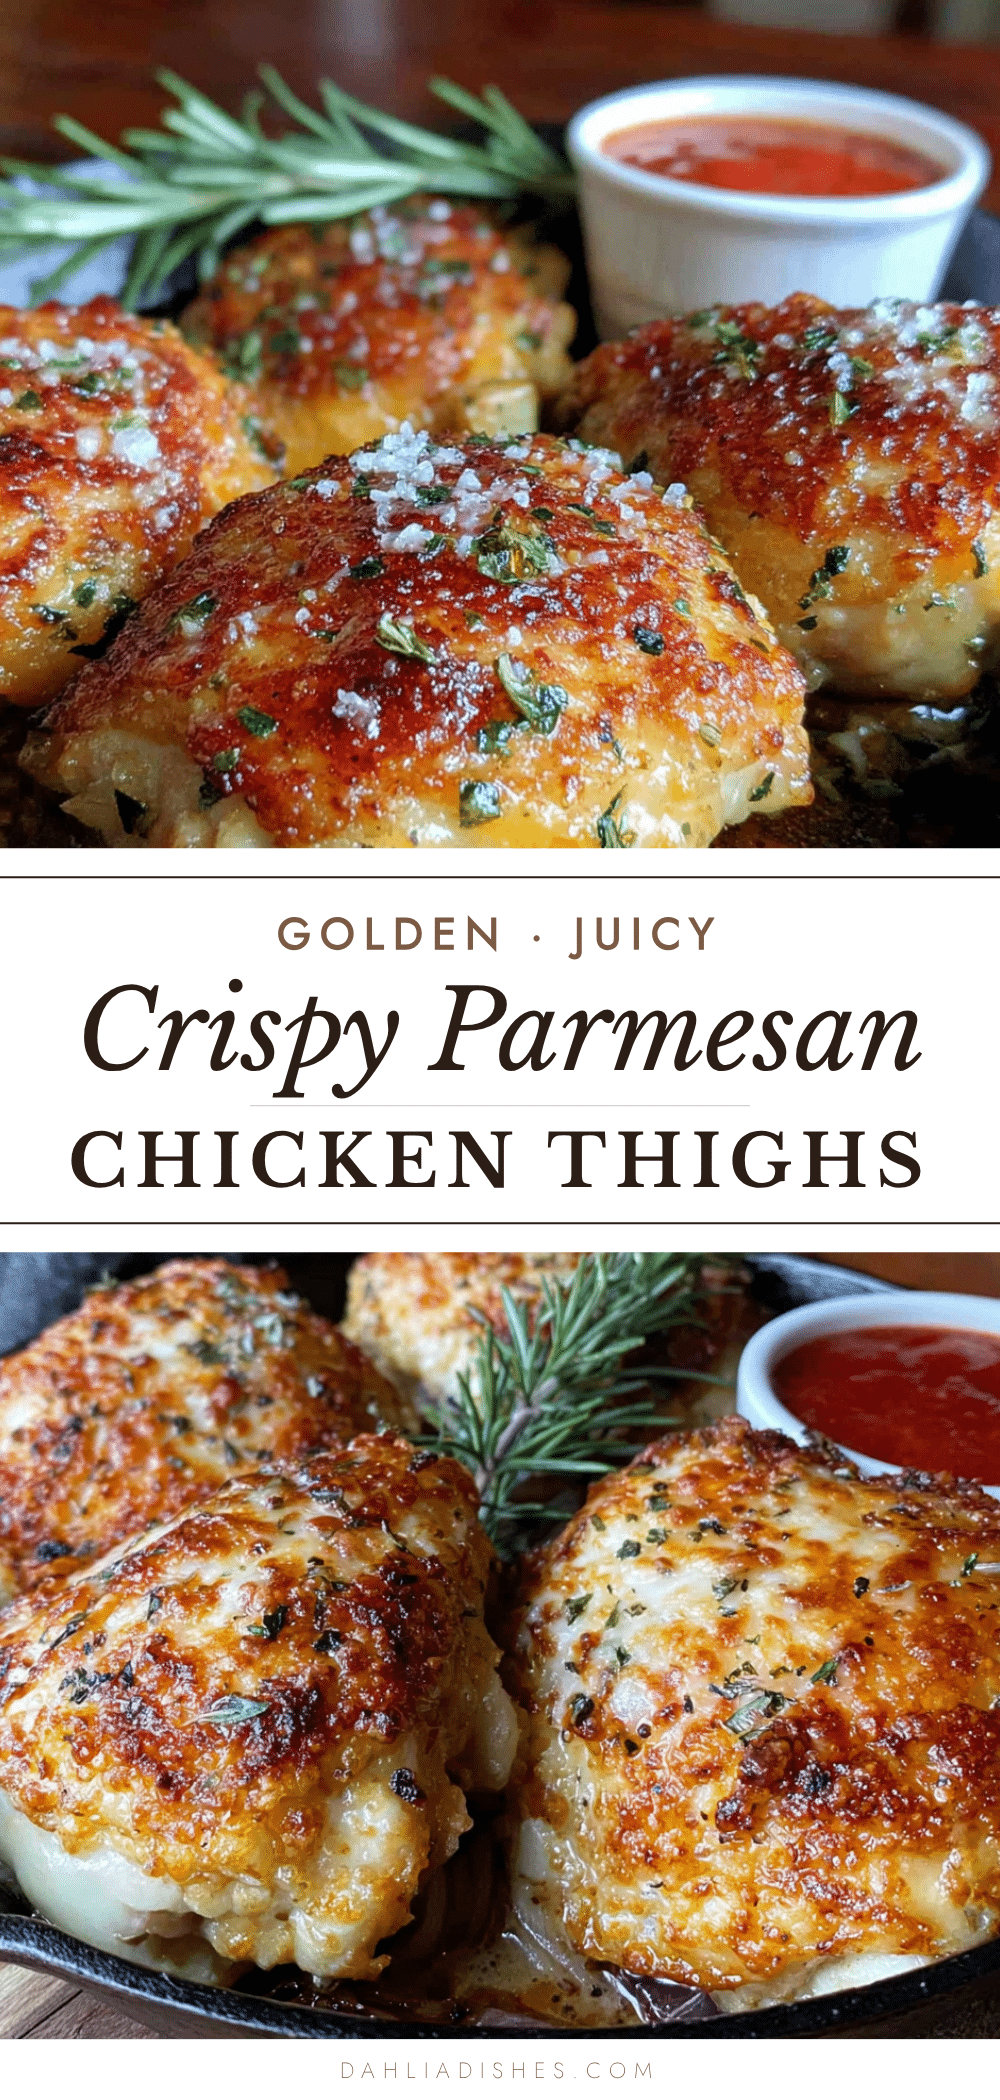
Crispy Baked Parmesan Chicken Thighs: Easy 30-Minute Recipe

These crispy baked Parmesan chicken thighs are a quick and easy 30-minute meal that’s perfect for busy weeknights or last-minute guests. With a crunchy panko-Parmesan coating and juicy, tender meat, this recipe is a crowd-pleaser that looks impressive without the stress.
- Prep Time: 10 minutes
- Cook Time: 25-30 minutes
- Total Time: 35-40 minutes
- Yield: 4 servings 1x
- Category: Main Course
- Cuisine: Italian-American
Ingredients
- 4 bone-in, skin-on chicken thighs (about 1.5 pounds total)
- 1/2 cup all-purpose flour
- 2 large eggs
- 1 tablespoon Dijon mustard
- 1 cup panko breadcrumbs
- 1/2 cup grated Parmesan cheese
- 1 teaspoon garlic powder
- 1 teaspoon onion powder
- 1/2 teaspoon paprika
- 1/2 teaspoon salt
- 1/4 teaspoon black pepper
- 2 tablespoons olive oil
- Fresh parsley for garnish (optional)
Instructions
- Preheat your oven to 425°F (220°C). Place a wire rack on a rimmed baking sheet and spray it lightly with cooking spray.
- Set up your coating station. In the first shallow bowl, mix the flour with 1/2 teaspoon salt and 1/4 teaspoon pepper. In the second bowl, whisk together the eggs and Dijon mustard until smooth. In the third bowl, combine the panko breadcrumbs, grated Parmesan, garlic powder, onion powder, and paprika. Mix everything together with your fingers to distribute the cheese evenly.
- Pat the chicken thighs dry with paper towels. Season both sides of each thigh with a pinch of salt and pepper.
- Coat each thigh. First, dredge a chicken thigh in the flour mixture, shaking off any excess. Then dip it into the egg wash, letting any extra drip off. Finally, press it firmly into the panko-Parmesan mixture, making sure every surface is covered. Place the coated thigh on the prepared wire rack. Repeat with all four thighs.
- Drizzle with olive oil. Drizzle about 1/2 tablespoon of olive oil over each thigh, or use a pastry brush to spread it evenly.
- Bake for 25-30 minutes, until the coating is deep golden brown and the internal temperature of the thickest part of the thigh reaches 165°F (74°C). No need to flip—the wire rack lets the heat circulate all around. If you’re not using a rack, flip the chicken carefully at the 15-minute mark.
- Let rest for 5 minutes before serving. Garnish with fresh parsley if desired.
Notes
For extra crispiness, switch the oven to broil for the last 1-2 minutes, watching carefully to avoid burning. Let the coated chicken rest for 5 minutes before baking to help the coating adhere. If you don’t have a wire rack, line the baking sheet with parchment paper and flip the chicken halfway through baking.
Nutrition
- Serving Size: 1 chicken thigh
- Calories: 400
- Sugar: 1
- Sodium: 580
- Fat: 22
- Saturated Fat: 6
- Carbohydrates: 14
- Fiber: 1
- Protein: 32
Keywords: crispy baked chicken thighs, Parmesan chicken, easy chicken recipe, 30-minute meal, baked chicken thighs, weeknight dinner, potluck recipe


