Love this? Save it for later!
Share the inspiration with your friends
This was supposed to be a simple stovetop mac and cheese. You know, the kind you whip up on a Tuesday when you need comfort food fast and don’t want to dirty every dish in the kitchen. I had the cheddar out, the milk was warming on the stove, and I was feeling pretty good about my plan. Then my neighbor called—her oven had gone kaput right as she was about to bake a dish for our building’s potluck dinner. Could I help? Of course I said yes, grabbed her baking dish, and promptly forgot about my simmering stovetop sauce. By the time I got back, the milk had scorched, the cheese had seized, and I had a lumpy, sad mess staring back at me. Honestly, I wanted to cry. I had nothing to bring to this potluck now.
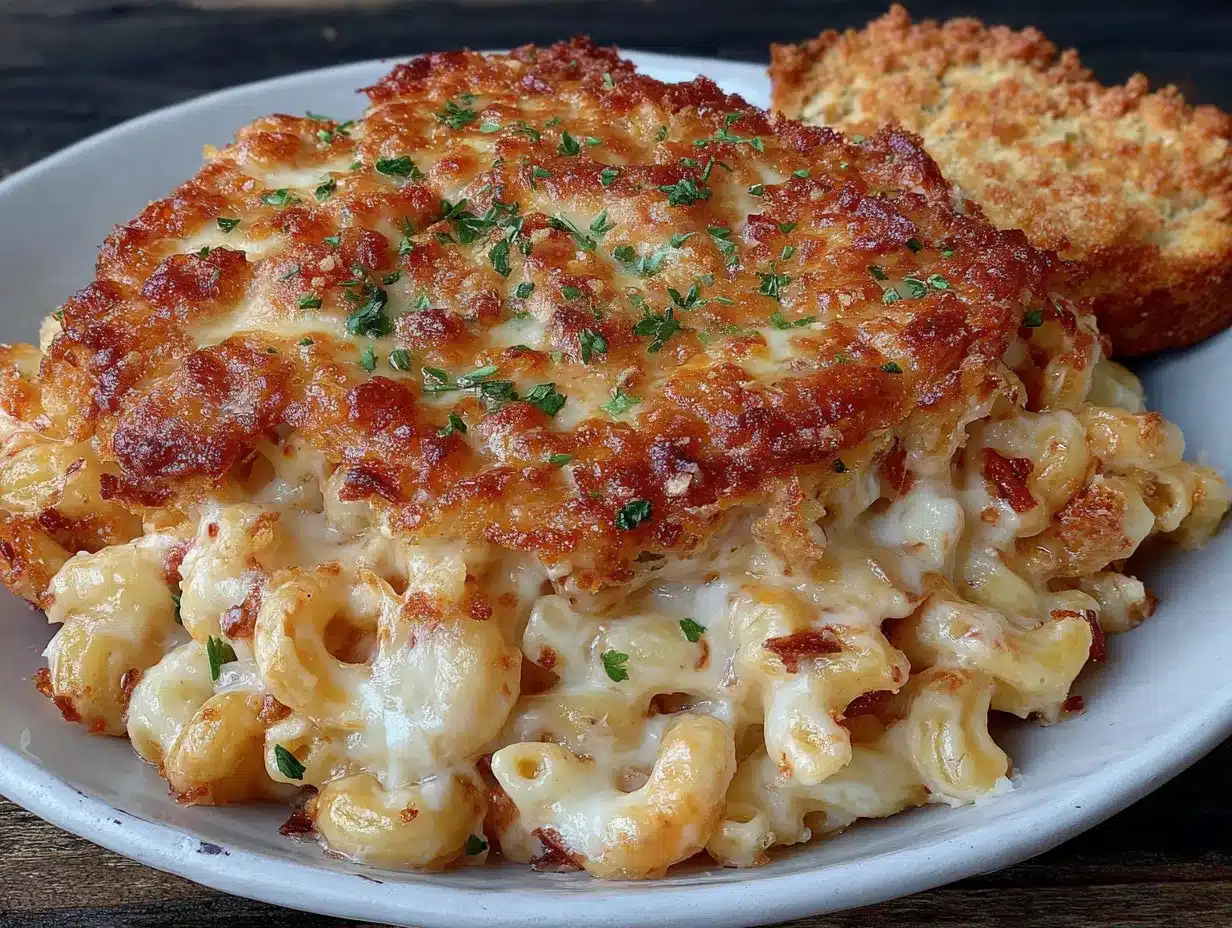
But I had a backup block of cheddar, some mozzarella I’d been saving for pizza night, and a block of cream cheese that was just sitting there. I also had a box of panko breadcrumbs I’d bought on a whim. So I did what any slightly desperate, slightly stubborn cook would do—I threw everything into a new pot, added some garlic, poured it over pasta, and topped it with those panko crumbs. I shoved the whole thing into the oven, hoping for the best. What came out was nothing like the plan. And better. Way better. The top was golden and crunchy, the inside was so creamy it almost didn’t make sense, and the three cheeses had melted into this rich, tangy, savory hug of a sauce. I brought it to the potluck, and let me tell you, it disappeared in ten minutes flat. Someone asked for the recipe before I even sat down. Maybe you’ve been there—a kitchen disaster that somehow turns into your new signature dish. That’s this one for me.
I’ve made this creamy three-cheese mac and cheese with garlic panko crust at least a dozen times since that night. It’s the dish I bring when I need to impress, the one I make when I want to feel like I actually know what I’m doing in the kitchen. It’s rich without being heavy, crunchy on top and silky underneath, and it has this way of making everyone at the table go quiet for a second. That first bite moment? It’s real. And now I get to share it with you.
Why You’ll Love This Recipe
Let’s be honest—there are a million mac and cheese recipes out there. Some are too dry, some are too soupy, and some just taste like a box with extra steps. This one hits that perfect middle ground. I’ve tested it for potlucks, for quiet family dinners, and for those nights when you just need something good. Here’s why it stands out:
- Three-Cheese Magic: Cheddar gives it that sharp, classic flavor. Mozzarella brings the stretchy, gooey pull. Cream cheese adds an unbelievable silkiness that you just can’t get with milk and butter alone. They work together like a dream team.
- Garlic Panko Crust: That crunchy, buttery, garlicky topping isn’t just for looks. It adds texture that makes every bite exciting. It’s the part everyone fights over.
- Perfect for Hosting: This dish is a showstopper at any gathering. It scales beautifully—double it for a crowd, and it still comes out perfect. Plus, you can prep it ahead and pop it in the oven when guests arrive.
- Crowd-Pleaser: Kids love the creamy pasta. Adults love the sophisticated cheese blend and that crunchy crust. It’s one of those rare dishes that makes everyone happy.
- Simple Ingredients: No fancy cheese shop trips needed. You can find everything at your regular grocery store. I’ve made it with store-brand blocks and it still turns out amazing.
This isn’t just another mac and cheese recipe. It’s the one that makes you close your eyes after the first bite. It’s comfort food reimagined—richer, crunchier, and more satisfying than the version you grew up with. Perfect for impressing guests without stress, or turning a simple Tuesday dinner into something memorable.
What Ingredients You Will Need
This recipe uses simple, wholesome ingredients to deliver that bold, creamy flavor and satisfying crunch. Most of these are pantry staples or easy to find at any grocery store. Here’s what you’ll need:
For the Pasta
- 1 pound (450g) elbow macaroni — or cavatappi, shells, or any short pasta you love. I prefer cavatappi for that extra twist that catches the sauce.
- Salt — for the pasta water. Don’t skip it; it’s your first chance to season the noodles.
For the Three-Cheese Sauce
- 4 tablespoons (56g) unsalted butter — I use Kerrygold for its rich flavor, but any unsalted butter works. Salted butter will make the sauce too salty, so stick with unsalted.
- 1/4 cup (30g) all-purpose flour — this thickens the sauce. For a gluten-free version, use a 1:1 gluten-free flour blend.
- 3 cups (710ml) whole milk — whole milk gives the creamiest result. You can use 2%, but the sauce won’t be as luxurious. Avoid skim milk.
- 1 cup (240ml) heavy cream — this adds that extra richness. For a lighter version, use all milk, but the sauce will be thinner.
- 2 cups (225g) sharp cheddar cheese, shredded — buy a block and shred it yourself. Pre-shredded cheese has anti-caking agents that prevent smooth melting. I recommend Tillamook or Cabot for great flavor.
- 1 cup (115g) mozzarella cheese, shredded — low-moisture mozzarella works best here. Fresh mozzarella is too watery.
- 4 ounces (113g) cream cheese, softened — this is the secret to the ultra-creamy texture. Let it sit out for 30 minutes before using so it blends smoothly.
- 1 teaspoon garlic powder — not fresh garlic here; garlic powder dissolves evenly into the sauce without burning.
- 1/2 teaspoon onion powder — adds depth without being overpowering.
- 1/2 teaspoon smoked paprika — optional, but it adds a subtle smokiness that complements the cheddar beautifully.
- 1/2 teaspoon salt — plus more to taste. Remember, the pasta water is salted, so don’t overdo it.
- 1/4 teaspoon black pepper — freshly ground is best.
For the Garlic Panko Crust
- 1 cup (100g) panko breadcrumbs — panko gives that light, extra-crunchy texture. Regular breadcrumbs will work but won’t be as crispy.
- 3 tablespoons (42g) unsalted butter, melted — this helps the panko toast to golden perfection.
- 2 cloves garlic, minced — fresh garlic is key here. It infuses the panko while it bakes. Don’t use garlic powder for the topping.
- 1/4 cup (25g) grated Parmesan cheese — adds a salty, nutty flavor to the crust. Use the real stuff, not the green can.
- 2 tablespoons fresh parsley, chopped — optional, but it adds a pop of color and freshness.
Equipment Needed
You don’t need a professional kitchen to make this dish. Here’s what you’ll need:
- Large pot — for boiling the pasta. Make sure it’s big enough to hold 4-6 quarts of water.
- Medium saucepan — for making the cheese sauce. A heavy-bottomed pan prevents scorching.
- 9×13-inch (23x33cm) baking dish — this is the standard size for this recipe. A 3-quart casserole dish also works. For a smaller batch, use an 8×8-inch dish and halve the recipe.
- Whisk — essential for a lump-free sauce. A silicone whisk is great for scraping the bottom of the pan.
- Wooden spoon or spatula — for stirring the pasta and sauce together.
- Box grater or food processor with shredding disc — for shredding your own cheese. Trust me, it makes a difference. I’ve used both, and the food processor saves time when I’m prepping for a crowd.
- Small bowl — for mixing the panko topping.
- Measuring cups and spoons — accuracy matters, especially with the flour and liquid.
If you don’t have a 9×13-inch dish, you can use two 8×8-inch dishes or even a cast-iron skillet. Just adjust the baking time slightly—smaller dishes will bake faster. And if you don’t have a whisk, a fork works in a pinch, but you’ll need to whisk vigorously to avoid lumps.
Preparation Method
Let’s get cooking. This might look like a lot of steps, but I promise it’s straightforward. Take your time, and you’ll be rewarded with the creamiest, crunchiest mac and cheese of your life.
Step 1: Preheat and Prep
Preheat your oven to 375°F (190°C). Grease your 9×13-inch baking dish with a little butter or non-stick spray. Set it aside. This is also a good time to let your cream cheese sit out and soften if you haven’t already.
Step 2: Cook the Pasta
Bring a large pot of generously salted water to a boil. Add the pasta and cook according to package directions until al dente—about 1 minute less than the recommended time. The pasta will continue cooking in the oven, so you want it slightly firm. Drain the pasta, but don’t rinse it. Rinsing removes the starch that helps the sauce cling to the noodles. Set the pasta aside.
Step 3: Make the Roux
In a medium saucepan over medium heat, melt the 4 tablespoons of butter. Once it’s fully melted and bubbling, add the flour. Whisk constantly for about 1-2 minutes. The mixture will look like a thick paste. You’re looking for a light golden color and a nutty aroma. Don’t let it brown too much, or the sauce will have a burnt flavor. This is your roux, and it’s the foundation of your creamy sauce.
Step 4: Build the Sauce
Slowly pour in the milk, whisking continuously. Keep whisking as you add the heavy cream. The mixture will start to thicken after about 3-4 minutes. You’re looking for a consistency that coats the back of a spoon—not too thick, not too thin. If it gets too thick, add a splash more milk. If it’s too thin, let it simmer for another minute while whisking.
Step 5: Add the Cheese
Reduce the heat to low. Add the softened cream cheese and whisk until it’s completely melted and smooth. Then, add the shredded cheddar and mozzarella in handfuls, whisking after each addition until fully melted. Don’t rush this step—adding the cheese all at once can cause it to clump. Once all the cheese is melted, stir in the garlic powder, onion powder, smoked paprika (if using), salt, and pepper. Taste the sauce. Adjust the seasoning if needed. The sauce should be rich, creamy, and well-seasoned.
Step 6: Combine Pasta and Sauce
Add the drained pasta to the saucepan with the cheese sauce. Stir gently with a wooden spoon until every piece of pasta is coated. The sauce will seem a little loose at this point, but that’s okay. It will thicken as it bakes. Pour the macaroni and cheese mixture into your prepared baking dish and spread it evenly.
Step 7: Make the Garlic Panko Crust
In a small bowl, combine the panko breadcrumbs, melted butter, minced garlic, and grated Parmesan. Stir until the breadcrumbs are evenly coated. The mixture should look like wet sand. Sprinkle this evenly over the top of the mac and cheese. Don’t press it down—you want it to stay light and crunchy.
Step 8: Bake to Perfection
Place the baking dish on the middle rack of your preheated oven. Bake for 20-25 minutes, or until the sauce is bubbly around the edges and the panko crust is golden brown. If the top isn’t golden enough after 20 minutes, you can switch the oven to broil for 1-2 minutes. Watch it closely—panko can burn quickly under the broiler.
Step 9: Rest and Serve
Remove the dish from the oven and let it rest for 5-10 minutes. This allows the sauce to set slightly, making it easier to serve. Sprinkle with fresh parsley if you’re using it. Scoop out generous portions and watch them disappear.
Cooking Tips & Techniques
I’ve made this recipe more times than I can count, and I’ve learned a few things the hard way. Here are my best tips to make sure yours turns out perfect:
Shred Your Own Cheese
I know it’s tempting to buy the pre-shredded bags. They’re convenient. But they’re coated with potato starch and cellulose, which prevent the cheese from melting into a smooth sauce. You’ll end up with a grainy, clumpy mess. Spend the extra 5 minutes shredding a block of cheddar. Your sauce will thank you.
Don’t Overcook the Pasta
Al dente is your friend. If you cook the pasta fully before baking, it will turn mushy in the oven. That slight bite keeps the dish textured and satisfying. I once forgot to set a timer and ended up with pasta that fell apart. The sauce was great, but the texture was all wrong. Learn from my mistake.
Low and Slow for the Sauce
When you’re melting the cheese, keep the heat on low. High heat can cause the cheese to separate and become oily. Patience is key here. I ruined my first batch by cranking up the heat because I was in a hurry. The sauce turned into a greasy, stringy disaster. Take it slow.
Make Ahead for Hosting
If you’re making this for a dinner party or potluck, you can assemble the entire dish (without the panko topping) a day ahead. Cover and refrigerate. When you’re ready to bake, let it sit at room temperature for 30 minutes, then add the panko topping and bake. You might need to add 5-10 minutes to the baking time since it’s starting cold. This is a lifesaver when you’re hosting—one less thing to worry about while guests are arriving.
Double It for a Crowd
This recipe scales beautifully. For a larger gathering, simply double all the ingredients and use a larger baking dish or two 9×13-inch dishes. The baking time stays roughly the same. I’ve brought this to holiday dinners and potlucks, and there are never leftovers.
Variations & Adaptations
This recipe is a great base, but don’t be afraid to make it your own. Here are some variations I’ve tried and loved:
Add Some Protein
For a heartier dish, stir in 2 cups of cooked, shredded chicken, crumbled bacon, or diced ham before baking. I once added leftover pulled pork from a barbecue, and it was incredible. The smoky sweetness of the pork paired perfectly with the creamy cheese sauce.
Spice It Up
If you like heat, add 1/2 teaspoon of cayenne pepper or red pepper flakes to the cheese sauce. You can also mix some chopped jalapeños into the panko topping for a spicy crunch. My brother-in-law loves this version—he says it wakes up the dish.
Vegetable Boost
Stir in 1 cup of steamed broccoli florets, roasted cauliflower, or sautéed mushrooms before baking. The vegetables add color, texture, and a little nutrition. I’ve also added caramelized onions, which add a sweet, savory depth that’s just amazing.
Gluten-Free Version
Use gluten-free pasta and a 1:1 gluten-free flour blend for the roux. The sauce will be slightly thinner, but it still works. Make sure your panko is gluten-free as well—some brands offer gluten-free options. I’ve tested this with a gluten-free blend, and it turned out beautifully.
Different Cheese Combos
Feel free to experiment with the cheese blend. Try Gruyère for a nuttier flavor, Gouda for smokiness, or Monterey Jack for extra meltiness. Just keep the total amount of shredded cheese the same. I once made it with half cheddar and half smoked Gouda, and it was a hit at a game night.
Serving & Storage Suggestions
This mac and cheese is best served hot, straight from the oven. Let it rest for 5-10 minutes so the sauce sets slightly, then scoop it into bowls. The contrast between the crunchy panko crust and the creamy pasta underneath is pure magic.
What to Serve Alongside
This dish is rich, so I like to pair it with something light and fresh. A simple green salad with a tangy vinaigrette cuts through the creaminess perfectly. Roasted vegetables like asparagus or Brussels sprouts also work well. If you’re hosting a dinner party, serve it alongside a roasted chicken or a glazed ham. For a potluck, it’s a star on its own.
Storage Instructions
Leftovers can be stored in an airtight container in the refrigerator for up to 4 days. The panko crust will lose its crunch, but the flavor will still be amazing. To reheat, place individual portions in the microwave for 1-2 minutes, or reheat the entire dish in a 350°F (175°C) oven for 15-20 minutes. If reheating in the oven, cover the dish with foil to prevent the top from burning.
Freezing Tips
This mac and cheese freezes well. Assemble the dish completely, but don’t bake it. Cover tightly with foil and freeze for up to 3 months. When you’re ready to bake, thaw it in the refrigerator overnight, then bake as directed. You might need to add 10-15 minutes to the baking time. I’ve done this for busy weeks, and it’s a lifesaver.
Nutritional Information & Benefits
Let’s be real—this is comfort food. It’s rich, indulgent, and meant to be enjoyed. But here’s a rough estimate of what you’re looking at per serving (based on 8 servings):
- Calories: Approximately 580-650
- Protein: 22-25g
- Fat: 35-40g
- Carbohydrates: 45-50g
- Fiber: 2-3g
That said, this dish does have some redeeming qualities. The cheese provides calcium and protein. The milk adds vitamin D and B12. And hey, comfort food has its own kind of benefits—it makes you feel good. I believe in balance. Enjoy this dish as part of a varied diet. Serve it with a big salad or some roasted veggies, and you’ve got a satisfying meal that hits all the right notes.
Conclusion
This creamy baked three-cheese mac and cheese with garlic panko crust started as a kitchen disaster, but it’s become one of my most-requested recipes. It’s the dish I bring when I want to impress, the one I make when I need a hug in a bowl, and the one that always, always disappears. The combination of sharp cheddar, stretchy mozzarella, and silky cream cheese creates a sauce that’s next-level creamy, while that garlicky, buttery panko crust adds the perfect crunch.
I hope you make this recipe your own. Add your favorite mix-ins, adjust the cheese blend, or keep it exactly as written. However you make it, I promise it will be a hit. Whether you’re serving it at a dinner party, bringing it to a potluck, or just making a cozy dinner for your family, this mac and cheese delivers every single time.
If you try this recipe, I’d love to hear about it. Leave a comment below and let me know how it turned out. Did you add any fun variations? Did your guests fight over the crunchy topping? Share your stories—I read every single one. And don’t forget to pin this recipe for later! Happy cooking, my friend.
Frequently Asked Questions
Can I use pre-shredded cheese?
You can, but I really recommend shredding your own. Pre-shredded cheese has anti-caking agents that prevent it from melting smoothly, which can make your sauce grainy. A block of cheese and a box grater take just a few minutes and make a huge difference.
Can I make this ahead of time?
Absolutely! Assemble the dish without the panko topping, cover it, and refrigerate for up to 24 hours. When you’re ready to bake, let it sit at room temperature for 30 minutes, add the panko topping, and bake as directed. You may need to add 5-10 minutes to the baking time.
Can I freeze this mac and cheese?
Yes. Assemble the dish completely but don’t bake it. Cover tightly with foil and freeze for up to 3 months. Thaw overnight in the refrigerator, then bake as directed. The texture might be slightly different, but it’s still delicious.
What can I use instead of panko breadcrumbs?
Regular breadcrumbs will work, but they won’t be as crunchy. You can also use crushed crackers like Ritz or buttery round crackers for a different texture. For a gluten-free option, use gluten-free panko or crushed pork rinds.
How do I reheat leftovers without drying them out?
The best way is in the oven. Place the mac and cheese in a baking dish, cover with foil, and reheat at 350°F (175°C) for 15-20 minutes. For individual portions, the microwave works in a pinch—just add a splash of milk before reheating to keep it creamy.
Pin This Recipe!
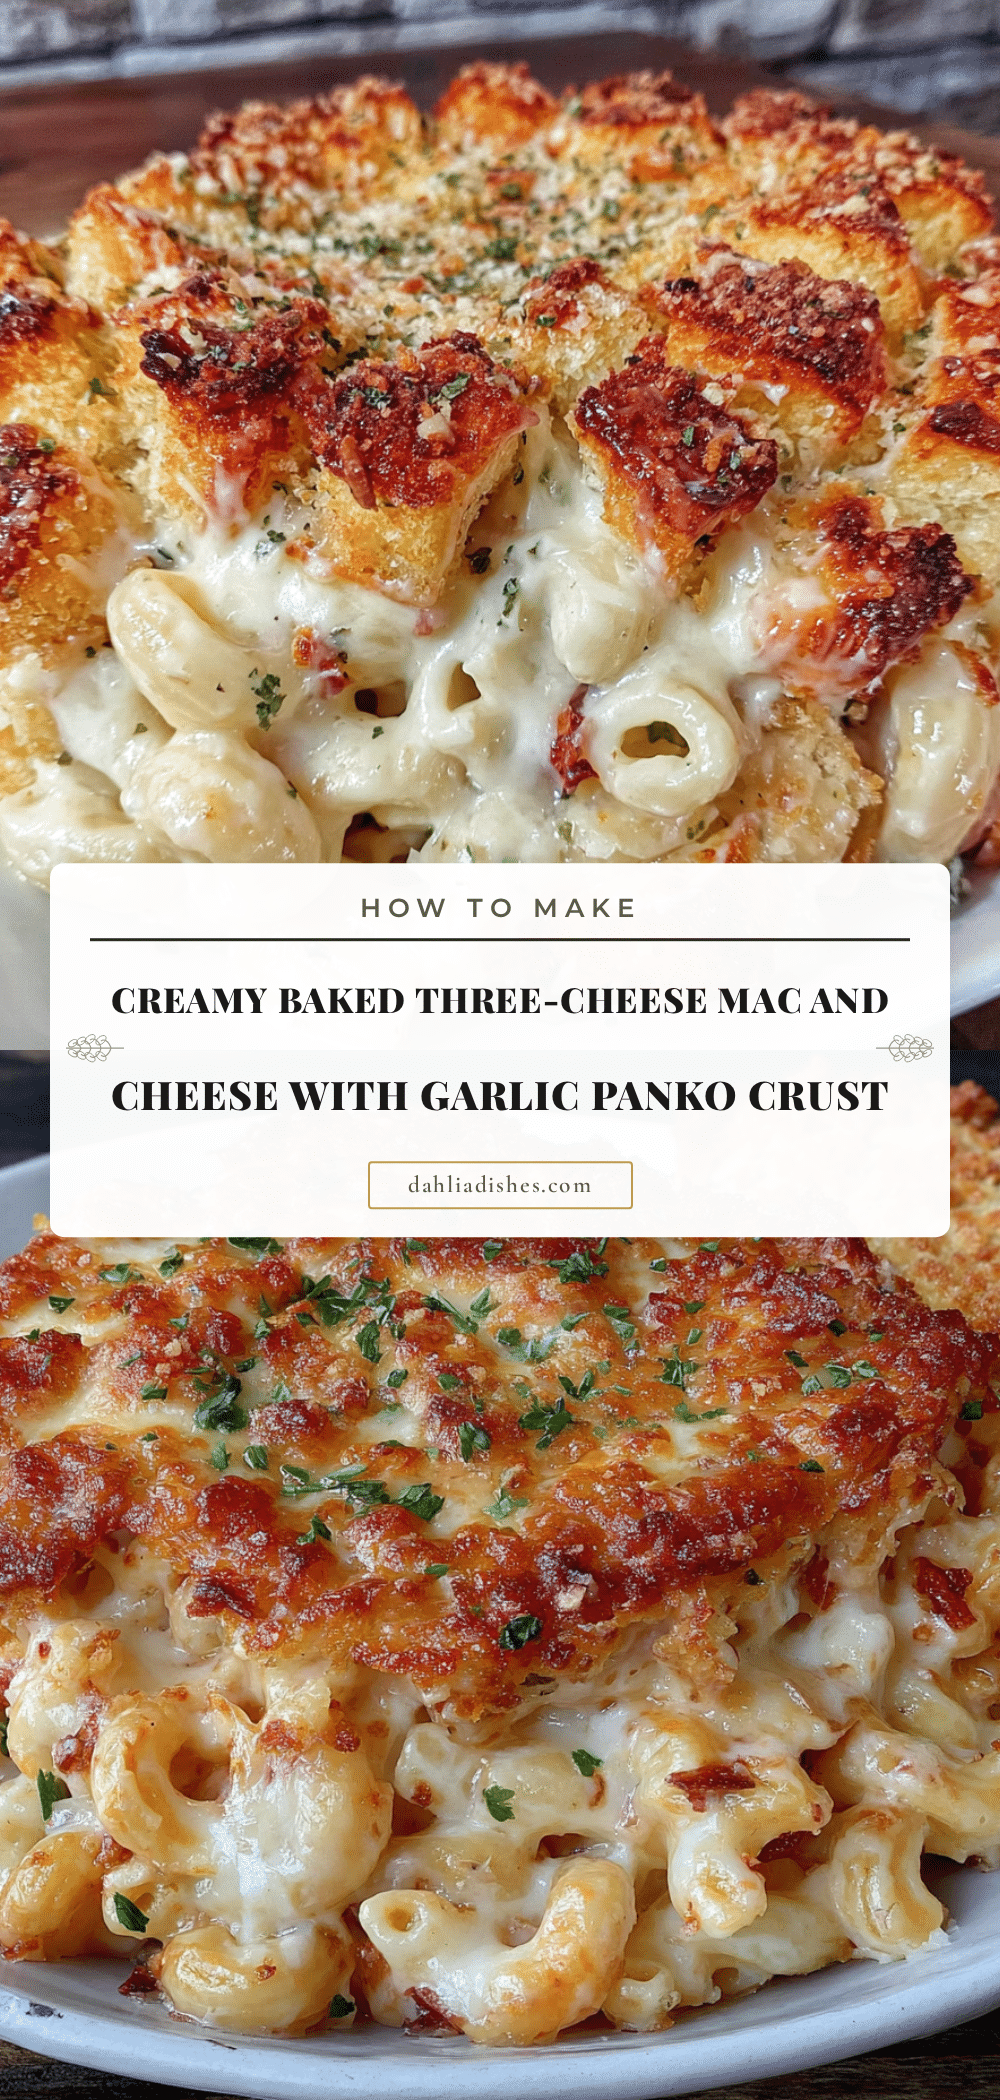
Creamy Three-Cheese Mac and Cheese Recipe with Garlic Topping
This creamy baked mac and cheese features a three-cheese sauce made with cheddar, mozzarella, and cream cheese, topped with a crunchy garlic panko crust. It’s the perfect comfort food for potlucks, family dinners, or any occasion.
- Prep Time: 15 minutes
- Cook Time: 25 minutes
- Total Time: 40 minutes
- Yield: 8 servings 1x
- Category: Main Course
- Cuisine: American
Ingredients
- 1 pound (450g) elbow macaroni or cavatappi
- Salt for pasta water
- 4 tablespoons (56g) unsalted butter
- 1/4 cup (30g) all-purpose flour
- 3 cups (710ml) whole milk
- 1 cup (240ml) heavy cream
- 2 cups (225g) sharp cheddar cheese, shredded
- 1 cup (115g) mozzarella cheese, shredded
- 4 ounces (113g) cream cheese, softened
- 1 teaspoon garlic powder
- 1/2 teaspoon onion powder
- 1/2 teaspoon smoked paprika (optional)
- 1/2 teaspoon salt
- 1/4 teaspoon black pepper
- 1 cup (100g) panko breadcrumbs
- 3 tablespoons (42g) unsalted butter, melted
- 2 cloves garlic, minced
- 1/4 cup (25g) grated Parmesan cheese
- 2 tablespoons fresh parsley, chopped (optional)
Instructions
- Preheat oven to 375°F (190°C). Grease a 9×13-inch baking dish with butter or non-stick spray.
- Bring a large pot of generously salted water to a boil. Cook pasta according to package directions until al dente (about 1 minute less than recommended). Drain, do not rinse.
- In a medium saucepan over medium heat, melt 4 tablespoons butter. Add flour and whisk constantly for 1-2 minutes until light golden and nutty.
- Slowly pour in milk and heavy cream, whisking continuously. Cook for 3-4 minutes until thickened and coats the back of a spoon.
- Reduce heat to low. Add softened cream cheese and whisk until smooth. Gradually add shredded cheddar and mozzarella, whisking after each addition until melted. Stir in garlic powder, onion powder, smoked paprika (if using), salt, and pepper. Taste and adjust seasoning.
- Add drained pasta to the sauce and stir gently until well coated. Pour into prepared baking dish and spread evenly.
- In a small bowl, combine panko breadcrumbs, melted butter, minced garlic, and Parmesan cheese. Stir until mixture resembles wet sand. Sprinkle evenly over the mac and cheese.
- Bake on middle rack for 20-25 minutes until bubbly and golden brown. If needed, broil for 1-2 minutes for extra color, watching closely.
- Let rest for 5-10 minutes before serving. Sprinkle with fresh parsley if desired.
Notes
Shred your own cheese for a smooth sauce. Cook pasta al dente to avoid mushiness. For make-ahead, assemble without panko topping, refrigerate up to 24 hours, then add topping and bake (add 5-10 minutes). Freezes well unbaked for up to 3 months.
Nutrition
- Serving Size: 1 serving (about 1/8
- Calories: 615
- Sugar: 8
- Sodium: 680
- Fat: 38
- Saturated Fat: 23
- Carbohydrates: 48
- Fiber: 2
- Protein: 24
Keywords: mac and cheese, three-cheese, baked mac and cheese, garlic panko, comfort food, potluck, creamy


