Love this? Save it for later!
Share the inspiration with your friends
My neighbor Sarah wasn’t trying to impress anyone. I’d stopped by to borrow a pie plate the Tuesday before Thanksgiving, and this warm, spiced smell hit me before I even got through her front door. It was that unmistakable scent of fall baking—cinnamon, nutmeg, something sweet and cozy curling through the air. She was standing at her kitchen counter, hands covered in a buttery crumb mixture, looking completely unbothered by the fact that she was creating something that smelled like pure happiness.
“Oh, those are just cake pops,” she said when I asked what she was making. “Leftover pumpkin cake from yesterday. I’m trying to clean out the fridge before the big day.” She said it like it was nothing, like she wasn’t turning yesterday’s dessert into the cutest little bites I’d ever seen. Honestly, I almost laughed. Here I was, stressing about my elaborate Thanksgiving menu, and Sarah was over here making magic from leftovers without breaking a sweat.
She let me try one while they were still warm, and I mean it when I say I closed my eyes. The outside had this delicate crunch, and the inside was soft and perfectly spiced, like a little pocket of November. Maybe you’ve been there—that moment when something so simple completely shifts your perspective. I went home with the borrowed pie plate and a new obsession. These pumpkin spice cake pops became my thing that year, and honestly, they’ve saved me every Thanksgiving since. They’re the dessert nobody expects and everybody fights over.
Why You’ll Love This Recipe
Let me be honest with you—I’ve tested this recipe about seven times to get it just right. I wanted cake pops that tasted like a real pumpkin spice latte had a baby with your grandma’s best cake. Here’s why these little bites work so well:
- Quick & Easy : These come together in about 40 minutes of active time. The hardest part is waiting for them to chill.
- Simple Ingredients : You probably have most of this in your pantry right now. No fancy extracts or specialty flours needed.
- Perfect for Thanksgiving : They’re the ideal make-ahead dessert that frees up your oven space for the big turkey. Plus, they’re portable and mess-free.
- Crowd-Pleaser : I’ve watched kids grab three at once and adults pretend they’re only having one. Everyone loves them.
- Unbelievably Delicious : The cream cheese frosting mixed into the crumbled cake creates this texture that’s almost like a truffle. It’s next-level comfort food in two bites.
What makes these different from every other cake pop recipe out there is the technique. I blend the pumpkin cake with cream cheese frosting instead of buttercream, and it makes the inside incredibly moist without being heavy. The coating sets up perfectly with a little coconut oil mixed into the white chocolate, giving you that satisfying snap when you bite in. This isn’t just another holiday dessert—it’s the one that makes people ask for the recipe before they’ve even finished eating.
These cake pops have this way of making Thanksgiving feel special without adding stress. You know that feeling when you want to impress your guests but also want to actually enjoy the day? That’s exactly what this recipe delivers.
What Ingredients You Will Need
This recipe uses simple, wholesome ingredients that come together to create something truly special. Most of these are pantry staples, especially if you do any fall baking, and they’re all easy to find at your regular grocery store.
- For the Pumpkin Cake:
- 1 ¾ cups all-purpose flour (I use King Arthur for consistent results)
- 1 ½ teaspoons baking powder
- 1 teaspoon baking soda
- 2 teaspoons pumpkin pie spice (store-bought is fine, but I prefer making my own blend)
- 1 teaspoon ground cinnamon
- ½ teaspoon salt
- 1 cup granulated sugar
- ½ cup brown sugar, packed
- ½ cup vegetable oil (or melted coconut oil for a subtle flavor)
- 3 large eggs, room temperature
- 1 can (15 ounces) pumpkin puree (not pumpkin pie filling)
- 1 teaspoon vanilla extract
- For the Frosting & Binding:
- 4 ounces cream cheese, softened
- ¼ cup unsalted butter, softened
- 1 ½ cups powdered sugar
- ½ teaspoon vanilla extract
- Pinch of salt
- For the Coating:
- 16 ounces white chocolate melting wafers (I recommend Ghirardelli for the smoothest melt)
- 1 tablespoon coconut oil (helps the coating set with a nice snap)
- Orange gel food coloring (optional, for a festive look)
- Fall sprinkles (those little leaf and pumpkin shapes are adorable)
- For Assembly:
- Lollipop sticks (about 50 of them)
- Styrofoam block or a cardboard box with holes for drying
The pumpkin puree is the star here—look for 100% pure pumpkin, not the pre-sweetened pie filling. I accidentally grabbed the wrong can once, and let me tell you, the texture was way too wet. Stick with the real stuff. For the cream cheese, full-fat works best because it gives the frosting that rich, tangy flavor that balances the sweet pumpkin spice.
If you’re dairy-free, you can swap the cream cheese for a good vegan version and use dairy-free white chocolate. Just keep in mind that the coating might take a little longer to set. I’ve tested this with Miyoko’s cream cheese and it worked beautifully.
Equipment Needed
You don’t need a ton of fancy tools for these cake pops, but a few specific items make the process much smoother. Here’s what I use:
- 9×13-inch baking pan — for the pumpkin cake. Glass or metal both work fine.
- Electric hand mixer or stand mixer — for the cake batter and the frosting. A whisk and some elbow grease work too, but your arm will thank you for the mixer.
- Large mixing bowls — at least two, one for dry ingredients and one for wet.
- Food processor or your hands — for crumbling the cake into fine crumbs. I actually prefer using my hands because I can feel if there are any big chunks left.
- Cookie scoop or tablespoon — for portioning the cake mixture into even balls. A small cookie scoop is my favorite tool for this.
- Baking sheet lined with parchment paper — for chilling the cake balls.
- Microwave-safe bowl — for melting the white chocolate coating.
- Lollipop sticks — about 50, though you might need a few extra for practice.
- Styrofoam block or cardboard box — to hold the cake pops upright while the coating sets. I’ve used an empty egg carton in a pinch, and it worked surprisingly well.
If you don’t have a food processor, don’t sweat it. Your hands do a fantastic job of crumbling the cake, and honestly, it’s kind of therapeutic. Just make sure you wash them well first.
Preparation Method
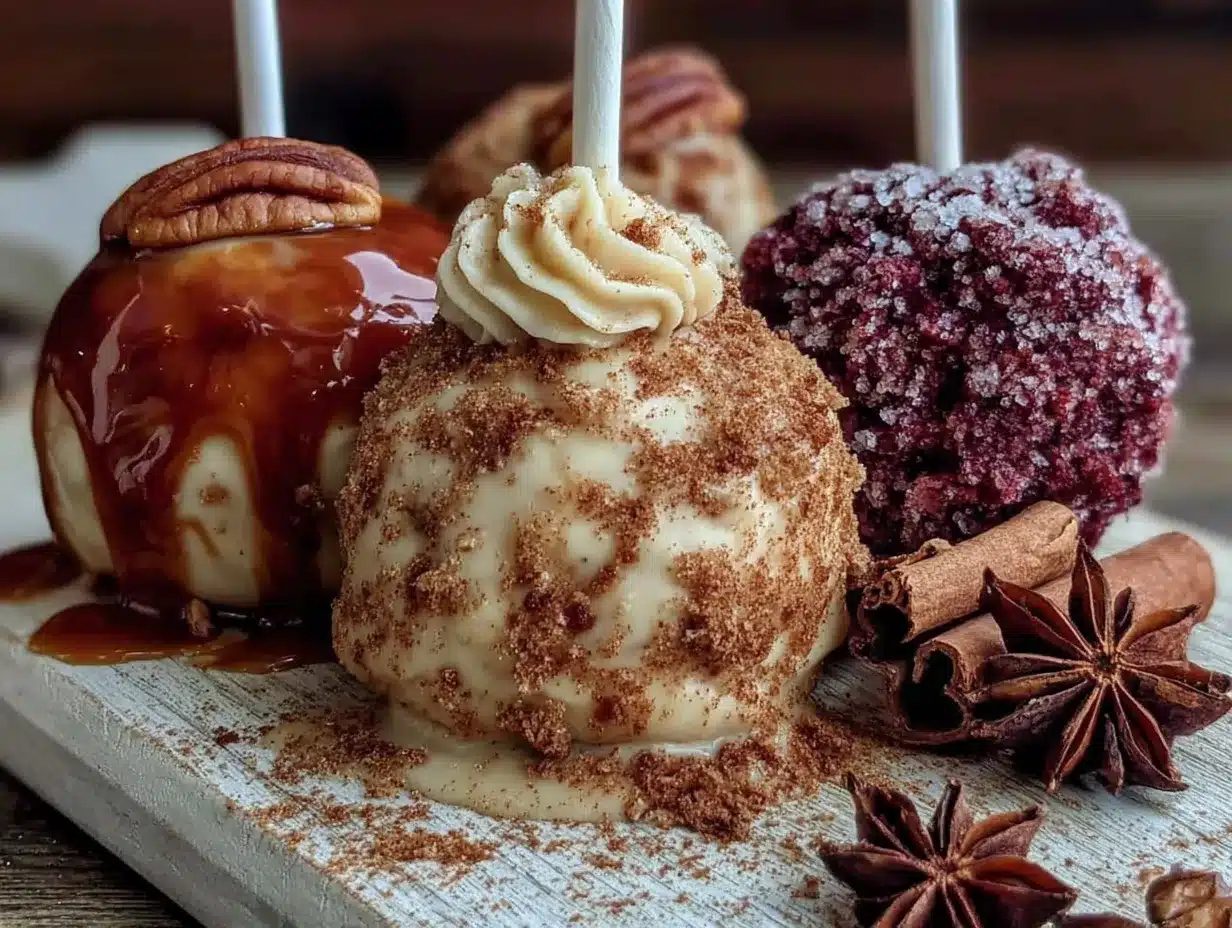
- Preheat your oven to 350°F (175°C). Grease your 9×13-inch baking pan with butter or non-stick spray. I like to line mine with parchment paper too, just to be safe.
- Mix the dry ingredients. In a large bowl, whisk together the flour, baking powder, baking soda, pumpkin pie spice, cinnamon, and salt. Make sure everything is evenly distributed—nobody wants a pocket of baking powder in their cake pop.
- Combine the wet ingredients. In another bowl, beat the granulated sugar, brown sugar, and vegetable oil together until well combined. Add the eggs one at a time, mixing well after each. Then stir in the pumpkin puree and vanilla extract. The mixture will look a little thick and glossy.
- Combine wet and dry. Gradually add the dry ingredients to the wet mixture, stirring just until combined. Don’t overmix, or the cake will be tough. A few streaks of flour are okay—they’ll disappear as you fold.
- Bake the cake. Pour the batter into your prepared pan and spread it evenly. Bake for 25 to 30 minutes, or until a toothpick inserted in the center comes out clean. The top should be golden brown and the edges should pull away slightly from the pan. Let the cake cool completely in the pan on a wire rack. This is important—warm cake won’t crumble properly, and your frosting will melt.
- Make the cream cheese frosting. While the cake cools, beat the softened cream cheese and butter together until smooth and creamy. Gradually add the powdered sugar, beating on low speed to avoid a sugar cloud. Add the vanilla and salt, then beat on medium-high for about 2 minutes until light and fluffy.
- Crumble the cake. Once the cake is completely cool, break it into large chunks and place them in a large bowl. Use your hands or a food processor to crumble the cake into fine, even crumbs. You want it to look like wet sand.
- Mix in the frosting. Add about ¾ of the cream cheese frosting to the crumbled cake and mix with your hands until it comes together like a dough. You want it to hold its shape when pressed, but not be sticky. Add more frosting a tablespoon at a time if needed. I usually end up using all of it, but it depends on how moist your cake is.
- Form the cake balls. Scoop out about 1 tablespoon of the mixture and roll it between your palms into a smooth ball. Place each ball on the parchment-lined baking sheet. You should get about 45 to 50 cake balls.
- Chill the cake balls. Pop the baking sheet into the refrigerator for at least 30 minutes, or up to 2 hours. They need to be firm before you dip them. If you’re in a hurry, the freezer works for 15 minutes.
- Melt the white chocolate. Place the white chocolate wafers and coconut oil in a microwave-safe bowl. Microwave in 30-second intervals, stirring well after each, until completely smooth. If using food coloring, stir it in now until you reach your desired shade of orange.
- Dip the cake pops. Remove the cake balls from the fridge. Dip the tip of a lollipop stick into the melted chocolate, then insert it about halfway into a cake ball. This acts like glue and helps the stick stay put. Dip the entire cake ball into the melted chocolate, gently tapping the stick on the edge of the bowl to let excess drip off. Don’t swirl it around too much, or the cake ball might fall off the stick.
- Add sprinkles. While the coating is still wet, sprinkle your fall-themed sprinkles over the top. Work quickly, because the chocolate sets fast.
- Let them set. Stick the lollipop stick into your Styrofoam block or cardboard box and let the cake pops dry completely. This takes about 20 to 30 minutes at room temperature.
- Repeat with the remaining cake balls. Work in batches if needed, keeping the unused cake balls in the fridge so they stay firm.
Cooking Tips & Techniques
I’ve made about a hundred cake pops at this point, and I’ve learned a few things the hard way. Here are the tips that actually matter:
Don’t skip the chill time. I know it’s tempting to rush, but warm cake balls will fall apart in the melted chocolate. I learned this lesson when I tried to dip a barely-chilled cake ball and watched it slide right off the stick into a puddle of white chocolate. Not my finest moment. Give them a full 30 minutes in the fridge, minimum.
Use coconut oil in your coating. This is the secret to that satisfying snap when you bite into a cake pop. Without it, the white chocolate can be too thick and clumpy. The coconut oil thins it out just enough and helps it set with a smooth, glossy finish.
Tap off excess coating gently. When you dip the cake pop, hold it over the bowl and tap the stick lightly against the rim. The excess chocolate will drip off, and you’ll get a nice, even coating. If you tap too hard, the cake ball might fall off. I’ve definitely had a few casualties this way.
Work in small batches. Keep the undipped cake balls in the fridge while you work. If they sit out too long, they’ll soften and become harder to dip. I usually take out 10 at a time and leave the rest chilling.
Fix cracks with a second dip. Sometimes the coating cracks as it sets, especially if the cake ball was too cold. Don’t panic—just dip it again quickly. The second layer will cover the cracks and make it look perfect.
Use a deep, narrow bowl for dipping. A tall drinking glass or a narrow measuring cup works better than a wide bowl. It lets you submerge the cake ball completely without wasting chocolate.
Variations & Adaptations
One of the best things about this recipe is how easy it is to change up. Here are some variations I’ve tried and loved:
Chocolate Pumpkin Spice Cake Pops : Swap the white chocolate coating for dark or milk chocolate. The rich chocolate pairs beautifully with the pumpkin spice. I did this for a Halloween party once and they disappeared in minutes.
Gluten-Free Version : Use a good gluten-free all-purpose flour blend in place of regular flour. I’ve tested this with Bob’s Red Mill 1-to-1 Baking Flour and it worked perfectly. Just make sure your pumpkin puree is certified gluten-free if that’s a concern.
Vegan Pumpkin Cake Pops : Replace the eggs with flax eggs (1 tablespoon ground flaxseed mixed with 3 tablespoons water per egg) and use vegan cream cheese and butter in the frosting. For the coating, look for dairy-free white chocolate. The texture will be slightly different, but still delicious.
Maple Pecan Twist : Add ½ cup finely chopped pecans to the cake mixture and substitute ¼ cup of the powdered sugar with maple syrup in the frosting. The maple flavor adds a wonderful depth that feels extra cozy for Thanksgiving.
Spiced Coating : Mix a teaspoon of pumpkin pie spice into the melted white chocolate before dipping. It gives the coating a warm, speckled look and an extra layer of flavor that’s absolutely addictive.
Mini Version : Roll the cake mixture into teaspoon-sized balls instead of tablespoon-sized. You’ll get about twice as many, and they’re perfect for kids or for setting out on a dessert table where people want to try a little of everything.
Serving & Storage Suggestions
These cake pops are best served at room temperature. I know it’s tempting to eat them straight from the fridge, but the coating gets too hard and the inside loses some of its softness. Let them sit out for about 15 minutes before serving, and they’ll be perfect.
For a Thanksgiving dessert table, arrange them upright in a small vase or a decorated Styrofoam block. They look gorgeous next to a pumpkin pie or a plate of cookies. You can also wrap each one individually in a clear cellophane bag tied with a ribbon for a take-home treat—your guests will love you for it.
Storage: Keep the cake pops in an airtight container in the refrigerator for up to 5 days. Place them in a single layer with parchment paper between each layer to prevent the coating from sticking. If you’re stacking them, be gentle—the coating can crack if they bump into each other.
Freezing: These freeze beautifully. Place the undipped cake balls on a baking sheet and freeze until solid, then transfer them to a freezer-safe bag. They’ll keep for up to 3 months. When you’re ready to use them, thaw them in the refrigerator overnight, then dip them as directed. The texture stays exactly the same.
Reheating: You don’t really need to reheat these, but if you want that just-baked warmth, pop them in a 300°F (150°C) oven for about 5 minutes. Keep an eye on them so the coating doesn’t melt. Honestly, I prefer them at room temperature—the flavors are more pronounced.
The flavors actually get better after a day or two in the fridge. The pumpkin spice has time to meld with the cream cheese frosting, and the cake becomes even more moist. I always make mine a day ahead of Thanksgiving, and they’re always the first thing to go.
Nutritional Information & Benefits
Let’s be real—these are a treat, not a health food. But there are a few bright spots worth mentioning:
- Calories: Approximately 120 calories per cake pop (based on a batch of 50)
- Fat: 7g
- Carbohydrates: 14g
- Protein: 2g
- Sugar: 10g
The pumpkin puree is actually packed with vitamin A and fiber, so you’re getting a tiny bit of nutrition in each bite. The cream cheese adds a small amount of calcium and protein. Plus, since these are portion-controlled, it’s easier to enjoy a couple without going overboard—unlike that whole pumpkin pie you might be tempted to eat.
If you’re watching your sugar intake, you can reduce the sugar in the cake by ¼ cup and use a sugar-free white chocolate coating. The texture will be slightly different, but still tasty. For a lower-fat version, use reduced-fat cream cheese and skip the coconut oil in the coating.
These are not gluten-free, dairy-free, or nut-free as written, but I’ve included substitutions above if you need them. Always check your ingredient labels if you’re cooking for someone with allergies.
Conclusion
These pumpkin spice cake pops have become my signature Thanksgiving contribution, and I honestly can’t imagine the holiday without them anymore. They’re the kind of dessert that makes people smile—those little pops of fall flavor that feel special without being fussy. Sarah had no idea she was changing my Thanksgiving game that Tuesday afternoon, but here we are.
I love that this recipe lets you use up leftover cake, or you can make it fresh and nobody will know the difference. It’s forgiving, adaptable, and always, always delicious. Whether you’re hosting a big family dinner or bringing something to a Friendsgiving potluck, these cake pops will earn you serious brownie points.
So go ahead and give them a try. Customize them with your favorite sprinkles, experiment with different coatings, and don’t be afraid to get a little messy. That’s where the best recipes come from, honestly. And when someone asks you for the recipe—because they will—just smile and say, “Oh, it’s nothing.” Like Sarah did. Like it’s the most natural thing in the world.
I’d love to hear how yours turn out! Drop a comment below and let me know what variations you tried, or tag me in your photos on social media. Happy Thanksgiving, and happy baking!
Frequently Asked Questions
Can I use a boxed cake mix instead of making the cake from scratch?
Absolutely! Use a boxed spice cake or yellow cake mix and add 1 cup of pumpkin puree and 1 teaspoon of pumpkin pie spice. Follow the package directions, but reduce the oil by about ¼ cup since the pumpkin adds moisture. The texture will be slightly different, but it still works great.
Why did my cake pops fall off the sticks?
This usually happens when the cake balls are too warm or when you dip them too aggressively. Make sure they’re thoroughly chilled before dipping, and dip the stick in melted chocolate first to act as glue. When tapping off excess coating, be gentle—tap the stick against the bowl, not the cake ball itself.
Can I make these ahead of time for Thanksgiving?
Yes, and I actually recommend it! You can make the cake balls up to 3 days ahead and keep them in the fridge, then dip them the day before serving. Or you can freeze the undipped cake balls for up to 3 months. The dipped cake pops will keep in the fridge for up to 5 days.
My white chocolate coating is too thick. What should I do?
Add a little more coconut oil, about ½ teaspoon at a time, and stir until it reaches a smooth, dippable consistency. You can also use vegetable shortening instead of coconut oil. If the chocolate seizes up (gets clumpy and grainy), you’ve overheated it—start over with fresh chocolate and go slower next time.
Can I use dark chocolate instead of white chocolate?
Definitely! Dark or milk chocolate both work beautifully with pumpkin spice. Just skip the orange food coloring, and consider adding a sprinkle of sea salt on top for a sweet-salty contrast. The dipping technique is exactly the same.
Pin This Recipe!
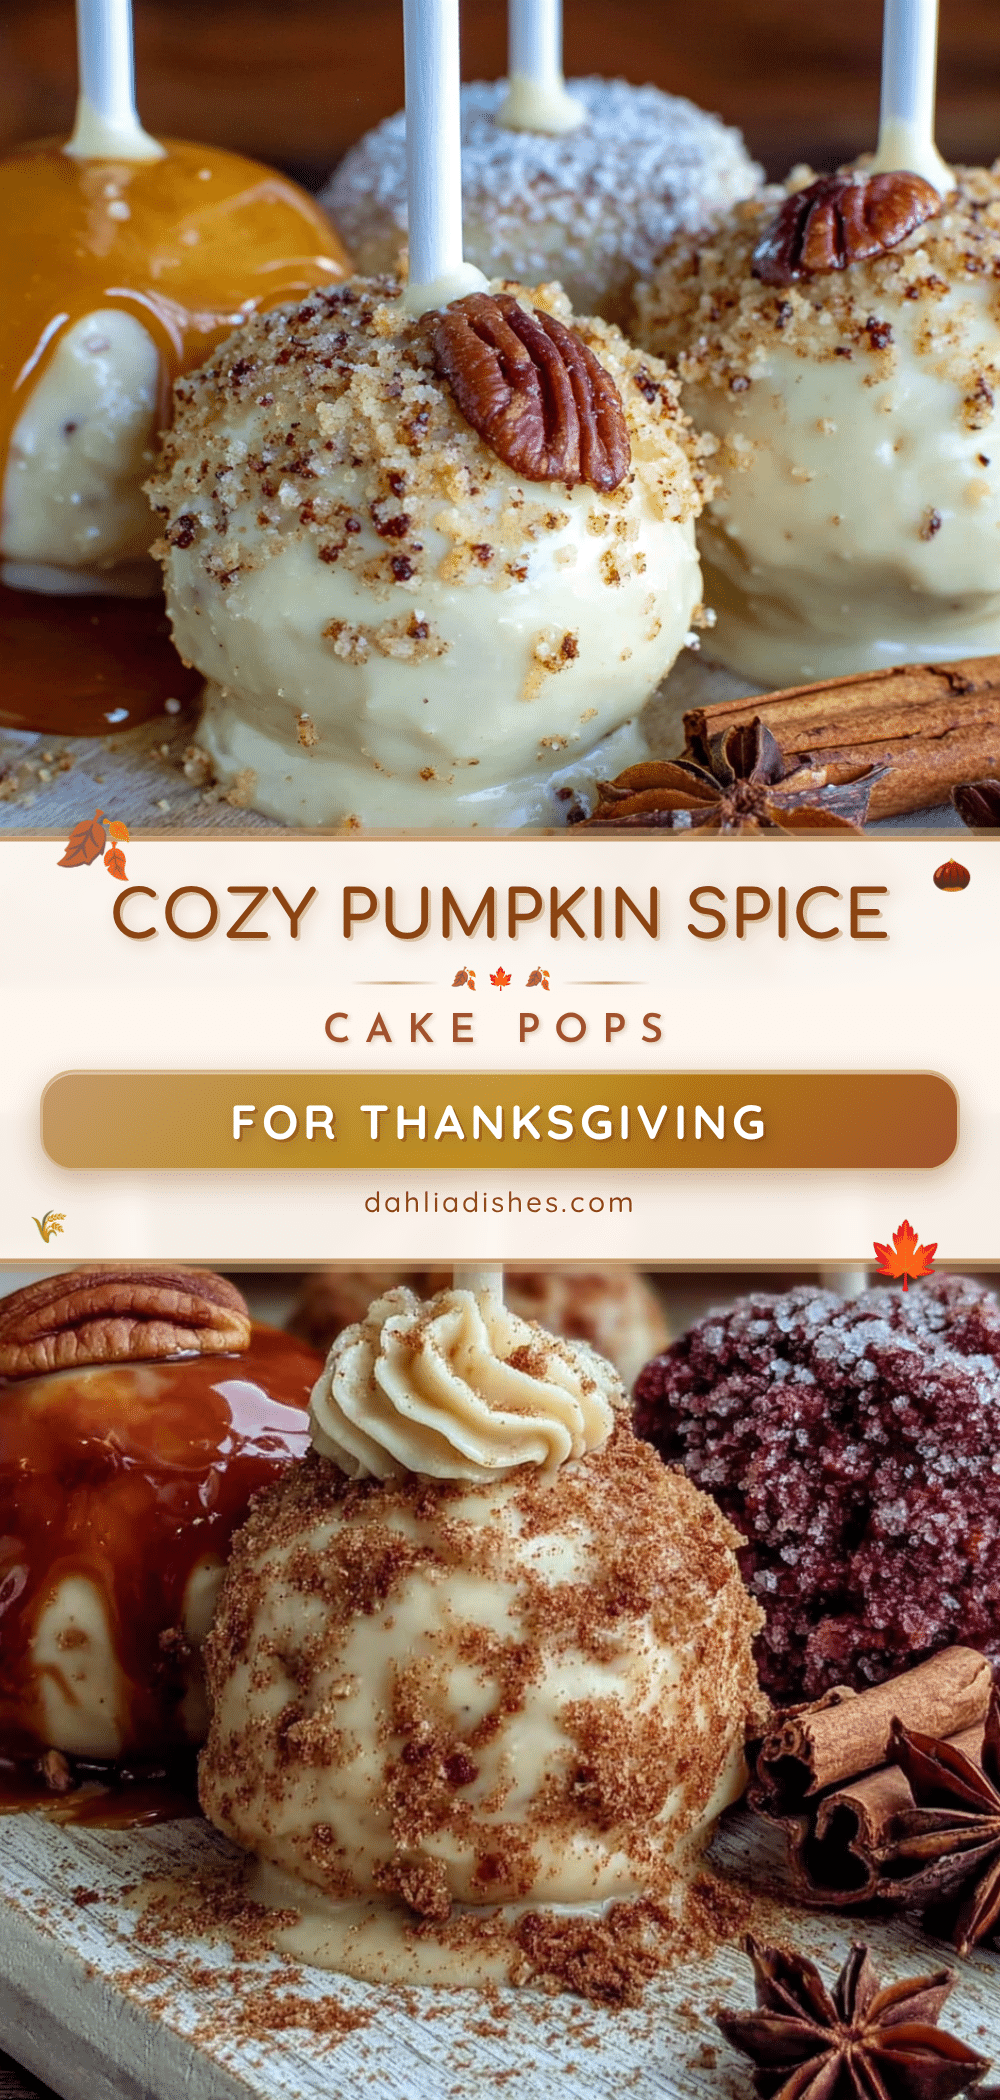
Cozy Pumpkin Spice Cake Pops Perfect for Thanksgiving
These pumpkin spice cake pops are made with moist pumpkin cake and cream cheese frosting, coated in white chocolate and fall sprinkles. They’re the perfect make-ahead dessert for Thanksgiving that everyone will love.
- Prep Time: 40 minutes
- Cook Time: 30 minutes
- Total Time: 1 hour 10 minutes
- Yield: 50 cake pops 1x
- Category: Dessert
- Cuisine: American
Ingredients
- 1 ¾ cups all-purpose flour
- 1 ½ teaspoons baking powder
- 1 teaspoon baking soda
- 2 teaspoons pumpkin pie spice
- 1 teaspoon ground cinnamon
- ½ teaspoon salt
- 1 cup granulated sugar
- ½ cup brown sugar, packed
- ½ cup vegetable oil
- 3 large eggs, room temperature
- 1 can (15 ounces) pumpkin puree
- 1 teaspoon vanilla extract
- 4 ounces cream cheese, softened
- ¼ cup unsalted butter, softened
- 1 ½ cups powdered sugar
- ½ teaspoon vanilla extract
- Pinch of salt
- 16 ounces white chocolate melting wafers
- 1 tablespoon coconut oil
- Orange gel food coloring (optional)
- Fall sprinkles
- Lollipop sticks (about 50)
Instructions
- Preheat your oven to 350°F (175°C). Grease a 9×13-inch baking pan.
- In a large bowl, whisk together the flour, baking powder, baking soda, pumpkin pie spice, cinnamon, and salt.
- In another bowl, beat the granulated sugar, brown sugar, and vegetable oil together. Add the eggs one at a time, mixing well after each. Stir in the pumpkin puree and vanilla extract.
- Gradually add the dry ingredients to the wet mixture, stirring just until combined.
- Pour the batter into the prepared pan and spread evenly. Bake for 25 to 30 minutes, or until a toothpick inserted in the center comes out clean. Let the cake cool completely in the pan on a wire rack.
- While the cake cools, beat the softened cream cheese and butter together until smooth. Gradually add the powdered sugar, then add the vanilla and salt. Beat on medium-high for about 2 minutes until light and fluffy.
- Once the cake is completely cool, crumble it into fine, even crumbs using your hands or a food processor.
- Add about ¾ of the cream cheese frosting to the crumbled cake and mix with your hands until it comes together like a dough. Add more frosting a tablespoon at a time if needed.
- Scoop out about 1 tablespoon of the mixture and roll it into a smooth ball. Place each ball on a parchment-lined baking sheet. You should get about 45 to 50 cake balls.
- Chill the cake balls in the refrigerator for at least 30 minutes, or up to 2 hours.
- Place the white chocolate wafers and coconut oil in a microwave-safe bowl. Microwave in 30-second intervals, stirring well after each, until completely smooth. Stir in food coloring if using.
- Remove the cake balls from the fridge. Dip the tip of a lollipop stick into the melted chocolate, then insert it about halfway into a cake ball. Dip the entire cake ball into the melted chocolate, gently tapping the stick on the edge of the bowl to let excess drip off.
- While the coating is still wet, sprinkle fall-themed sprinkles over the top.
- Stick the lollipop stick into a Styrofoam block or cardboard box and let the cake pops dry completely, about 20 to 30 minutes at room temperature.
- Repeat with the remaining cake balls, keeping the unused ones in the fridge.
Notes
Don’t skip the chill time—warm cake balls will fall apart in the melted chocolate. Use coconut oil in the coating for a satisfying snap. Work in small batches, keeping undipped cake balls in the fridge. If the coating cracks, do a quick second dip.
Nutrition
- Serving Size: 1 cake pop
- Calories: 120
- Sugar: 10
- Sodium: 95
- Fat: 7
- Saturated Fat: 4
- Carbohydrates: 14
- Fiber: 1
- Protein: 2
Keywords: pumpkin spice, cake pops, Thanksgiving, fall dessert, pumpkin cake, white chocolate, cream cheese frosting


