Love this? Save it for later!
Share the inspiration with your friends
This was supposed to be a simple batch of gingerbread cookies. You know, the kind you cut into little stars and trees, dust with powdered sugar, and call it a day. I had the butter softening on the counter, the molasses measured out, and my grandmother’s rolling pin ready to go. Then my neighbor Karen knocked on the door holding a gingerbread house kit that looked like it had been through a war. The walls were cracked, the icing bag had exploded, and she had that look—the one that says “please fix this.”
I told her I’d help, but honestly? I had zero experience with gingerbread houses. I mean, I’d seen the Great British Bake Off tent disasters, and that was enough to make me nervous. So I did what any reasonable person would do—I panicked and grabbed the wrong flour. Instead of all-purpose, I reached for bread flour. The dough came together stiff and stubborn, and I was already mentally apologizing to Karen for the inevitable collapse.
But here’s the thing. That dough didn’t spread. Not even a little bit. The walls stayed straight, the roof held its angle, and the whole thing stood there like a tiny, edible fortress. I stared at it for a solid minute, waiting for it to slump. It didn’t. And that’s how I accidentally stumbled into the best gingerbread house dough I’ve ever used. No spread, no sag, no stress. Just a cozy, sturdy base for all the royal icing and candy your heart desires. Maybe you’ve been there—staring at a wobbly wall, wondering why you thought this was a good idea. Let me tell you, this recipe fixes that.
Why You’ll Love This Recipe
Let’s be real for a second. Gingerbread houses are supposed to be fun, not a test of your patience. I’ve tested this recipe through three different holiday seasons, and I can tell you with confidence—it works every single time. Here’s why this one is different:
- No Spread, No Stress: The dough holds its shape perfectly during baking. Your walls will look like walls, not like sad, melted blobs.
- Simple Pantry Ingredients: You probably have everything already. Butter, sugar, molasses, flour, spices. No weird specialty items.
- Perfect for Family Nights: This is the kind of project that gets everyone involved. Kids can roll, cut, and decorate without fighting with sticky dough.
- Strong Enough to Build On: The royal icing acts like construction glue. Your house won’t collapse halfway through decorating.
- Tastes Amazing Too: Unlike some rock-hard gingerbread houses, this one is actually good enough to eat. Spicy, soft, and cozy.
I’ve had friends tell me they used to dread making gingerbread houses. Now they look forward to it. That’s the kind of recipe this is—it turns a stressful tradition into something warm and joyful.
What Ingredients You Will Need
This recipe uses simple, wholesome ingredients to deliver a dough that’s both sturdy for building and delicious for eating. Nothing fancy here—just pantry staples that work together beautifully.
For the Gingerbread Dough
- 3 ½ cups all-purpose flour (or bread flour for extra stability—I’ve tested both)
- 1 teaspoon baking soda (make sure it’s fresh for proper lift)
- 1 teaspoon ground ginger (I prefer Spice Islands for its bold flavor)
- 1 teaspoon ground cinnamon
- ½ teaspoon ground cloves
- ½ teaspoon salt
- ½ cup unsalted butter, softened (use European-style for richer taste)
- ½ cup dark brown sugar, packed (light brown works too, but dark gives deeper flavor)
- ¾ cup molasses (not blackstrap—use Grandma’s or Brer Rabbit for the right sweetness)
- 1 large egg, room temperature
- 1 teaspoon vanilla extract
For the Royal Icing
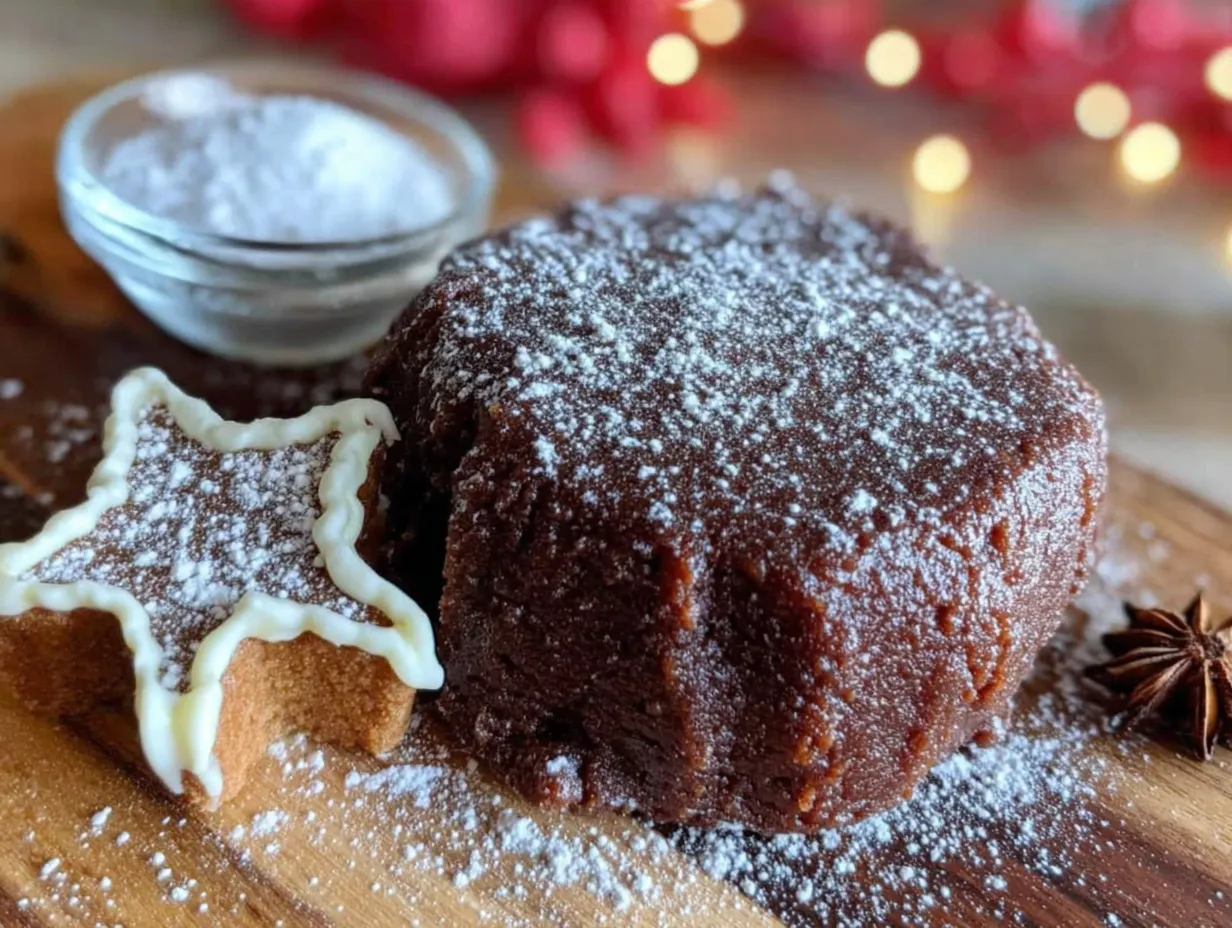
- 3 large egg whites (or use pasteurized egg whites from a carton for safety)
- 4 cups powdered sugar, sifted
- 1 teaspoon cream of tartar (helps stabilize the icing)
- 1 teaspoon vanilla extract (optional, for flavor)
- Water, as needed for consistency
Ingredient Tips from My Kitchen: I’ve learned the hard way that molasses matters. Blackstrap molasses is too bitter and makes the dough dark and tough. Stick with regular molasses for that classic gingerbread taste. If you’re in a pinch, you can substitute honey, but the texture will be slightly different. For the butter, let it sit out for at least 30 minutes before starting. Cold butter doesn’t cream properly, and you’ll end up with lumps.
For the royal icing, I’ve tried using meringue powder instead of egg whites. It works fine, but I prefer the texture of fresh egg whites. If you’re worried about raw eggs, use pasteurized ones from the refrigerated section of your grocery store.
Equipment Needed
- Large mixing bowl (I use a glass bowl—it’s easier to see when everything is combined)
- Electric mixer (handheld or stand mixer both work)
- Rolling pin (a heavy wooden one is best, but any will do)
- Parchment paper (essential for preventing sticking and easy cleanup)
- Gingerbread house templates (you can find free printables online or make your own)
- Sharp knife or pizza cutter (for cutting the dough)
- Baking sheets (rimmed ones prevent sliding)
- Cooling rack (wire rack for even cooling)
- Piping bags or zip-top bags (for royal icing application)
- Small round piping tip (size 2 or 3 works best for details)
Budget-Friendly Alternatives: Don’t have a stand mixer? A handheld mixer works just as well. No piping bags? Snip a tiny corner off a zip-top bag and use that. I’ve done it many times when I couldn’t find my piping tips. For templates, I’ve used cardboard cutouts from cereal boxes in a pinch. Just trace your shapes onto the cardboard and use them as guides.
Preparation Method
Let’s walk through this step by step. Trust me, if I can do this after a neighbor showed up with a broken kit, you can too.
Step 1: Make the Dough
In a medium bowl, whisk together the flour, baking soda, ginger, cinnamon, cloves, and salt. Set aside. In a large bowl, beat the softened butter and brown sugar together until light and fluffy—about 3 minutes with an electric mixer on medium speed. The mixture should look pale and airy. Add the molasses, egg, and vanilla extract, and beat until combined. The batter will look a bit curdled at this point, but don’t worry. That’s normal. Gradually add the dry ingredients to the wet mixture, mixing on low speed until a stiff dough forms. The dough should pull away from the sides of the bowl cleanly.
Step 2: Chill the Dough
Divide the dough into two equal disks. Wrap each tightly in plastic wrap. Refrigerate for at least 2 hours, or overnight. I know—waiting is the hardest part. But this step is non-negotiable. Chilled dough is much easier to roll and cut without sticking. If you skip this, your dough will spread and your walls will look more like pancakes.
Step 3: Roll and Cut
Preheat your oven to 350°F (175°C). Line two baking sheets with parchment paper. Remove one disk of dough from the fridge. Lightly flour your work surface and rolling pin. Roll the dough to about ¼-inch thickness. If the dough cracks at the edges, let it sit at room temperature for 5 minutes. Place your templates on the dough and cut around them with a sharp knife or pizza cutter. Transfer the shapes to the prepared baking sheets, leaving at least 1 inch between pieces. Repeat with the second disk.
Step 4: Bake
Bake for 10 to 12 minutes, or until the edges are just firm to the touch. The centers will still look slightly soft—that’s okay. They’ll firm up as they cool. Let the gingerbread pieces cool on the baking sheets for 5 minutes, then transfer them to a wire rack to cool completely. Do not attempt to move them while they’re hot—they’re fragile and can break easily.
Step 5: Make the Royal Icing
In a large bowl, beat the egg whites and cream of tartar until frothy. Gradually add the powdered sugar, one cup at a time, beating on low speed until combined. Increase the speed to medium-high and beat for 5 to 7 minutes, until the icing is thick, glossy, and holds stiff peaks. Stir in the vanilla extract if using. For piping, the icing should be thick enough to hold its shape but thin enough to flow through a piping tip. Add water one teaspoon at a time if needed.
Step 6: Assemble the House
Fit a piping bag with a small round tip and fill with royal icing. Pipe a thick line along the bottom edges of the front and back walls. Press them onto a sturdy base (a cake board or flat plate works well). Pipe icing along the side edges and attach the side walls. Hold each piece in place for 30 seconds to let the icing set. Let the walls dry completely—about 30 minutes. Then pipe icing along the top edges and attach the roof pieces. Let the entire structure dry for at least 1 hour before decorating.
Cooking Tips & Techniques
Here’s where I share the mistakes I’ve made so you don’t have to. The first time I made this dough, I forgot to chill it. The walls spread so much that my house looked like a gingerbread ranch. Not cute. So here’s what I’ve learned:
- Chill the dough twice: Once after mixing, and once after cutting the shapes. If the dough feels soft when you transfer the shapes to the baking sheet, pop the whole sheet in the fridge for 15 minutes. This extra chill prevents any spreading.
- Use a ruler: When rolling, use two ¼-inch wooden dowels or rulers on either side of your dough. This ensures even thickness across all your pieces. Uneven walls lead to wobbly houses.
- Test your oven: Every oven runs differently. If your first batch browns too quickly, reduce the temperature to 325°F (160°C) and bake for 12 to 14 minutes instead.
- Royal icing consistency is everything: For “glue” (assembling the house), the icing should be stiff—think toothpaste. For decorating, thin it slightly with water so it flows like honey.
- Work in sections: Don’t try to decorate the whole house at once. Let each section dry before moving to the next. This prevents smudging and collapsing.
I once tried to rush the drying process by putting the house near a heater. The icing cracked, the roof slid off, and I ended up with a gingerbread pile. Patience is your best friend here.
Variations & Adaptations
One of the best things about this recipe is how flexible it is. Here are some ways to make it your own:
Gluten-Free Version
Substitute the all-purpose flour with a 1:1 gluten-free baking flour blend. I’ve used Bob’s Red Mill with great results. The dough will be slightly more crumbly, so handle it gently and chill it thoroughly before rolling.
Spice It Up
Add ¼ teaspoon of cardamom or nutmeg for a warmer, more complex flavor. I tried cardamom one year and never looked back. It gives the gingerbread a cozy, almost chai-like taste.
Vegan Adaptation
Replace the butter with vegan butter (I like Miyoko’s) and use a flax egg (1 tablespoon ground flaxseed mixed with 3 tablespoons water, let sit for 5 minutes). For the royal icing, use aquafaba (the liquid from a can of chickpeas) instead of egg whites. Beat 3 tablespoons of aquafaba with cream of tartar and powdered sugar until stiff peaks form.
Chocolate Gingerbread
Swap ¼ cup of the flour with unsweetened cocoa powder. The chocolate adds richness and makes the house look even more dramatic against white icing.
Mini Houses
Use smaller templates to make individual gingerbread houses. These are perfect for party favors or gift tags. Reduce the baking time to 6 to 8 minutes.
Serving & Storage Suggestions
This gingerbread house is as much a decoration as it is a dessert. Here’s how to handle it from build to bite:
Serving Temperature: Room temperature is best. The royal icing firms up nicely, and the gingerbread stays tender. Don’t refrigerate the assembled house—the icing can get sticky from condensation.
Presentation Ideas: Place the house on a large platter surrounded by fake snow (powdered sugar) and mini trees. Add a string of battery-operated fairy lights around the base for a magical glow. I did this last year, and my kids thought I was a holiday wizard.
Storage: If you’re building the house ahead of time, store the baked, undecorated pieces in an airtight container at room temperature for up to 2 weeks. The royal icing decorations can be made ahead and stored in a cool, dry place for up to 1 month. Once assembled and decorated, the house will last for 2 to 3 weeks if kept in a cool, dry spot away from direct sunlight.
Reheating: Honestly, you don’t reheat a gingerbread house. But if you want to eat the pieces, they’re delicious as is. The flavor actually improves over a few days as the spices meld together.
Flavor Development: I’ve noticed the gingerbread tastes even better on day two or three. The molasses deepens, and the spices become more pronounced. So don’t stress if you’re building it a few days before your holiday party.
Nutritional Information & Benefits
Let’s be honest—this is a treat, not a health food. But here’s what you’re working with per serving (one wall piece or equivalent):
| Nutrient | Amount |
|---|---|
| Calories | 180 |
| Total Fat | 5g |
| Saturated Fat | 3g |
| Carbohydrates | 32g |
| Sugar | 18g |
| Protein | 3g |
| Fiber | 1g |
| Sodium | 120mg |
Health Highlights: Molasses is a good source of iron, calcium, and magnesium—surprising, right? Ginger is known for its anti-inflammatory properties and can help with digestion. Cinnamon may help regulate blood sugar levels. So while this isn’t a superfood, it’s not empty calories either.
Dietary Considerations: This recipe contains gluten, dairy, and eggs. For allergen-friendly versions, check the variations section above. The vegan version works beautifully and tastes just as good.
I personally love that this recipe lets me indulge without guilt. It’s a once-a-year tradition, and the joy of building and decorating is part of the experience. A little sugar never hurt anyone during the holidays.
Conclusion
This no-spread gingerbread house dough started as a happy accident, but it’s become a non-negotiable part of my holiday season. The dough is forgiving, the royal icing is reliable, and the whole process feels like a warm hug on a cold winter day. Whether you’re building with kids, impressing guests, or just treating yourself to a cozy afternoon project, this recipe delivers.
I’d love to see what you create! Leave a comment below and tell me about your gingerbread house adventures—did you add a chimney? A candy path? A fence made of pretzel sticks? Share your photos and tag me on social media. And if you try a variation, let me know how it turned out. Honestly, the best part of this recipe is how it brings people together. So grab your rolling pin, put on some holiday music, and get building. Your cozy gingerbread house is waiting.
Frequently Asked Questions
Can I use this dough for regular gingerbread cookies?
Absolutely! Just roll the dough to ¼-inch thickness, cut into shapes, and bake for 8 to 10 minutes at 350°F (175°C). The cookies will be slightly sturdier than regular gingerbread, but they’re delicious with a cup of tea.
Why did my royal icing turn out too runny?
You probably added too much water. The fix is simple: beat in more powdered sugar, one tablespoon at a time, until the icing reaches stiff peaks. If it’s too thick, add water one teaspoon at a time.
How far in advance can I make the dough?
You can make the dough up to 3 days ahead and keep it wrapped in the fridge. You can also freeze the dough for up to 3 months. Just thaw it overnight in the refrigerator before rolling.
My gingerbread walls cracked during baking. What went wrong?
This usually happens if the dough was too dry or rolled too thin. Make sure your dough is properly hydrated and roll to a consistent ¼-inch thickness. Also, let the baked pieces cool completely on the baking sheet before moving them.
Can I use meringue powder instead of egg whites?
Yes! Use 3 tablespoons of meringue powder mixed with 6 tablespoons of warm water as a substitute for the egg whites. The texture will be slightly different, but it’s a great option if you’re concerned about raw eggs.
Pin This Recipe!
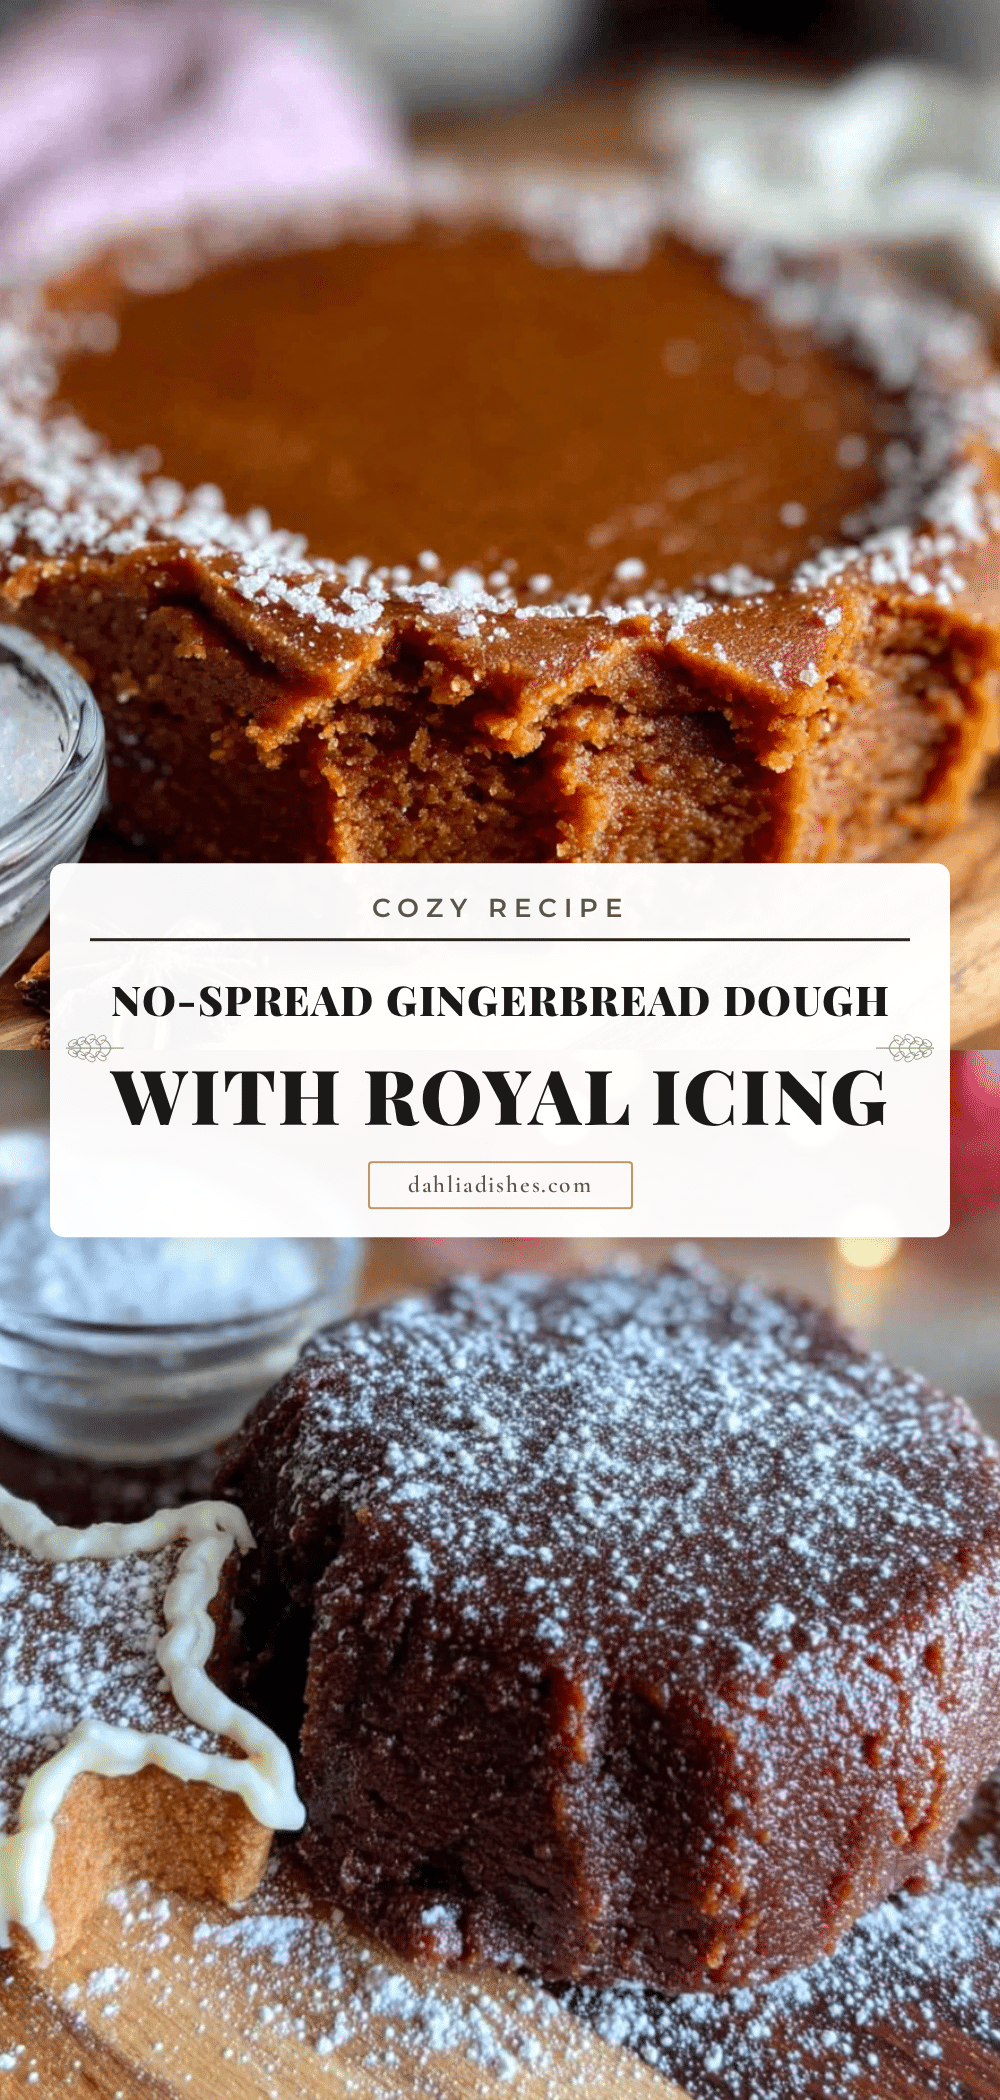
Cozy No-Spread Gingerbread House Dough with Easy Royal Icing
This no-spread gingerbread house dough holds its shape perfectly during baking, making it ideal for sturdy, beautiful houses. Paired with a simple royal icing that acts like construction glue, this recipe turns a stressful tradition into a warm and joyful family activity.
- Prep Time: 30 minutes
- Cook Time: 12 minutes
- Total Time: 2 hours 42 minutes (includes chilling and assembly time)
- Yield: 1 gingerbread house (serves 8-10) 1x
- Category: Dessert
- Cuisine: American
Ingredients
- 3 ½ cups all-purpose flour (or bread flour for extra stability)
- 1 teaspoon baking soda
- 1 teaspoon ground ginger
- 1 teaspoon ground cinnamon
- ½ teaspoon ground cloves
- ½ teaspoon salt
- ½ cup unsalted butter, softened
- ½ cup dark brown sugar, packed
- ¾ cup molasses (not blackstrap)
- 1 large egg, room temperature
- 1 teaspoon vanilla extract
- 3 large egg whites (or pasteurized egg whites from a carton)
- 4 cups powdered sugar, sifted
- 1 teaspoon cream of tartar
- 1 teaspoon vanilla extract (optional)
- Water, as needed for consistency
Instructions
- In a medium bowl, whisk together the flour, baking soda, ginger, cinnamon, cloves, and salt. Set aside.
- In a large bowl, beat the softened butter and brown sugar together until light and fluffy—about 3 minutes with an electric mixer on medium speed.
- Add the molasses, egg, and vanilla extract, and beat until combined.
- Gradually add the dry ingredients to the wet mixture, mixing on low speed until a stiff dough forms.
- Divide the dough into two equal disks. Wrap each tightly in plastic wrap. Refrigerate for at least 2 hours, or overnight.
- Preheat your oven to 350°F (175°C). Line two baking sheets with parchment paper.
- Remove one disk of dough from the fridge. Lightly flour your work surface and rolling pin. Roll the dough to about ¼-inch thickness.
- Place your templates on the dough and cut around them with a sharp knife or pizza cutter. Transfer the shapes to the prepared baking sheets, leaving at least 1 inch between pieces. Repeat with the second disk.
- Bake for 10 to 12 minutes, or until the edges are just firm to the touch. Let the gingerbread pieces cool on the baking sheets for 5 minutes, then transfer them to a wire rack to cool completely.
- In a large bowl, beat the egg whites and cream of tartar until frothy. Gradually add the powdered sugar, one cup at a time, beating on low speed until combined. Increase the speed to medium-high and beat for 5 to 7 minutes, until the icing is thick, glossy, and holds stiff peaks. Stir in the vanilla extract if using. Add water one teaspoon at a time if needed for piping consistency.
- Fit a piping bag with a small round tip and fill with royal icing. Pipe a thick line along the bottom edges of the front and back walls. Press them onto a sturdy base. Pipe icing along the side edges and attach the side walls. Hold each piece in place for 30 seconds. Let the walls dry completely—about 30 minutes. Then pipe icing along the top edges and attach the roof pieces. Let the entire structure dry for at least 1 hour before decorating.
Notes
Chill the dough twice—once after mixing and once after cutting shapes—to prevent spreading. Use a ruler or ¼-inch dowels for even thickness. For royal icing, stiff consistency is best for assembly; thin slightly with water for decorating. Let each section dry before moving to the next to avoid smudging or collapsing.
Nutrition
- Serving Size: 1 wall piece or equi
- Calories: 180
- Sugar: 18
- Sodium: 120
- Fat: 5
- Saturated Fat: 3
- Carbohydrates: 32
- Fiber: 1
- Protein: 3
Keywords: gingerbread house, no-spread dough, royal icing, holiday baking, Christmas cookies, gingerbread dough, easy gingerbread house


