Love this? Save it for later!
Share the inspiration with your friends
It was 11:47 PM on a random Tuesday in December, and I had an overwhelming, almost irrational craving for something rich, sweet, and impossibly creamy. I didn’t have a candy thermometer or a bag of premium chocolate chips, but I did have a jar of marshmallow creme left over from a hot chocolate bar I’d thrown together the weekend before, and a half-opened can of sweetened condensed milk staring at me from the back of the pantry. That’s when the idea arrived, fully formed, like a sugar-fueled ghost of Christmas present: what if I just… melted everything together and hoped for the best?
Honestly, I was too tired to overthink it. My kitchen was a wreck, there was a faint smear of flour on my favorite sweater, and the dog was giving me that look that says, “You’re making bad decisions, and I’m here for it.” But something about the late hour loosened the usual rules. I wasn’t trying to be a professional. I was just trying to satisfy a craving. And let me tell you, that midnight experiment turned into something I’ve made every single holiday season since. It’s not fancy. It’s not fussy. It’s just perfect.
This cozy holiday fantasy fudge with marshmallow creme is the kind of recipe that feels like a warm hug on a cold winter night. It’s the fudge you bring to a cookie swap and watch disappear in minutes. It’s the fudge you hide in the back of the fridge so you can have a piece with your coffee before anyone else wakes up. Maybe you’ve been there, standing in your kitchen at an unreasonable hour, just wanting something sweet without the hassle. This one’s for you.
Why You’ll Love This Recipe
Let me tell you why this fudge has become my non-negotiable holiday staple. I’ve tested this recipe more times than I care to admit, tweaking the ratios, trying different chocolate brands, and even accidentally boiling it too long once (that batch was… crunchy). What I landed on is the perfect balance of creamy, rich, and foolproof.
- Quick & Easy: This comes together in about 5 minutes of active time. No candy thermometer. No constant stirring. No stress.
- Simple Ingredients: You probably already have most of these in your pantry. No fancy grocery trips needed.
- Perfect for the Holidays: Great for cookie exchanges, holiday parties, gift-giving, or just keeping on the counter for when you need a little seasonal cheer.
- Crowd-Pleaser: I’ve brought this to family gatherings, office parties, and neighbor drop-offs. It gets devoured every single time.
- Unbelievably Delicious: The texture is what gets me. It’s creamy, melt-in-your-mouth, and has that perfect fudge density that just hits different.
What makes this recipe different from the rest? It’s the marshmallow creme. That little jar of fluffy sweetness adds a lightness and creaminess that regular marshmallows just can’t match. It makes the fudge silky without being greasy, and it gives it that signature “fantasy fudge” texture that everyone raves about. This isn’t just another fudge recipe, it’s my best version after years of trial and error.
This recipe is the kind that makes you close your eyes after the first bite. It’s comfort food reimagined, faster and simpler, but with the same soul-soothing satisfaction. Perfect for impressing guests without breaking a sweat, or turning a quiet December evening into something a little more magical.
What Ingredients You Will Need
This recipe uses simple, pantry-friendly ingredients to deliver that classic fantasy fudge flavor and texture. Most of these are staples you might already have on hand, especially if you’re a regular holiday baker.
- Granulated Sugar (3 cups / 600g): The base of the fudge. It provides the structure and sweetness. Don’t try to reduce the sugar, it’s essential for the right texture.
- Unsalted Butter (¾ cup / 170g): I use unsalted to control the salt level. It adds richness and helps create that smooth, creamy mouthfeel. I prefer using a good quality butter like Kerrygold for the best flavor.
- Evaporated Milk (⅔ cup / 160ml): Not to be confused with sweetened condensed milk! This adds creaminess without extra sweetness. It’s what gives the fudge its classic dense, fudgy texture.
- Marshmallow Creme (1 jar / 7 oz or 200g): The star of the show. You’ll find this in the baking aisle near the marshmallows. I always use Jet-Puffed brand, it melts smoothly and gives the fudge that signature fluffy, creamy consistency.
- Semi-Sweet Chocolate Chips (1 ½ cups / 260g): I recommend Ghirardelli or Guittard for the best melt and flavor. Semi-sweet balances the sweetness of the sugar and marshmallow creme perfectly.
- Milk Chocolate Chips (1 ½ cups / 260g): This adds extra creaminess and a milder chocolate flavor. You can use all semi-sweet if you prefer a darker fudge, but I love the combination.
- Vanilla Extract (1 teaspoon): Pure vanilla extract makes a difference. Skip the imitation stuff for this recipe.
- Chopped Walnuts or Pecans (1 cup / 120g, optional): I love the crunch they add, but you can leave them out or swap for toasted almonds. Make sure they’re chopped into small, even pieces.
- Pinch of Salt (¼ teaspoon): This enhances the chocolate flavor and balances the sweetness. Don’t skip it!
Substitution Guidance: If you’re nut-free, leave out the walnuts or swap for toasted coconut flakes. For a dairy-free version, use a high-quality vegan butter and dairy-free chocolate chips, though the texture will be slightly different. I haven’t tested a sugar-free version, so I can’t vouch for results there.
Equipment Needed
You don’t need a fancy kitchen to make this fudge. Here’s what you’ll need:
- Large Heavy-Bottomed Saucepan (3-4 quart): A good quality pan distributes heat evenly and prevents scorching. I use my trusty Le Creuset, but any heavy pot will work.
- Wooden Spoon or Silicone Spatula: For stirring. A silicone spatula is great for scraping the sides and getting every last bit of fudge out of the pan.
- 8×8-Inch Baking Pan: For setting the fudge. Line it with parchment paper for easy removal.
- Parchment Paper or Aluminum Foil: To line the pan. Parchment is easier to work with.
- Candy Thermometer (optional but helpful): You don’t need one if you follow the timing carefully, but it can help ensure you reach the soft-ball stage (234°F / 112°C).
- Measuring Cups and Spoons: Accurate measurements are key in fudge-making.
- Sharp Knife: For cutting the fudge into neat squares once set.
Budget-Friendly Options: Don’t have a heavy-bottomed pan? Use a double boiler setup with a heatproof bowl over a pot of simmering water. It takes a little longer but prevents scorching.
Preparation Method
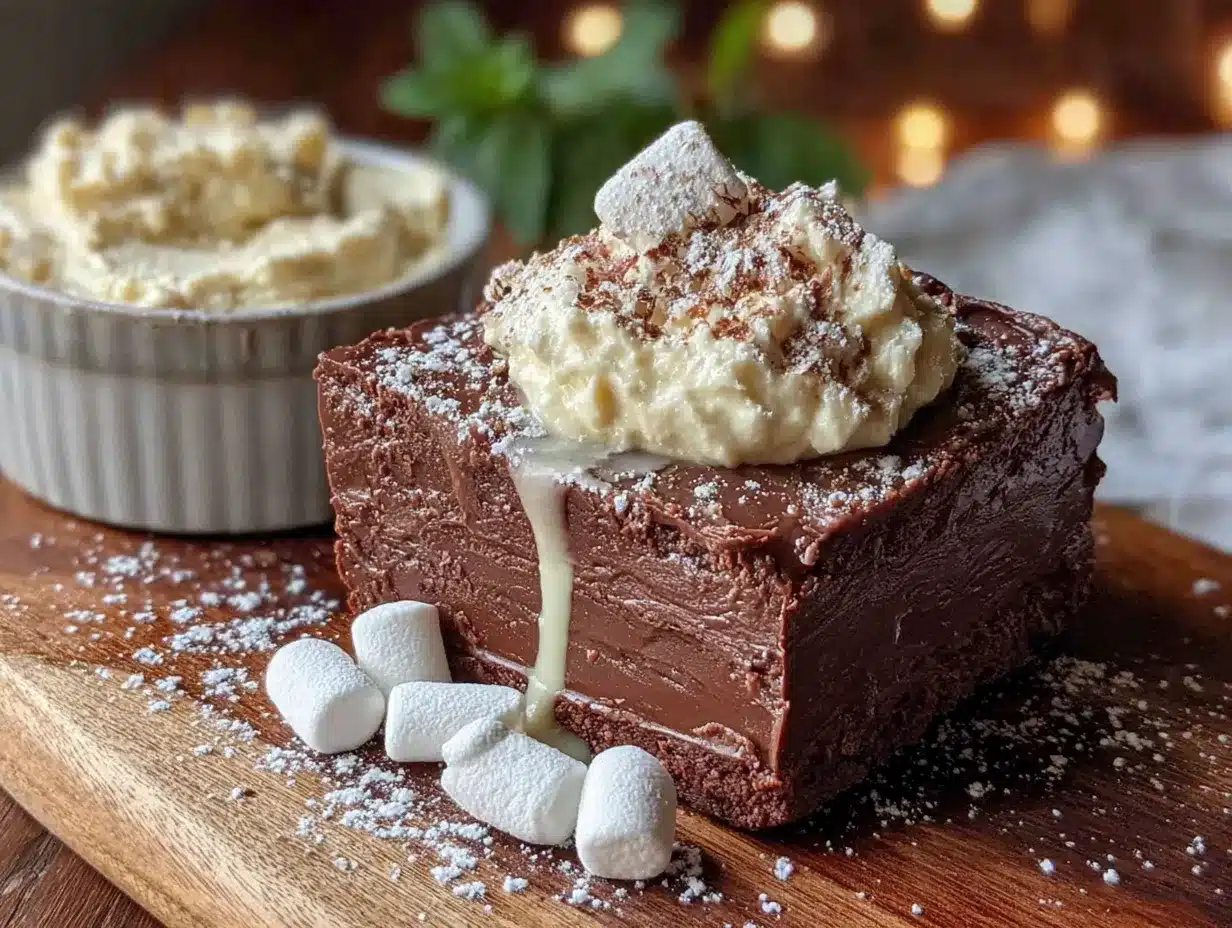
This is the moment of truth. Follow these steps carefully, and you’ll have perfect fudge every time.
- Prepare Your Pan: Line an 8×8-inch baking pan with parchment paper, leaving some overhang on two sides. This will be your “handle” to lift the fudge out later. Set it aside.
- Combine the Base: In your large heavy-bottomed saucepan, combine the 3 cups of granulated sugar, ¾ cup of unsalted butter, and ⅔ cup of evaporated milk. Place the pan over medium heat and stir constantly with your wooden spoon or silicone spatula. You want to make sure the butter melts completely and the sugar dissolves. This takes about 3-4 minutes.
- Bring to a Boil: Once everything is melted and combined, increase the heat to medium-high. Keep stirring! You want to bring the mixture to a full rolling boil. Don’t walk away, this happens quickly. Once it’s boiling, let it boil for exactly 4 minutes while stirring continuously. If you’re using a candy thermometer, you’re aiming for 234°F (112°C), the soft-ball stage.
- Remove from Heat and Add Marshmallow Creme: Take the pan off the heat. Immediately add the entire jar of marshmallow creme. Stir vigorously until it’s fully melted and incorporated. The mixture will look glossy and smooth. This is where the magic happens.
- Add the Chocolate: Pour in both the semi-sweet and milk chocolate chips (1 ½ cups each). Stir continuously until the chocolate is completely melted and the mixture is smooth and uniform. This might take a minute or two. Don’t rush it, you don’t want any lumps of unmelted chocolate.
- Finish with Vanilla and Salt: Stir in the 1 teaspoon of vanilla extract and the ¼ teaspoon of salt. If you’re adding nuts, fold them in now. The mixture will start to thicken slightly as it cools, so work quickly.
- Pour into Pan: Immediately pour the fudge mixture into your prepared pan. Use a spatula to spread it evenly into the corners. Don’t fuss with it too much, just get it level.
- Let It Set: Let the fudge cool at room temperature for about 1 hour, then transfer it to the refrigerator to set completely. This takes at least 2-3 hours, but overnight is best. The fudge needs to be fully firm before you cut it.
- Cut and Serve: Once set, lift the fudge out of the pan using the parchment overhang. Place it on a cutting board and use a sharp knife to cut it into 1-inch squares. Wipe the knife clean between cuts for neat edges.
Sensory Cues: When you pour the fudge into the pan, it should look thick, glossy, and slightly opaque. It shouldn’t be runny. When you cut into it, it should feel firm but give slightly under the knife. The texture should be creamy, not grainy or hard.
Cooking Tips & Techniques
After making this fudge more times than I can count, I’ve learned a few things the hard way. Let me save you the trouble.
The Boiling Time is Critical: This is the most important part. If you under-boil the mixture, your fudge will be too soft and won’t set properly. If you over-boil it, it will become grainy and crumbly. I learned this the hard way when I got distracted by a phone call and ended up with a batch that was more like fudge-flavored sand. Set a timer for exactly 4 minutes and don’t leave the stove.
Stirring is Non-Negotiable: You have to stir constantly during the boiling phase. If you stop, the sugar can crystallize on the sides of the pan, which will make your fudge grainy. Use a silicone spatula to scrape the sides and bottom as you stir.
Humidity is Your Enemy: Fudge doesn’t like humid days. The sugar can absorb moisture from the air and cause the fudge to be soft or sticky. If you’re in a humid climate, try making this on a dry day, or run your air conditioner while it sets.
Don’t Over-Stir After Adding Chocolate: Once the chocolate is melted, stop stirring. Over-mixing can cause the fudge to become grainy as the fat separates from the sugar. Just stir until it’s smooth and then pour it out.
Room Temperature is Key for Ingredients: Make sure your butter and evaporated milk are at room temperature. Cold ingredients can cause the sugar to seize up or take longer to dissolve. I usually take them out of the fridge about 30 minutes before I start.
Multitasking Strategy: While the fudge is boiling, have your pan lined and your marshmallow creme jar open. Once you remove the pan from the heat, you need to work quickly. Having everything ready prevents a frantic scramble.
Variations & Adaptations
One of the best things about this recipe is how easy it is to tweak. Here are some of my favorite variations.
- Peppermint Fantasy Fudge: Crush ½ cup of candy canes and fold them in along with the nuts. Add ½ teaspoon of peppermint extract instead of vanilla. The red and white flecks make it look so festive!
- Dark Chocolate Lover’s Version: Use all semi-sweet or even bittersweet chocolate chips instead of the milk chocolate. The fudge will be richer and less sweet. I did this one year for a friend who claims to hate sweet things, and she ate half the batch.
- White Chocolate & Cranberry: Swap the semi-sweet and milk chocolate for 3 cups of white chocolate chips. Fold in ½ cup of dried cranberries and ½ cup of toasted pistachios. This version is stunning on a holiday dessert platter.
- Nut-Free Option: Simply leave out the walnuts or pecans. You can add ½ cup of toasted coconut flakes or ½ cup of mini marshmallows for extra texture instead.
- Gluten-Free: This recipe is naturally gluten-free as written! Just double-check your vanilla extract and chocolate chips are certified gluten-free if that’s a concern.
- Spiced Holiday Version: Add 1 teaspoon of cinnamon, ½ teaspoon of nutmeg, and ¼ teaspoon of ginger along with the vanilla. It gives the fudge a warm, cozy spice flavor that’s perfect for Christmas.
My personal favorite variation is the peppermint one. I made it last year for a cookie exchange and came home with an empty tin and three requests for the recipe. There’s something about that cool, minty crunch against the creamy chocolate that just works.
Serving & Storage Suggestions
This fudge is best served at room temperature. Take it out of the fridge about 15-20 minutes before you want to serve it. The texture softens slightly and becomes perfectly creamy. If you serve it straight from the fridge, it will be firm but still delicious.
Presentation Ideas: I love arranging the fudge squares on a festive platter or in a decorative tin lined with parchment paper. For gift-giving, stack the squares in a small box or jar, separated by layers of wax paper. Tie it with a ribbon and a handwritten tag, and you have the perfect homemade gift.
Complementary Dishes: This fudge pairs beautifully with a cup of hot cocoa, a spiced chai latte, or a strong cup of coffee. It also works wonderfully on a holiday dessert board alongside gingerbread cookies, peppermint bark, and fresh fruit.
Storage Instructions: Store the fudge in an airtight container at room temperature for up to 1 week. If your kitchen is warm, store it in the refrigerator for up to 2 weeks. The fudge also freezes beautifully! Wrap it tightly in plastic wrap, then place it in a freezer-safe bag or container. It will keep for up to 3 months. Thaw it in the refrigerator overnight or at room temperature for a few hours.
How Flavors Develop: Honestly, this fudge tastes even better the next day. The flavors meld together and the texture becomes even more creamy. If you can resist eating it immediately, let it sit overnight in the fridge before cutting. Trust me on this one.
Nutritional Information & Benefits
Let’s be real, this is a treat. But here’s the approximate nutritional information per 1-inch square (based on 64 squares, without nuts):
- Calories: ~120
- Fat: 6g
- Carbohydrates: 17g
- Sugar: 15g
- Protein: 1g
Health Benefits (such as they are!): Dark chocolate contains antioxidants and can be good for heart health in moderation. Nuts add healthy fats and protein. But honestly, this fudge is about joy and celebration, not health. And that’s okay! I believe in enjoying treats without guilt, especially during the holidays.
Dietary Considerations: This recipe contains dairy and may contain nuts (depending on your add-ins). It is gluten-free as written. For a dairy-free version, use vegan butter and dairy-free chocolate chips, though the texture will be slightly different.
My Personal Perspective: I don’t make this fudge every week. But during the holidays, it’s a tradition. It’s the thing I make when I want to feel cozy and connected to the season. A little square of this with my morning coffee on a cold December morning is pure happiness.
Conclusion
This cozy holiday fantasy fudge with marshmallow creme is more than just a recipe, it’s a little piece of holiday magic that comes together in minutes. It’s the kind of treat that makes you feel like you’ve accomplished something wonderful without spending hours in the kitchen. Whether you’re making it for a party, as a gift, or just because you deserve something sweet, I promise it will become a staple in your holiday rotation.
Don’t be afraid to play around with the variations and make it your own. Add your favorite nuts, switch up the chocolate, or throw in some crushed candy canes. The beauty of this recipe is how forgiving and adaptable it is. And if you make a mistake? Well, that’s just an excuse to try again. I’ve certainly had my share of fudge failures, and they always made the next successful batch taste even sweeter.
I’d love to hear how yours turns out! Drop a comment below and let me know what variations you tried, or share a photo of your fudge on social media. Tag me so I can see your beautiful creations. Happy holidays, and happy fudge-making!
Frequently Asked Questions
Can I use regular marshmallows instead of marshmallow creme?
I wouldn’t recommend it. Marshmallow creme has a different consistency and melts more smoothly into the fudge. Regular marshmallows can leave lumps and don’t create the same creamy texture. Stick with the creme for the best results.
Why did my fudge turn out grainy?
Grainy fudge is usually caused by sugar crystallization. This can happen if you didn’t stir constantly during the boiling phase, or if you over-stirred after adding the chocolate. Make sure to stir continuously and avoid scraping the sides of the pan while it’s boiling.
Can I double this recipe?
Yes! You can easily double the ingredients and use a 9×13-inch pan. Just make sure you’re using a large enough pot, the mixture will expand as it boils. You may need to increase the boiling time by a minute or two.
How do I know when the fudge is done boiling without a candy thermometer?
The visual cue is a full, rolling boil that doesn’t stop when you stir. The mixture will look thick and slightly foamy. Set a timer for 4 minutes once it reaches a full boil, and stir constantly. That’s your best bet without a thermometer.
Can I make this fudge in the microwave?
I don’t recommend it. The stovetop method gives you much more control over the temperature, which is crucial for the right texture. Microwave fudge can easily overheat or not heat evenly, leading to a grainy or soft result.
Pin This Recipe!
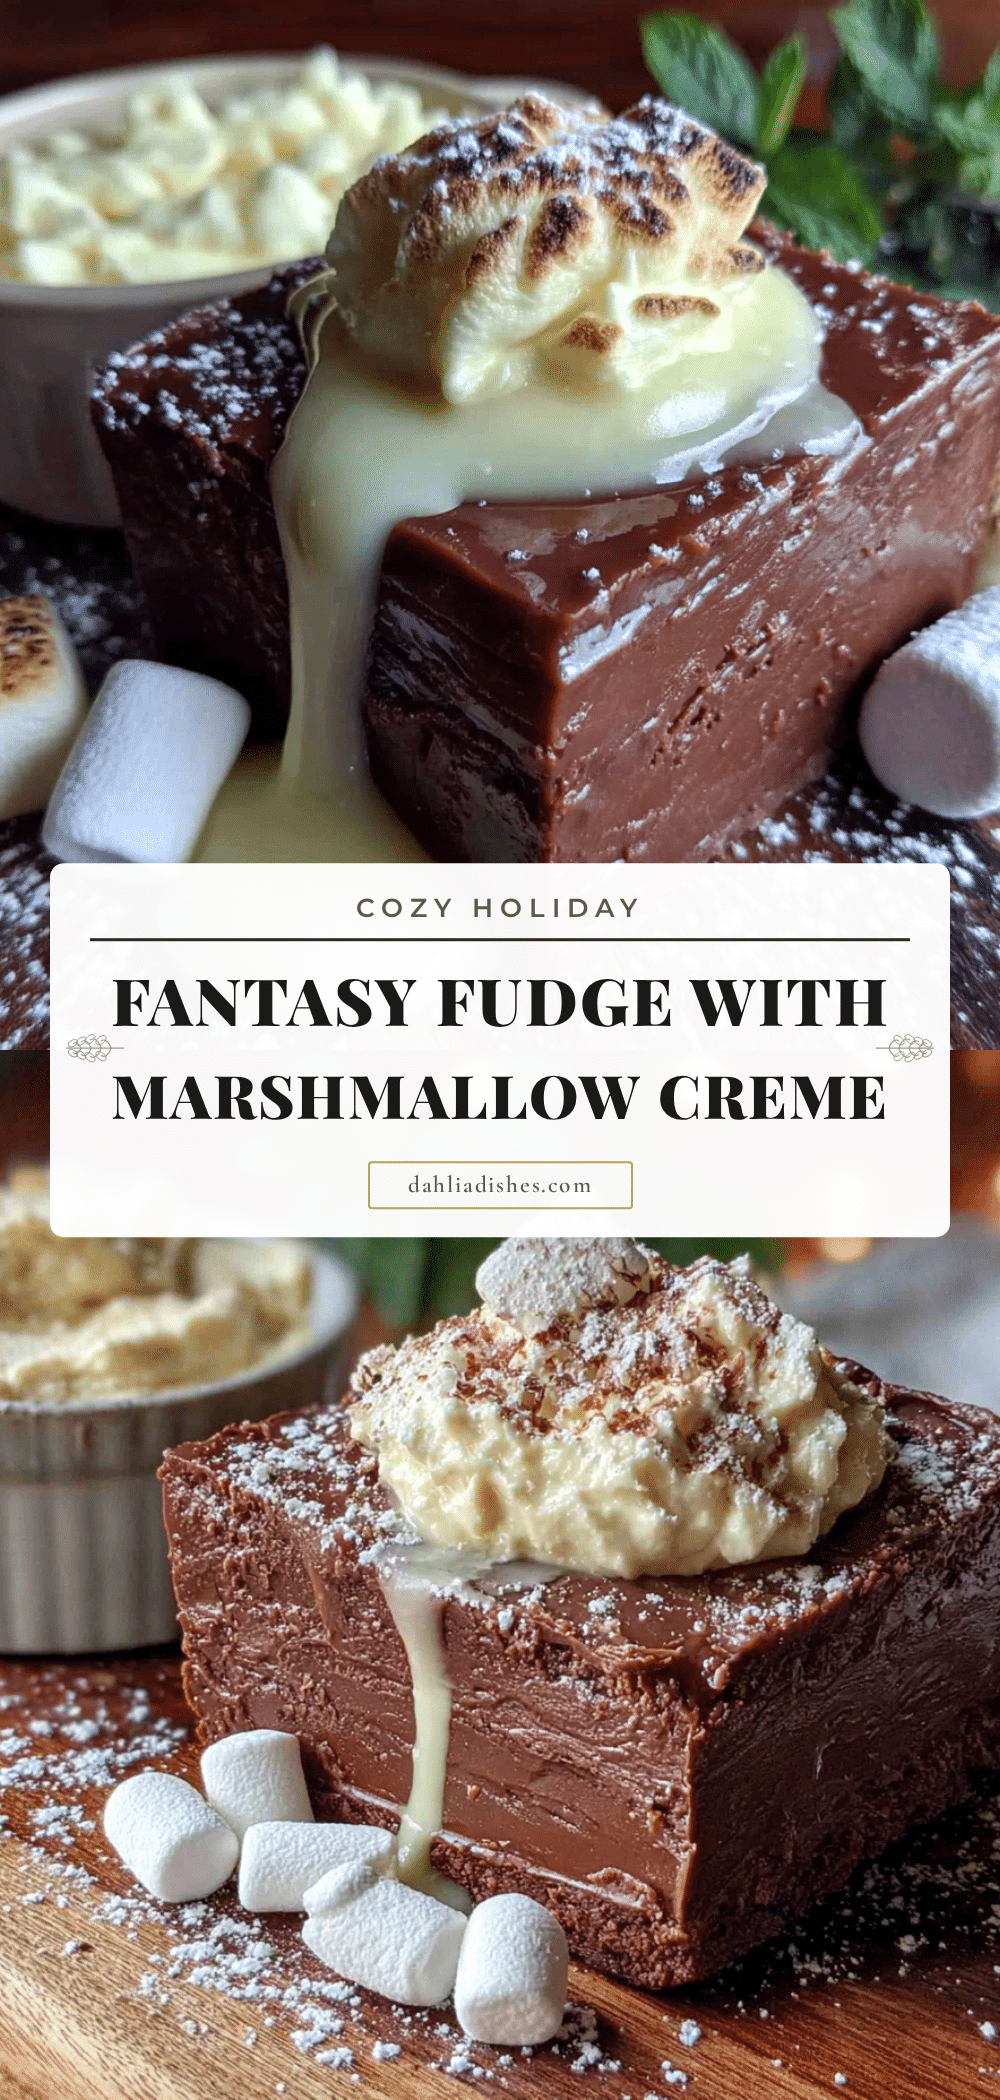
Cozy Holiday Fantasy Fudge with Marshmallow Creme: Easy 5-Minute Recipe

This creamy, rich fantasy fudge comes together in just 5 minutes of active time using simple pantry ingredients. Perfect for holiday parties, gift-giving, or a cozy treat with coffee.
- Prep Time: 5 minutes
- Cook Time: 10 minutes
- Total Time: 3 hours 15 minutes (includes setting time)
- Yield: 64 servings 1x
- Category: Dessert
- Cuisine: American
Ingredients
- 3 cups (600g) granulated sugar
- ¾ cup (170g) unsalted butter
- ⅔ cup (160ml) evaporated milk
- 1 jar (7 oz or 200g) marshmallow creme
- 1 ½ cups (260g) semi-sweet chocolate chips
- 1 ½ cups (260g) milk chocolate chips
- 1 teaspoon vanilla extract
- ¼ teaspoon salt
- 1 cup (120g) chopped walnuts or pecans (optional)
Instructions
- Line an 8×8-inch baking pan with parchment paper, leaving overhang on two sides.
- In a large heavy-bottomed saucepan, combine sugar, butter, and evaporated milk. Cook over medium heat, stirring constantly, until butter melts and sugar dissolves (3-4 minutes).
- Increase heat to medium-high and bring to a full rolling boil. Boil for exactly 4 minutes, stirring continuously. If using a candy thermometer, aim for 234°F (112°C).
- Remove from heat and immediately stir in marshmallow creme until fully melted and smooth.
- Add semi-sweet and milk chocolate chips; stir until completely melted and smooth.
- Stir in vanilla extract and salt. Fold in nuts if using.
- Pour mixture into prepared pan and spread evenly.
- Cool at room temperature for 1 hour, then refrigerate until fully set (2-3 hours or overnight).
- Lift fudge from pan using parchment overhang, cut into 1-inch squares, and serve.
Notes
Boiling time is critical: under-boil makes soft fudge, over-boil makes grainy fudge. Stir constantly during boiling to prevent sugar crystallization. Avoid making fudge on humid days. Let fudge set overnight for best texture and flavor.
Nutrition
- Serving Size: 1 square
- Calories: 120
- Sugar: 15
- Sodium: 30
- Fat: 6
- Saturated Fat: 3.5
- Carbohydrates: 17
- Fiber: 0.5
- Protein: 1
Keywords: fantasy fudge, marshmallow creme fudge, holiday fudge, easy fudge recipe, 5-minute fudge


