Love this? Save it for later!
Share the inspiration with your friends
Introduction
There used to be a cozy little bakery tucked away on Maple Street called Sweet Crumbs that made these unforgettable peanut butter blossom cookies. When they shut down one chilly November, I honestly felt like a part of my dinner party arsenal vanished overnight. You know that feeling when a favorite dish just disappears and no one else seems to get it quite right? After about a dozen attempts—some too dry, others too sweet, and a few that looked more like peanut butter blobs than cookies—I finally nailed the recipe. The secret? Brown butter. That nutty, caramelized undertone takes these cookies beyond basic peanut butter treats into something you want to bring along to every gathering.
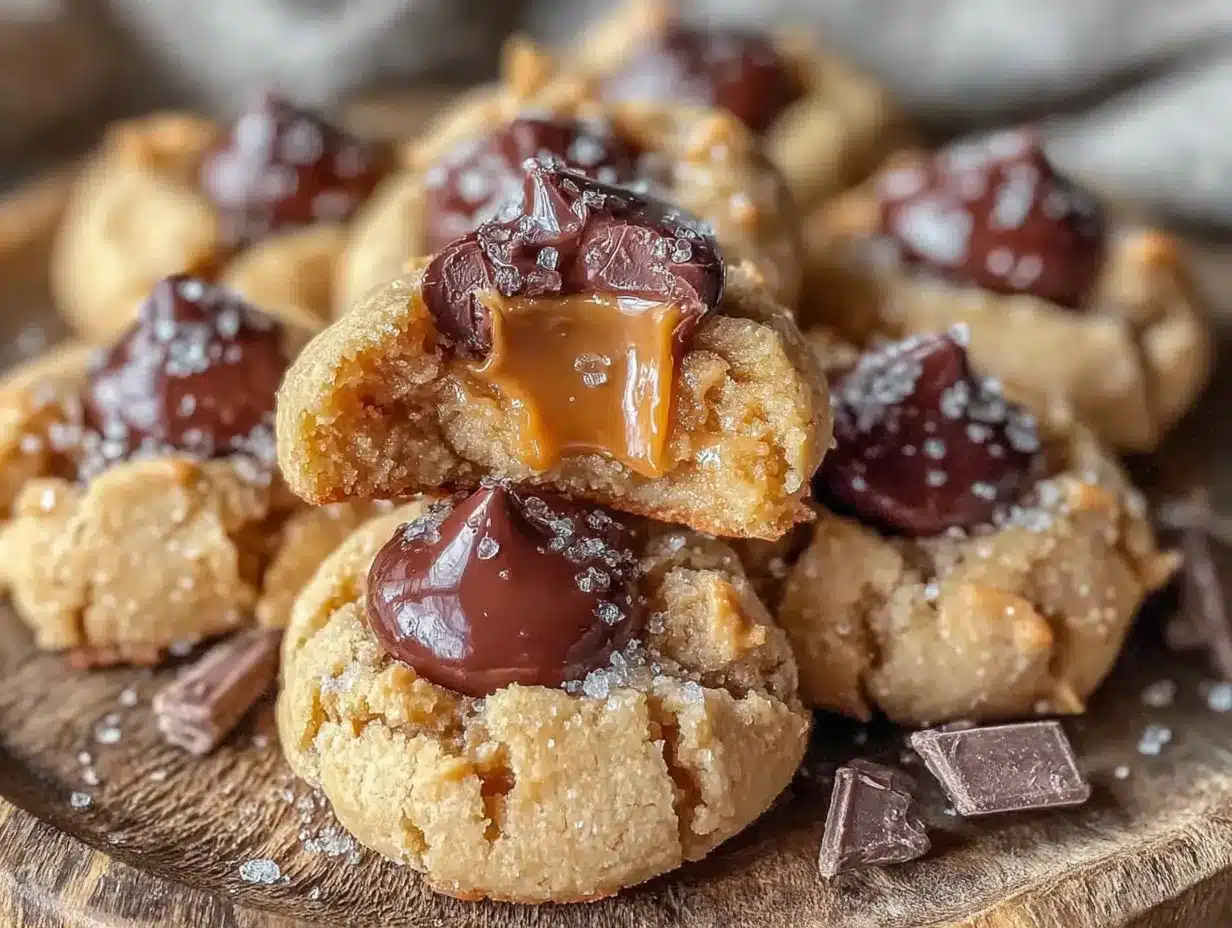
Let me tell you, the first time I made these for a potluck, the way those shiny chocolate kisses nestled perfectly into the soft, chewy peanut butter cookie base stole the show. And honestly, the warm, nutty aroma filling my kitchen felt like a hug from that bakery I missed so much. Maybe you’ve been there too—chasing a flavor memory that just won’t quit until you get it right. This recipe stayed with me because it’s the kind of crowd-pleaser that makes you look like you’ve got your baking game on lock, even if you’re secretly winging it a little.
Why You’ll Love This Recipe
Having tested countless cookie recipes in my quest to recreate those Brown Butter Peanut Butter Blossom Cookies, I can confidently say this version wins every time at my dinners and holiday gatherings. Here’s why it’s the one you want in your back pocket:
- Quick & Easy: Comes together in about 30 minutes—perfect for last-minute baking before guests arrive.
- Simple Ingredients: No specialty items needed; pantry staples like peanut butter, sugar, and butter do all the heavy lifting.
- Perfect for Gatherings: Whether it’s a potluck or a festive get-together, these cookies vanish fast.
- Crowd-Pleaser: Kids and adults alike rave about the chewy texture and the classic peanut butter and chocolate combo.
- Unbelievably Delicious: Brown butter adds that subtle toasted flavor that turns this cookie into a showstopper.
What sets this recipe apart is the careful browning of the butter before mixing it with the peanut butter. That step brings a depth of flavor that makes you close your eyes with the first bite. Plus, the dough is perfectly balanced—not too sweet, with just the right hint of saltiness to complement the chocolate kiss. Honestly, it’s comfort baking at its finest, and it’s the kind of recipe that impresses your friends without making you sweat in the kitchen.
What Ingredients You Will Need
This recipe uses straightforward, wholesome ingredients that come together to create bold flavors and a satisfying texture without fuss. Most are pantry staples, which means you probably have them on hand right now.
- Unsalted butter (1/2 cup / 113g), browned for that rich, nutty base flavor
- Peanut butter (1 cup / 240g), creamy style recommended for smooth texture
- Granulated sugar (1 cup / 200g), for sweetness and a slight crunch on the outside
- Brown sugar (1/2 cup / 100g), packed, adds moisture and caramel notes
- Large egg (1), room temperature
- Vanilla extract (1 tsp), for fragrance and depth
- All-purpose flour (1 3/4 cups / 220g), sifted for lightness
- Baking soda (1 tsp), the leavening agent
- Salt (1/2 tsp), balances sweetness and enhances flavor
- Chocolate kisses (about 36), classic milk chocolate for the signature blossom top
For substitutions, you can use natural peanut butter if you prefer less sweetness or swap all-purpose flour for a gluten-free blend if needed. I recommend Skippy or Jif peanut butter for the creamiest results. Also, if you want a slightly richer cookie, unsalted butter browned slowly in a light pan is key—don’t rush this step! In summer, tossing in some chopped salted peanuts can add a nice crunch.
Equipment Needed
- Medium saucepan for browning butter (a light-colored pan helps monitor color)
- Large mixing bowl for combining ingredients
- Hand mixer or stand mixer with paddle attachment (alternatively, a sturdy wooden spoon works if you’re up for a workout)
- Measuring cups and spoons, both metric and US standard
- Baking sheets lined with parchment paper or silicone mats
- Cooling rack to let cookies rest and cool evenly
- Small bowl for rolling dough balls in sugar
- Optional: cookie scoop for uniform sizing
If you don’t have a stand mixer, no worries—just mix well by hand. I find browning butter in a heavy-bottomed saucepan prevents hot spots and gives more control. Parchment paper is a lifesaver for cleanup and helps cookies bake evenly. For budget-friendly baking, silicone mats last forever and work better than foil.
Preparation Method
- Brown the Butter: In a medium saucepan over medium heat, melt the unsalted butter, stirring frequently. Watch closely as it foams, then the milk solids start to brown and release a nutty aroma (about 5-7 minutes). Pour immediately into a large mixing bowl and let cool for 5 minutes.
- Add Peanut Butter and Sugars: Stir in the creamy peanut butter, granulated sugar, and packed brown sugar into the cooled browned butter. Mix until smooth and combined—this will look rich and glossy.
- Incorporate Egg and Vanilla: Beat in the large egg and vanilla extract until the mixture is creamy and uniform. This step binds everything together and adds moisture.
- Combine Dry Ingredients: In a separate bowl, whisk together sifted all-purpose flour, baking soda, and salt. Gradually add the dry ingredients to the wet mixture, stirring just until incorporated—don’t overmix or the cookies will be tough.
- Chill the Dough: Cover the dough with plastic wrap and refrigerate for at least 30 minutes. This firms the dough, making it easier to handle and helps maintain the cookie shape during baking.
- Preheat Oven & Prepare Baking Sheets: Preheat your oven to 375°F (190°C). Line baking sheets with parchment paper or silicone mats.
- Form Dough Balls: Roll chilled dough into 1-inch (2.5 cm) balls. Roll each ball in granulated sugar until coated, then place 2 inches (5 cm) apart on baking sheets.
- Bake & Add Chocolate Kisses: Bake for 8-10 minutes until edges are set but centers still look soft. Immediately press one chocolate kiss into the center of each cookie. The warmth will gently melt the chocolate without losing shape.
- Cool on Rack: Let cookies cool on the baking sheet for 5 minutes before transferring to a cooling rack to finish cooling. This prevents breakage and helps them set perfectly chewy.
Pro tip: If the dough gets too soft while rolling, pop it back in the fridge for 10 minutes. The smell of browned butter and peanut butter together baking? Honestly, it’s a mood setter for any dinner party.
Cooking Tips & Techniques
One key to these Brown Butter Peanut Butter Blossom Cookies is mastering the browned butter—don’t walk away! Stir constantly so it doesn’t burn, and remove the pan from heat as soon as it turns golden with a nutty aroma. That’s flavor gold right there.
Overmixing the dough is a common pitfall. Once you add the dry ingredients, stir gently and only until just combined. Too much mixing develops gluten and makes the cookies cakey, not chewy.
Chilling the dough is not optional—this step helps control spreading during baking and intensifies flavors. I’ve learned the hard way with cookies that flatten into giant discs if skipped.
For uniform cookies that impress guests visually, use a cookie scoop. It’s a small touch that makes your platter look professional. Baking sheets should be rotated halfway through baking for even color, especially if your oven has hot spots.
Lastly, add the chocolate kisses right out of the oven while the cookie tops are still soft—that way, the chocolate melts just enough to stick but holds its shape. I once pressed the kisses in too early and they vanished into the dough—lesson learned!
Variations & Adaptations
Here are a few ways to customize this cookie for your next gathering:
- Gluten-Free: Use a 1:1 gluten-free flour blend instead of all-purpose flour for a safe treat that still bakes beautifully.
- Vegan Version: Swap butter with vegan margarine and use a flax egg (1 tbsp ground flaxseed + 3 tbsp water) to replace the egg.
- Nut-Free: Replace peanut butter with sunflower seed butter and use allergy-friendly chocolate chips instead of kisses.
- Crunchy Twist: Fold in 1/2 cup chopped roasted peanuts for extra texture and flavor.
- Seasonal Flavor: Add a pinch of cinnamon or pumpkin pie spice in fall for a warm holiday vibe.
Once, for a festive party, I swapped the kisses for mini peanut butter cups—huge hit, but the classic chocolate kiss still wins for that timeless look and perfect balance.
Serving & Storage Suggestions
These cookies are best served slightly warm or at room temperature, allowing the chocolate kiss to be soft and melty. For a dinner party, arrange them on a decorative platter with a sprinkle of crushed peanuts or a dusting of powdered sugar for that extra wow factor.
Pair these treats with a cold glass of milk, coffee, or even a creamy hot chocolate for chilly evenings. They also work well alongside other crowd favorites like crispy garlic chicken or a fresh fruit salad to balance the richness.
Store leftovers in an airtight container at room temperature for up to 4 days. For longer storage, freeze the baked cookies in a single layer on a tray, then transfer to a freezer-safe container for up to 3 months. Reheat gently in a warm oven (300°F / 150°C for 5 minutes) to revive that fresh-baked softness.
Flavors deepen over time, so if you can resist, letting the cookies rest a day brings out the full nutty notes of the brown butter and peanut butter.
Nutritional Information & Benefits
Each cookie (based on 36 cookies per batch) contains approximately:
| Nutrient | Amount |
|---|---|
| Calories | 150 |
| Fat | 8g |
| Carbohydrates | 18g |
| Protein | 4g |
| Sugar | 12g |
Peanut butter provides plant-based protein and healthy fats, while brown butter adds richness without extra sugar. This recipe is naturally gluten-free adaptable and can be made vegan-friendly. Keep in mind the chocolate kisses contain dairy and soy, so check labels for allergen concerns.
From a wellness perspective, these cookies offer a satisfying treat with some nutritional perks from peanut butter, making them a reasonable indulgence for festive occasions.
Conclusion
If you’re looking to impress friends and family with a cookie that’s both nostalgic and a little showy, these Brown Butter Peanut Butter Blossom Cookies are your go-to. They strike the perfect balance of chewy, nutty, and chocolaty, making them stand out at any party without the stress.
Feel free to tweak the recipe to suit your crowd’s tastes—whether that’s adding nuts, switching to a vegan version, or playing with spices. Honestly, this recipe has become my secret weapon for gatherings because it consistently wows and is simple enough to whip up last minute.
Give it a try, and let me know how it goes! Share your twists or tell me about your own cookie quests—there’s nothing better than swapping stories over a plate of warm cookies.
FAQs
Can I use crunchy peanut butter instead of creamy?
Yes, you can! Using crunchy peanut butter will add more texture and peanut bits to your cookies, which some guests love. Just expect a slightly different mouthfeel.
Why do I need to brown the butter?
Brown butter adds a deep, nutty flavor that makes these cookies unique and extra delicious. Skipping this step results in a more standard peanut butter cookie.
How do I keep the chocolate kisses from melting too much?
Press the kisses into the cookies right after baking, while they’re warm but not hot. This way, they melt slightly but keep their shape.
Can I make the dough ahead of time?
Absolutely! You can prepare the dough and refrigerate it for up to 24 hours before baking. Just bring it back to a slightly firmer temperature before rolling.
What if my cookies spread too much while baking?
This usually means the dough is too warm or didn’t chill enough. Try refrigerating the dough longer and use a cookie scoop for uniform size. Also, avoid over-greasing your baking sheet.
Pin This Recipe!
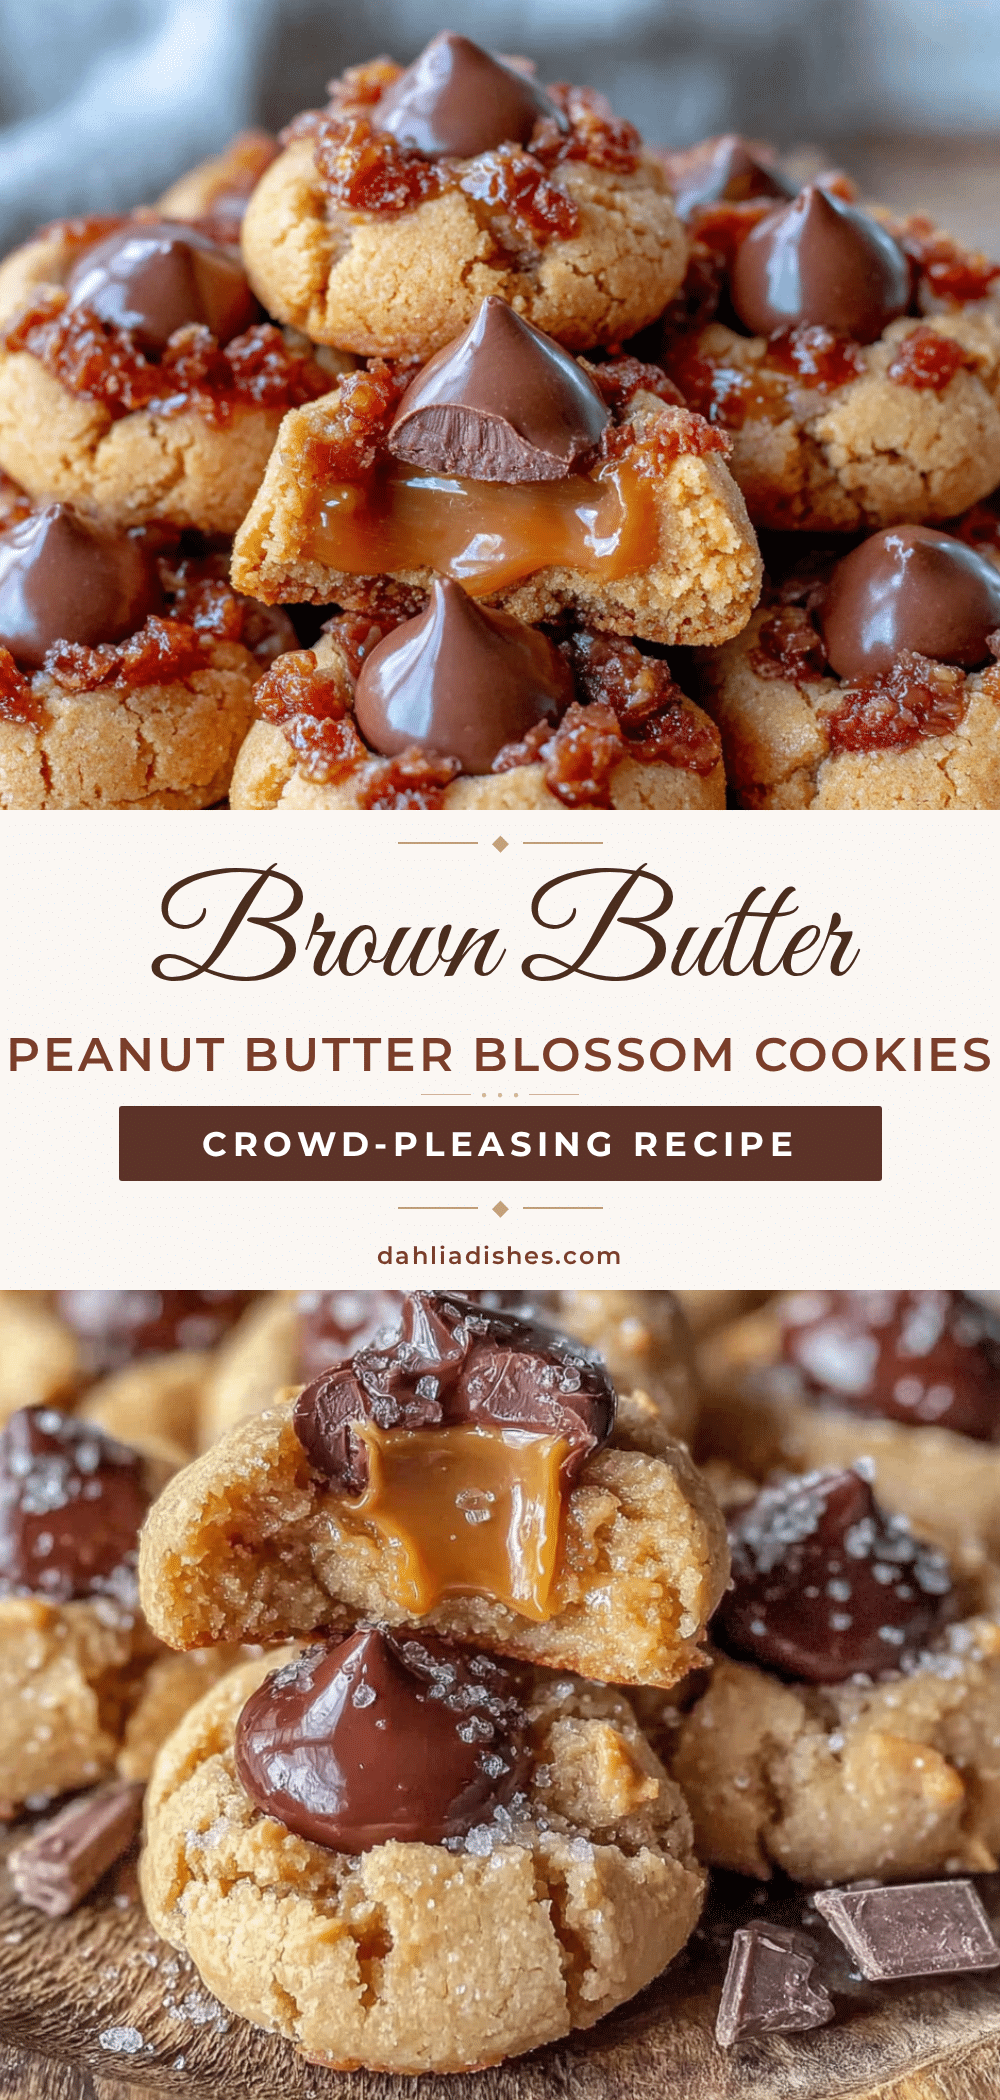
Brown Butter Peanut Butter Blossom Cookies
These Brown Butter Peanut Butter Blossom Cookies combine a nutty, caramelized brown butter flavor with classic peanut butter and chocolate kisses for a chewy, crowd-pleasing treat perfect for gatherings.
- Prep Time: 15 minutes
- Cook Time: 10 minutes
- Total Time: 40 minutes
- Yield: 36 cookies 1x
- Category: Dessert
- Cuisine: American
Ingredients
- 1/2 cup (113g) unsalted butter, browned
- 1 cup (240g) creamy peanut butter
- 1 cup (200g) granulated sugar
- 1/2 cup (100g) packed brown sugar
- 1 large egg, room temperature
- 1 tsp vanilla extract
- 1 3/4 cups (220g) all-purpose flour, sifted
- 1 tsp baking soda
- 1/2 tsp salt
- About 36 chocolate kisses (milk chocolate)
Instructions
- Brown the butter: In a medium saucepan over medium heat, melt the unsalted butter, stirring frequently until it foams and the milk solids brown with a nutty aroma (about 5-7 minutes). Pour into a large mixing bowl and let cool for 5 minutes.
- Add peanut butter and sugars: Stir in the creamy peanut butter, granulated sugar, and packed brown sugar into the cooled browned butter until smooth and combined.
- Incorporate egg and vanilla: Beat in the large egg and vanilla extract until creamy and uniform.
- Combine dry ingredients: In a separate bowl, whisk together sifted all-purpose flour, baking soda, and salt. Gradually add to the wet mixture, stirring just until incorporated.
- Chill the dough: Cover the dough with plastic wrap and refrigerate for at least 30 minutes.
- Preheat oven and prepare baking sheets: Preheat oven to 375°F (190°C). Line baking sheets with parchment paper or silicone mats.
- Form dough balls: Roll chilled dough into 1-inch balls. Roll each ball in granulated sugar and place 2 inches apart on baking sheets.
- Bake and add chocolate kisses: Bake for 8-10 minutes until edges are set but centers are soft. Immediately press one chocolate kiss into the center of each cookie.
- Cool on rack: Let cookies cool on the baking sheet for 5 minutes, then transfer to a cooling rack to finish cooling.
Notes
Brown the butter carefully, stirring constantly to avoid burning. Chill dough for at least 30 minutes to prevent spreading and improve texture. Press chocolate kisses into cookies immediately after baking while warm. Use a cookie scoop for uniform cookies and rotate baking sheets halfway through baking for even color.
Nutrition
- Serving Size: 1 cookie
- Calories: 150
- Sugar: 12
- Fat: 8
- Carbohydrates: 18
- Protein: 4
Keywords: brown butter, peanut butter, blossom cookies, chocolate kisses, chewy cookies, crowd-pleaser, easy cookies, holiday treats


