Love this? Save it for later!
Share the inspiration with your friends
My neighbor wasn’t trying to impress anyone. I’d stopped by to return her garden shears—the ones with the red handles she’d lent me three weeks ago—and the smell hit me before I even got to her front door. It was sweet, but not in a cloying bakery way. It was lighter than that, almost airy, with this hint of toasted sugar that made me stop mid-step on her porch. I stood there for a second, just breathing it in, feeling like a total weirdo.
She opened the door with a wave, saw me sniffing the air, and just laughed. “It’s just cookies,” she said, like it was nothing. But let me tell you, these weren’t just cookies. She handed me one still warm from the oven—a pale, pillowy cloud studded with dark chocolate chips—and I swear, I closed my eyes. It was that good. The outside had this delicate, crackly shell that shattered when I bit into it, and the inside was this soft, marshmallowy heaven that practically melted on my tongue.
She called them Forgotten Cookies because you leave them in the oven overnight to dry out. But with spring finally arriving—the daffodils were just starting to poke up in her garden—she’d added a little lemon zest and called them her Spring Forgotten Meringue Chocolate Chip Cookies. I mean, honestly, the name alone made me smile. I asked for the recipe right there, standing in her kitchen with crumbs on my shirt. She shrugged and scribbled it on a scrap of paper. That was two years ago, and I’ve been making them every spring since. Maybe you’ve been there—that moment when a simple, unassuming recipe stops you cold and becomes your new obsession. These cookies are that recipe.
Why You’ll Love This Recipe
These aren’t your average chocolate chip cookies. They’re something else entirely—a magical cross between a crisp meringue and a chewy cookie that feels like a little spring miracle. Here’s why you’ll be making them on repeat:
- Incredibly Easy: The batter comes together in about 10 minutes with just a handful of ingredients. No complicated techniques, no fuss.
- Perfect for Spring: Light, airy, and kissed with lemon zest, these cookies taste like the season itself. They’re ideal for Easter brunch, baby showers, or just celebrating a sunny afternoon.
- Naturally Gluten-Free: Since there’s no flour in the dough, these cookies are a dream for anyone avoiding gluten. No one will ever know the difference.
- Make-Ahead Magic: The “forgotten” method means you prep them before bed and wake up to perfect cookies. It’s like having a kitchen fairy.
- Crowd-Pleaser: I’ve brought these to potlucks, book club meetings, and family gatherings, and they always disappear first. People are fascinated by the texture.
What makes this version different from the rest? It’s the balance. Most forgotten cookies are just plain meringue with chocolate chips, but this recipe adds a touch of lemon zest and a pinch of salt that transforms the whole thing. The citrus cuts through the sweetness, and the salt makes the chocolate sing. I’ve tested this dozens of times, tweaking the ratios and the baking time, and this is hands-down the best version. It’s the kind of cookie that makes you close your eyes after the first bite—light, crisp, and utterly satisfying.
What Ingredients You Will Need
This recipe uses simple, everyday ingredients to create something truly special. Most of these are probably in your pantry right now, which is part of the beauty of Forgotten Cookies. Here’s what you’ll need and why each one matters:
For the Meringue Base
- 3 large egg whites, at room temperature: Room temperature egg whites whip up higher and hold more air, giving you that light, cloud-like texture. Separate your eggs when they’re cold—it’s easier—then let the whites sit on the counter for 30 minutes before you start.
- ¾ cup (150g) granulated sugar: Regular white sugar works best here. It dissolves into the egg whites to create a stable meringue. I’ve tried superfine sugar, and it works, but granulated is totally fine.
- 1 teaspoon vanilla extract: Pure vanilla adds warmth and depth. I prefer Nielsen-Massey, but any good-quality vanilla will do.
- 1 teaspoon fresh lemon zest: This is my secret weapon. The lemon zest brightens the whole cookie and makes it taste like spring. Use a microplane for the finest zest—you don’t want big chewy pieces.
- ¼ teaspoon cream of tartar: This stabilizes the egg whites and helps them hold their shape. Don’t skip it—it’s the difference between a glossy meringue and a sad, flat one.
- Pinch of salt: A tiny pinch balances the sweetness and enhances the chocolate flavor. I use fine sea salt.
For the Mix-Ins
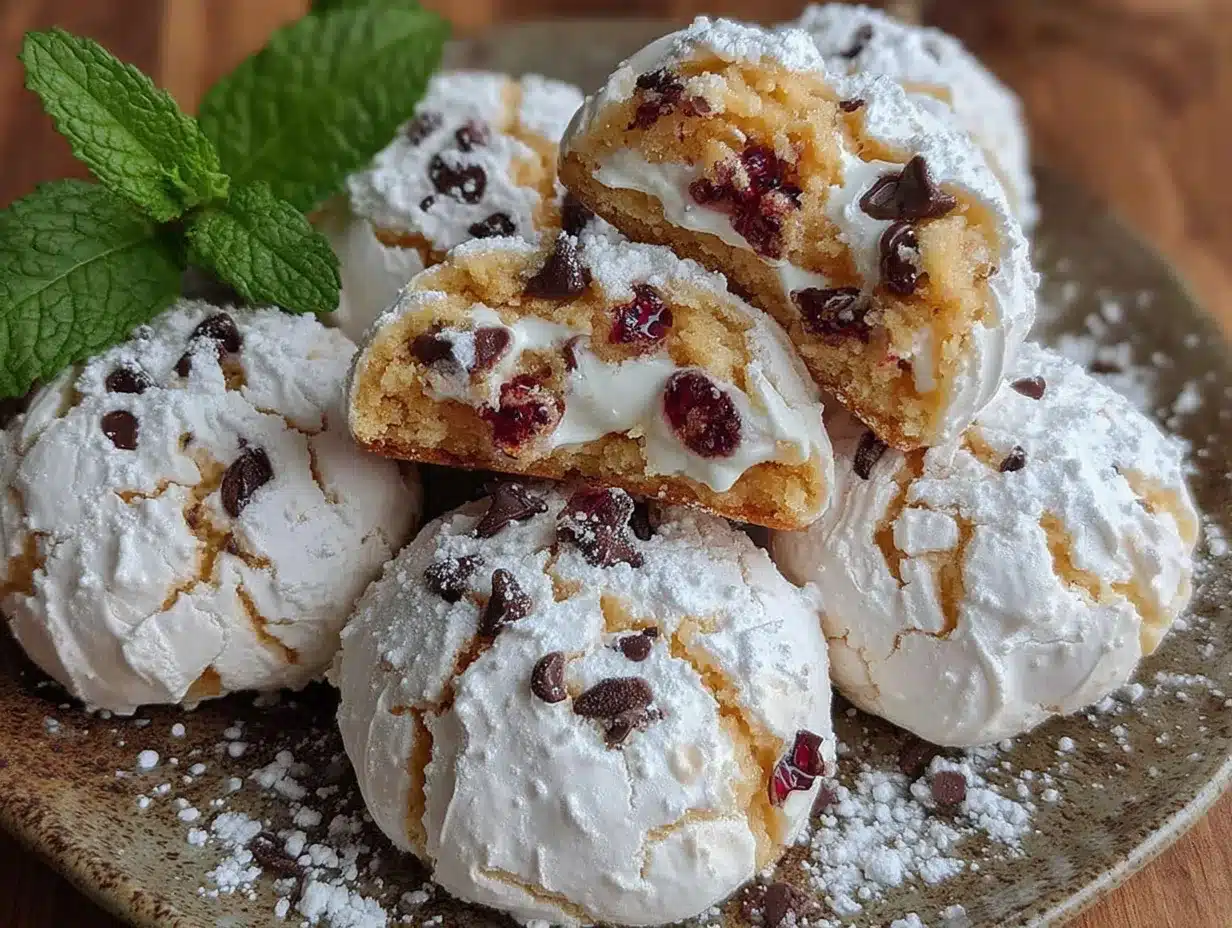
- 1 cup (170g) semi-sweet chocolate chips: I use Ghirardelli because they hold their shape and have a nice, rich flavor. You can also chop up a dark chocolate bar for bigger, more irregular chunks.
- ¼ cup (30g) finely chopped pecans or walnuts (optional): I love the crunch they add, but my neighbor never uses them. Totally up to you.
Ingredient Tips: Make sure your bowl and whisk are completely clean and free of any grease. Even a tiny bit of fat can prevent your egg whites from whipping up properly. I wipe my bowl with a little lemon juice or vinegar before starting, just to be safe. And if you’re making these for someone with a nut allergy, just leave out the pecans—the cookies are still fantastic without them.
Equipment Needed
You don’t need anything fancy for these cookies, which is part of their charm. Here’s what I use:
- Electric mixer (stand or hand-held): You could whip the egg whites by hand with a whisk, but honestly, your arm will get tired. A hand mixer works perfectly. I use my trusty KitchenAid stand mixer because it frees up my hands, but a hand mixer is just as good.
- Large mixing bowl: Make sure it’s glass or metal—plastic can hold onto grease. Copper bowls are traditional for meringues, but I’ve never owned one.
- Baking sheets: Two large baking sheets lined with parchment paper. The parchment is non-negotiable—the cookies will stick to foil or a greased pan.
- Rubber spatula: For folding in the chocolate chips gently so you don’t deflate the meringue.
- Microplane or fine grater: For zesting the lemon. A box grater works, but the zest will be too coarse.
- Cooling rack: Not strictly necessary since the cookies cool in the oven, but I use one if I’m impatient and want to cool a test cookie quickly.
If you don’t have parchment paper, you can use a silicone baking mat. I’ve tried both, and parchment is easier to peel off the finished cookies. Budget-friendly tip: buy parchment paper in bulk rolls—it’s cheaper and you’ll always have it on hand.
Preparation Method
Making these cookies is almost meditative. The process is simple, but there are a few little tricks that make all the difference. Here’s how I do it:
- Preheat your oven to 350°F (175°C). Line two baking sheets with parchment paper. I like to prep everything before I start whipping the egg whites so I’m not scrambling later.
- Separate your eggs. Crack each egg carefully, letting the white fall into a small bowl. Transfer each white to your large mixing bowl as you go. If any yolk breaks into the white, start over—fat is the enemy of meringue. I learned this the hard way after ruining a whole batch.
- Add the cream of tartar and salt. Sprinkle them over the egg whites. This stabilizes the whites and helps them whip up faster.
- Start whipping on medium speed. Beat the egg whites until they become frothy and start to hold soft peaks—about 2-3 minutes. When you lift the whisk, the peaks should droop over slightly.
- Gradually add the sugar. With the mixer running, add the sugar one tablespoon at a time. This is important—if you dump it all in at once, the meringue won’t be as stable. Take your time; it takes about 3-4 minutes to add all the sugar.
- Increase speed to high. Whip until the meringue is glossy, thick, and holds stiff peaks. This means when you lift the whisk, the peak stands straight up without flopping. It should feel smooth, not grainy, when you rub a little between your fingers. This usually takes 5-7 minutes total.
- Add the vanilla and lemon zest. Drizzle in the vanilla and sprinkle the zest over the top. Fold them in gently with a rubber spatula. Don’t overmix—you want to keep as much air in the meringue as possible.
- Fold in the chocolate chips (and nuts if using). Sprinkle them over the meringue and fold gently, just until evenly distributed. The batter will look like fluffy clouds dotted with chocolate.
- Drop spoonfuls onto the prepared baking sheets. I use a small cookie scoop (about 1.5 tablespoons) and space them about 2 inches apart. They don’t spread much, so you can fit 12-15 per sheet.
- Place the cookies in the oven, then TURN OFF THE OVEN. This is the “forgotten” part. Close the oven door and leave the cookies in there for at least 6 hours, or overnight. Don’t open the door—the residual heat slowly dries them out, creating that perfect crackly exterior and chewy interior.
Sensory Cue: When you take them out, the cookies should be pale golden, with a cracked surface and a slightly firm feel. They’ll look like little clouds. If they’re still soft and sticky, they need more time in the oven.
Cooking Tips & Techniques
I’ve made these cookies more times than I can count, and I’ve picked up a few tricks along the way. Here’s what I wish someone had told me:
- Humidity is your enemy. Meringues are finicky in humid weather. If it’s a rainy spring day, your cookies might not dry out properly. I’ve had batches that stayed sticky even after 8 hours in the oven. On humid days, I leave them in the oven with the door slightly ajar for an extra hour.
- Don’t over-whip. I know you want stiff peaks, but if you whip too long, the meringue can become dry and start to separate. Stop as soon as the peaks are stiff and glossy. Trust me, I’ve over-whipped and ended up with grainy, weeping cookies.
- Use a timer for the sugar. I set a timer for 4 minutes while I’m adding the sugar. It helps me pace myself and ensures the sugar dissolves properly. If you rush, you’ll end up with gritty cookies.
- Cool completely before storing. The cookies need to be completely cool and dry before you put them in an airtight container. Otherwise, they’ll get soft and lose their signature crunch. I leave them on the baking sheets for an hour after they come out of the oven.
- Make a test cookie. If you’re nervous, bake one cookie on a small tray first. Pop it in the oven, turn it off, and check it after 2 hours. It’ll give you confidence for the full batch.
I once forgot I had cookies in the oven and left them for 14 hours. Honestly, they were the best batch I ever made—extra dry and perfectly crisp. So don’t stress too much about the timing. The oven does all the work.
Variations & Adaptations
These cookies are endlessly adaptable. Here are some of my favorite variations:
- Spring Berry Version: Swap the chocolate chips for ½ cup of freeze-dried strawberries or raspberries, crushed into small pieces. The tart berries are amazing with the sweet meringue. I made these for a baby shower and they were gone in minutes.
- Citrus Burst: Replace the lemon zest with orange or lime zest. You can also add a drop of orange extract for extra punch. These are perfect for a summer picnic.
- Chocolate Lovers: Use dark chocolate chunks instead of chips, and add 1 tablespoon of cocoa powder to the meringue. Sift the cocoa with the cream of tartar to avoid lumps. This version is dangerously good.
- Nut-Free Option: Skip the pecans altogether. The cookies are still fantastic. Or swap in ¼ cup of unsweetened shredded coconut for texture.
- Vegan Adaptation: You can use aquafaba (the liquid from a can of chickpeas) instead of egg whites. Use 3 tablespoons of aquafaba per egg white. It whips up just like egg whites, though it takes a little longer. I’ve tried it, and it works surprisingly well.
My personal favorite variation is the lemon-blueberry version. I fold in ½ cup of dried blueberries along with the lemon zest. The little bursts of tart, chewy blueberry are incredible against the crisp meringue. It’s like spring in a cookie.
Serving & Storage Suggestions
These cookies are best served at room temperature, straight from the oven (well, after they’ve cooled). The contrast between the crackly exterior and the soft, marshmallowy interior is pure magic. I love them with a cup of hot tea or a cold glass of milk.
For a pretty presentation, arrange them on a cake stand or a wooden board. They look beautiful dusted with a little powdered sugar or served alongside fresh berries. If you’re making them for Easter, add a few pastel-colored sprinkles before baking—just press them gently into the tops.
Storage: Keep the cookies in an airtight container at room temperature for up to 5 days. Layer them between sheets of parchment paper so they don’t stick together. If they get a little soft, you can crisp them up in a 200°F (95°C) oven for 10 minutes.
Freezing: These cookies freeze beautifully. Place them in a single layer in a freezer-safe container, separated by parchment. They’ll keep for up to 3 months. Thaw at room temperature for 10 minutes before serving. I always keep a stash in the freezer for unexpected guests.
The flavors actually get better after a day or two—the chocolate mellows and the meringue becomes even more delicate. Not that they usually last that long in my house.
Nutritional Information & Benefits
While these cookies are a treat, they’re surprisingly light compared to traditional chocolate chip cookies. Here’s the approximate nutritional breakdown per cookie (based on 24 cookies):
- Calories: 85
- Fat: 4g
- Carbohydrates: 13g
- Sugar: 11g
- Protein: 1g
- Fiber: 1g
These cookies are naturally gluten-free, low in fat, and free from dairy (if you use dairy-free chocolate chips). The egg whites provide a good source of protein, and the lemon zest adds a little vitamin C. Plus, because they’re made with minimal ingredients, you know exactly what’s going into your body.
I love that these cookies feel indulgent without being heavy. They satisfy my sweet tooth without the food coma that comes from a traditional cookie. And since they’re flourless, they’re a great option for anyone with gluten sensitivities. Just make sure your chocolate chips are certified gluten-free if that’s a concern.
Conclusion
These Spring Forgotten Meringue Chocolate Chip Cookies have become a seasonal tradition in my kitchen. Every time I make them, I’m transported back to that moment on my neighbor’s porch, standing there with crumbs on my shirt, completely smitten. They’re the kind of recipe that feels like a secret—simple ingredients, a little patience, and a payoff that’s way bigger than the effort.
I hope you give them a try. Don’t be intimidated by the meringue—it’s easier than you think, and the “forgotten” method takes all the pressure off. You can even customize them to your taste, adding your favorite mix-ins or trying one of the variations I shared. And when you take that first bite of a crackly, chocolate-studded cloud, I think you’ll understand why I keep coming back to this recipe.
Let me know how they turn out! Leave a comment below or tag me in your photos—I love seeing your creations. Happy spring baking, friends!
Frequently Asked Questions
Can I make these cookies ahead of time?
Absolutely! In fact, they’re perfect for making ahead since they need to sit in the oven for several hours. You can bake them the night before and serve them the next day. They also store well for up to 5 days.
Why are they called “Forgotten Cookies”?
The name comes from the unique baking method—you “forget” them in the oven overnight. After placing the cookies in a hot oven, you turn it off and leave them inside to dry out slowly. It’s a genius, low-effort way to get perfectly crisp meringues.
My meringue didn’t get stiff peaks. What went wrong?
This usually happens if there’s a little fat or grease in your bowl or on your whisk. Make sure your equipment is spotless. Also, egg whites at room temperature whip up better than cold ones. If you’re still struggling, add an extra ⅛ teaspoon of cream of tartar for stability.
Can I use liquid egg whites from a carton?
I don’t recommend it. Carton egg whites often have stabilizers that prevent them from whipping up properly. Fresh egg whites give you the best volume and texture. If you must use carton whites, look for a brand without added gums or stabilizers.
Do these cookies taste very eggy?
Not at all! The sugar and vanilla mask any egg flavor, and the lemon zest adds a fresh, bright note. The chocolate chips add richness, so the cookies taste sweet and indulgent, not like eggs. I promise, no one will guess they’re mostly egg whites.
Pin This Recipe!
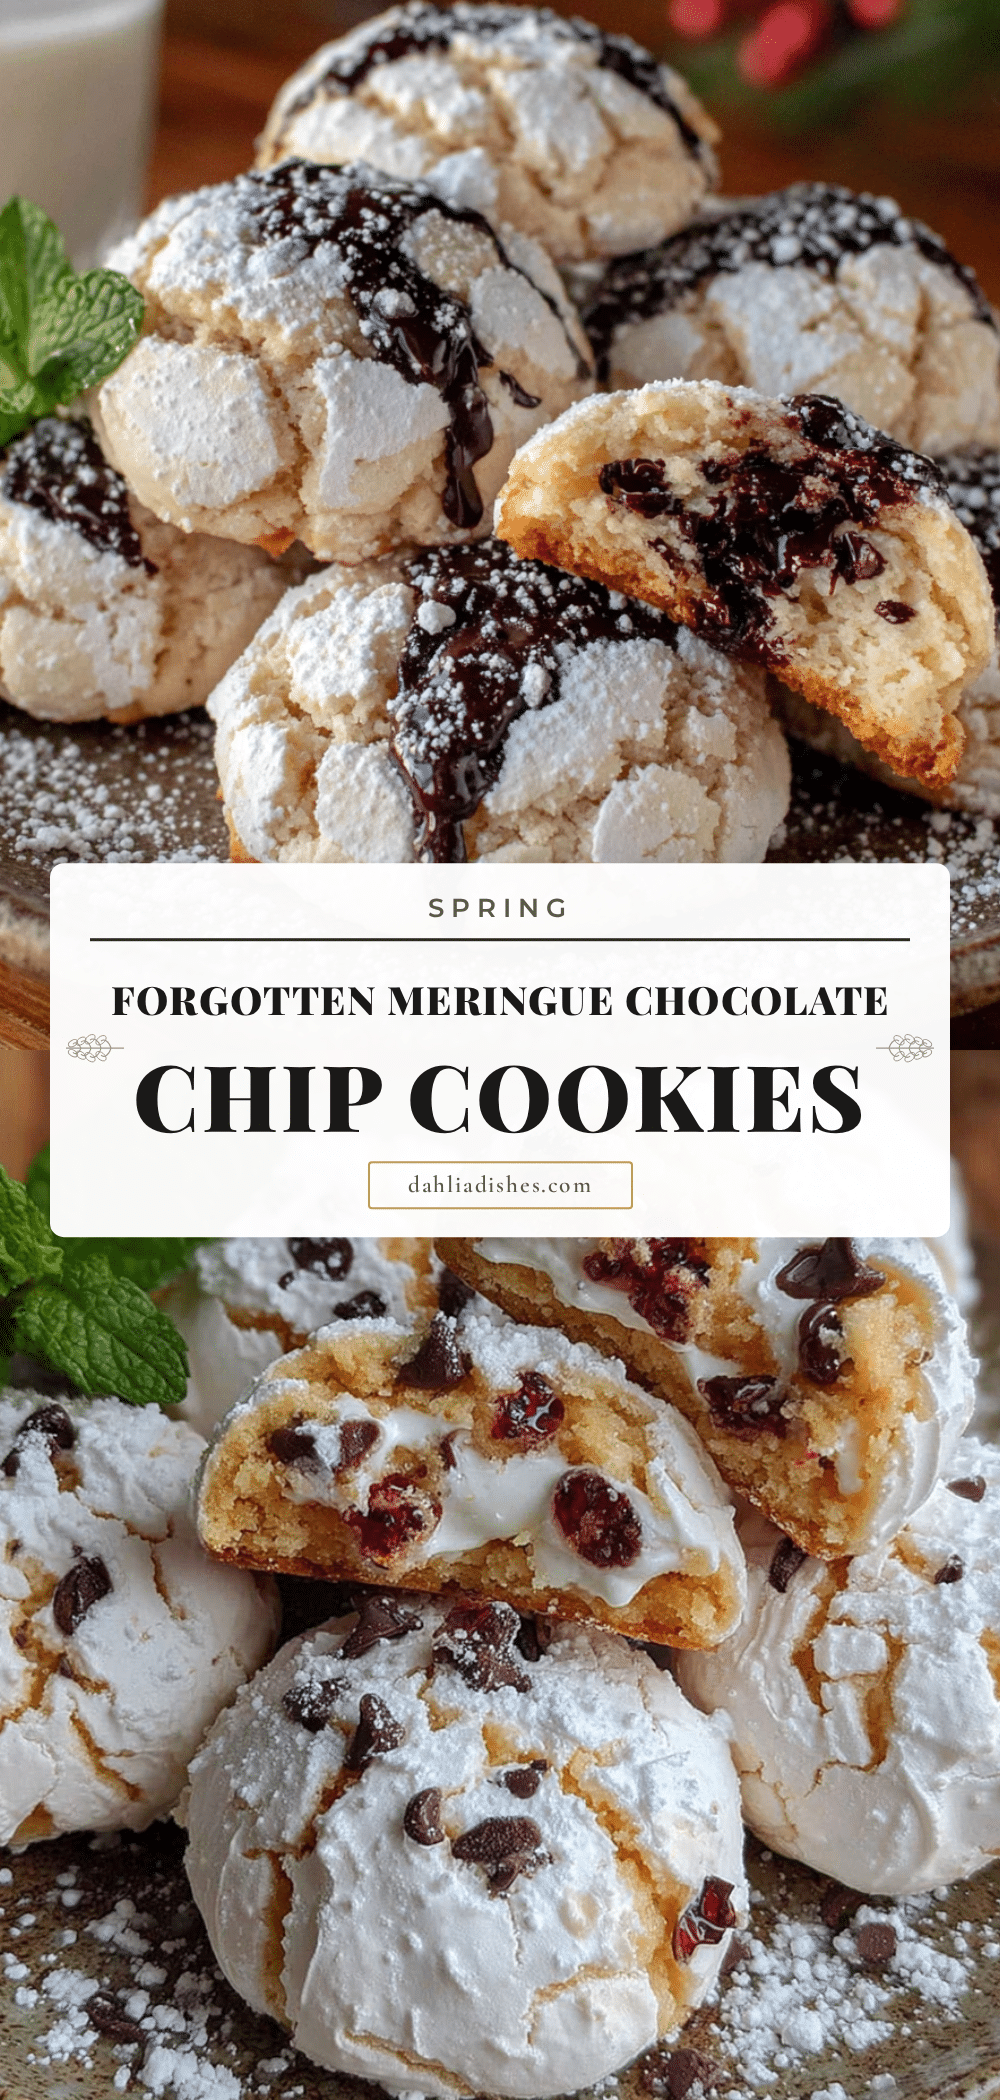
Best Spring Forgotten Meringue Chocolate Chip Cookies Recipe

Light, airy meringue cookies studded with chocolate chips and kissed with lemon zest. These ‘forgotten cookies’ are baked by leaving them in a turned-off oven overnight, resulting in a crackly exterior and soft, marshmallowy interior.
- Prep Time: 10 minutes
- Cook Time: 6 hours (in turned-off oven)
- Total Time: 6 hours 10 minutes (or overnight)
- Yield: 24 cookies 1x
- Category: Dessert
- Cuisine: American
Ingredients
- 3 large egg whites, at room temperature
- ¾ cup (150g) granulated sugar
- 1 teaspoon vanilla extract
- 1 teaspoon fresh lemon zest
- ¼ teaspoon cream of tartar
- Pinch of fine sea salt
- 1 cup (170g) semi-sweet chocolate chips
- ¼ cup (30g) finely chopped pecans or walnuts (optional)
Instructions
- Preheat your oven to 350°F (175°C). Line two baking sheets with parchment paper.
- Separate your eggs carefully, transferring each white to a large mixing bowl. Ensure no yolk breaks into the whites.
- Add the cream of tartar and salt to the egg whites.
- Start whipping on medium speed until frothy and soft peaks form, about 2-3 minutes.
- Gradually add the sugar one tablespoon at a time with the mixer running, taking about 3-4 minutes.
- Increase speed to high and whip until the meringue is glossy, thick, and holds stiff peaks, about 5-7 minutes total.
- Add the vanilla and lemon zest, folding gently with a rubber spatula.
- Fold in the chocolate chips (and nuts if using) gently until evenly distributed.
- Drop spoonfuls (about 1.5 tablespoons each) onto the prepared baking sheets, spacing them about 2 inches apart.
- Place the cookies in the oven, then TURN OFF THE OVEN. Close the oven door and leave the cookies in there for at least 6 hours, or overnight. Do not open the door.
- Remove cookies when they are pale golden with a cracked surface and slightly firm feel.
Notes
Humidity can affect meringues; on humid days, leave cookies in the oven with the door slightly ajar for an extra hour. Ensure bowl and whisk are completely clean and grease-free. Do not over-whip the meringue. Cool cookies completely before storing in an airtight container. Cookies can be frozen for up to 3 months.
Nutrition
- Serving Size: 1 cookie
- Calories: 85
- Sugar: 11
- Sodium: 15
- Fat: 4
- Saturated Fat: 2
- Carbohydrates: 13
- Fiber: 1
- Protein: 1
Keywords: forgotten cookies, meringue cookies, chocolate chip cookies, spring cookies, gluten-free cookies, lemon cookies, easy cookies, no-bake cookies


