Love this? Save it for later!
Share the inspiration with your friends
There used to be a little supper club in downtown Nashville called The Starlight Lounge that made the most incredible bourbon eggnog you could imagine. They didn’t just serve it during the holidays either—they had it on the menu from October through February, and people would drive from three counties away just for a glass. When they closed their doors in 2018 after thirty years, I honestly felt a little lost. That creamy, perfectly spiced drink with just the right kick of bourbon had become my official start-of-the-season tradition.
After maybe twelve tries—and some truly awful batches that I’m still embarrassed about—I finally cracked the code. The secret, as it turns out, is treating it like a proper custard rather than just mixing everything in a punch bowl. I mean, I learned that the hard way after serving a grainy, separated mess to my book club. Let me tell you, nothing kills a cozy evening faster than curdled eggnog.
This homemade bourbon eggnog recipe is the one that brought the Starlight Lounge back to life in my kitchen. It’s rich, it’s velvety, and it has that perfect balance of warm spices and smooth bourbon. If you’ve ever had a disappointing store-bought eggnog that tasted more like artificial flavoring than actual cream, you know exactly what I’m talking about. This is the real deal—the kind that makes people close their eyes after the first sip and go quiet for a second. And honestly? It’s the perfect thing to pull out when you’re hosting and want to impress without spending all night in the kitchen. Maybe you’ve been there too, searching for that one holiday drink that feels special but doesn’t require a culinary degree to pull off.
Why You’ll Love This Recipe
This isn’t just any eggnog recipe. After testing this version for two holiday seasons and serving it at three different gatherings, I can tell you exactly why it works so well for hosts.
- Crowd-Pleasing Guaranteed: Every single time I’ve served this, someone has asked for the recipe. It’s that good. The combination of rich custard, warm spices, and smooth bourbon hits that sweet spot that appeals to both eggnog lovers and skeptics.
- Make-Ahead Magic: You can prepare the custard base up to three days before your party. That means less stress on the day of your gathering and more time to actually enjoy your guests.
- Perfect for Scaling: This recipe doubles and triples beautifully. Whether you’re hosting a cozy dinner for six or a holiday open house for thirty, you can adjust it without any complicated math.
- Simple Ingredients: No weird additives or hard-to-find components here. Eggs, cream, milk, sugar, spices, and bourbon—that’s it. Your grocery list is short and sweet.
- Impressive Presentation: There’s something about serving homemade eggnog from a punch bowl with freshly grated nutmeg on top that just screams “I’ve got this.” Your guests will think you spent hours when really, the active cooking time is about twenty minutes.
What makes this recipe different from all the others is the custard technique. Instead of just whisking raw eggs into cream and hoping for the best, we’re actually cooking the mixture gently until it thickens into a silky, stable base. This eliminates any worry about texture issues and gives you that luxurious mouthfeel that store-bought versions can only dream of. It’s comfort in a glass, honestly—the kind of drink that makes you want to curl up by the fire and stay there.
What Ingredients You Will Need
This recipe uses simple, wholesome ingredients that come together to create something truly special. Most of these are probably already in your pantry or fridge, which is one of the things I love most about it.
For the Custard Base
- 6 large egg yolks (room temperature is best for smooth emulsification)
- ¾ cup granulated sugar (I prefer organic cane sugar for a cleaner flavor)
- 2 cups whole milk (don’t skimp here—low-fat milk will make a thinner eggnog)
- 1 cup heavy cream (adds that luxurious richness)
- 1 whole vanilla bean, split lengthwise (or 2 teaspoons pure vanilla extract if you’re in a pinch)
- 1 cinnamon stick (for infusing the milk)
- ¼ teaspoon freshly grated nutmeg (plus more for garnish)
- ⅛ teaspoon ground cloves
- Pinch of salt (balances the sweetness and enhances the spices)
For the Finish
- 1½ cups good quality bourbon (I recommend Buffalo Trace or Maker’s Mark for their smooth, slightly sweet profiles)
- ½ cup dark rum (optional but adds depth—Mount Gay or Appleton Estate work beautifully)
- 1 cup heavy cream, cold (for whipping into a light topping)
- 2 tablespoons powdered sugar (for the whipped cream)
- Freshly grated nutmeg for serving
- Cinnamon sticks for garnish (optional but pretty)
A few notes on ingredients: If you can’t find a vanilla bean, the extract works fine—just add it after you’ve removed the custard from the heat. For the bourbon, you don’t need to break the bank on something super expensive, but avoid the bottom-shelf stuff. A mid-range bourbon with notes of caramel and vanilla will complement the custard beautifully. And please, please use freshly grated nutmeg. The pre-ground stuff in a jar just doesn’t have the same aromatic punch, and since nutmeg is the star flavor here, it really matters.
Equipment Needed
You don’t need anything fancy for this recipe, which is part of its charm. Here’s what you’ll want to have on hand:
- Medium saucepan (heavy-bottomed is ideal for even heating and preventing scorching)
- Large heatproof mixing bowl (stainless steel or glass works great)
- Whisk (a balloon whisk gives you the best control)
- Fine-mesh strainer (this is non-negotiable for that silky smooth texture)
- Instant-read thermometer (not strictly necessary, but it takes the guesswork out of tempering eggs)
- Pitcher or bottle for storing (a glass carafe or mason jars work perfectly)
- Electric mixer or hand whisk (for the whipped cream topping)
- Microplane or fine grater (for fresh nutmeg—I use mine constantly)
If you don’t have a thermometer, don’t stress. I’ve made this recipe dozens of times without one. You can tell the custard is ready when it coats the back of a spoon and leaves a clean line when you run your finger through it. That said, if you’re nervous about curdling the eggs, a thermometer is a cheap insurance policy.
Preparation Method
This method breaks down into three main stages: making the custard base, chilling everything properly, and assembling before serving. Take your time with the first part—that’s where all the magic happens.
Stage 1: Make the Custard Base
- Combine the milk and spices: In your medium saucepan, pour in the 2 cups of whole milk and add the split vanilla bean (if using), cinnamon stick, freshly grated nutmeg, and ground cloves. Place over medium heat and bring it to a gentle simmer. You’ll see small bubbles forming around the edges, but don’t let it come to a full boil. This takes about 5-7 minutes. The kitchen will start smelling incredible at this point.
- Whisk the egg yolks and sugar: While the milk is heating, grab your heatproof bowl and whisk together the 6 egg yolks and ¾ cup of sugar until the mixture turns pale yellow and slightly thick. This should take about 2 minutes of vigorous whisking. You’re looking for a texture that ribbons off the whisk when you lift it. This is where the custard gets its richness.
- Temper the eggs: Here’s the step that makes people nervous, but I promise it’s simpler than it sounds. Slowly drizzle about a cup of the hot milk mixture into the egg yolk mixture while whisking constantly. I mean constantly—don’t stop for a second. This gradually raises the temperature of the eggs so they don’t scramble when you add them to the pot. Once you’ve incorporated that first cup, slowly pour the egg mixture back into the saucepan with the remaining milk, whisking the whole time.
- Cook the custard: Return the saucepan to medium-low heat and cook, stirring constantly with a wooden spoon or heatproof spatula. You want to keep the mixture moving across the bottom of the pan to prevent scorching. Cook until the custard thickens enough to coat the back of a spoon—this usually takes about 8-10 minutes. If you’re using a thermometer, you’re aiming for 170°F to 175°F. Don’t go above 180°F or you’ll end up with sweetened scrambled eggs, which I’ve done and it’s not pretty.
- Strain the custard: Immediately remove the pan from the heat and pour the custard through your fine-mesh strainer into a clean bowl. This catches any tiny bits of cooked egg that might have formed and removes the vanilla bean pod and cinnamon stick. Give it a gentle stir with your whisk to help it pass through the strainer.
- Cool it down: Let the custard cool at room temperature for about 30 minutes, stirring occasionally to prevent a skin from forming on top. Then cover the bowl with plastic wrap pressed directly onto the surface of the custard (this prevents that weird rubbery skin) and refrigerate until completely cold, at least 4 hours but overnight is better.
Stage 2: Prepare the Whipped Cream and Assemble
- Make the whipped cream: In a chilled bowl, pour the 1 cup of cold heavy cream and add the 2 tablespoons of powdered sugar. Whip with an electric mixer on medium-high speed until soft peaks form—you want it light and fluffy, not stiff and buttery. This takes about 3-4 minutes. Set aside in the refrigerator.
- Combine the eggnog: Once your custard base is completely cold, remove it from the fridge and give it a good whisk to smooth it out. Pour in the 1½ cups of bourbon and ½ cup of dark rum if using. Stir gently but thoroughly. Taste it here and adjust if needed—if you want a stronger bourbon kick, add another splash. If it’s too boozy, add a little more milk.
- Fold in the whipped cream: Take about a third of your whipped cream and fold it into the eggnog mixture using a rubber spatula. Use gentle, sweeping motions from the bottom up. This lightens the texture and gives it that dreamy, frothy quality. Once incorporated, fold in the remaining whipped cream until just combined. Don’t overmix or you’ll deflate everything.
- Chill again: Transfer the finished eggnog to a pitcher or bottle and refrigerate for at least 2 more hours. This allows the flavors to meld together beautifully. I promise the wait is worth it.
Cooking Tips & Techniques
After making this recipe more times than I can count, I’ve picked up a few tricks that make the process smoother and the results more consistent.
Don’t rush the tempering step. I know it’s tempting to just dump the hot milk into the eggs and hope for the best, but that’s exactly how you end up with lumpy eggnog. Take your time, pour slowly, and keep that whisk moving. Think of it as a gentle introduction—the eggs and milk are getting to know each other before they get cozy in the pan.
Use a heavy-bottomed saucepan. This was a lesson I learned the hard way after scorching a batch on a thin pan. The heavy bottom distributes heat more evenly and gives you better control over the temperature. It’s worth the investment if you make custards or sauces regularly.
Keep a bowl of ice water nearby. If your custard starts to look like it’s getting too thick or you see tiny lumps forming, plunge the bottom of the saucepan into an ice bath while whisking vigorously. This stops the cooking process immediately and can sometimes save a batch that’s on the verge of curdling.
Let the flavors marry overnight. I know I mentioned this earlier, but it bears repeating. Eggnog that sits in the fridge for 24 hours tastes significantly better than eggnog made the same day. The bourbon mellows out, the spices deepen, and everything comes into harmony. If you’re hosting a party, make the custard base three days ahead and finish it the night before.
Scale with confidence. When I’m hosting our annual holiday open house, I triple this recipe. The custard technique works exactly the same way with larger quantities—just give yourself a little more time for the milk to heat and the custard to thicken. Use a bigger pot and a longer whisk, and you’re golden.
Variations & Adaptations
One of the best things about this eggnog recipe is how adaptable it is. Over the years, I’ve played around with different flavor combinations and dietary adjustments, and here are my favorites.
Spiced Apple Bourbon Eggnog: Replace the dark rum with an equal amount of good apple brandy or Calvados. Add ½ teaspoon of apple pie spice to the milk while it’s heating. The apple notes pair beautifully with the bourbon and give the eggnog a cozy autumn twist. I served this at a Friendsgiving last year and it disappeared in twenty minutes.
Dairy-Free Version: Substitute the whole milk with full-fat oat milk or cashew milk, and use canned coconut cream instead of heavy cream. The coconut cream whips up beautifully, though it will have a slight coconut flavor that actually works well with the warm spices. I’ve tested this for a friend with dairy sensitivity and she said it was the best eggnog she’d had in years.
Lighter Eggnog: If you’re watching calories but still want the experience, use 2% milk instead of whole milk and reduce the egg yolks to 4. Skip the whipped cream topping entirely or use a light whipped topping. The texture won’t be quite as luxurious, but the flavor is still fantastic.
Non-Alcoholic Version: Simply omit the bourbon and rum and add an extra cup of milk to replace the volume. You can also add 1 teaspoon of vanilla extract and ½ teaspoon of almond extract to give it more complexity. This version is perfect for kids or designated drivers.
Mexican Chocolate Eggnog: Add 2 ounces of chopped dark chocolate to the milk while it’s heating, along with a pinch of cayenne pepper and an extra cinnamon stick. The chocolate melts into the custard and creates a rich, slightly spicy drink that’s absolutely decadent. I tried this on a whim one snowy evening and it’s become my personal favorite.
Serving & Storage Suggestions
When it comes to serving this eggnog at a gathering, presentation matters almost as much as taste. Here’s how I handle it.
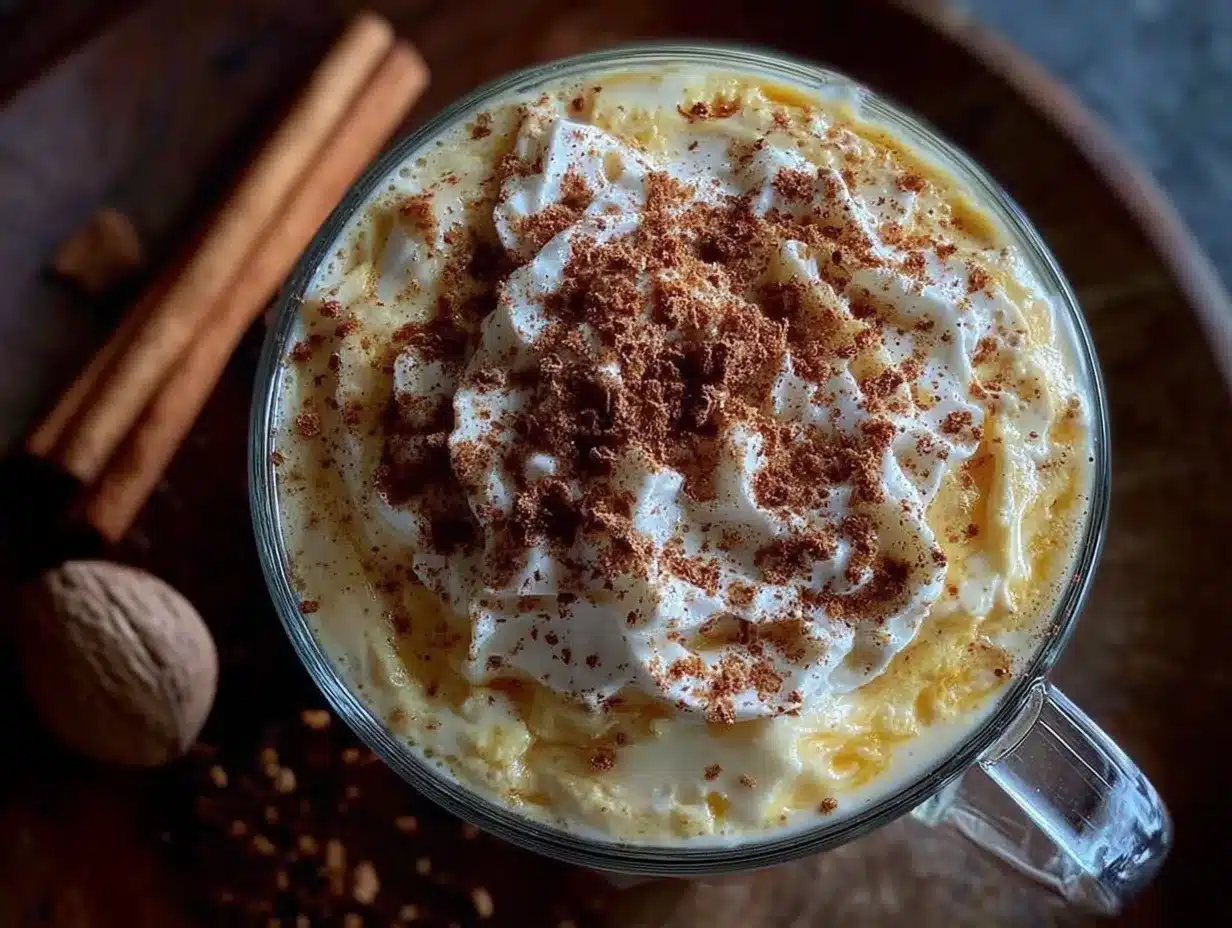
Serving temperature: This eggnog is best served very cold. Pour it straight from the refrigerator into chilled glasses or a punch bowl. I like to use small punch cups or stemmed glasses—something about the presentation feels more festive. Top each serving with a dollop of the reserved whipped cream and a generous grating of fresh nutmeg. A cinnamon stick makes a lovely stirrer.
What to serve alongside: This eggnog pairs beautifully with gingerbread cookies, shortbread, or a simple pound cake. If you’re hosting a brunch, it’s fantastic with cinnamon rolls or a baked French toast casserole. For a dinner party, serve it as a pre-dinner cocktail or a dessert course on its own.
Storage instructions: The finished eggnog keeps in the refrigerator for up to 5 days in a tightly sealed container. The flavors actually continue to develop and improve over the first 48 hours. Do not freeze the eggnog—the texture will separate and become grainy upon thawing.
Reheating notes: While this recipe is designed to be served cold, you can absolutely warm it up for a cozy night in. Gently heat individual servings in a small saucepan over low heat, stirring constantly. Do not boil it. Add a splash of milk if it thickens too much. A warm mug of this on a cold December evening is pure comfort.
Leftover whipped cream: If you have extra whipped cream, it keeps in the refrigerator for about 2 days. Or you can dollop it onto hot chocolate or coffee for a treat the next morning.
Nutritional Information & Benefits
Let’s be honest—this eggnog is a treat, not a health food. But knowing what’s in it can help you enjoy it mindfully.
Per 6-ounce serving (with bourbon and whipped cream): approximately 380 calories, 22g fat, 28g carbohydrates, 7g protein, and 18g sugar. The alcohol content adds about 1.5 standard drinks per serving.
The eggs in this recipe provide high-quality protein and essential nutrients like choline and vitamin D. Egg yolks are also a good source of lutein, which supports eye health. The milk and cream contribute calcium for bone health, and the spices—particularly nutmeg and cinnamon—have anti-inflammatory properties. Of course, these benefits come alongside the sugar and saturated fat, so moderation is key.
This recipe contains dairy and eggs, so it’s not suitable for those with allergies to those ingredients. The dairy-free variation I mentioned earlier addresses that concern. The alcohol content means this isn’t appropriate for children or anyone avoiding alcohol.
My personal perspective? This is a holiday indulgence, and that’s okay. I serve it at one or two gatherings per season and savor every sip. Life is about balance, and a glass of homemade eggnog with friends is one of those simple pleasures that makes the holiday season special.
Frequently Asked Questions
Can I use pre-ground nutmeg instead of fresh?
You can, but I really don’t recommend it. Freshly grated nutmeg has a warmth and complexity that pre-ground nutmeg just can’t match. The difference is like comparing fresh coffee to instant—both will wake you up, but one is a much more enjoyable experience. A whole nutmeg costs about a dollar and lasts forever in your spice drawer.
How far in advance can I make this eggnog?
You can make the custard base up to three days ahead and keep it refrigerated. Once you add the alcohol and whipped cream, the finished eggnog is best within 2 to 3 days. The flavors actually improve after the first 24 hours, so making it the day before your party is ideal.
Can I use a different type of alcohol?
Absolutely. While bourbon is traditional and gives that classic warm, vanilla-tinged flavor, you can experiment. Rye whiskey adds a spicier kick, brandy makes it fruitier, and dark rum brings molasses notes. I’ve even made a version with spiced rum that was a big hit. Just keep the total alcohol volume roughly the same.
Why did my eggnog turn out lumpy?
Lumpy eggnog usually means the eggs got too hot too quickly and started to scramble. This happens when you add the hot milk too fast during the tempering step, or when you cook the custard over too high heat. If this happens, strain it through a fine-mesh sieve immediately—you might be able to salvage most of it. Next time, go slower with the tempering and keep the heat at medium-low.
Can I make this eggnog without cooking the eggs?
You can, but I wouldn’t recommend it for a crowd. Uncooked eggnog carries a small risk of salmonella, which is why I prefer the cooked custard method. It’s safer, and honestly, the texture is much better—smooth, silky, and stable. If you absolutely must skip the cooking, use pasteurized eggs and expect a thinner, less luxurious result.
Conclusion
This homemade bourbon eggnog is more than just a drink—it’s the taste of the holidays, captured in a glass. It’s the warmth of a crackling fire, the laughter of friends gathered around your table, and that feeling of satisfaction when someone takes a sip and says, “Wow, you made this?”
I’ve been making this recipe for years now, and it still makes me happy every single time. There’s something special about pulling out a pitcher of homemade eggnog at a party. It says you cared enough to put in the effort, and that effort pays off in every creamy, spiced, bourbon-kissed sip. Whether you’re hosting a big holiday bash or just treating yourself on a quiet winter evening, this eggnog delivers.
I’d love to hear how it turns out for you. Did you try one of the variations? Add your own twist? Share your experience in the comments below—your feedback helps other home cooks discover what works. And if you loved this recipe, please share it with a friend who needs a show-stopping holiday drink in their repertoire. Here’s to making memories, one glass at a time.
Pin This Recipe!
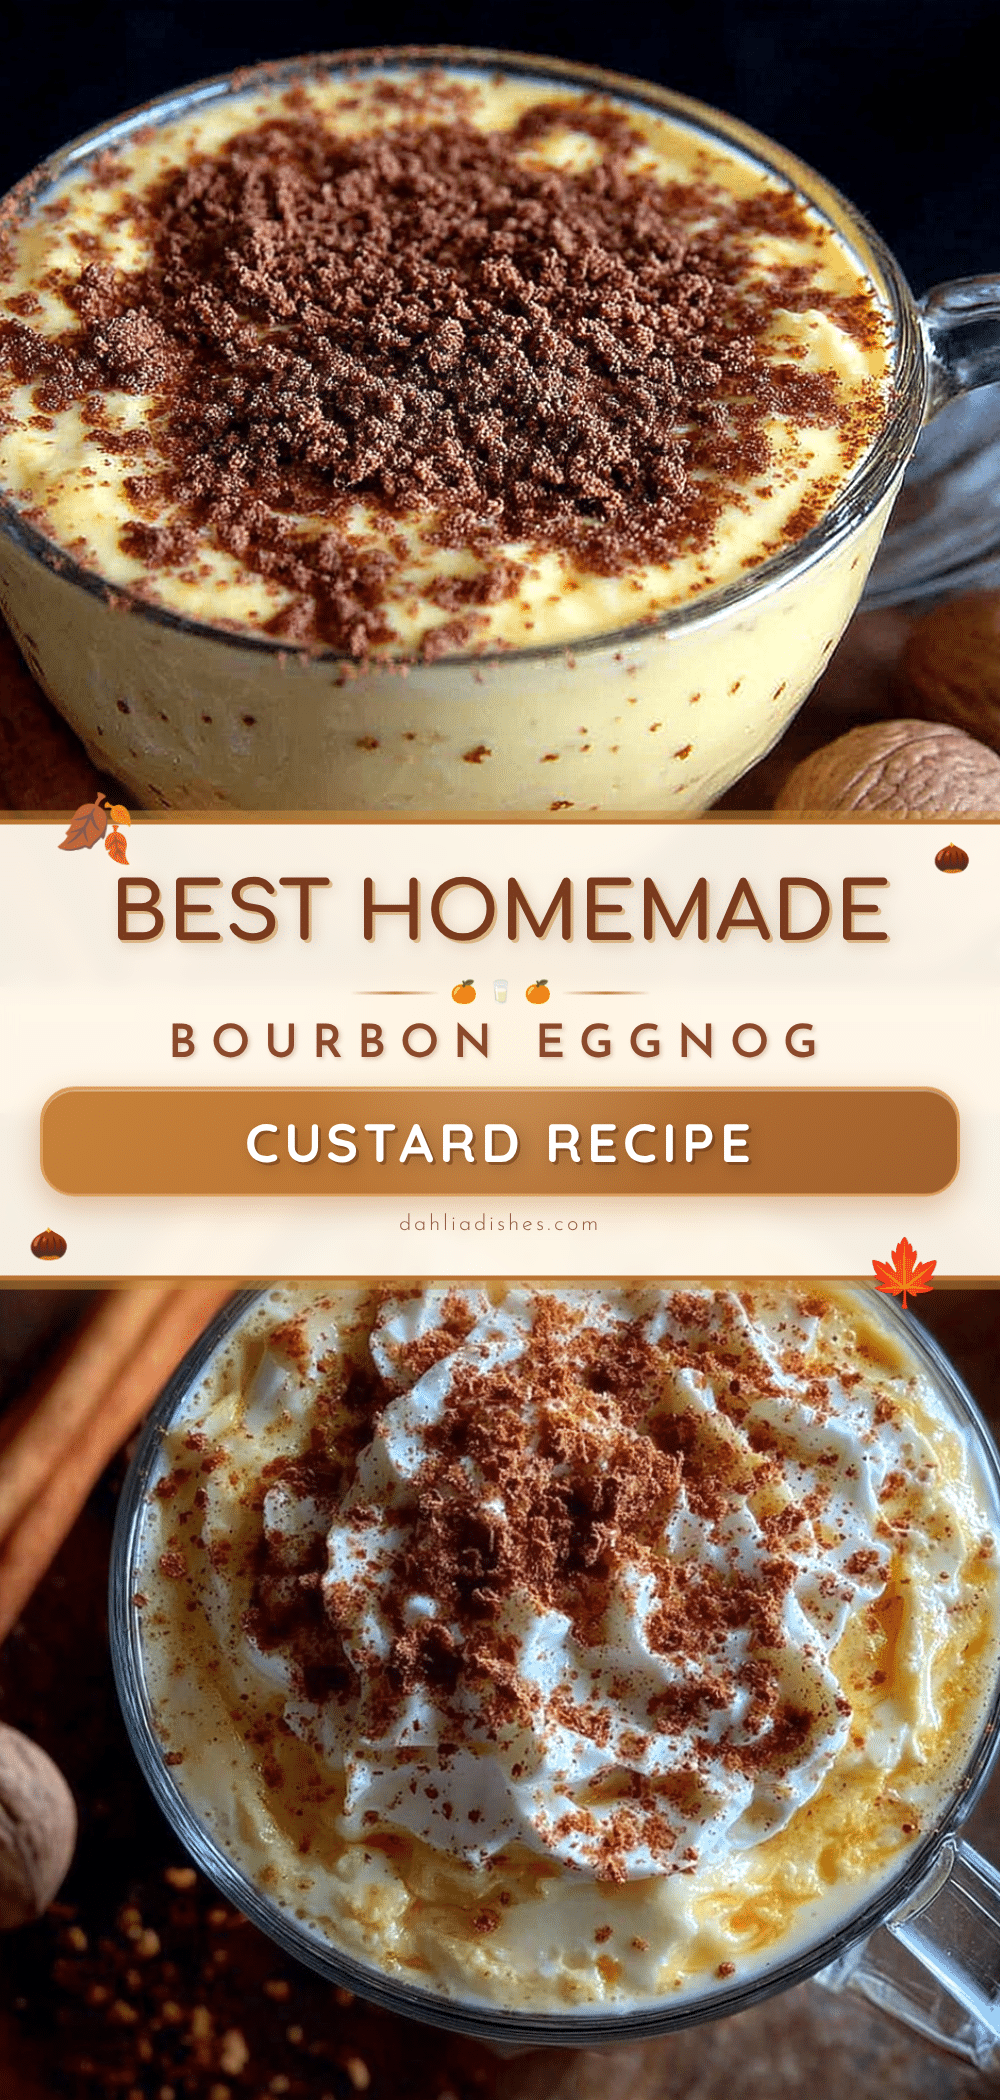
Best Homemade Bourbon Eggnog: Easy Custard Recipe
This homemade bourbon eggnog is rich, velvety, and perfectly spiced, with a smooth bourbon kick. The secret is treating it like a proper custard for a silky, stable base that’s perfect for holiday gatherings.
- Prep Time: 20 minutes
- Cook Time: 15 minutes
- Total Time: 4 hours 35 minutes (includes chilling)
- Yield: 8 servings 1x
- Category: Beverage
- Cuisine: American
Ingredients
- 6 large egg yolks (room temperature)
- ¾ cup granulated sugar (organic cane sugar preferred)
- 2 cups whole milk
- 1 cup heavy cream
- 1 whole vanilla bean, split lengthwise (or 2 teaspoons pure vanilla extract)
- 1 cinnamon stick
- ¼ teaspoon freshly grated nutmeg (plus more for garnish)
- ⅛ teaspoon ground cloves
- Pinch of salt
- 1½ cups good quality bourbon (e.g., Buffalo Trace or Maker’s Mark)
- ½ cup dark rum (optional, e.g., Mount Gay or Appleton Estate)
- 1 cup heavy cream, cold (for whipped topping)
- 2 tablespoons powdered sugar (for whipped cream)
- Freshly grated nutmeg for serving
- Cinnamon sticks for garnish (optional)
Instructions
- Combine the milk and spices: In a medium saucepan, pour in the 2 cups of whole milk and add the split vanilla bean (if using), cinnamon stick, freshly grated nutmeg, and ground cloves. Place over medium heat and bring to a gentle simmer (small bubbles around edges, not a full boil), about 5-7 minutes.
- Whisk the egg yolks and sugar: In a heatproof bowl, whisk together the 6 egg yolks and ¾ cup sugar until pale yellow and slightly thick, about 2 minutes, until it ribbons off the whisk.
- Temper the eggs: Slowly drizzle about 1 cup of the hot milk mixture into the egg yolk mixture while whisking constantly. Then slowly pour the egg mixture back into the saucepan with the remaining milk, whisking continuously.
- Cook the custard: Return the saucepan to medium-low heat and cook, stirring constantly with a wooden spoon or heatproof spatula, until the custard thickens enough to coat the back of a spoon, about 8-10 minutes. If using a thermometer, aim for 170°F to 175°F; do not exceed 180°F.
- Strain the custard: Immediately remove from heat and pour the custard through a fine-mesh strainer into a clean bowl to remove any cooked egg bits, vanilla bean pod, and cinnamon stick. Stir gently.
- Cool the custard: Let cool at room temperature for about 30 minutes, stirring occasionally. Cover with plastic wrap pressed directly onto the surface and refrigerate until completely cold, at least 4 hours or overnight.
- Make the whipped cream: In a chilled bowl, pour 1 cup cold heavy cream and add 2 tablespoons powdered sugar. Whip with an electric mixer on medium-high speed until soft peaks form, about 3-4 minutes. Set aside in the refrigerator.
- Combine the eggnog: Once the custard base is cold, whisk it smooth. Pour in 1½ cups bourbon and ½ cup dark rum (if using). Stir gently. Taste and adjust if needed.
- Fold in the whipped cream: Fold about one-third of the whipped cream into the eggnog mixture using a rubber spatula with gentle, sweeping motions. Fold in the remaining whipped cream until just combined.
- Chill again: Transfer the finished eggnog to a pitcher or bottle and refrigerate for at least 2 more hours to allow flavors to meld.
Notes
Don’t rush the tempering step; pour hot milk slowly into eggs while whisking constantly to avoid scrambling. Use a heavy-bottomed saucepan to prevent scorching. Keep a bowl of ice water nearby to stop cooking if custard starts to curdle. Let the flavors marry overnight for best results. The custard base can be made up to 3 days ahead.
Nutrition
- Serving Size: 6 ounces
- Calories: 380
- Sugar: 18
- Sodium: 80
- Fat: 22
- Saturated Fat: 13
- Carbohydrates: 28
- Protein: 7
Keywords: bourbon eggnog, homemade eggnog, custard eggnog, holiday drink, Christmas cocktail, eggnog recipe


