Love this? Save it for later!
Share the inspiration with your friends
My neighbor, Mrs. Gable, watched me staring at her kitchen window one October afternoon. I wasn’t trying to be creepy—honestly, I was just mesmerized by the way the late autumn light hit the pan she was pulling from the oven. She didn’t say anything at first. Then she just cracked the window open and handed me a still-warm brownie wrapped in a paper towel. “You look like you need this more than I do,” she said with a wink. That brownie had this impossibly fudgy center and a crackly top, and I remember thinking, this is what October should taste like. I asked her about the recipe, and she laughed—said it was really just her go-to brownie mix tricked up with a little something special. We ended up talking on her porch for twenty minutes, her cat weaving between our feet, while she explained how she’d been making these for her grandkids’ Halloween parties for years. I went home that day with chocolate on my fingers and a new favorite tradition. Over time, I added my own twist—the spiderweb Nutella swirl—and now these brownies are the first thing I make when the leaves start turning. Maybe you’ve been there, standing in someone else’s kitchen doorway, watching magic happen with everyday ingredients. That’s exactly what this recipe feels like, except you get to be the one pulling the pan out of the oven.
Why You’ll Love This Recipe
Let me tell you, these Spiderweb Nutella Brownies aren’t just another Halloween dessert. They’re the kind of thing that makes people stop mid-conversation and say, “Wait, you made these?” I’ve tested this recipe more times than I care to admit, and every single batch has disappeared faster than candy on November 1st. Here’s why this one’s a keeper:
- Quick & Easy: You’re looking at about 35 minutes from start to finish. No complicated piping bags, no fancy tools—just a knife and a steady hand.
- Simple Ingredients: You probably already have most of this stuff in your pantry. The only special guest is Nutella, and let’s be honest, you probably have that too.
- Perfect for Halloween Gatherings: These are made for parties. They look impressive, they travel well, and they’re easy to cut into squares for a crowd.
- Crowd-Pleaser: Kids go nuts for the spiderweb design, and adults appreciate that they’re not overly sweet. It’s a win-win.
- Unbelievably Delicious: The combo of rich, fudgy brownie and creamy Nutella swirl is next-level comfort food. I’m not exaggerating when I say I’ve seen people close their eyes after the first bite.
What makes this recipe different from the rest? It’s the technique. Instead of just dolloping Nutella on top and calling it a day, you actually create a proper spiderweb pattern that bakes into the brownie. The result is this beautiful marbled effect that looks like it took hours but really only takes about thirty seconds. Plus, I’ve tweaked the brownie base to be extra fudgy—because nobody wants a dry brownie, especially not at a Halloween party where you’re trying to impress.
This isn’t just good—it’s the kind of dessert that makes you the hero of the party. You’ll walk in with that pan, set it down on the dessert table, and watch people gravitate toward it like moths to a flame. Trust me, I’ve seen it happen. And the best part? You can make them the night before, so you’re not stressed out when guests arrive.
What Ingredients You Will Need
This recipe uses simple, everyday ingredients to deliver that rich, fudgy texture and stunning spiderweb design. Nothing fancy here—just good, honest baking staples plus a jar of everyone’s favorite chocolate-hazelnut spread.
- 1 cup (226g) unsalted butter (melted and slightly cooled—don’t use it hot or it’ll cook the eggs)
- 2 cups (400g) granulated sugar (I’ve tried this with brown sugar too, but white sugar gives the best crackly top)
- 4 large eggs (room temperature is ideal, but if you forgot to take them out, just run them under warm water for a minute)
- 1 tablespoon vanilla extract (pure, not imitation—trust me on this one)
- 1 cup (120g) all-purpose flour (spoon and level it, don’t scoop straight from the bag)
- 3/4 cup (75g) unsweetened cocoa powder (I prefer Hershey’s Special Dark for a richer flavor, but regular works fine)
- 1/2 teaspoon salt (enhances the chocolate flavor—don’t skip it)
- 1/2 cup (150g) Nutella (for the spiderweb swirl—you’ll need a little extra for the design)
- Optional: 1/2 cup (90g) semi-sweet chocolate chips (I add these when I want extra chocolatey goodness)
For the Nutella, I recommend using the standard jarred kind—no need for the fancy stuff. Just give it a good stir before measuring because the oil sometimes separates. If you’re looking for a dairy-free option, there are some great vegan Nutella alternatives out there, though I haven’t tested them all personally. My sister swears by the one from Trader Joe’s, if that helps.
One thing I learned the hard way: make sure your cocoa powder isn’t lumpy. I once used an old can that had been sitting in my cabinet for who knows how long, and it had these little clumps that refused to mix in. Sift it if you’re worried—it takes an extra thirty seconds but saves you from brownie lumps.
As for substitutions, you can swap the all-purpose flour for a gluten-free 1:1 blend if needed. I’ve done it with Bob’s Red Mill and it worked beautifully. Just don’t use almond flour or coconut flour—they’ll change the texture completely and you’ll end up with something more like a cake than a brownie.
Equipment Needed
You don’t need a professional bakery setup for these brownies. Here’s what you’ll want to have on hand:
- 9×13-inch baking pan (I use a metal one because it conducts heat better, but glass works too—just add a few minutes to the baking time)
- Parchment paper (non-negotiable for easy removal—I’ve tried greasing the pan alone and regretted it every time)
- Large mixing bowl (any bowl you’ve got, really)
- Whisk (for the wet ingredients)
- Rubber spatula (for folding in the dry ingredients)
- Small microwave-safe bowl (for warming the Nutella)
- Butter knife or toothpick (for creating the spiderweb design)
- Cooling rack (optional but helpful—a wire rack lets air circulate so the bottom doesn’t get soggy)
If you don’t have a 9×13 pan, you can use two 8×8 pans instead—just reduce the baking time by about 5 minutes. And if you’re really in a pinch, a disposable aluminum pan from the grocery store works fine. I’ve done it before when I forgot my good pan at my mom’s house, and honestly, nobody could tell the difference.
Preparation Method
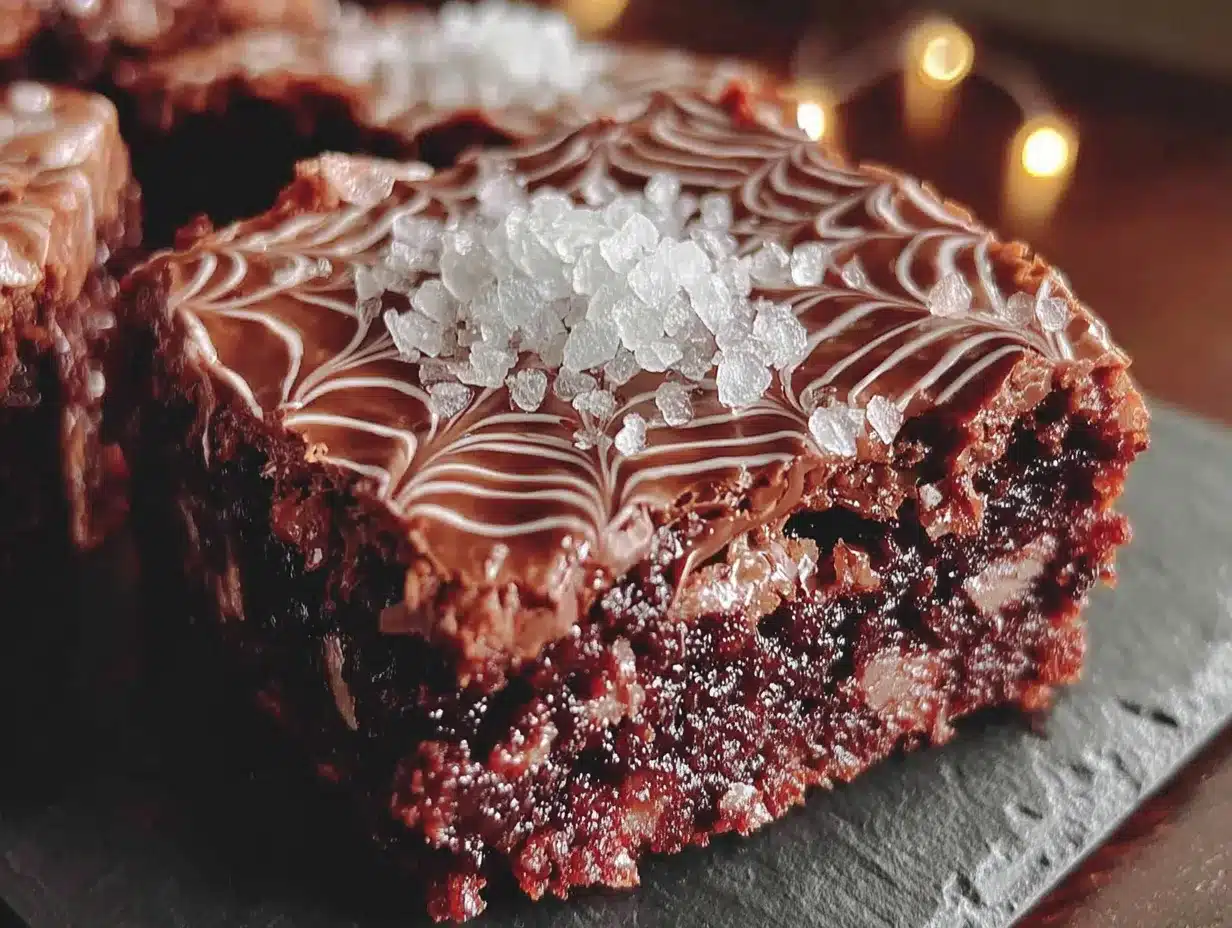
Alright, let’s get to the fun part. Here’s how to make these Spiderweb Nutella Brownies step by step:
- Preheat your oven to 350°F (175°C). Line your 9×13-inch baking pan with parchment paper, leaving some overhang on the sides. This makes lifting the brownies out so much easier later. I always spray a little non-stick spray under the paper to help it stick to the pan.
- Melt the butter. In a microwave-safe bowl, melt the butter in 30-second intervals until fully melted. Let it cool for about 5 minutes—you want it warm, not hot. If it’s too hot, it’ll start cooking the eggs when you add them, and nobody wants scrambled eggs in their brownies.
- Mix the wet ingredients. In your large mixing bowl, whisk together the melted butter and sugar until well combined. It should look like wet sand. Add the eggs one at a time, whisking well after each addition. Stir in the vanilla extract. The mixture should be smooth and glossy at this point.
- Combine the dry ingredients. In a separate bowl, whisk together the flour, cocoa powder, and salt. I like to do this in a separate bowl to make sure everything’s evenly distributed. If you’re adding chocolate chips, toss them in the flour mixture—this keeps them from sinking to the bottom of the brownies.
- Fold it all together. Gradually add the dry ingredients to the wet ingredients, folding gently with your rubber spatula. Don’t overmix! Stop as soon as you don’t see any more streaks of flour. Overmixing will give you tough, cakey brownies instead of fudgy ones.
- Pour the batter into the pan. Spread it evenly with your spatula. Give the pan a little tap on the counter to release any air bubbles. At this point, your kitchen should smell like heaven.
- Warm the Nutella. Scoop about 1/2 cup of Nutella into a small microwave-safe bowl. Microwave for 15-20 seconds, just until it’s soft and drizzle-able. Don’t overheat it or it’ll get grainy.
- Create the spiderweb. Drop spoonfuls of the warm Nutella all over the surface of the brownie batter. You want about 8-10 dollops spaced evenly. Then, take a butter knife or toothpick and drag it through the Nutella dollops in a swirling motion. Start from the center of each dollop and drag outward in a circular pattern. You’ll see the spiderweb design emerge as you go. Don’t over-swirl—you want distinct webs, not one big muddy mess.
- Bake for 25-28 minutes. The edges should look set and slightly pulling away from the pan, but the center should still look a little soft. A toothpick inserted in the center should come out with a few moist crumbs—not clean, but not wet batter either. I always err on the side of underbaking because brownies continue to cook as they cool.
- Cool completely in the pan. This is the hardest part, I know. Let them cool on a wire rack for at least 30 minutes before lifting them out using the parchment paper overhang. If you try to cut them while they’re warm, you’ll get a gooey mess. Trust me, I’ve made that mistake more times than I’d like to admit.
- Cut into squares. Use a sharp knife and wipe it clean between cuts for neat edges. For Halloween, I like to cut them into 24 small squares—perfect for a crowd.
Cooking Tips & Techniques
Here are some things I’ve learned the hard way so you don’t have to:
Don’t overmix the batter. I cannot stress this enough. When you add the flour mixture, fold it gently until just combined. Overmixing develops the gluten and gives you cakey brownies. We want fudgy, dense, and almost gooey in the center. I once got distracted by a phone call and kept mixing—ended up with brownies that were more like chocolate cake. Still tasty, but not what we’re going for here.
The spiderweb technique takes practice. Your first attempt might look a little messy. That’s okay! The beauty of this design is that it’s supposed to look organic and spooky. If you over-swirl, you’ll lose the web effect entirely. I recommend doing one or two test swirls before committing to the whole pan. And remember: less is more. You can always add more swirls, but you can’t take them away.
Warm your knife for clean cuts. Run your knife under hot water, dry it off, then cut. Wipe the blade clean between each cut. This gives you those beautiful, bakery-style squares with clean edges. If you’re serving these at a party, presentation matters.
Make them ahead of time. These brownies actually taste better the next day. The flavors meld together and the texture becomes even more fudgy. Bake them the night before your party, let them cool completely, and store them in an airtight container. Just add a fresh dusting of powdered sugar before serving for that spooky touch.
Watch your oven temperature. Every oven runs differently. I’ve used ovens that bake 25 degrees hotter than the dial says. If you’re unsure, invest in an oven thermometer. It’s a cheap fix that saves you from burnt edges and raw centers.
Variations & Adaptations
One of the best things about this recipe is how easy it is to customize. Here are some variations I’ve tried and loved:
Peanut Butter Spiderweb: Swap the Nutella for creamy peanut butter. Warm it the same way and create the same spiderweb design. The salty-sweet combo is incredible. My husband actually prefers this version, though I’m a Nutella loyalist myself.
White Chocolate Ghost Webs: Use melted white chocolate instead of Nutella for a ghostly white spiderweb on dark brownies. It’s especially striking for Halloween parties. Just be careful not to overheat the white chocolate—it seizes up faster than you’d think.
Gluten-Free Version: Substitute the all-purpose flour with a 1:1 gluten-free baking blend. I’ve used Bob’s Red Mill and King Arthur’s gluten-free flour with great results. No one at the party will know the difference.
Mint Chocolate Twist: Add 1/2 teaspoon of peppermint extract to the brownie batter along with the vanilla. The mint and chocolate combination is refreshing and festive for fall gatherings.
Spicy Mexican Chocolate: Add 1/2 teaspoon of cinnamon and a pinch of cayenne pepper to the dry ingredients. It gives the brownies a warm, unexpected kick that pairs beautifully with the Nutella swirl. I tried this on a whim and it’s become my secret-weapon version for adult parties.
Vegan Adaptation: Use flax eggs (1 tablespoon ground flaxseed + 3 tablespoons water per egg) and a vegan butter substitute. The texture will be slightly different—a bit more cake-like—but the spiderweb effect still works beautifully.
Serving & Storage Suggestions
These brownies are best served at room temperature, which makes them perfect for parties. I like to arrange them on a black or orange platter for Halloween—it really makes the spiderweb design pop. A light dusting of powdered sugar just before serving adds a spooky, cobweb-like effect that gets compliments every time.
For a truly show-stopping presentation, serve them alongside a scoop of vanilla ice cream or a dollop of whipped cream. The cold creaminess against the fudgy brownie is pure magic. I once served these at a Halloween potluck with a side of salted caramel sauce for drizzling, and people literally fought over the last piece.
Storage: Store leftover brownies in an airtight container at room temperature for up to 4 days. If you stack them, place a piece of parchment paper between layers to prevent sticking. They actually get more fudgy and delicious on day two—if they last that long.
Freezing: These brownies freeze beautifully. Wrap individual squares in plastic wrap, then place them in a freezer-safe bag. They’ll keep for up to 3 months. To thaw, just leave them at room temperature for about 30 minutes. I always keep a stash in my freezer for last-minute guests or unexpected Halloween cravings.
Reheating: Pop a brownie in the microwave for 10-15 seconds for that just-baked warmth. It’s dangerous, I know. But so worth it.
Nutritional Information & Benefits
Let’s be real—these are brownies, not health food. But here’s the breakdown if you’re curious:
Per serving (1 brownie, based on 24 servings):
- Calories: approximately 220
- Fat: 12g
- Carbohydrates: 28g
- Protein: 3g
- Fiber: 1g
- Sugar: 20g
That said, there are a few silver linings. The cocoa powder is rich in antioxidants—specifically flavonoids, which are good for heart health. Dark chocolate has been linked to improved mood and cognitive function, so you could argue these brownies are brain food. (I’m not a nutritionist, but I’ll take any excuse to eat more chocolate.)
If you’re watching your sugar intake, you can reduce the sugar to 1 3/4 cups without sacrificing too much texture. I’ve done it before and the brownies were still plenty sweet, especially with the Nutella swirl adding extra sweetness on top.
These brownies contain gluten, dairy, eggs, and nuts (hazelnuts in the Nutella). If you have allergies, check the substitution notes above for alternatives.
Conclusion
Honestly, these Spiderweb Nutella Brownies have become my go-to for every Halloween gathering, and I don’t see that changing anytime soon. They’re the perfect balance of impressive and approachable—the kind of dessert that makes people think you spent hours in the kitchen when really, you were just having fun with a jar of Nutella and a butter knife. That’s my favorite kind of cooking: low stress, high reward.
I hope you give these a try and make them your own. Maybe you’ll add a different swirl, or cut them into spooky shapes, or serve them with a caramel drizzle. Whatever you do, I’d love to hear about it. Drop a comment below and tell me how yours turned out—did the spiderweb design work for you? Did your guests fight over the last piece? Did you come up with a variation I haven’t tried yet?
Happy Halloween, and happy baking! Remember, the best recipes are the ones you share with the people you love. And maybe keep a few squares hidden for yourself. I won’t tell.
Frequently Asked Questions
Can I use a brownie mix instead of making from scratch?
Absolutely! If you’re short on time, use your favorite boxed brownie mix. Just prepare it according to the package directions, pour it into the pan, and follow the same steps for the Nutella spiderweb swirl. I’ve done this in a pinch and it works great. Just make sure you use a mix that calls for oil and eggs—avoid the ones that just add water, as they tend to be less fudgy.
Why did my spiderweb design disappear during baking?
This usually happens when you over-swirl the Nutella into the batter. The key is to use gentle, minimal strokes—just enough to create the web pattern without fully incorporating the Nutella. Also, make sure your Nutella is warm and drizzle-able but not too thin. If it’s too runny, it’ll just sink into the batter and disappear.
Can I make these brownies dairy-free?
Yes! Use a dairy-free butter substitute like Earth Balance or Miyoko’s, and check that your Nutella is dairy-free (the classic version is, but some store brands may contain milk solids). I’ve made dairy-free versions for friends with allergies and they turned out beautifully—just slightly less rich than the original.
How do I prevent my brownies from being too cakey?
The secret to fudgy brownies is underbaking slightly and not overmixing the batter. Pull them out when the center still looks a little soft—it will set as it cools. Also, use melted butter instead of creaming it with sugar, and skip the baking powder entirely. This recipe doesn’t call for leavening agents for a reason!
Can I double this recipe for a larger crowd?
Definitely. Double all the ingredients and bake in a half-sheet pan (about 12×17 inches). You’ll need to increase the baking time to about 30-35 minutes. Just keep an eye on it—the center should still be slightly soft when you pull it out. For the spiderweb design, you’ll want to use about 1 cup of Nutella and create more dollops across the larger surface area.
Pin This Recipe!
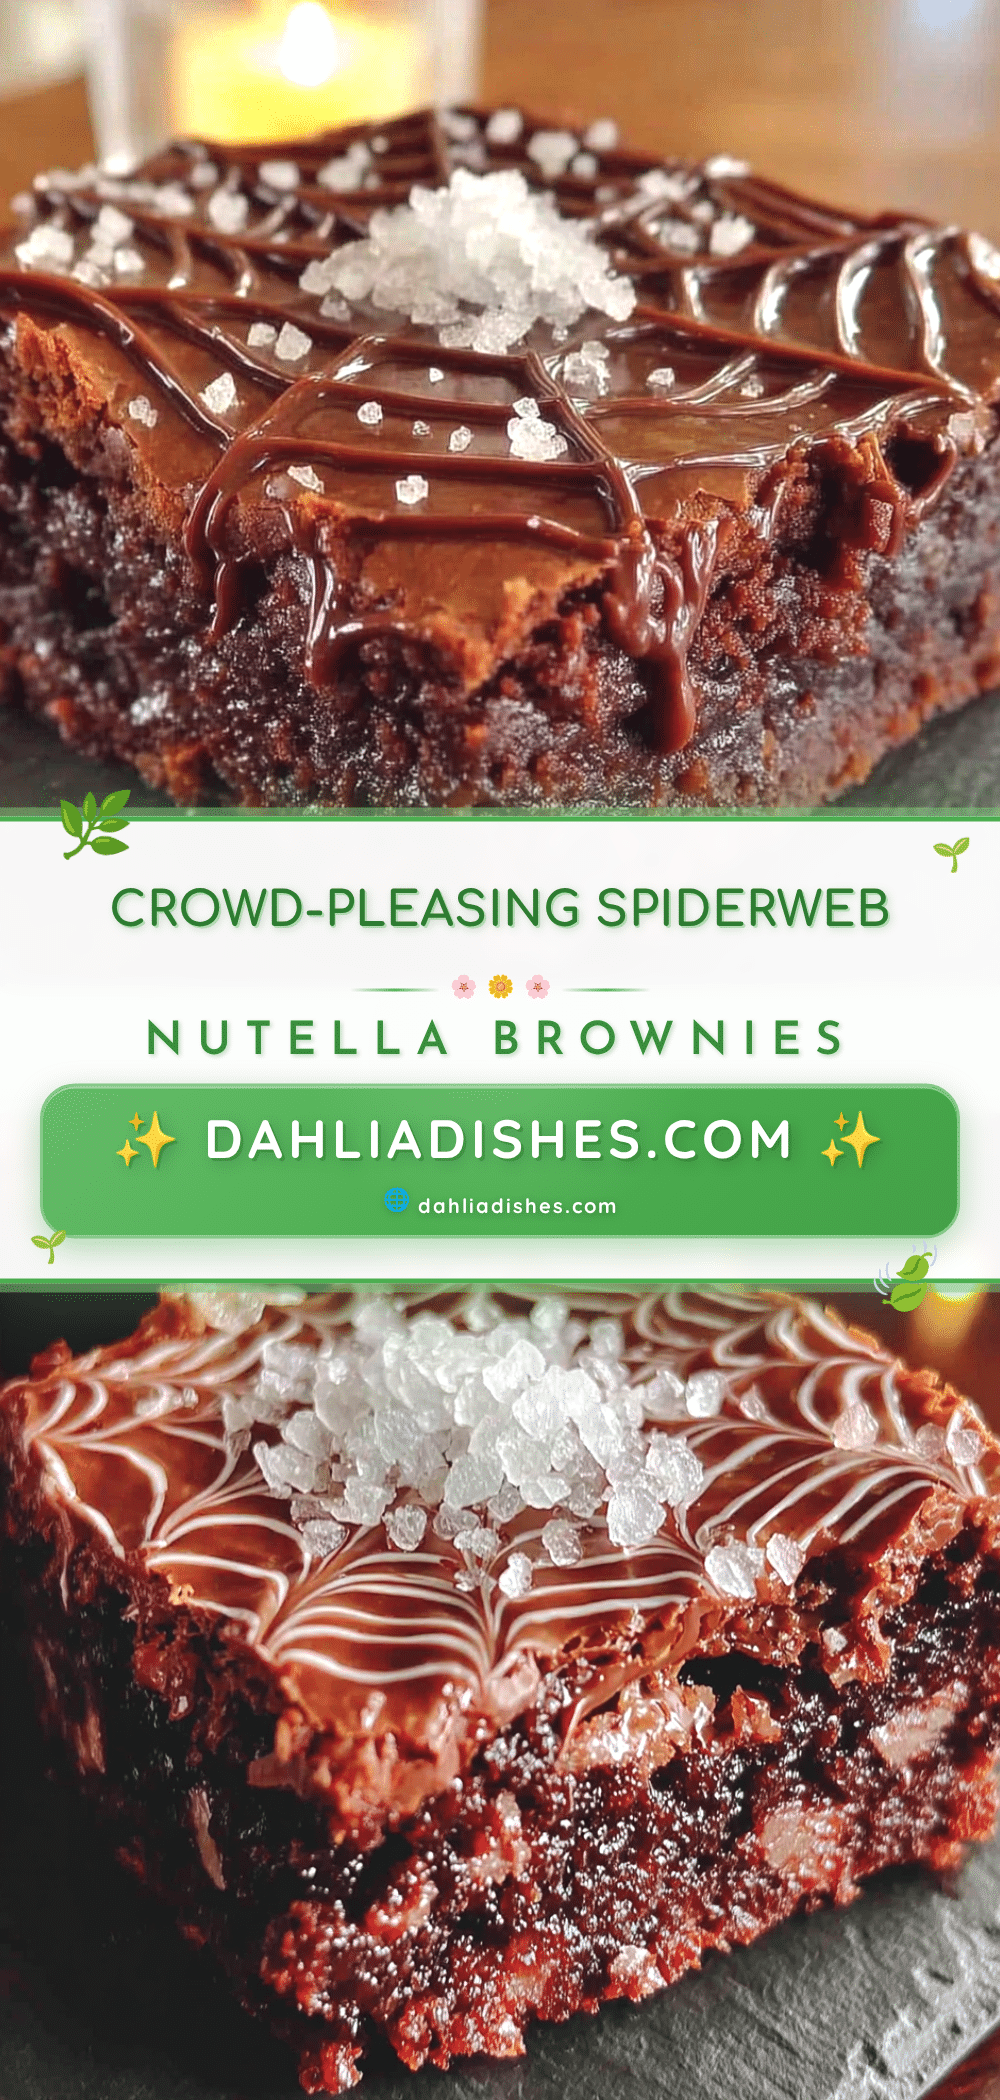
Best Easy Spiderweb Nutella Brownies Recipe for Halloween
These fudgy brownies feature a stunning spiderweb Nutella swirl that’s surprisingly easy to create. Perfect for Halloween parties, they’re rich, decadent, and guaranteed to impress.
- Prep Time: 10 minutes
- Cook Time: 25 minutes
- Total Time: 35 minutes
- Yield: 24 servings 1x
- Category: Dessert
- Cuisine: American
Ingredients
- 1 cup (226g) unsalted butter, melted and slightly cooled
- 2 cups (400g) granulated sugar
- 4 large eggs, room temperature
- 1 tablespoon vanilla extract (pure)
- 1 cup (120g) all-purpose flour, spooned and leveled
- 3/4 cup (75g) unsweetened cocoa powder (preferably Hershey’s Special Dark)
- 1/2 teaspoon salt
- 1/2 cup (150g) Nutella, plus extra for the design
- Optional: 1/2 cup (90g) semi-sweet chocolate chips
Instructions
- Preheat oven to 350°F (175°C). Line a 9×13-inch baking pan with parchment paper, leaving overhang on the sides. Spray a little non-stick spray under the paper to help it stick.
- Melt the butter in a microwave-safe bowl in 30-second intervals until fully melted. Let cool for about 5 minutes until warm, not hot.
- In a large mixing bowl, whisk together melted butter and sugar until well combined (looks like wet sand). Add eggs one at a time, whisking well after each addition. Stir in vanilla extract until smooth and glossy.
- In a separate bowl, whisk together flour, cocoa powder, and salt. If using chocolate chips, toss them in the flour mixture to prevent sinking.
- Gradually add dry ingredients to wet ingredients, folding gently with a rubber spatula until just combined. Do not overmix.
- Pour batter into prepared pan and spread evenly. Tap the pan on the counter to release air bubbles.
- Scoop about 1/2 cup Nutella into a small microwave-safe bowl. Microwave for 15-20 seconds until soft and drizzle-able. Do not overheat.
- Drop spoonfuls of warm Nutella (about 8-10 dollops) evenly over the brownie batter. Using a butter knife or toothpick, drag through each dollop in a swirling motion from center outward to create a spiderweb pattern. Do not over-swirl.
- Bake for 25-28 minutes. Edges should look set and slightly pulling away from the pan; center should still look slightly soft. A toothpick inserted in the center should come out with a few moist crumbs.
- Cool completely in the pan on a wire rack for at least 30 minutes. Lift out using parchment overhang.
- Cut into squares using a sharp knife, wiping clean between cuts. For Halloween, cut into 24 small squares.
Notes
Don’t overmix the batter to keep brownies fudgy. The spiderweb design takes practice; less is more. Warm your knife for clean cuts. These brownies taste even better the next day. Store in an airtight container at room temperature for up to 4 days, or freeze for up to 3 months.
Nutrition
- Serving Size: 1 brownie
- Calories: 220
- Sugar: 20
- Sodium: 95
- Fat: 12
- Saturated Fat: 7
- Carbohydrates: 28
- Fiber: 1
- Protein: 3
Keywords: Halloween brownies, spiderweb brownies, Nutella brownies, fudgy brownies, easy Halloween dessert


