Love this? Save it for later!
Share the inspiration with your friends
I was elbow-deep in pumpkin gloop on a rainy Tuesday afternoon, trying to convince my six-year-old that scooping seeds was actually a fun game, when my across-the-hall neighbor, a retired mechanic named Frank, knocked on the door. He was holding a small, greasy paper bag. “You’re gonna toss those seeds, right?” he asked, nodding at the pile of orange innards on my newspaper. Before I could answer, he shoved the bag into my free hand. “Try these. My wife’s recipe. The kids will fight over ’em.” Honestly, I was skeptical. Frank smelled like motor oil and his idea of a gourmet meal was a gas station hot dog. But the bag was warm, and inside were these golden, craggy pumpkin seeds dusted with something that smelled like heaven. I popped one in my mouth, and let me tell you, the crunch was so satisfying, the garlic so punchy, and the parmesan so nutty and salty—I immediately forgot about the half-scooped pumpkin on the table. My son, who usually sniffs at anything green or seed-like, grabbed a handful and didn’t stop until the bag was empty. That’s when I knew I had to get the recipe out of Frank’s wife, Maria. It turns out the best cooking advice often comes from the most unexpected places, and this garlic parmesan pumpkin seed recipe has been a staple in our house ever since. Maybe you’ve been there—standing over a bowl of pumpkin seeds, wondering if they’re worth the effort. Trust me, this version is.
Why You’ll Love This Recipe
This isn’t just another way to use up pumpkin guts. This garlic parmesan pumpkin seed recipe is the snack that disappears before you can put it in a bowl. I’ve made it for playdates, movie nights, and even as a crunchy salad topper, and it never fails. Here is why this recipe has earned a permanent spot in my kitchen:
- Kid-Approved & Parent-Pleasing: The savory, cheesy flavor is a total crowd-pleaser. Even my pickiest eater forgets these are seeds and begs for “more of those crunchy cheese things.” It’s a snack you can feel good about giving them.
- Simple, Budget-Friendly Ingredients: You only need a handful of pantry staples. No fancy trips to a specialty store. If you have pumpkin seeds, butter, garlic, and parmesan, you are already winning at snack time.
- Incredibly Quick & Easy: From bowl to crunchy perfection in under 30 minutes. Most of that time is hands-off baking, which means you can clean up the pumpkin carving mess while these get golden in the oven.
- Perfect for Meal Prep & Gifting: This recipe makes a big batch that stays crunchy for days. I often double it to have on hand for lunchboxes or to give as a small, homemade gift during the fall season.
- Unbelievably Crunchy & Addictive: The secret is a quick boil before roasting. It makes the seeds puff up and get perfectly crispy on the inside and out. You won’t be able to stop at just one handful.
This recipe is different because it skips the bland, boiled seeds and goes straight for maximum flavor. I’ve tested it with fresh seeds from sugar pumpkins and store-bought pepitas, and it works beautifully both ways. It’s the kind of snack that makes you close your eyes after the first bite—salty, savory, and just a little bit nutty from the parmesan. Honestly, it’s comfort food in a crunchy, guilt-free form.
What Ingredients You Will Need
This recipe uses simple, wholesome ingredients to deliver that big, bold flavor without any fuss. Most of these are likely already in your fridge and pantry, making this a perfect last-minute snack solution.
- Fresh Pumpkin Seeds (or Pepitas): You’ll need about 1 ½ cups of fresh, raw seeds, scooped straight from a pumpkin. If you don’t have a carving pumpkin handy, store-bought raw pepitas work just as well. (I actually prefer the texture of pepitas for a more uniform crunch, but fresh seeds have a wonderful, earthy flavor.) Rinse them well to remove the stringy pulp.
- Unsalted Butter (3 tablespoons, melted): This is the key to getting that rich, savory flavor and helping the seasonings stick. I use unsalted so I can control the salt level. If you only have salted butter, just reduce the added salt in the recipe. For a dairy-free version, you can swap this with a high-quality olive oil or melted coconut oil—it will be slightly different but still delicious.
- Garlic Powder (1 ½ teaspoons): Please use garlic powder, not garlic salt. Garlic powder gives you that pure, mellow garlic flavor without extra moisture or saltiness. I have tried fresh minced garlic before, and it burns in the oven, leaving a bitter taste. Trust me on this one—powder is the way to go.
- Grated Parmesan Cheese (⅓ cup, plus more for sprinkling): Use the good stuff from a block, not the green can. Freshly grated parmesan melts into the seeds beautifully and creates those amazing crispy, cheesy clusters. The pre-shredded kind has anti-caking agents that prevent it from melting properly. My personal favorite is a good quality Parmigiano-Reggiano, but any block of parmesan will work.
- Salt (½ teaspoon, or to taste): Simple fine sea salt or table salt works best. The parmesan is already salty, so start with less and add more at the end if needed.
- Optional Pinch of Cayenne Pepper or Smoked Paprika: This is for a tiny kick of heat or a smoky depth. My kids prefer it without, but I love adding a ¼ teaspoon of smoked paprika for a more complex flavor. It’s totally optional, so feel free to skip it if your family is sensitive to spice.
Equipment Needed
You don’t need any fancy gadgets for this recipe, which is part of its charm. Here is what you will need to get those seeds perfectly crunchy.
- Medium Saucepan: For boiling the seeds before roasting. This step is non-negotiable for the best texture.
- Colander or Fine-Mesh Strainer: To drain the boiled seeds.
- Clean Kitchen Towel or Paper Towels: For patting the seeds dry. Getting them as dry as possible is crucial for achieving maximum crunch.
- Large Mixing Bowl: To toss the seeds with the butter and seasonings.
- Baking Sheet: A standard half-sheet pan works perfectly. For easy cleanup, line it with parchment paper or a silicone baking mat. I’ve used foil before, but the seeds sometimes stick.
- Spatula or Wooden Spoon: For stirring the seeds on the baking sheet halfway through roasting.
If you don’t have a saucepan, you can boil the seeds in a small pot. No parchment paper? No problem—just grease your baking sheet lightly with a bit of butter or oil. The key is to not overcrowd the pan, so the seeds roast instead of steam.
Preparation Method
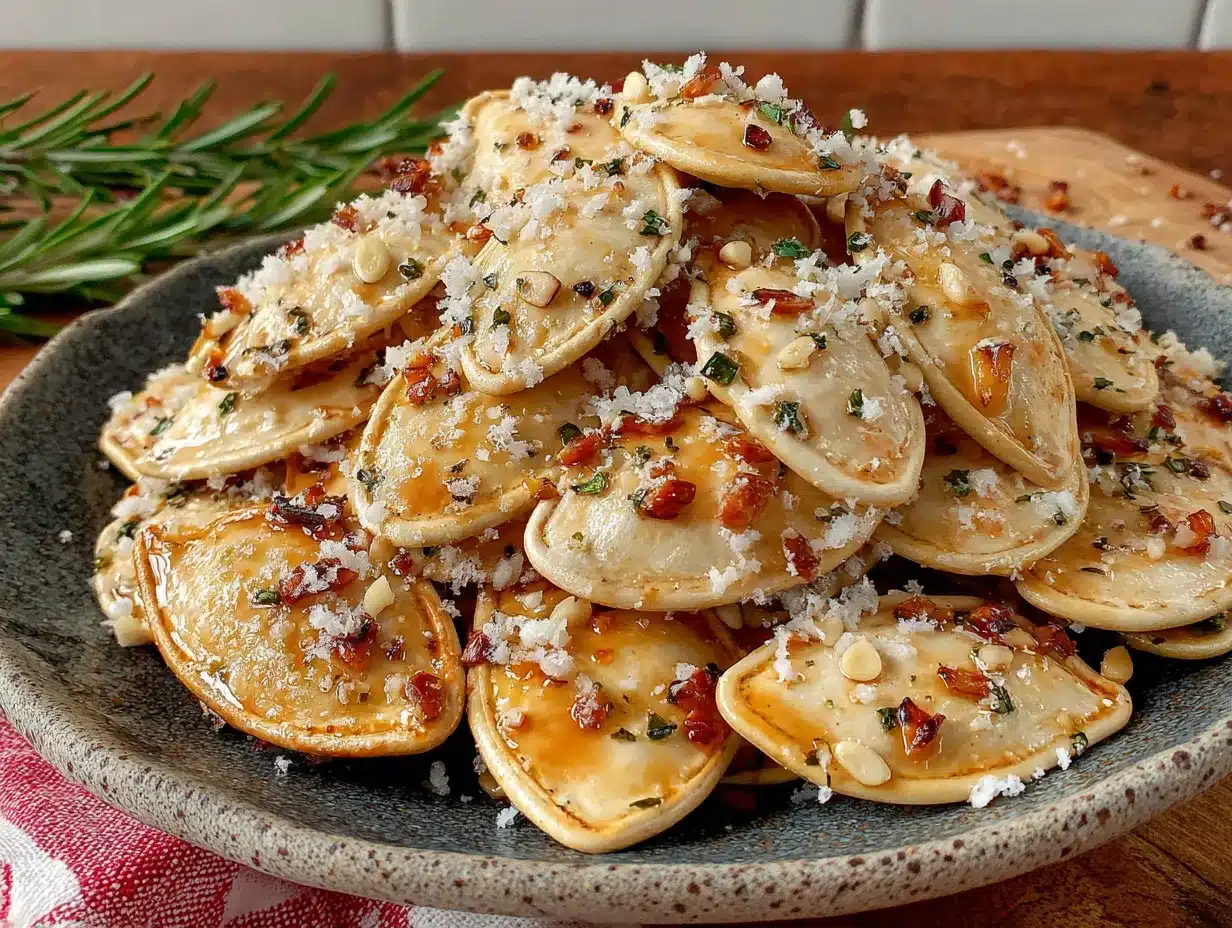
Follow these simple steps, and you will have a bowl of irresistible, crunchy garlic parmesan pumpkin seeds in no time. I’ve included all my little tricks to make sure they turn out perfectly every single time.
- Preheat and Prep: Preheat your oven to 350°F (175°C). Line a large baking sheet with parchment paper or a silicone baking mat. This makes cleanup a breeze and prevents the cheesy seeds from sticking.
- Clean the Seeds: Place your 1 ½ cups of pumpkin seeds in a colander. Rinse them under cool running water, using your fingers to rub off any stringy pumpkin guts. Don’t worry about getting them perfectly clean—a little bit of fiber adds flavor. Pick out any large chunks of pulp.
- The Secret Step: Boil the Seeds: This is the trick that makes these seeds so incredibly crunchy. Bring a medium saucepan of water to a rolling boil. Add the cleaned pumpkin seeds and a generous pinch of salt. Boil them for exactly 10 minutes. This process helps the seeds puff up and ensures they roast evenly, giving you that hollow, crispy center instead of a tough, chewy one.
- Drain and Dry Thoroughly: Drain the boiled seeds in your colander. Shake off as much water as possible. Then, spread them out on a clean kitchen towel or a layer of paper towels. Pat them very dry. This step is important—any excess moisture will create steam in the oven and make the seeds soft instead of crunchy. Let them sit for a few minutes to air dry while you prepare the seasoning mixture.
- Mix the Seasoning: In a large mixing bowl, combine the 3 tablespoons of melted unsalted butter, 1 ½ teaspoons of garlic powder, ½ teaspoon of salt, and the optional pinch of cayenne or smoked paprika if using. Whisk until well combined.
- Coat the Seeds: Add the dried pumpkin seeds to the bowl with the butter mixture. Toss well with a spatula until every seed is evenly coated. Then, add the ⅓ cup of freshly grated parmesan cheese. Toss again to distribute the cheese. It will look a bit clumpy—that’s exactly what you want! Those clumps will become the most delicious, crispy bits.
- Spread on Baking Sheet: Pour the coated seeds onto your prepared baking sheet. Spread them into a single, even layer. Try not to overlap them too much, as this will help them roast evenly and get crunchy. If you have a lot of clumps, it’s okay to leave some—they are the best part.
- Roast to Perfection: Place the baking sheet in the preheated oven. Bake for 10 minutes. Then, remove the pan from the oven and use your spatula to stir the seeds. This ensures even browning. Return the pan to the oven and bake for another 8-12 minutes, or until the seeds are golden brown and the parmesan is melted and crispy. Keep a close eye on them in the last few minutes, as they can go from golden to burnt very quickly. The smell will be incredible!
- Cool Completely: This is the hardest part. Remove the baking sheet from the oven and let the seeds cool completely on the pan. They will continue to crisp up as they cool. Do not be tempted to eat them right away—they will be a bit soft when hot but will become perfectly crunchy as they cool down. This usually takes about 15-20 minutes. Once cool, break apart any large clusters.
Cooking Tips & Techniques
I’ve made this recipe more times than I can count, and I’ve learned a few things the hard way. Here are my best tips to guarantee success and avoid common pitfalls.
- Don’t Skip the Boil: I know it’s an extra step, but it is the single most important thing for achieving that perfect, airy crunch. The first time I made these, I skipped the boil, and the seeds were tough and chewy. The boil hydrates the seeds, allowing them to steam from the inside out as they roast, which creates that hollow, crispy texture. Trust me on this one.
- Dryness is Key: After boiling, get those seeds as dry as possible. I usually pat them with a towel and then let them sit for 5 minutes. If they are too wet, the butter and cheese won’t stick as well, and they will steam instead of roast.
- Watch the Oven: Ovens run at different temperatures. Your seeds might be perfectly golden at 18 minutes total, or they might need a full 25. Start checking at the 15-minute mark. You want a deep golden brown color, and the parmesan should look bubbly and crisp. If you smell burning, they are done!
- Cooling is Crucial: I once served these straight from the oven, and everyone said they were “good but soft.” The next day, they were perfectly crunchy. The cooling process is where the magic happens, as the moisture evaporates and the seeds set. Be patient!
- Use Fresh Parmesan: I cannot stress this enough. The pre-grated stuff in the canister just doesn’t melt the same way. It will give you a powdery coating instead of those glorious, crispy, cheesy clusters. Spend the two minutes grating a block of parmesan—it makes all the difference.
- Double the Batch: These disappear fast. I always recommend making a double batch, especially if you have kids. You’ll thank me later when you have some left to put on a salad or pack in a lunchbox.
Variations & Adaptations
This recipe is a fantastic base for experimentation. Here are a few of my favorite ways to switch it up, depending on what I have in the pantry or who I am feeding.
- Spicy Buffalo Version: For a game-day snack, replace the melted butter with 2 tablespoons of melted butter and 1 tablespoon of your favorite hot sauce. Reduce the garlic powder to 1 teaspoon and skip the parmesan. Toss the boiled and dried seeds in the buffalo mixture, then roast as directed. They come out fiery and addictive.
- Sweet & Salty Cinnamon Sugar: For a dessert-like treat, swap the garlic powder and parmesan for 2 tablespoons of granulated sugar and 1 teaspoon of ground cinnamon. Use the same butter base. These are amazing sprinkled over yogurt or oatmeal. My kids actually request this version for after-school snacks.
- Everything Bagel Seasoning: This is my current obsession. After tossing the seeds with the butter and a pinch of salt, skip the garlic powder and parmesan. Instead, toss the seeds with 2 tablespoons of everything bagel seasoning before roasting. The sesame seeds, poppy seeds, and dried garlic and onion create an incredible savory crunch that tastes like a bagel in seed form.
- Dairy-Free & Vegan Adaptation: Simply replace the butter with a high-quality extra virgin olive oil or melted coconut oil. For the cheesy flavor, use 3 tablespoons of nutritional yeast flakes instead of the parmesan. The nutritional yeast gives a wonderfully nutty, cheesy flavor that is completely plant-based. Roast as directed.
- Lemon Herb Twist: Add the zest of one lemon to the butter mixture along with 1 teaspoon of dried rosemary or thyme. This bright, herby version is fantastic as a topping for roasted vegetables or soups. It feels a bit more grown-up and elegant.
Serving & Storage Suggestions
These seeds are incredibly versatile, and knowing how to serve and store them will help you enjoy them for days.
- Serving: Serve them at room temperature in a big bowl for snacking. They are perfect on a charcuterie board, adding a salty, crunchy element next to cheeses and cured meats. I also love to sprinkle them over a simple green salad for extra texture, or use them as a crunchy topping for creamy soups like butternut squash or tomato bisque. For a fun party idea, set out a few different variations in small bowls so guests can try them all.
- Storage: Once the seeds are completely cool, transfer them to an airtight container. A glass jar or a zip-top bag works perfectly. They will stay fresh and crunchy at room temperature for up to two weeks. Do not refrigerate them, as the moisture in the fridge can make them lose their crunch.
- Re-Crisping: If your seeds have softened a bit after a few days (it happens!), don’t throw them away. Simply spread them back on a baking sheet and pop them in a 300°F (150°C) oven for 3-5 minutes. Let them cool completely, and they will be just as crunchy as the day you made them. I’ve done this several times with great success.
- Flavor Development: Honestly, I think these taste even better the next day. The flavors have time to meld together, and the garlic and parmesan become even more pronounced. If you can resist eating them all on day one, you are in for a treat on day two.
Nutritional Information & Benefits
Pumpkin seeds are a nutritional powerhouse, making this snack a smart choice for both kids and adults. Here is a quick look at what you are getting in a serving (about ¼ cup).
- Estimated Nutritional Values (per 1/4 cup serving): Approximately 190 calories, 15g of healthy fat, 8g of protein, and 4g of fiber. This varies slightly based on the exact ingredients used.
- Rich in Magnesium: Pumpkin seeds are one of the best natural sources of magnesium, which is important for muscle function, sleep, and bone health. It’s a great way to sneak some extra nutrients into a kid’s snack.
- Good Source of Zinc: Zinc is crucial for a healthy immune system. A handful of these seeds can help support your family’s defenses, especially during cold and flu season.
- Healthy Fats: The fats in pumpkin seeds are mostly unsaturated, which are heart-healthy and help keep you feeling full and satisfied between meals.
- Dietary Considerations: This recipe is naturally gluten-free and can easily be made dairy-free and vegan with the substitutions mentioned above. It is also a low-carb option compared to many other crunchy snacks.
- Personal Wellness Perspective: I love that I can give my kids a snack that they genuinely love, and I feel good about it. It’s a win-win. It satisfies that craving for something salty and crunchy without the processed ingredients found in most bagged snacks.
Conclusion
This garlic parmesan pumpkin seed recipe is more than just a way to use up leftovers—it is a snack that brings a little bit of joy to the everyday. It came from a surprise encounter with a neighbor, and now it’s a tradition in my own home. The crunchy texture, the savory, cheesy flavor, and the simple, honest ingredients make it a recipe you will come back to again and again. I encourage you to make it your own. Add a pinch of heat, swap in a different herb, or double the batch for a party. The possibilities are endless, and the results are always delicious. I would love to hear how your batch turns out! Did your kids love them? Did you try a fun variation? Drop a comment below and share your experience. And if you found a new way to use them, please share that too. Happy snacking, friends!
Frequently Asked Questions
Can I use store-bought pepitas instead of fresh pumpkin seeds?
Absolutely! Raw, unsalted pepitas work perfectly in this recipe. They are actually more uniform in size, which can lead to even more consistent roasting. Just skip the step of cleaning them, but do not skip the boil. Even pepitas benefit from the 10-minute boil to achieve that perfect crunch.
Why did my pumpkin seeds turn out chewy instead of crunchy?
The most common reasons are skipping the boil, not drying them well enough after boiling, or not letting them cool completely on the baking sheet. The boil is essential for creating a hollow center, and cooling is when the final crunch sets in. Also, make sure your oven is hot enough and you are not overcrowding the pan, which can trap steam.
Can I make this recipe in an air fryer?
Yes, you can! Prepare the seeds exactly as directed. Preheat your air fryer to 300°F (150°C). Place the coated seeds in the air fryer basket in a single layer. Cook for 8-10 minutes, shaking the basket halfway through, until golden and crispy. Keep a close eye on them, as air fryers can vary. Let them cool completely before eating.
How do I get the parmesan to stick better to the seeds?
The key is to toss the seeds in the melted butter first, making sure they are well coated. The butter acts as a glue for the cheese. Also, make sure your seeds are very dry after boiling. If they are too wet, the butter and cheese will slide right off. Tossing everything together in a bowl ensures an even coating.
My seeds burned on the outside but were still soft inside. What happened?
This usually means your oven temperature is too high. While I recommend 350°F, every oven is different. Next time, try reducing the temperature to 325°F (160°C) and extending the baking time by a few minutes. This will allow the seeds to dry out and become crunchy on the inside without the cheese and exterior burning.
Pin This Recipe!
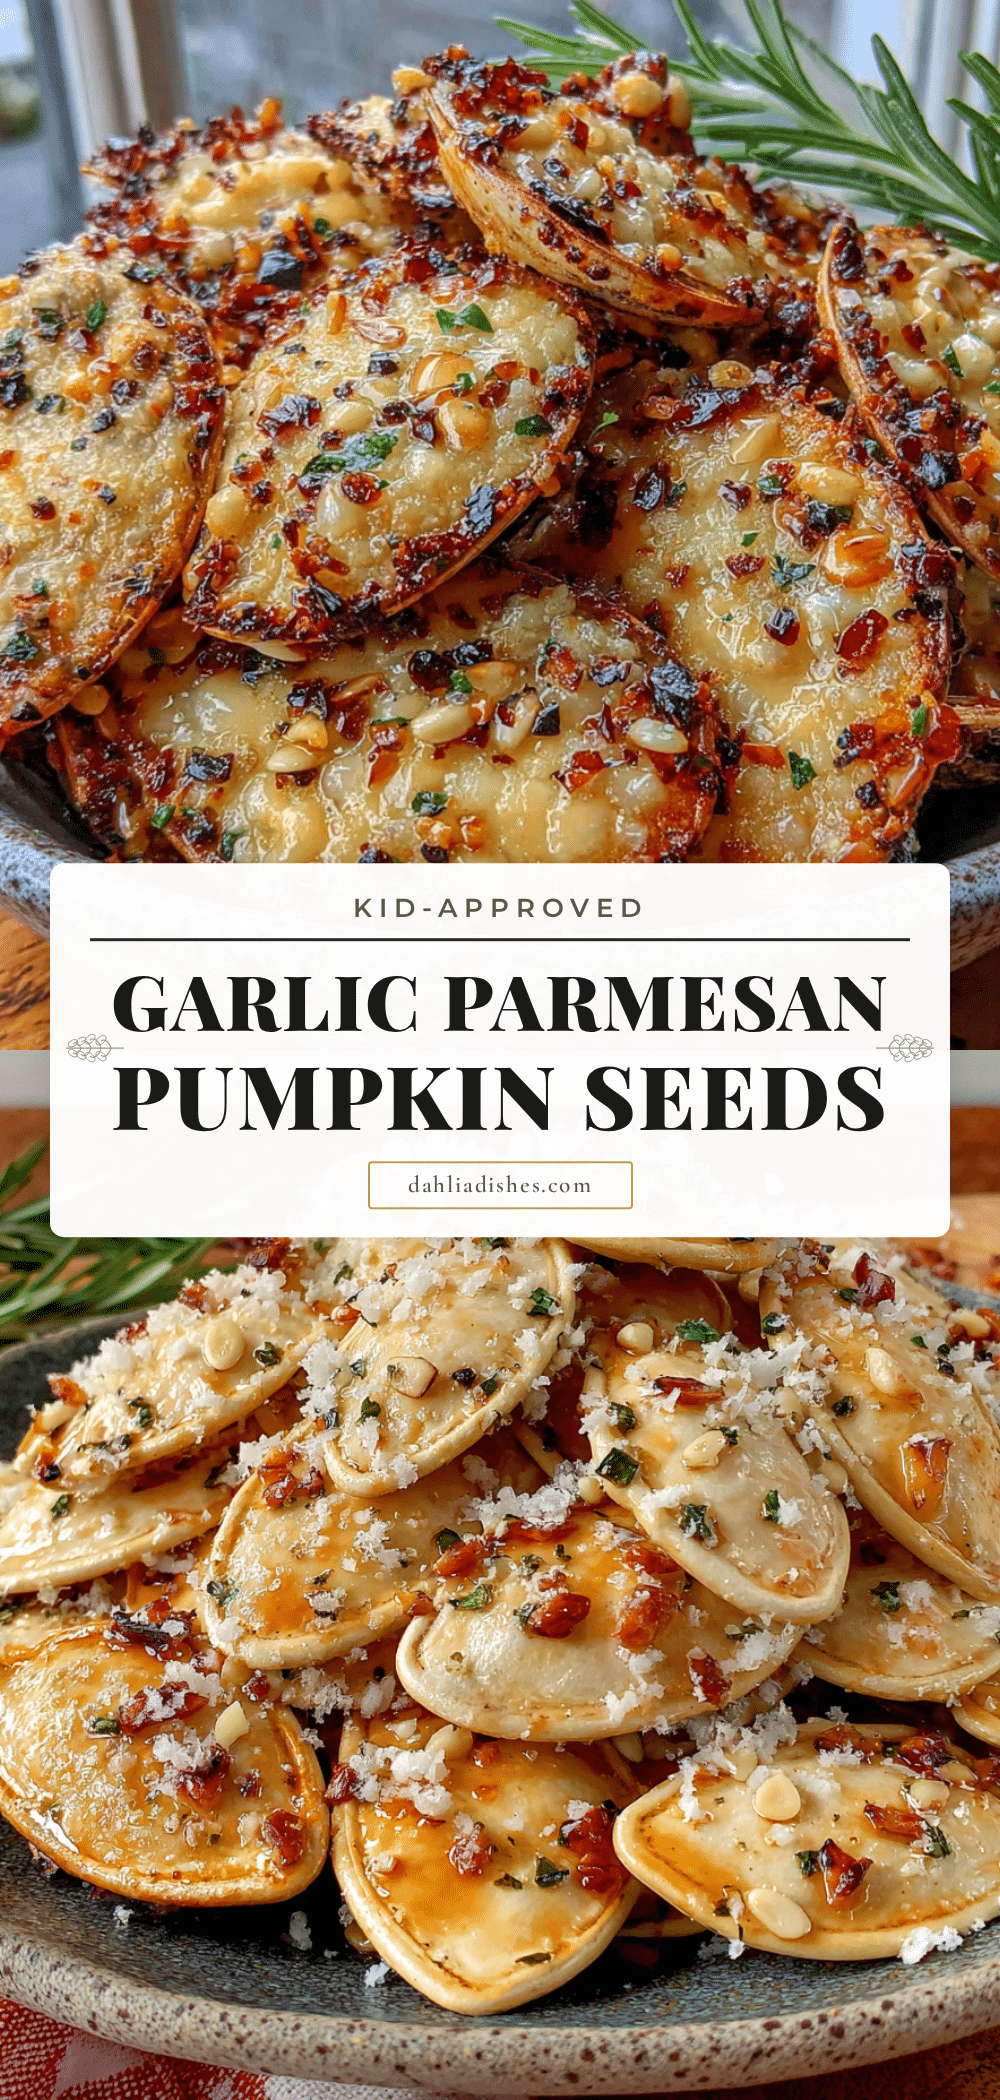
Best Easy Garlic Parmesan Pumpkin Seeds – Kid-Approved Crunchy Recipe

This garlic parmesan pumpkin seed recipe is the snack that disappears before you can put it in a bowl. The savory, cheesy flavor is a total crowd-pleaser, and the secret quick boil before roasting makes them unbelievably crunchy and addictive.
- Prep Time: 15 minutes
- Cook Time: 20 minutes
- Total Time: 35 minutes
- Yield: 4 servings 1x
- Category: Snack
- Cuisine: American
Ingredients
- 1 ½ cups fresh pumpkin seeds (or raw pepitas)
- 3 tablespoons unsalted butter, melted
- 1 ½ teaspoons garlic powder
- ⅓ cup freshly grated Parmesan cheese, plus more for sprinkling
- ½ teaspoon salt (or to taste)
- Optional: pinch of cayenne pepper or smoked paprika
Instructions
- Preheat oven to 350°F (175°C). Line a large baking sheet with parchment paper or a silicone baking mat.
- Place pumpkin seeds in a colander and rinse under cool water, removing any stringy pulp.
- Bring a medium saucepan of water to a rolling boil. Add the cleaned seeds and a generous pinch of salt. Boil for exactly 10 minutes.
- Drain the seeds and spread them on a clean kitchen towel or paper towels. Pat very dry and let air dry for a few minutes.
- In a large mixing bowl, combine melted butter, garlic powder, salt, and optional cayenne or smoked paprika. Whisk until combined.
- Add the dried seeds to the bowl and toss to coat evenly. Add the grated Parmesan and toss again until the seeds are coated and slightly clumpy.
- Spread the coated seeds in a single, even layer on the prepared baking sheet.
- Bake for 10 minutes. Remove from oven, stir the seeds, and return to the oven for another 8-12 minutes, until golden brown and the Parmesan is melted and crispy.
- Let the seeds cool completely on the baking sheet (about 15-20 minutes). They will crisp up as they cool. Break apart any large clusters before serving.
Notes
Don’t skip the boil—it’s essential for achieving a hollow, crispy center. Make sure seeds are very dry after boiling to prevent steaming. Watch the oven closely in the last few minutes to avoid burning. Let seeds cool completely before eating for maximum crunch. Store in an airtight container at room temperature for up to two weeks. To re-crisp, bake at 300°F for 3-5 minutes.
Nutrition
- Serving Size: 1/4 cup
- Calories: 190
- Sugar: 1
- Sodium: 280
- Fat: 15
- Saturated Fat: 6
- Carbohydrates: 6
- Fiber: 4
- Protein: 8
Keywords: pumpkin seeds, garlic parmesan, crunchy snack, kid-friendly, fall recipe, easy snack


