Love this? Save it for later!
Share the inspiration with your friends
The neighborhood cookie exchange was in twelve hours and I’d completely forgotten. Everyone else would be bringing their grandmother’s heirloom recipes—layered bars that took three days, cookies that required a stand mixer and a pastry chef’s patience. I had a bag of apples going soft on the counter and a stick of butter that was about to expire. Honestly, I almost just showed up with a store-bought pie and called it a day. But you know that stubborn little voice that whispers, “You can do something”? I listened to it.
I grabbed a skillet, tossed in that butter, and watched it turn a gorgeous amber color while I chopped the apples—skin on, because who has time to peel? I mean, the whole thing came together in the time it takes to preheat the oven. I threw it in, crossed my fingers, and ran to change out of my flour-dusted jeans. When I walked into that party with my slightly lopsided, bubbling brown butter apple crisp, I felt like a fraud next to the elaborate displays. But then people started tasting it. The brown butter thing—it gets people every time. That nutty, almost caramel flavor makes everything taste like you tried way harder than you actually did.
By the end of the night, three people had asked for the recipe, and one person actually said it was the best thing there. I just smiled and nodded, not mentioning it took me about twenty minutes of actual work. That’s the beauty of this recipe. It makes you look like a hero without the stress. So if you’ve got a last-minute gathering, a busy weeknight, or just a serious apple craving, let me tell you—this is the dessert that saves the day.
Why You’ll Love This Recipe
This isn’t just another apple crisp. The brown butter adds a layer of depth that makes it taste like you spent hours in the kitchen, when really, you barely broke a sweat. I’ve tested this recipe more times than I can count—once with a neighbor who insisted on peeling every single apple (don’t do that, by the way, it takes forever and the skin adds nice texture), and once for a family dinner where my brother-in-law, who “doesn’t like cooked fruit,” went back for seconds. That’s the kind of power we’re working with here.
- Quick & Easy: From start to oven in about 20 minutes. Perfect for those “I need dessert now” moments.
- Simple Ingredients: You probably have everything in your kitchen right now. Apples, butter, oats, flour, sugar, and a few spices.
- Perfect for Weeknights: No fancy equipment, no complicated steps. Just good, honest comfort food.
- Crowd-Pleaser: Kids love the sweet, crunchy topping. Adults go crazy for that nutty brown butter flavor.
- Unbelievably Delicious: The contrast between the soft, cinnamon-spiced apples and the crispy, buttery oat topping is pure magic.
What makes this recipe different from the rest? It’s that brown butter. Most apple crisps use plain melted butter, which is fine, but it’s not memorable. Browning the butter first unlocks a whole new world of flavor—think toasted nuts, caramel, and a hint of vanilla, all without adding any extra ingredients. It’s a simple technique that makes a huge difference. And honestly, it’s the secret weapon you’ll want to use in everything from chocolate chip cookies to mashed potatoes.
This recipe is the kind that makes you close your eyes after the first bite. It’s comfort food at its finest—fast, forgiving, and absolutely soul-soothing. Perfect for impressing guests without the stress, or turning a regular Tuesday night into something special.
What Ingredients You Will Need
This recipe uses simple, wholesome ingredients to deliver bold flavor and satisfying texture without the fuss. Most of these are pantry staples, so you can whip this up anytime the craving hits.
For the Apple Filling
- Apples, 4-5 medium (about 2 pounds or 900g) – I recommend a mix of sweet and tart varieties like Honeycrisp and Granny Smith. The tart apples hold their shape well, while the sweet ones break down into a lovely, jammy texture. No need to peel them all—just give them a good wash and core them.
- Granulated sugar, 1/4 cup (50g) – Just enough to sweeten the apples without making them syrupy. You can adjust based on how sweet your apples are.
- Lemon juice, 1 tablespoon (15ml) – This prevents the apples from browning and adds a little brightness that balances the sweetness. Fresh is best, but bottled works in a pinch.
- Cornstarch, 1 tablespoon (8g) – This helps thicken the juices released by the apples during baking, so you get a nice, cohesive filling instead of a watery mess.
- Ground cinnamon, 1 teaspoon – The classic apple spice. I use McCormick for a consistent, warm flavor.
- Ground nutmeg, 1/4 teaspoon – A little goes a long way, but it adds that cozy, holiday-like depth.
For the Brown Butter Crisp Topping
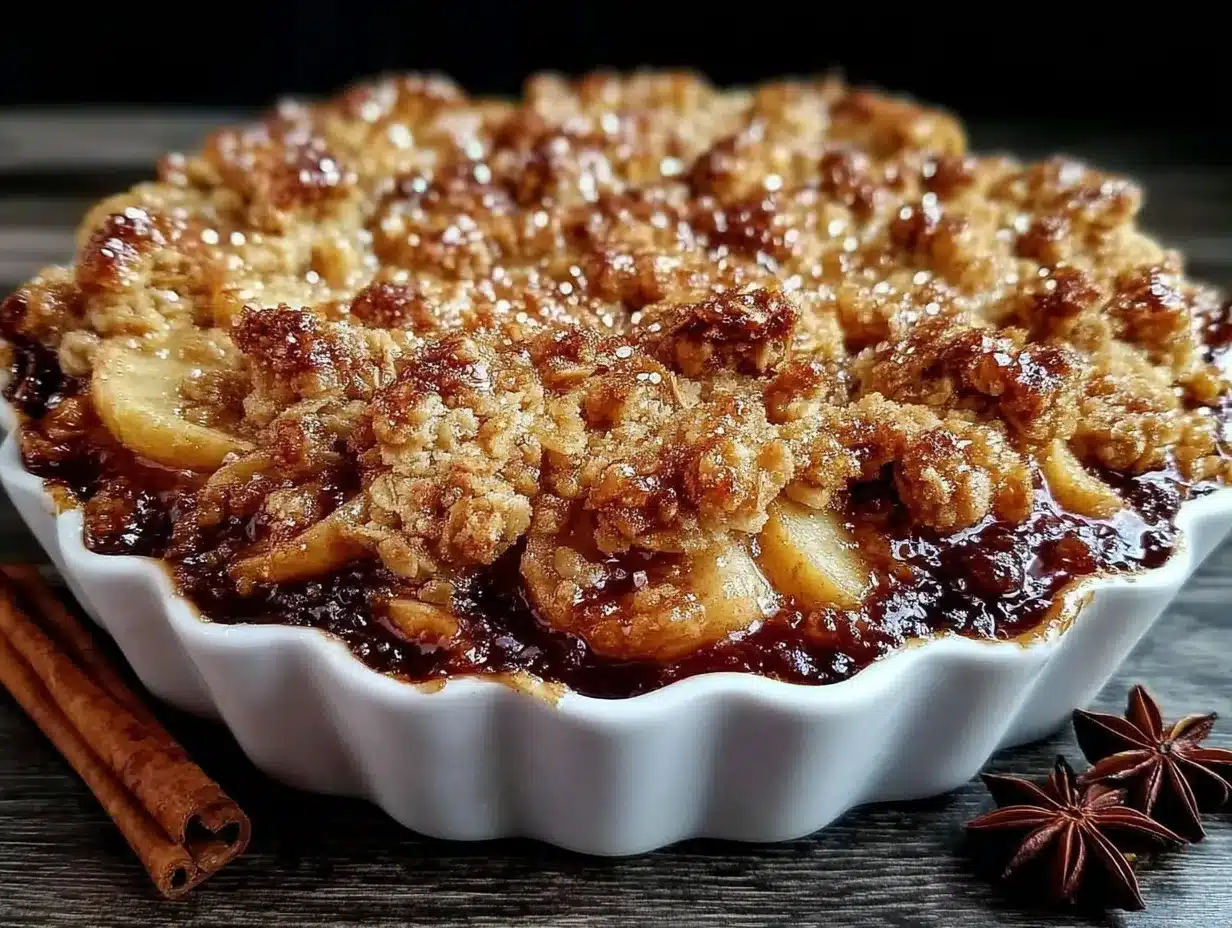
- Unsalted butter, 1/2 cup (1 stick or 113g) – This is the star of the show. Use a good quality butter like Kerrygold or Plugrà for the best flavor. We’ll be browning it, so keep a close eye on it.
- Old-fashioned rolled oats, 1 cup (90g) – Do not use quick oats here. They’ll turn to mush. Old-fashioned oats give the topping that wonderful, hearty chew.
- All-purpose flour, 1/2 cup (60g) – This provides structure to the crisp topping. For a gluten-free version, you can use a 1:1 gluten-free baking flour blend.
- Brown sugar, packed, 1/2 cup (100g) – Light or dark brown sugar both work. Dark brown sugar will give a deeper, more molasses-like flavor that pairs beautifully with the brown butter.
- Granulated sugar, 2 tablespoons (25g) – Adds a little extra sweetness and helps with browning.
- Salt, 1/4 teaspoon – Don’t skip this. Salt is crucial for balancing the sweetness and enhancing all the flavors.
Equipment Needed
You don’t need a professional kitchen for this one. Here’s what you’ll need:
- 10-inch oven-safe skillet or 8×8 baking dish – I love using a cast iron skillet for this. It goes from stovetop to oven seamlessly, and the even heat distribution helps the apples cook perfectly. If you don’t have one, any 8×8 or 9×9 baking dish works great.
- Medium saucepan – For browning the butter. A light-colored saucepan is ideal so you can see the butter change color, but a dark one works if you’re careful.
- Mixing bowls – One large for the apples, one medium for the topping.
- Sharp knife and cutting board – For prepping the apples. A good chef’s knife makes quick work of it.
- Wooden spoon or silicone spatula – For stirring the butter and mixing the topping.
- Measuring cups and spoons – Accuracy matters, especially with the cornstarch and spices.
If you don’t have an oven-safe skillet, just brown the butter in the saucepan, mix the topping, and then transfer everything to a baking dish. Easy peasy.
Preparation Method
Alright, let’s get cooking. This comes together fast, so have everything prepped and ready to go before you start.
- Preheat your oven to 375°F (190°C). This is important—you want the oven hot and ready so the crisp bakes evenly.
- Prep the apples. Wash, core, and slice your apples into 1/4-inch thick wedges. Don’t worry about being perfect. I usually leave the skin on for texture and fiber, but if you prefer a smoother filling, go ahead and peel them. Toss the sliced apples in a large bowl with the lemon juice, granulated sugar, cornstarch, cinnamon, and nutmeg. Set aside while you make the topping.
- Brown the butter. Place the stick of butter in a medium saucepan over medium heat. Let it melt completely, then continue cooking, swirling the pan occasionally. You’ll see it start to foam and sputter—that’s normal. Keep a close eye on it. After about 5-7 minutes, the foam will subside, and you’ll see tiny brown specks forming at the bottom of the pan. The butter will smell nutty and amazing. As soon as it turns a golden-amber color, remove it from the heat immediately. Warning: It can go from perfect to burnt in seconds, so don’t walk away!
- Make the crisp topping. In a medium bowl, whisk together the oats, flour, brown sugar, granulated sugar, and salt. Pour the hot brown butter over the dry ingredients and stir with a fork until everything is evenly coated and clumping together. It should look like wet sand with some larger clumps. Don’t overmix—you want those clumps for a crunchy topping.
- Assemble the crisp. If you’re using an oven-safe skillet, you can brown the butter right in it (just be careful—the handle will get hot). If not, transfer the apple mixture to your greased baking dish. Spread the apples into an even layer. Sprinkle the brown butter oat topping evenly over the apples. Don’t press it down—you want it to stay light and crumbly so it gets crispy.
- Bake. Place the skillet or baking dish on a rimmed baking sheet to catch any drips (trust me on this). Bake for 30-35 minutes, or until the topping is deep golden brown and the apple filling is bubbling up around the edges. The apples should be tender when pierced with a fork. If the topping is browning too quickly, tent loosely with foil for the last 10 minutes.
- Cool slightly before serving. Let the crisp rest for at least 10-15 minutes. This allows the filling to set up a bit, so it’s not a runny mess. It will still be warm and gooey—perfect.
Cooking Tips & Techniques
I’ve made this recipe more times than I can count, and I’ve learned a few things the hard way. Here’s how to nail it every time.
Don’t skip browning the butter. I know it’s an extra step, but it’s what makes this recipe special. The first time I tried it, I rushed and just used melted butter. It was fine, but it wasn’t memorable. The nutty, caramelized flavor from brown butter is worth the extra five minutes. Just watch it like a hawk—it goes from perfect to burnt fast.
Use a mix of apple varieties. I learned this from a failed apple pie years ago. Using all one type of apple can lead to a one-note flavor and texture. A mix of firm, tart apples (like Granny Smith) and softer, sweeter ones (like Honeycrisp or Fuji) gives you the best of both worlds—some chunks hold their shape, while others melt into a lovely, saucy base.
Don’t overwork the topping. When you mix the brown butter with the dry ingredients, use a fork or your fingers. You want some clumps and some loose, sandy bits. If you stir it too much, you’ll end up with a dense, pasty topping instead of a light, crispy one. I once used a spoon and mixed it until it was smooth—big mistake. It baked into a hard, almost cookie-like layer.
Let it rest. I know it’s tempting to dig in right away, but the crisp needs time to set. The filling will be bubbling and loose straight out of the oven. Letting it rest for 10-15 minutes allows the cornstarch to do its job and thicken the juices. You’ll get a much cleaner slice and a better overall experience.
Make it ahead. You can assemble the entire crisp (without baking) up to 24 hours in advance. Just cover it and keep it in the fridge. When you’re ready to bake, add about 10 minutes to the baking time since you’re starting from cold. This is a lifesaver for holiday dinners or when you’re hosting.
Variations & Adaptations
This recipe is incredibly forgiving, so feel free to play around. Here are some of my favorite variations.
Gluten-Free Version: Swap the all-purpose flour for a 1:1 gluten-free baking flour blend. Make sure your oats are certified gluten-free as well. I’ve used Bob’s Red Mill with great results. The texture is slightly more crumbly, but the flavor is just as good.
Vegan Option: Use a high-quality vegan butter like Miyoko’s or Earth Balance for browning. It browns beautifully and adds that same nutty flavor. The rest of the ingredients are naturally vegan. Just be sure to use a non-dairy milk alternative if you’re serving it with ice cream.
Seasonal Twists: In the fall, add a tablespoon of bourbon or apple cider to the apple mixture for extra warmth. In the summer, swap the apples for sliced peaches or nectarines—just reduce the sugar slightly since stone fruits are sweeter. I once made a pear and ginger version that was absolutely divine.
Spice It Up: Add a pinch of cardamom or allspice to the apple mixture for a more complex flavor profile. A tiny pinch of black pepper can also enhance the fruit’s natural sweetness. I tried this after reading about it in a cookbook, and it’s surprisingly good.
Nutty Crunch: Add 1/2 cup of chopped pecans or walnuts to the crisp topping. Toast them lightly with the brown butter for extra flavor. My aunt does this, and it takes the crisp to a whole new level of indulgence.
Serving & Storage Suggestions
This crisp is best served warm, straight from the oven. The contrast between the hot, tender apples and the cold, creamy ice cream is pure heaven. Here’s how to make the most of it.
Serving: Spoon the crisp into bowls while it’s still warm. Top with a generous scoop of vanilla bean ice cream, a dollop of lightly sweetened whipped cream, or a drizzle of heavy cream. For a dairy-free option, coconut milk ice cream works beautifully. The slight coconut flavor pairs nicely with the brown butter and cinnamon.
Storage: Leftover crisp can be stored in an airtight container in the refrigerator for up to 4 days. The topping will soften over time, but it’s still delicious. To reheat, place individual portions in a 350°F (175°C) oven for about 10 minutes, or until warmed through. You can also microwave it for 30-45 seconds, but the topping won’t be as crispy.
Freezing: You can freeze the unbaked crisp for up to 3 months. Assemble it in a freezer-safe dish, wrap it tightly in plastic wrap and foil, and freeze. To bake, thaw overnight in the refrigerator, then bake as directed, adding 10-15 minutes to the cooking time. Baked crisp can also be frozen, but the texture of the topping will change slightly upon thawing.
Flavor Development: Honestly, this crisp tastes even better the next day. The flavors have time to meld, and the apples become even more tender. If you can resist eating it all in one sitting, you’re in for a treat.
Nutritional Information & Benefits
While this is definitely a treat, it does have some redeeming qualities. Here’s a rough estimate of the nutritional breakdown per serving (based on 8 servings).
| Nutrient | Amount per Serving |
|---|---|
| Calories | ~380 |
| Total Fat | 18g |
| Saturated Fat | 11g |
| Cholesterol | 45mg |
| Sodium | 95mg |
| Total Carbohydrates | 55g |
| Dietary Fiber | 5g |
| Sugars | 35g |
| Protein | 4g |
Health Benefits: Apples are a great source of fiber and vitamin C. Oats provide soluble fiber, which is good for heart health. The brown butter, while indulgent, contains butyrate, a fatty acid that may support gut health. That said, this is a dessert—enjoy it in moderation as part of a balanced diet.
Dietary Considerations: This recipe is naturally vegetarian. For gluten-free and vegan options, see the variations section above. It contains dairy and gluten in its standard form.
Conclusion
This quick brown butter apple crisp is more than just a dessert—it’s a lifesaver. It’s the recipe you turn to when you need something impressive but don’t have the time or energy for a production. It’s the one that makes people think you’re a kitchen wizard, when really, you just browned some butter and threw it in the oven.
I love this recipe because it reminds me that you don’t need fancy techniques or rare ingredients to create something truly special. Sometimes, the simplest things—a good apple, a pat of butter, a little patience—are all you need. It’s forgiving, it’s flexible, and it always, always delivers.
So go ahead, give it a try. Customize it with your favorite spices or add-ins. Make it for a potluck, a weeknight dinner, or just because it’s Tuesday and you deserve something warm and wonderful. And when you do, I’d love to hear about it. Drop a comment below and let me know how it turned out—did you add pecans? Use pears? Forget to watch the butter and had to start over? (Been there, done that.) Your stories make this community special, and I can’t wait to read them.
Happy baking, friends. You’ve got this.
Frequently Asked Questions
Can I use quick oats instead of old-fashioned oats?
I wouldn’t recommend it. Quick oats are more finely processed and will absorb too much moisture, resulting in a mushy, dense topping. Old-fashioned oats give you that perfect chewy, crispy texture that makes a crisp, well, crisp.
My topping came out soggy. What did I do wrong?
This usually happens if the butter wasn’t hot enough when you mixed it with the dry ingredients, or if you didn’t let the crisp rest after baking. Make sure your brown butter is hot and bubbling when you pour it over the oat mixture. Also, be sure to let the crisp cool for at least 10-15 minutes before serving so the steam can escape.
Can I make this with frozen apples?
Yes, but you’ll need to adjust. Frozen apples release a lot of water, so you’ll need to increase the cornstarch to 2 tablespoons and bake for an extra 10-15 minutes. I recommend thawing and draining the apples first, but honestly, fresh apples are always best for this recipe.
How do I know when the brown butter is done?
Look for three signs: the butter will stop foaming, you’ll see tiny brown specks forming at the bottom of the pan, and it will smell nutty and toasty. As soon as it turns a golden-amber color, remove it from the heat. If it smells burnt or looks dark brown, you’ve gone too far—start over.
Can I double this recipe?
Absolutely! Double all the ingredients and bake in a 9×13-inch dish. You’ll need to increase the baking time to about 40-45 minutes. Keep an eye on the topping—if it’s browning too quickly, tent with foil for the last 15 minutes.
Pin This Recipe!
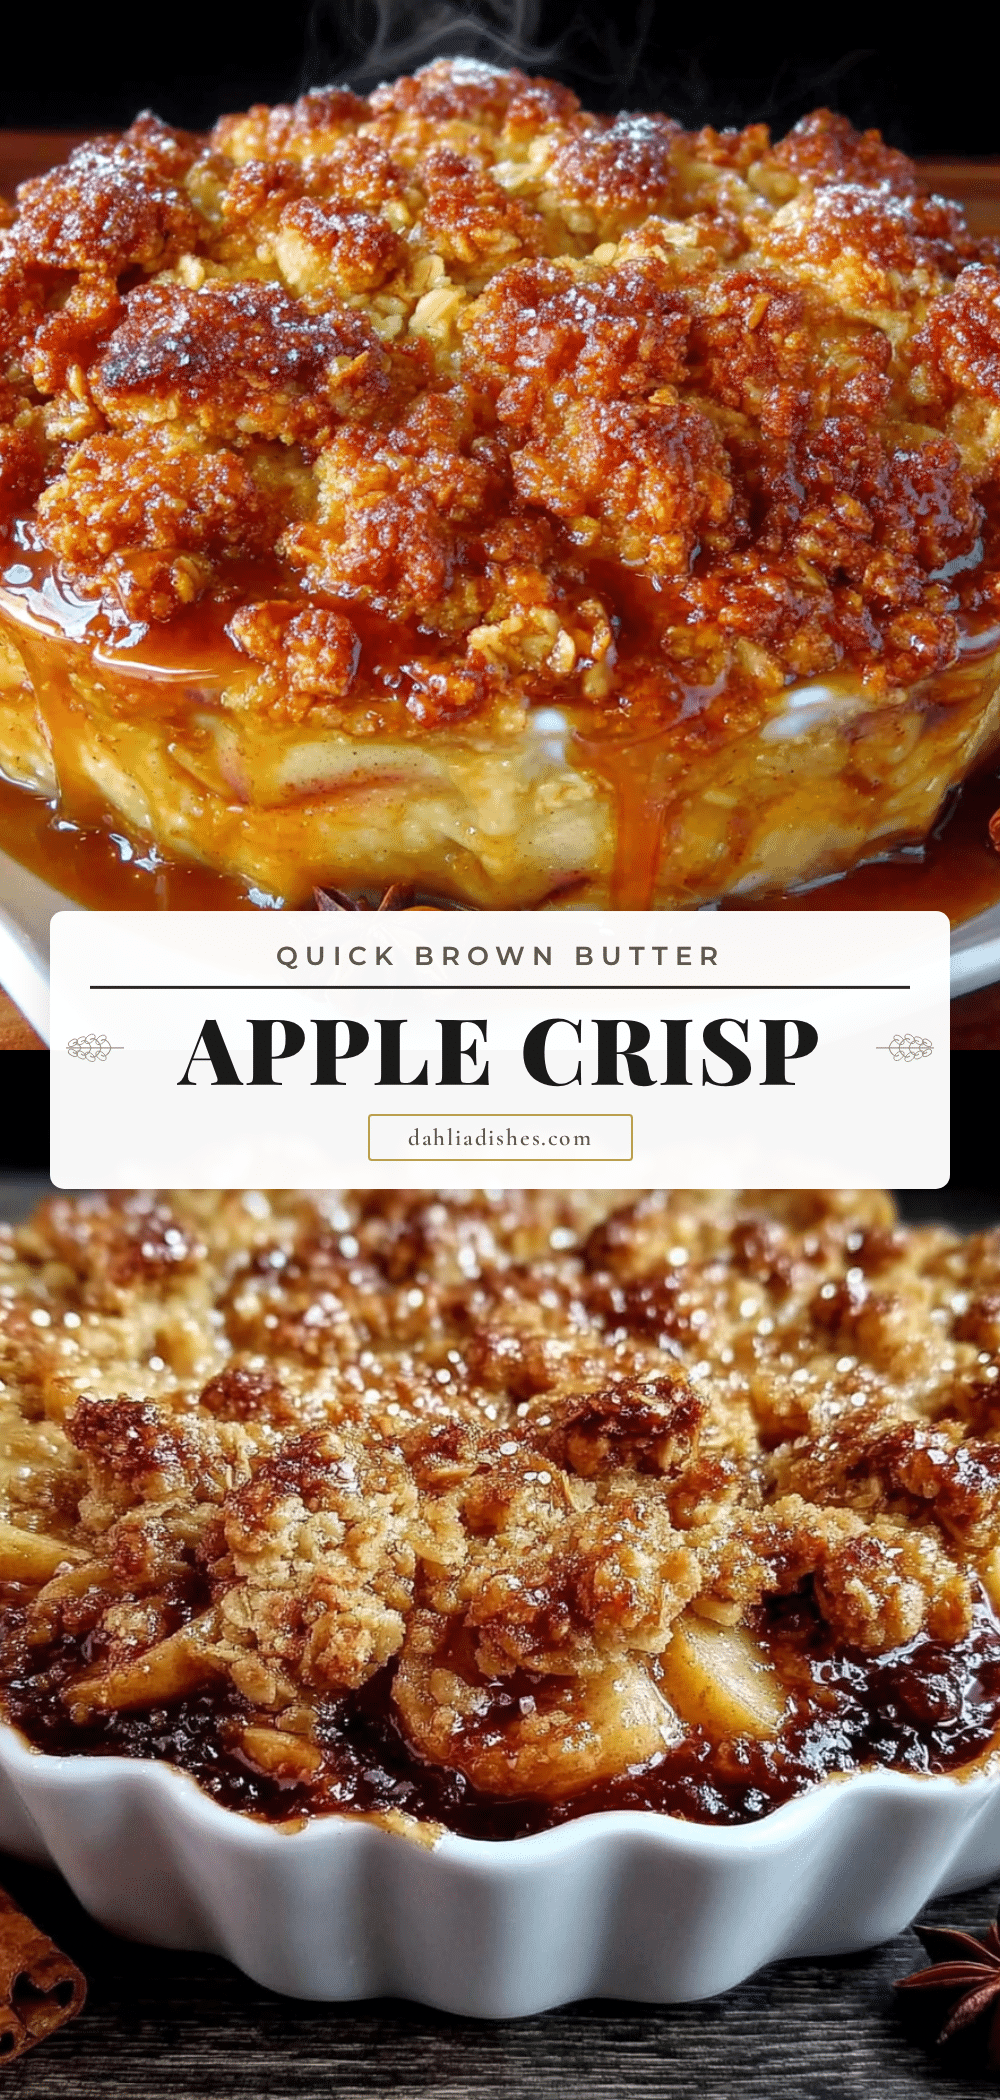
Best Easy Brown Butter Apple Crisp Recipe

This quick and easy brown butter apple crisp features a nutty, caramelized topping over tender, cinnamon-spiced apples. It’s a crowd-pleasing dessert that comes together in about 20 minutes of active prep time.
- Prep Time: 20 minutes
- Cook Time: 30 minutes
- Total Time: 50 minutes
- Yield: 8 servings 1x
- Category: Dessert
- Cuisine: American
Ingredients
- 4–5 medium apples (about 2 pounds or 900g), a mix of sweet and tart varieties like Honeycrisp and Granny Smith
- 1/4 cup (50g) granulated sugar
- 1 tablespoon (15ml) lemon juice
- 1 tablespoon (8g) cornstarch
- 1 teaspoon ground cinnamon
- 1/4 teaspoon ground nutmeg
- 1/2 cup (1 stick or 113g) unsalted butter
- 1 cup (90g) old-fashioned rolled oats
- 1/2 cup (60g) all-purpose flour
- 1/2 cup (100g) packed brown sugar (light or dark)
- 2 tablespoons (25g) granulated sugar
- 1/4 teaspoon salt
Instructions
- Preheat your oven to 375°F (190°C).
- Wash, core, and slice the apples into 1/4-inch thick wedges. Leave the skin on for texture or peel if preferred. Toss the sliced apples in a large bowl with lemon juice, 1/4 cup granulated sugar, cornstarch, cinnamon, and nutmeg. Set aside.
- Place the butter in a medium saucepan over medium heat. Melt completely, then continue cooking, swirling occasionally, until it foams, subsides, and turns a golden-amber color with brown specks and a nutty aroma (about 5-7 minutes). Remove from heat immediately.
- In a medium bowl, whisk together oats, flour, brown sugar, 2 tablespoons granulated sugar, and salt. Pour the hot brown butter over the dry ingredients and stir with a fork until evenly coated and clumping together (like wet sand with some larger clumps). Do not overmix.
- If using an oven-safe skillet, you can brown the butter directly in it. Otherwise, transfer the apple mixture to a greased 8×8 or 9×9 baking dish. Spread apples evenly. Sprinkle the brown butter oat topping evenly over the apples without pressing down.
- Place the skillet or baking dish on a rimmed baking sheet. Bake for 30-35 minutes, until the topping is deep golden brown and the apple filling is bubbling around the edges. If the topping browns too quickly, tent loosely with foil for the last 10 minutes.
- Let the crisp rest for at least 10-15 minutes before serving to allow the filling to set.
Notes
Don’t skip browning the butter—it’s the key to the nutty flavor. Use a mix of apple varieties for best texture. Let the crisp rest after baking to allow the filling to thicken. Can be assembled up to 24 hours in advance and refrigerated before baking (add 10 minutes to baking time).
Nutrition
- Serving Size: 1 serving
- Calories: 380
- Sugar: 35
- Sodium: 95
- Fat: 18
- Saturated Fat: 11
- Carbohydrates: 55
- Fiber: 5
- Protein: 4
Keywords: brown butter apple crisp, easy apple crisp, quick apple dessert, fall dessert, apple crisp recipe


