Love this? Save it for later!
Share the inspiration with your friends
I’m not supposed to play favorites with recipes, but this one? It cheats. My neighbor wasn’t trying to impress anyone. I’d stopped by to borrow a ladder on a drizzly October afternoon, and the smell hit me before I even got to her porch. Not a typical baking smell—no cinnamon or vanilla. It was something darker, almost smoky, like the air after a sparkler fizzles out. She was stirring a massive glass punch bowl with a ladle that looked like it belonged in a witch’s kitchen. The liquid was black. Not dark purple. Not deep red. Black. And it was bubbling like a cauldron.
“Oh, that’s just the dry ice,” she said, catching me staring. She shrugged like she’d thrown together a pitcher of iced tea. Honestly, I almost tripped over her garden hose trying to get a closer look. She handed me a cup, and I swear the fog rolled over the rim like something out of a haunted house. That first sip was shocking—creamy, fizzy, and sweet with a tart little kick. I stood there in her driveway, holding a ladder and a cup of black velvet punch, and I knew I’d never look at Halloween drinks the same way again. Maybe you’ve been there—stumbling into something so unexpectedly cool that you have to make it your own. This is that recipe.
I’ve tweaked it over the years, swapping out sodas and playing with the creaminess until it felt just right. The black velvet comes from a simple trick with black food coloring and a clear soda, but the magic is the dry ice. It’s the kind of drink that makes adults act like kids and kids act like they’re at a real party. Let me tell you, watching that fog spill across a table covered in candy bowls and fake spiderwebs never gets old. This recipe stayed with me because it’s not just a punch—it’s a performance. And honestly, it’s the easiest way to make your Halloween party unforgettable without spending hours in the kitchen.
Why You’ll Love This Recipe
I’ve tested this punch at three different Halloween parties now, and it gets the same reaction every time: a pause, a wide-eyed stare, and then a scramble for the ladle. It’s not just another bowl of fruit punch with floating eyeballs. This one has presence. It’s the kind of drink that makes people pull out their phones before they even taste it.
- Quick & Easy: Comes together in under 10 minutes. Seriously. No cooking, no blending, no complicated syrups. You just stir and serve.
- Simple Ingredients: You only need four main ingredients plus dry ice. No fancy grocery trips to specialty stores. Everything is available at your regular supermarket.
- Perfect for Halloween: The black color and fog effect are pure theater. It works for adult parties, kid-friendly gatherings, or even a spooky movie night at home.
- Crowd-Pleaser: I’ve served this to teenagers who thought they were too cool for punch, and they came back for thirds. The creamy texture and fizzy pop win over everyone.
- Unbelievably Delicious: The combination of creamy vanilla ice cream, tangy lemon-lime soda, and sweet berry undertones is dangerously good. It’s like a float and a punch had a Halloween baby.
What makes this recipe different from the rest? It’s the dry ice. Most Halloween punches use dry ice as an afterthought, but here it’s the star. The fog sinks low and rolls across the table, which is way more dramatic than those little wisps you get from a cup of dry ice sitting in the corner. Plus, I’ve balanced the sweetness so it’s not cloying. Too many holiday punches taste like liquid candy. This one has a bright, clean finish that keeps you going back for more.
This punch isn’t just good—it’s the kind of drink that makes you close your eyes after the first sip. It’s comfort food reimagined as a party trick. Faster, cooler, and with the same soul-soothing satisfaction of a classic float. Perfect for impressing guests without stress, or turning a simple Halloween gathering into something memorable.
What Ingredients You Will Need
This recipe uses simple, everyday ingredients to create something that looks and tastes like it came from a professional event. Most of these are pantry staples or easy to find at any grocery store. The star of the show—the dry ice—requires a quick trip to a specialty store, but it’s worth the extra stop.
- Lemon-lime soda (2 liters): I prefer Sprite or 7UP for their clean, neutral sweetness. The carbonation is what gives the punch its fizzy bite. If you want a slightly less sweet version, try a diet lemon-lime soda—it works fine and cuts the sugar load.
- Fruit punch or berry juice (4 cups): Look for a deep red or purple juice blend. I recommend Ocean Spray’s Cran-Pomegranate or a simple red fruit punch like Hawaiian Punch. The color helps deepen the black effect when mixed with the food coloring. Avoid anything too thin or watery, like plain white grape juice.
- Vanilla ice cream (4 cups): This is what gives the punch its creamy “velvet” texture. Use a good quality brand like Häagen-Dazs or Breyers for the smoothest melt. Cheap ice cream with too much air will make the punch watery and thin. Let it sit out for 5 minutes before adding so it softens slightly.
- Black food coloring (1-2 teaspoons): This is the secret to the spooky black color. I use Americolor Super Black gel, but any black gel food coloring works. Liquid food coloring is too weak—you’ll need half the bottle to get a true black. Start with 1 teaspoon and add more if needed.
- Dry ice (2-3 pounds): You’ll need food-grade dry ice, available at most grocery stores or ice suppliers. Call ahead to check availability, especially around Halloween when it sells out fast. Handle with gloves or tongs—never touch it directly with bare skin. The fog effect lasts about 30-45 minutes per batch, so add it right before serving.
- Optional garnishes: Gummy worms, plastic spider rings, or fresh blackberries for a creepy touch. I like to freeze small plastic eyeballs in ice cubes for an extra scare. Just make sure any decorations are food-safe and large enough not to be a choking hazard.
If you want to make this dairy-free, swap the vanilla ice cream for a coconut or oat-based vanilla alternative. The texture will be slightly less creamy, but it still works beautifully. For a lower-sugar version, use diet lemon-lime soda and a sugar-free fruit punch. The black food coloring is sugar-free, so no worries there.
Equipment Needed
You don’t need a professional catering setup for this punch, but a few specific tools make the process smoother and safer. I learned the hard way that a regular plastic pitcher isn’t deep enough for dry ice—the fog just spills everywhere.
- Large punch bowl or glass beverage dispenser (at least 3 quarts): Glass is best because it shows off the black color and fog effect. I use a 4-quart glass punch bowl I found at a thrift store for $8. A clear plastic one works too, but avoid metal bowls—dry ice can cause them to crack or warp.
- Long-handled ladle: You need something that reaches the bottom without you having to stick your hand in the bowl. A stainless steel ladle with a 12-inch handle is perfect.
- Tongs or heavy-duty gloves: For handling the dry ice. Never use bare hands. I keep a pair of leather gardening gloves specifically for this purpose. Kitchen tongs also work well.
- Small hammer or mallet: Dry ice usually comes in large blocks. You’ll need to break it into smaller chunks (about 1-2 inches each) so it fits in the punch bowl and fogs evenly. Wrap the block in a kitchen towel before hammering to prevent shards from flying.
- Measuring cups and spoons: For precise ingredient portions. Eyeballing the ice cream can lead to a watery punch.
- Cooler or insulated bag: Dry ice evaporates quickly at room temperature. Keep it in a cooler until you’re ready to use it. Do not store it in your freezer—it’s too cold and can damage the appliance.
If you don’t have a punch bowl, a large glass trifle dish or even a clean fishbowl works. I once used a glass cookie jar in a pinch—it looked ridiculous but the kids loved it. Just make sure whatever you use is deep enough to hold at least 10 cups of liquid without spilling when you stir.
Preparation Method
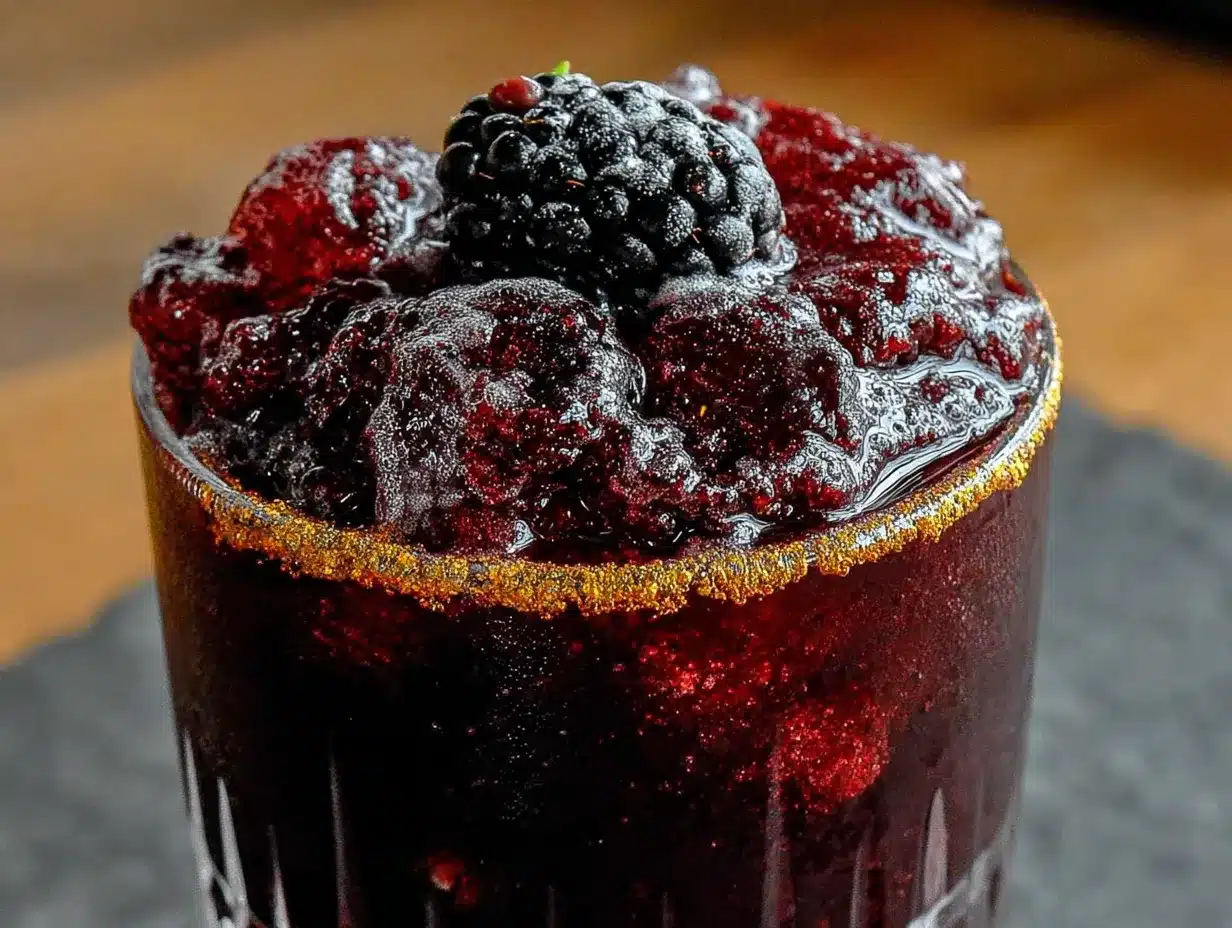
This punch comes together fast, so I recommend having everything measured and ready before you start. The dry ice timer starts ticking the moment you add it, so you want to be efficient. Here’s how I do it every time.
- Chill your ingredients (30 minutes before serving): Place the lemon-lime soda and fruit juice in the refrigerator for at least 30 minutes. Cold ingredients help the punch stay chilled longer and reduce the amount of dry ice you need. Warm soda will fizz wildly when you add the dry ice and can overflow the bowl.
- Prepare the dry ice (5 minutes before serving): Put on your gloves or grab your tongs. Wrap the dry ice block in a clean kitchen towel. Place it on a sturdy surface and gently tap it with a hammer to break it into chunks about 1-2 inches wide. You want pieces small enough to sink in the punch but large enough to last through the party. Set the chunks in a bowl or cooler.
- Mix the base (2 minutes): In your punch bowl, combine the chilled lemon-lime soda and fruit punch. Stir gently with the ladle to mix. The color should be a deep burgundy at this point—don’t worry, the black food coloring will transform it.
- Add the black food coloring (1 minute): Start with 1 teaspoon of black gel food coloring. Stir it in thoroughly. The liquid will turn a dark, inky purple. If you want a true black, add another half teaspoon and stir again. I usually end up using about 1.5 teaspoons for a dramatic effect. The color deepens as it sits, so don’t overdo it at first.
- Add the ice cream (1 minute): Scoop the vanilla ice cream into the punch bowl. Use a large spoon to gently stir it into the liquid. The ice cream will start melting immediately, creating a creamy, velvety texture. Don’t stir too vigorously or you’ll lose the carbonation. Just fold it in until most of the chunks are dissolved.
- Add the dry ice (right before serving): Using tongs, carefully drop 2-3 chunks of dry ice into the punch bowl. Do not let the dry ice touch the sides of the glass—it can cause thermal shock and crack the bowl. Drop it gently into the center of the liquid. The fog will start pouring out immediately, rolling over the sides of the bowl. Stand back for the first 30 seconds because the initial burst is intense.
- Serve immediately: Ladle the punch into cups, making sure each cup gets a little bit of the fog. Warn guests not to touch or eat the dry ice chunks. They should stay in the bowl. The dry ice will continue to fog for about 30-45 minutes. Add more chunks as needed to maintain the effect.
One thing I learned the hard way: don’t add the dry ice too early. I did that once and the fog was mostly gone by the time guests arrived. Keep the dry ice in the cooler and add it just as people are walking in. The wow factor is strongest in the first 10 minutes.
Cooking Tips & Techniques
After making this punch for four Halloweens in a row, I’ve collected a few tricks that save time and prevent disasters. The biggest one? Dry ice is not scary if you respect it. I was nervous the first time, but now it’s my favorite part.
Handle dry ice safely: Never put dry ice in your mouth or swallow it. It can cause severe internal burns. Always use gloves or tongs. Keep it away from children and pets. Store it in a well-ventilated area—never in a sealed container, because the gas buildup can cause an explosion. I keep mine in a cardboard box inside a cooler with the lid cracked open.
Don’t over-stir the ice cream: The beauty of this punch is the creamy texture, but if you stir too much, the ice cream dissolves completely and the punch becomes thin and watery. I stop stirring when there are still small floating bits of ice cream. They melt naturally in the cups and keep the texture interesting.
Keep the soda cold: Warm soda goes flat instantly when you add the dry ice. I’ve made this mistake twice. Now I put the soda in the fridge the night before and only take it out when I’m ready to mix. If you’re short on time, set the bottle in an ice bath for 15 minutes.
Test the color in a small glass first: Black food coloring is potent, and different brands vary in strength. Before you dump it into the whole batch, mix a small amount of soda and juice in a glass and add a drop of coloring. This way you can adjust the shade without ruining the entire punch bowl.
Timing is everything: The dry ice fog is most dramatic in the first 15 minutes. If you’re hosting a long party, add a fresh chunk every 30 minutes. I set a timer on my phone so I don’t forget. The punch itself stays good for about 2 hours before the ice cream separates and the soda goes flat.
Variations & Adaptations
I love that this recipe is a blank canvas. Over the years, I’ve tried different flavor combinations and dietary swaps, and most of them turned out surprisingly well. Here are a few variations that have earned a spot in my Halloween rotation.
Berry Blast Punch: Swap the lemon-lime soda for a berry-flavored sparkling water or berry soda. Use a mixed berry juice instead of fruit punch. The result is a deeper, more tart flavor that pairs beautifully with the creamy ice cream. I tried this last year and it was a hit with adults who found the original too sweet.
Dairy-Free Velvet: Use coconut milk-based vanilla ice cream or oat milk ice cream. The texture is slightly less rich, but the coconut version adds a tropical undertone that works surprisingly well with the berry juice. I recommend So Delicious or Ben & Jerry’s dairy-free options. Add an extra splash of vanilla extract to boost the flavor.
Spiked Black Velvet: For an adult-only version, replace 1 cup of the lemon-lime soda with vodka or white rum. The alcohol doesn’t affect the color or fog effect. I’ve also used a splash of blackberry liqueur for extra depth. Just be careful with the portions—this punch goes down easy and can sneak up on you.
Gluten-Free Option: All the ingredients listed are naturally gluten-free, but double-check your fruit punch label. Some brands use malt flavoring. I stick with Ocean Spray or Simply juices to be safe. The dry ice is pure carbon dioxide, so no gluten concerns there.
Smoky Citrus Twist: Replace the fruit punch with fresh-squeezed orange juice and a splash of lime juice. The citrus cuts through the creaminess and gives the punch a bright, tangy edge. I tried this variation for a non-Halloween party and it was so good I almost kept it a year-round recipe.
Serving & Storage Suggestions
This punch is best served immediately, but there are ways to stretch it if you’re hosting a longer event. Presentation matters here—the fog effect is half the fun, so set up your punch bowl somewhere visible.
Serving temperature: Serve the punch cold, but not icy. The dry ice keeps it chilled without diluting it. If you’re not using dry ice, add a large ice ring made from fruit juice to keep it cold without watering it down. I freeze a ring of cranberry juice with floating berries and rosemary sprigs for a gothic look.
Presentation ideas: Place the punch bowl on a black tablecloth with battery-operated tea lights scattered around. The fog from the dry ice catches the light and creates an eerie glow. Add a few fake spiderwebs draped over the bowl’s edge. I like to serve the punch in clear plastic cups so guests can see the fog swirling inside.
Complementary dishes: This punch pairs well with salty snacks like pretzel rods, popcorn balls, or cheese straws. The sweetness balances the salt. For a full Halloween spread, serve it alongside a charcuterie board with black olives, dark chocolate, and gouda cheese. Avoid serving it with overly sweet desserts—it’s already rich enough.
Storage: The punch itself doesn’t store well because the carbonation fades and the ice cream separates. If you have leftovers, pour the liquid (without dry ice) into a sealed container and refrigerate for up to 24 hours. It won’t be fizzy anymore, but it makes a decent creamy juice drink. Do not store dry ice in the refrigerator or freezer—it will damage the appliance. Let any remaining dry ice evaporate in a well-ventilated area.
Reheating: This punch is served cold, so no reheating needed. If you refrigerated the base, stir it well and add fresh soda and ice cream before serving again. The dry ice fog won’t return, but the flavor is still good.
Nutritional Information & Benefits
Let’s be honest—this is a treat, not a health drink. But I’ve included estimates so you can plan around it. One 8-ounce serving (without alcohol) contains approximately 220 calories, 8 grams of fat, 35 grams of carbohydrates, and 2 grams of protein. The sugar content is around 28 grams, mostly from the ice cream and soda.
The fruit punch provides a small dose of vitamin C, especially if you use a juice blend with real fruit juice. The vanilla ice cream adds calcium and a bit of protein. If you use the dairy-free version, you’ll get healthy fats from coconut or oat milk instead of dairy fat.
For dietary considerations: this recipe is vegetarian and can be made gluten-free and dairy-free with simple swaps. It is not vegan unless you use a plant-based ice cream and check the food coloring label (most gel food colorings are vegan). The dry ice is pure carbon dioxide and doesn’t affect dietary restrictions.
Potential allergens include dairy (in the ice cream) and possibly gluten (check your fruit punch label). If you’re serving a crowd, I recommend labeling the punch bowl with the ingredients list so guests with allergies can make informed choices.
From a personal perspective, I love that this punch feels indulgent without being heavy. It’s a once-a-year treat that makes the holiday special. I don’t worry about the sugar content because it’s part of the celebration. Life’s too short to count calories on Halloween.
Conclusion
This black velvet Halloween punch is the easiest way to make your party unforgettable. It takes less than 10 minutes to assemble, uses ingredients you can find anywhere, and delivers a visual effect that looks like you hired a special effects team. I’ve made it for neighborhood parties, family gatherings, and even a work potluck, and it never fails to draw a crowd.
I encourage you to make this recipe your own. Swap the juice, try a different ice cream flavor, or add a splash of something spirited. The basic formula is forgiving and flexible. The dry ice is the only non-negotiable—without it, you just have a pretty black punch. With it, you have a memory.
Honestly, this recipe makes me happy every time I make it. It reminds me of that rainy October afternoon when I discovered something magical in my neighbor’s driveway. I hope it brings the same wonder to your Halloween table.
If you try this recipe, I’d love to hear about it. Drop a comment below and tell me how your guests reacted. Did they scream? Did they laugh? Did they ask for the recipe? Share a photo on Pinterest and tag me—I want to see your spooky creations!
Frequently Asked Questions
Can I use regular ice instead of dry ice?
You can, but the punch won’t have the fog effect. Regular ice will dilute the punch as it melts. If you skip dry ice, freeze a ring of fruit juice to keep it cold without watering it down.
Where do I buy dry ice?
Most grocery stores carry it, especially around Halloween. Call ahead to check availability. You can also find it at ice supply companies or some warehouse clubs. Expect to pay about $1-2 per pound.
How long does the dry ice fog last?
A single chunk of dry ice (about 1-2 inches) will fog for 30-45 minutes. For a longer party, add fresh chunks every 30 minutes. Keep the extra dry ice in a cooler with the lid cracked.
Is it safe to drink punch with dry ice in it?
Yes, as long as you don’t swallow the dry ice pieces. The gas bubbles are harmless carbon dioxide. Just make sure guests know not to eat the dry ice. I put a small sign next to the punch bowl as a reminder.
Can I make this punch ahead of time?
You can mix the soda, juice, and food coloring up to 24 hours in advance and refrigerate it. Add the ice cream and dry ice right before serving. The dry ice must be added fresh for the fog effect to work.
Pin This Recipe!
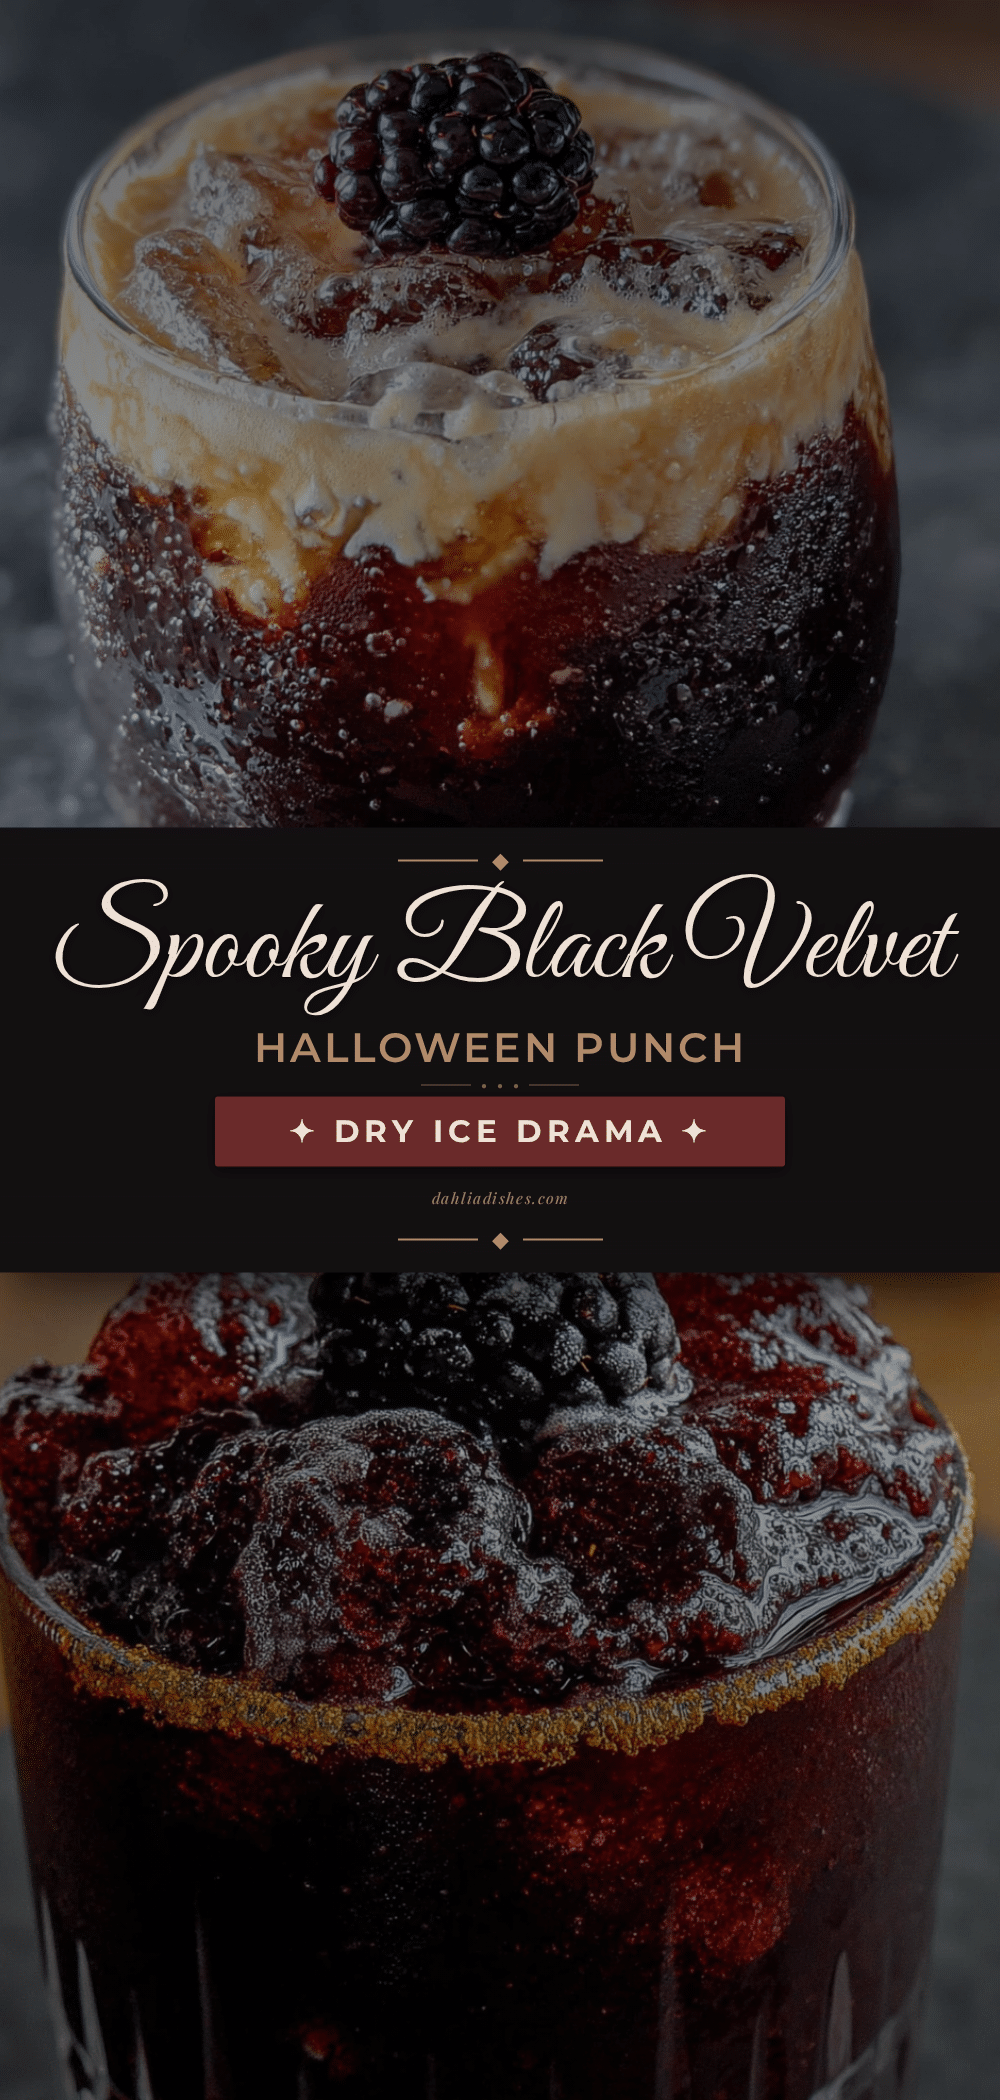
Spooky Black Velvet Halloween Punch with Dry Ice
A creamy, fizzy, and spooky black punch that creates a dramatic fog effect with dry ice. Perfect for Halloween parties, it’s quick to make and sure to impress guests of all ages.
- Prep Time: 10 minutes
- Cook Time: 0 minutes
- Total Time: 10 minutes
- Yield: 12 servings 1x
- Category: Beverage
- Cuisine: American
Ingredients
- 2 liters lemon-lime soda (e.g., Sprite or 7UP)
- 4 cups fruit punch or berry juice (e.g., cran-pomegranate)
- 4 cups vanilla ice cream
- 1–2 teaspoons black gel food coloring
- 2–3 pounds food-grade dry ice
- Optional: gummy worms, plastic spider rings, fresh blackberries for garnish
Instructions
- Chill the lemon-lime soda and fruit juice in the refrigerator for at least 30 minutes before serving.
- Put on gloves or use tongs. Wrap the dry ice block in a clean kitchen towel and gently tap with a hammer to break into 1-2 inch chunks. Set aside in a bowl or cooler.
- In a large punch bowl, combine the chilled lemon-lime soda and fruit punch. Stir gently with a ladle.
- Add 1 teaspoon of black gel food coloring and stir thoroughly. Add more (up to 1.5 teaspoons) for a deeper black color.
- Scoop the vanilla ice cream into the punch bowl and gently stir until most chunks are dissolved, but small bits remain.
- Just before serving, use tongs to carefully drop 2-3 chunks of dry ice into the center of the punch bowl. Do not let dry ice touch the sides of the glass bowl.
- Serve immediately, ladling punch into cups. Warn guests not to touch or eat the dry ice. Add more dry ice chunks every 30 minutes to maintain the fog effect.
Notes
Handle dry ice with gloves or tongs—never bare hands. Do not store dry ice in a sealed container or freezer. Add dry ice just before serving for maximum fog effect. For a dairy-free version, use coconut or oat-based vanilla ice cream. For a lower-sugar version, use diet soda and sugar-free fruit punch.
Nutrition
- Serving Size: 8 ounces
- Calories: 220
- Sugar: 28
- Sodium: 50
- Fat: 8
- Saturated Fat: 5
- Carbohydrates: 35
- Protein: 2
Keywords: Halloween punch, black velvet punch, dry ice punch, spooky drink, Halloween party drink, creamy punch, fog punch


