Love this? Save it for later!
Share the inspiration with your friends
Introduction
“Why not just drop the corn straight into the freezer after shucking?” my friend asked while I was fussing over the boiling pot. I started to explain why that wouldn’t work—then stopped. Honestly, the truth hit me in that moment: she was onto something simple that I’d been overcomplicating for years. It was one of those kitchen surprises when the student accidentally teaches the teacher.
We were prepping for a backyard barbecue, and I’d just gotten a bushel of fresh corn from the farmer’s market. I was about to go through my usual rigmarole of blanching, cooling, drying, and packaging, but she suggested freezing the cobs right after a quick dunk. I hesitated—blanching seemed like a must to keep the corn’s sweet flavor and texture. But the way she put it, “If it’s fresh and clean, why not save time?” made me rethink.
So, I tried it her way, with a slight tweak: a really quick blanch to lock in the sweetness, then right into an ice bath. The result? Corn so vibrant and tender it tasted like summer itself, even months later. Maybe you’ve been there—wondering if you really need all those steps or if there’s a shortcut that just works.
That day, I learned that perfect blanching doesn’t have to be complicated. This easy perfectly blanched corn on the cob for freezing recipe stuck with me because it’s straightforward, reliable, and honestly, a bit of a game-changer for stocking up on garden-fresh corn. Let me tell you, having sweet corn ready anytime during the colder months makes all those winter dinners just a little brighter.
Why You’ll Love This Recipe
I’ve tested this blanching method more times than I can count, and it always delivers. Whether you’re a newbie or a seasoned cook, this recipe simplifies freezing corn on the cob without sacrificing flavor or texture. Here’s why it’s a keeper:
- Quick & Easy: Takes under 15 minutes from pot to freezer, perfect for busy days or last-minute meal prep.
- Simple Ingredients: Just fresh corn and water—no fancy additives or preservatives.
- Perfect for Seasonal Stocking: Freeze a batch in summer and enjoy fresh corn all year, ideal for cozy dinners or spontaneous grilling.
- Crowd-Pleaser: Sweet, tender corn that everyone loves—kids, adults, and even picky eaters.
- Unbelievably Delicious: The blanching locks in that natural sweetness and crisp texture so well, you’ll swear it’s fresh-picked.
What sets this apart? The precise blanching time and immediate ice bath stop the cooking process at the perfect moment. Plus, the method is forgiving enough for home cooks who might not have fancy equipment or hours to spare. This isn’t just frozen corn; it’s summer sunshine in a bag, ready whenever you need it.
What Ingredients You Will Need
This recipe uses simple, wholesome ingredients to deliver bold flavor and satisfying texture without the fuss. Most are pantry staples or fresh from your local market.
- Fresh corn on the cob: Choose ears with bright green husks and plump kernels for the best taste.
- Water: For boiling and ice bath—clean, cold water works best.
- Ice: To make the ice bath that stops the cooking instantly.
Optional:
- Sea salt for seasoning after thawing (adds a nice finishing touch)
Ingredient Tips: I always pick corn from local farmers during peak season (July to September), but if you can’t find fresh ears, look for firm, bright kernels without blemishes. If you want to try a different twist, baby corn works well with the same blanching time.
Equipment Needed
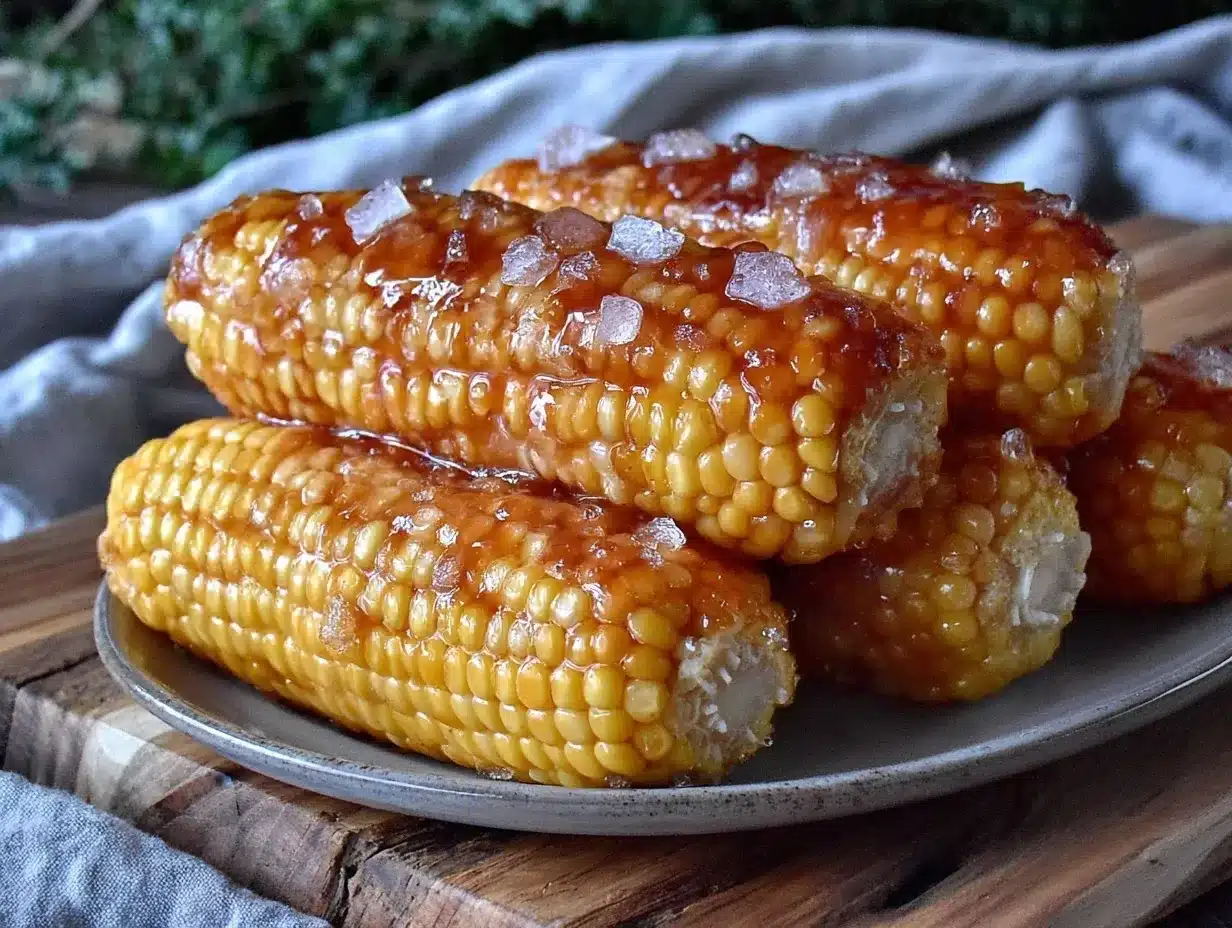
- Large pot for boiling water (a 6-quart or bigger pot works great)
- Large bowl for ice bath (big enough to hold water and ice, and submerge the ears fully)
- Tongs or slotted spoon for handling hot corn safely
- Sharp knife to trim the corn ends
- Baking sheet or tray (for drying before freezing)
- Freezer-safe bags or airtight containers for storage
If you don’t have a big pot, a deep saucepan will do, though you may need to blanch in batches. For budget-friendly ice baths, frozen vegetables bags double as ice cubes easily. I’ve found that using a baking sheet to freeze ears individually before bagging prevents sticking—trust me, it’s worth the extra step!
Preparation Method
- Prep the corn: Remove the husks and silk from each ear. Trim the ends neatly with a sharp knife. It’s fine to leave kernels whole. (Prep time: about 5 minutes per batch)
- Bring water to boil: Fill your large pot with enough water to cover the corn completely. Bring it to a rolling boil over high heat.
- Blanch the corn: Using tongs, gently lower the ears into the boiling water. Start timing immediately. Blanch for exactly 4 minutes (240 seconds) for fresh, tender corn. If your ears are particularly large, add 30 seconds, but no more—overcooking ruins the texture.
- Prepare the ice bath: While the corn boils, fill your large bowl with cold water and plenty of ice cubes. This bath stops the cooking fast and locks in that bright color and crunch.
- Shock the corn: Once the blanching time is up, quickly transfer the corn to the ice bath with tongs. Let them chill for the same amount of time they boiled—about 4 minutes.
- Dry the ears: Remove the corn from the ice bath and place on a clean kitchen towel or baking sheet to dry completely. This step prevents ice crystals forming during freezing.
- Freeze the corn: Once dry, arrange the ears in a single layer on a baking sheet and freeze for 1–2 hours (flash freezing). Then, transfer to freezer-safe bags or containers, squeezing out excess air to avoid freezer burn.
Pro Tips: Keep an eye on the blanching time—it’s the key for that perfect texture. If the water stops boiling when you add the corn, wait for it to return to a boil before starting your timer again.
Trust me, the moment you bite into corn that’s been blanched and frozen this way, you’ll appreciate the patience in those few minutes. It’s worth every second.
Cooking Tips & Techniques
Blanching corn might sound basic, but it’s easy to slip up. Here’s what I’ve learned to keep your corn tasting its best:
- Don’t skip the ice bath: It’s essential. Without it, the corn continues cooking and turns mushy fast.
- Use fresh corn: Older corn won’t hold sweetness or texture as well. If it looks dry or shriveled, it’s better for fresh eating than freezing.
- Timing is everything: Too little blanching and enzymes remain active, causing flavor loss. Too long, and you lose that tender snap.
- Flash freeze first: This prevents the ears from sticking together in the bag, making it easier to grab just what you need later.
- Multitasking tip: While your corn chills in the ice bath, prep your freezer bags or containers—makes the whole process smoother and quicker.
I once forgot about the ice bath in the rush of prepping for a party—let’s just say the corn was soft and disappointing. Since then, I treat the ice bath like the most important step. Seriously, it’s a non-negotiable.
Variations & Adaptations
Here are some ways to tweak this recipe so it fits your kitchen style and dietary needs:
- Cut kernels off the cob: If you prefer, blanch whole ears, then slice off the kernels after freezing. Great for adding to stews or salads.
- Use baby corn: Blanch for just 2 minutes and ice bath immediately. Perfect for stir-fries or snacking.
- Seasoned blanching water: Adding a pinch of sugar or a splash of lemon juice to the water can subtly brighten the corn flavor.
- Allergen-friendly: This recipe is naturally gluten-free and vegan—easy to fit into most diets.
- Freezing with husks on: Some swear by freezing corn with husks intact for extra protection, but I find it takes longer to thaw and can trap moisture.
I once tried blanching corn with a hint of smoked paprika in the water—odd but surprisingly tasty twist for barbecue season.
Serving & Storage Suggestions
When ready to enjoy, simply thaw frozen corn in the refrigerator overnight or boil straight from frozen for a few minutes until heated through. Serve warm with a pat of butter and a sprinkle of salt for that classic taste.
This corn pairs beautifully with grilled meats, fresh salads, or as a quick side for any meal. Try it with a squeeze of lime and a dash of chili powder for a fun flavor kick.
Store your frozen corn in airtight bags or containers, and it will keep well for up to 12 months. Make sure to label bags with the date so you can enjoy your harvest at its best.
Frozen corn sometimes tastes even sweeter after a couple of weeks in the freezer as the sugars settle. Just a little kitchen magic.
Nutritional Information & Benefits
This blanched and frozen corn on the cob is a nutritious choice packed with fiber, vitamins, and antioxidants. One ear (about 90g) provides roughly:
| Calories | Carbohydrates | Fiber | Protein | Vitamin C |
|---|---|---|---|---|
| 90 kcal | 19g | 2g | 3g | 10% DV |
Corn is naturally gluten-free and low in fat, making it a wholesome addition to many diets. The blanching preserves nutrients while making it freezer-friendly. If you’re watching carbs, pairing corn with lean protein balances your plate nicely.
Conclusion
There’s something genuinely satisfying about storing summer’s sweetness in your freezer and pulling it out months later. This easy perfectly blanched corn on the cob for freezing recipe turns fresh ears into a ready-to-eat treat that keeps its flavor and texture like no other.
Don’t hesitate to tailor the blanching time or seasoning to your taste—this method is flexible and forgiving. Personally, I keep bags of this corn on hand for quick weeknight meals or whenever I want a little remind of sunshine.
If you try this recipe, let me know how it turns out or share your own tweaks in the comments—I love hearing about your kitchen wins and experiments. Here’s to many cozy meals ahead, made easier and tastier.
Frequently Asked Questions
- How long does blanched corn last in the freezer? Properly stored, it keeps fresh for up to 12 months.
- Can I blanch corn in the microwave instead of boiling? Boiling is best for even cooking, but you can microwave ears with damp paper towels for 3-4 minutes if in a pinch.
- Do I need to peel the husks before blanching? Yes, remove husks and silk first for best flavor and texture.
- Can I freeze corn kernels instead of whole cobs? Absolutely! Cut kernels off after blanching and freeze in bags.
- Should I salt the blanching water? It’s optional; some prefer plain water to keep corn sweet and natural.
Pin This Recipe!
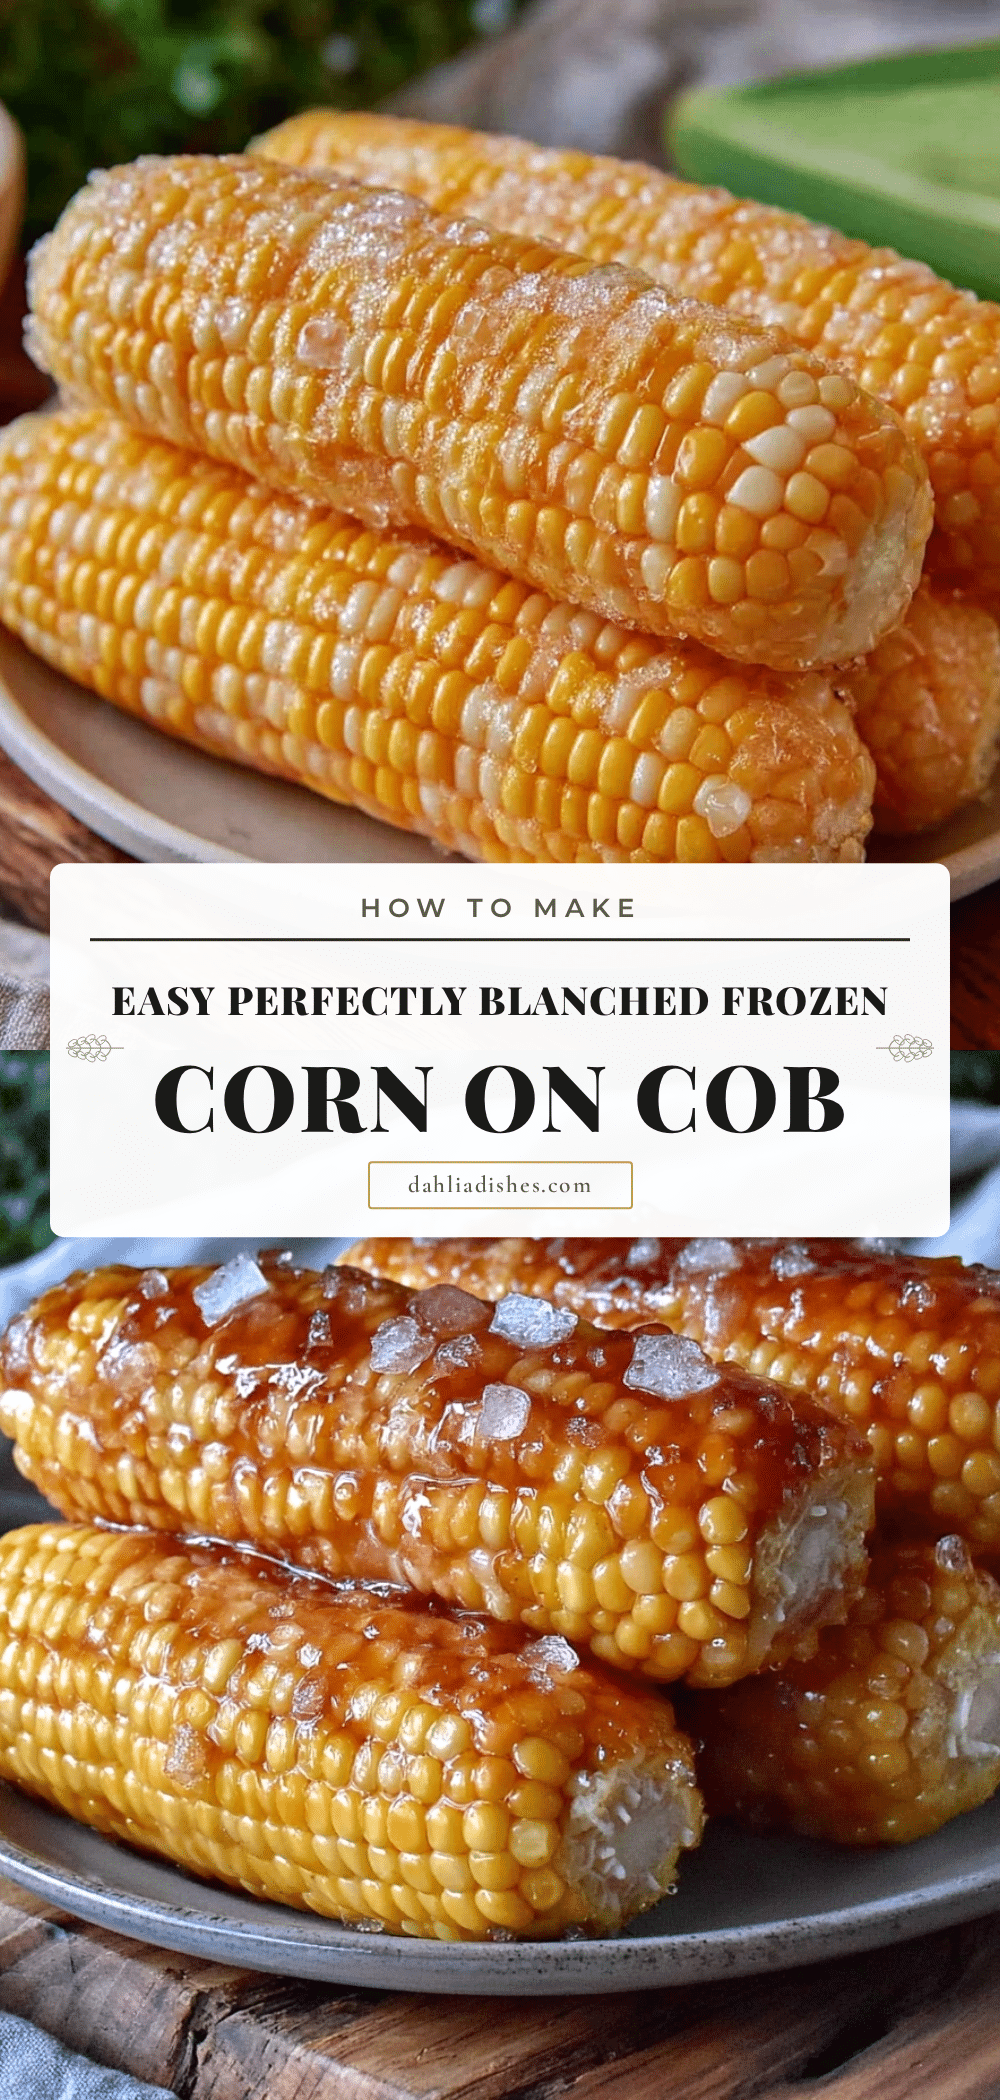
Easy Perfectly Blanched Corn on the Cob Recipe for Freezing at Home

A simple and reliable method to blanch fresh corn on the cob for freezing, preserving its sweet flavor and tender texture for year-round enjoyment.
- Prep Time: 5 minutes
- Cook Time: 4 minutes
- Total Time: 9 minutes
- Yield: 4 servings
- Category: Side Dish
- Cuisine: American
Ingredients
- Fresh corn on the cob
- Water
- Ice
- Sea salt (optional, for seasoning after thawing)
Instructions
- Remove the husks and silk from each ear. Trim the ends neatly with a sharp knife.
- Fill a large pot with enough water to cover the corn completely and bring it to a rolling boil over high heat.
- Using tongs, gently lower the ears into the boiling water. Blanch for exactly 4 minutes (240 seconds). For particularly large ears, add 30 seconds but no more.
- While the corn boils, fill a large bowl with cold water and plenty of ice cubes to prepare an ice bath.
- Once blanching time is up, quickly transfer the corn to the ice bath with tongs and chill for the same amount of time they boiled (about 4 minutes).
- Remove the corn from the ice bath and place on a clean kitchen towel or baking sheet to dry completely.
- Arrange the ears in a single layer on a baking sheet and freeze for 1–2 hours (flash freezing).
- Transfer the frozen ears to freezer-safe bags or airtight containers, squeezing out excess air to avoid freezer burn.
Notes
Keep an eye on blanching time to avoid overcooking. If water stops boiling when adding corn, wait for it to return to a boil before starting the timer. Flash freezing ears individually before bagging prevents sticking. Do not skip the ice bath to stop cooking and preserve texture.
Nutrition
- Serving Size: One ear of corn (abo
- Calories: 90
- Sugar: 6
- Sodium: 5
- Fat: 1
- Saturated Fat: 0.2
- Carbohydrates: 19
- Fiber: 2
- Protein: 3
Keywords: corn on the cob, blanching, freezing corn, summer corn, easy corn recipe, freezer corn, fresh corn, quick blanching


