Love this? Save it for later!
Share the inspiration with your friends
“I don’t do cookie dough in lunchboxes,” my cousin declared with a smirk every time I suggested it. For years, she claimed these treats were too messy, too sweet, or just plain impractical for school snacks. Then one chilly September afternoon, I whipped up a batch of these Easy Back to School Monster Cookie Dough Lunchbox Bites just for myself—because honestly, who says cookie dough is only for dessert? A few hours later, I caught her sneaking a bite when she thought no one was looking, smearing a little chocolate chip grin across her face. That was the moment the myth was busted.
Let me tell you, this recipe isn’t just about shoving cookie dough into little balls. It’s about crafting a snack that’s as fun to eat as it is to make, perfectly portioned for busy school days, and—here’s the kicker—it stays mess-free, no matter how many times it gets jostled in the lunchbox. Maybe you’ve been there, scrambling to find something quick and kid-approved, something that doesn’t involve a lunchbox disaster or a sneaky sugar crash. That’s exactly why these Monster Cookie Dough Lunchbox Bites have become my quiet little secret weapon for back-to-school season.
What really sticks with me is how easy they are to throw together on a hectic morning and how the kids’ faces light up when they spot those colorful “monster eyes” (aka M&Ms) poking out. Honestly, it’s the kind of recipe that sneaks its way from being just a snack to a little moment of joy in the middle of a busy school day. And, well, watching my cousin eat cookie dough in her own lunchbox? That’s a story I’m still smiling about.
Why You’ll Love This Recipe
After testing countless cookie dough snacks, I can confidently say this recipe nails the balance between fun, flavor, and practicality. Here’s why these Easy Back to School Monster Cookie Dough Lunchbox Bites have become a staple in our home and will likely be yours too:
- Quick & Easy: Ready in under 20 minutes, making them perfect for rushed mornings or last-minute snack prep.
- Simple Ingredients: Uses pantry staples like oats, peanut butter, and chocolate chips—no fancy trips to specialty stores needed.
- Perfect for Lunchboxes: Bite-sized and mess-free, they survive the school day without falling apart or melting all over.
- Crowd-Pleaser: Kids adore the chewy texture and colorful chocolate “monster eyes” that add a playful twist.
- Unbelievably Delicious: The combo of peanut butter, oats, and chocolate is a classic that feels indulgent yet wholesome.
This isn’t just another cookie dough recipe—it’s designed with real school-day chaos in mind. The oats add a subtle chewiness that holds everything together, while the peanut butter brings in a satisfying richness. I’ve even swapped the usual sugar for a touch of honey or maple syrup for a more natural sweetness, which kids hardly notice but parents appreciate.
So whether you’re packing snacks for a picky eater or just want a quick treat that feels downright special, these Monster Cookie Dough Lunchbox Bites hit the spot without fuss or mess. Plus, they’re sturdy enough to toss in a backpack or lunchbox without crumbling—trust me, I’ve tested that multiple times during soccer practice runs!
What Ingredients You Will Need
This recipe uses simple, wholesome ingredients to deliver bold flavor and satisfying texture without the fuss. Most of these are pantry staples, and where substitutions are possible, I’ll point them out so you can tailor the recipe to your needs.
- Rolled oats (1 cup / 90g) – The chewy base that adds fiber and texture. Quick oats can work but might make the bites too soft.
- Natural peanut butter (1/2 cup / 130g) – Adds richness and binds the dough. I prefer brands like Smucker’s Natural for smoothness.
- Honey (1/4 cup / 85g) – A natural sweetener that keeps the bites moist and kid-friendly. Maple syrup works well too.
- Vanilla extract (1 teaspoon / 5ml) – For a warm, sweet aroma that ties the flavors together.
- Mini chocolate chips (1/3 cup / 60g) – Use semi-sweet or milk chocolate chips depending on preference. These are the “monster eyes.”
- Ground flaxseed (2 tablespoons / 14g) – Adds a nutritional boost and helps with binding. Optional but recommended.
- Salt (a pinch) – Balances the sweetness and enhances flavors.
- Optional mix-ins: Mini M&Ms for colorful “eyes,” chopped nuts for crunch, or shredded coconut for texture.
Feel free to swap peanut butter with almond butter or sunflower seed butter for allergies or taste preferences. For a gluten-free version, make sure to use certified gluten-free oats. Honestly, these ingredients come together like an old friend—simple, reliable, and satisfying.
Equipment Needed
- Mixing bowl: A medium-sized bowl to mix your ingredients comfortably.
- Spoon or spatula: For stirring the dough. I like using a silicone spatula because it scrapes the bowl clean.
- Measuring cups and spoons: Precise measurements help keep the texture just right.
- Baking sheet or tray: To place the cookie dough bites on while they set.
- Parchment paper or silicone mat: Prevents sticking and makes cleanup easier.
- Refrigerator: For chilling the bites until they firm up.
None of these require special gadgets, which is great when you’re juggling back-to-school madness. If you don’t have parchment paper, a lightly greased tray works just fine, but I recommend parchment for easy cleanup. And honestly, if you have a small cookie scoop, it speeds up portioning, but a spoon works perfectly well too.
Preparation Method

- Combine dry ingredients: In your mixing bowl, stir together 1 cup (90g) rolled oats, 2 tablespoons (14g) ground flaxseed, and a pinch of salt. This step ensures even distribution and helps the bites hold together better.
- Add wet ingredients: Scoop in 1/2 cup (130g) natural peanut butter, 1/4 cup (85g) honey, and 1 teaspoon (5ml) vanilla extract. Use a sturdy spatula or spoon to mix everything until fully combined. The dough will be sticky but cohesive—if it feels too dry, add a teaspoon of honey or peanut butter; too wet, add a bit more oats.
- Fold in chocolate chips: Gently stir 1/3 cup (60g) mini chocolate chips into the dough, saving a few for topping later. This keeps the bites visually fun and adds those delightful “monster eyes.”
- Shape the bites: Using your hands or a cookie scoop, form the dough into roughly 1-inch (2.5cm) balls. Don’t worry about perfect shapes—rustic is charming here. Place them spaced evenly on a parchment-lined baking sheet.
- Add “monster eyes”: Press a couple of mini M&Ms or extra chocolate chips on top of each bite for that signature monster look. It’s a fun touch that kids love and makes the snack instantly recognizable.
- Chill to firm up: Refrigerate the cookie dough bites for at least 30 minutes. This step is crucial for keeping them together and making them easy to pack. You can also freeze them for longer storage—just thaw briefly before packing.
- Pack and enjoy: Place the chilled bites in an airtight container or reusable lunchbox compartment. They’ll stay fresh and mess-free throughout the school day.
Pro tip: If the dough feels sticky when shaping, dampen your hands slightly to prevent it from sticking. Also, if you’re short on time, a quick 15-minute chill in the freezer does the trick. Just keep an eye on them so they don’t freeze solid. The texture should be chewy but firm enough to hold shape.
Cooking Tips & Techniques
Since these bites don’t require baking, the “cooking” part is really about mixing and chilling, but there are still tricks to make them perfect every time.
- Choose the right peanut butter: Natural peanut butter with visible oil separation works best here. Just stir it well before measuring to keep the texture smooth. Avoid overly processed or sweetened brands that can make the bites too sticky or sweet.
- Oats texture matters: Rolled oats give the best chew and structure. Avoid instant oats—they tend to make the bites mushy.
- Mix thoroughly but gently: Overmixing can break down the oats too much, while undermixing leaves dry patches. Aim for a uniform dough that feels sticky but pliable.
- Don’t skip the chilling step: It’s the secret to mess-free bites that hold up in lunchboxes. Chilling lets the fats solidify, keeping everything together.
- Customize sweetness carefully: Kids’ palates vary, so taste your dough before shaping. You can add a bit more honey or maple syrup if needed, but remember the chocolate chips add sweetness too.
- Storing advice: Keep the bites in a sealed container in the fridge for up to a week or freeze for up to a month. Thaw in the fridge or at room temperature before packing.
From personal experience, trying to skip chilling or rushing the mixing leads to crumbly bites or sticky messes. Patience here really pays off. And when I made these for a last-minute soccer snack, chilling them in the freezer was a lifesaver—just don’t forget to pull them out a few minutes before eating!
Variations & Adaptations
One of the best things about this recipe is how easy it is to tweak for different tastes and needs.
- Allergy-friendly: Swap peanut butter for sunflower seed or soy nut butter to avoid nuts. Use dairy-free chocolate chips to keep it nut and dairy safe.
- Seasonal twists: Add dried cranberries or chopped dried apricots for a fruity surprise. In fall, sprinkle in pumpkin pie spice for a cozy vibe.
- Flavor boosts: Mix in shredded coconut, cinnamon, or a dash of espresso powder for grown-up flavor notes.
- Protein punch: Stir in a scoop of your favorite protein powder to make these bites a more filling snack for active kids.
- Texture swaps: Use quick oats for softer bites, or pulse rolled oats in a food processor for a finer texture closer to traditional cookie dough.
I once added crushed pretzels to the dough for a salty crunch that my kids couldn’t get enough of—totally unexpected but so good! Whether you want to keep it classic or experiment, these bites are forgiving and fun to personalize.
Serving & Storage Suggestions
These Easy Back to School Monster Cookie Dough Lunchbox Bites are best served chilled or at room temperature. They hold their shape well, which means no crumbs or sticky fingers in the lunchbox—always a win.
- Serving tips: Pack 3-4 bites per lunchbox compartment for a balanced snack. They pair perfectly with a small container of fruit or a cheese stick for a more complete mini-meal.
- Presentation: Layer them between parchment or wax paper if stacking to prevent sticking. Adding a few extra mini M&Ms on top before packing keeps them playful and kid-appealing.
- Storage: Store in an airtight container in the refrigerator for up to a week. For longer storage, freeze in a single layer on a tray, then transfer to a freezer bag for up to a month.
- Reheating: No reheating needed! If frozen, just thaw in the fridge or at room temperature for 15-20 minutes before packing.
- Flavor development: These bites tend to taste even better after a day or two as the flavors meld together, so making a batch ahead of time is a smart move.
Honestly, packing these feels like giving a little love note in a lunchbox—both practical and special. And if you want to pair these bites with something savory, a simple crispy garlic chicken or a fresh fruit salad balances the meal perfectly.
Nutritional Information & Benefits
Each batch yields about 12 bites. Per bite (approximate):
| Calories | 110 |
|---|---|
| Protein | 3g |
| Fat | 6g |
| Carbohydrates | 12g |
| Fiber | 2g |
| Sugar | 6g |
These bites offer a good balance of protein and fiber thanks to the oats, peanut butter, and flaxseed, helping to keep kids fuller longer and more focused in class. Using natural sweeteners like honey keeps the sugar content moderate compared to most store-bought treats.
They’re gluten-free if you use certified oats, and nut-free options are easy to adapt with seed butters. Plus, the flaxseed adds omega-3 fatty acids and antioxidants, which is a nice bonus when you’re packing snacks for growing kids.
From a wellness perspective, this recipe is a far cry from sugary processed snacks and feels like a treat you can feel good about handing over at the school gate.
Conclusion
So there you have it: a snack that’s easy to make, kid-approved, and perfectly suited for the back-to-school rush. These Easy Back to School Monster Cookie Dough Lunchbox Bites prove that cookie dough doesn’t have to be a guilty pleasure reserved for dessert—it can be a practical, mess-free, and downright fun part of your child’s day.
Feel free to tweak the flavors or mix-ins to suit your family’s tastes. Honestly, that’s half the fun. I keep making these because they bring a little spark of joy to hectic mornings and lunch breaks alike, and I’m betting you will too.
Give them a try, and if you experiment with your own monster mix-ins or have any questions, drop a comment below—I love hearing how these little bites fit into your busy lives. Here’s to making back-to-school snacks something to look forward to!
FAQs
Can I make these Monster Cookie Dough Lunchbox Bites nut-free?
Absolutely! Just swap peanut butter for sunflower seed butter or soy nut butter, and use dairy-free chocolate chips if needed for allergies.
How long do these cookie dough bites last in the fridge?
They keep well for up to one week in an airtight container refrigerated. For longer storage, freeze them for up to a month.
Can I use almond flour or other flours instead of oats?
Oats provide the chewy texture that makes these bites special. Using almond flour will change the texture and may result in crumblier bites. If you want a gluten-free option, stick to certified gluten-free oats.
Is it okay to let kids eat raw cookie dough with eggs?
This recipe uses no eggs, so it’s safe to eat raw. That’s part of the fun—no baking, no worries about raw eggs!
Can I add protein powder to make these bites more filling?
Yes, adding a scoop of your favorite protein powder works well. Just adjust the oats or peanut butter slightly to keep the consistency right.
Pin This Recipe!
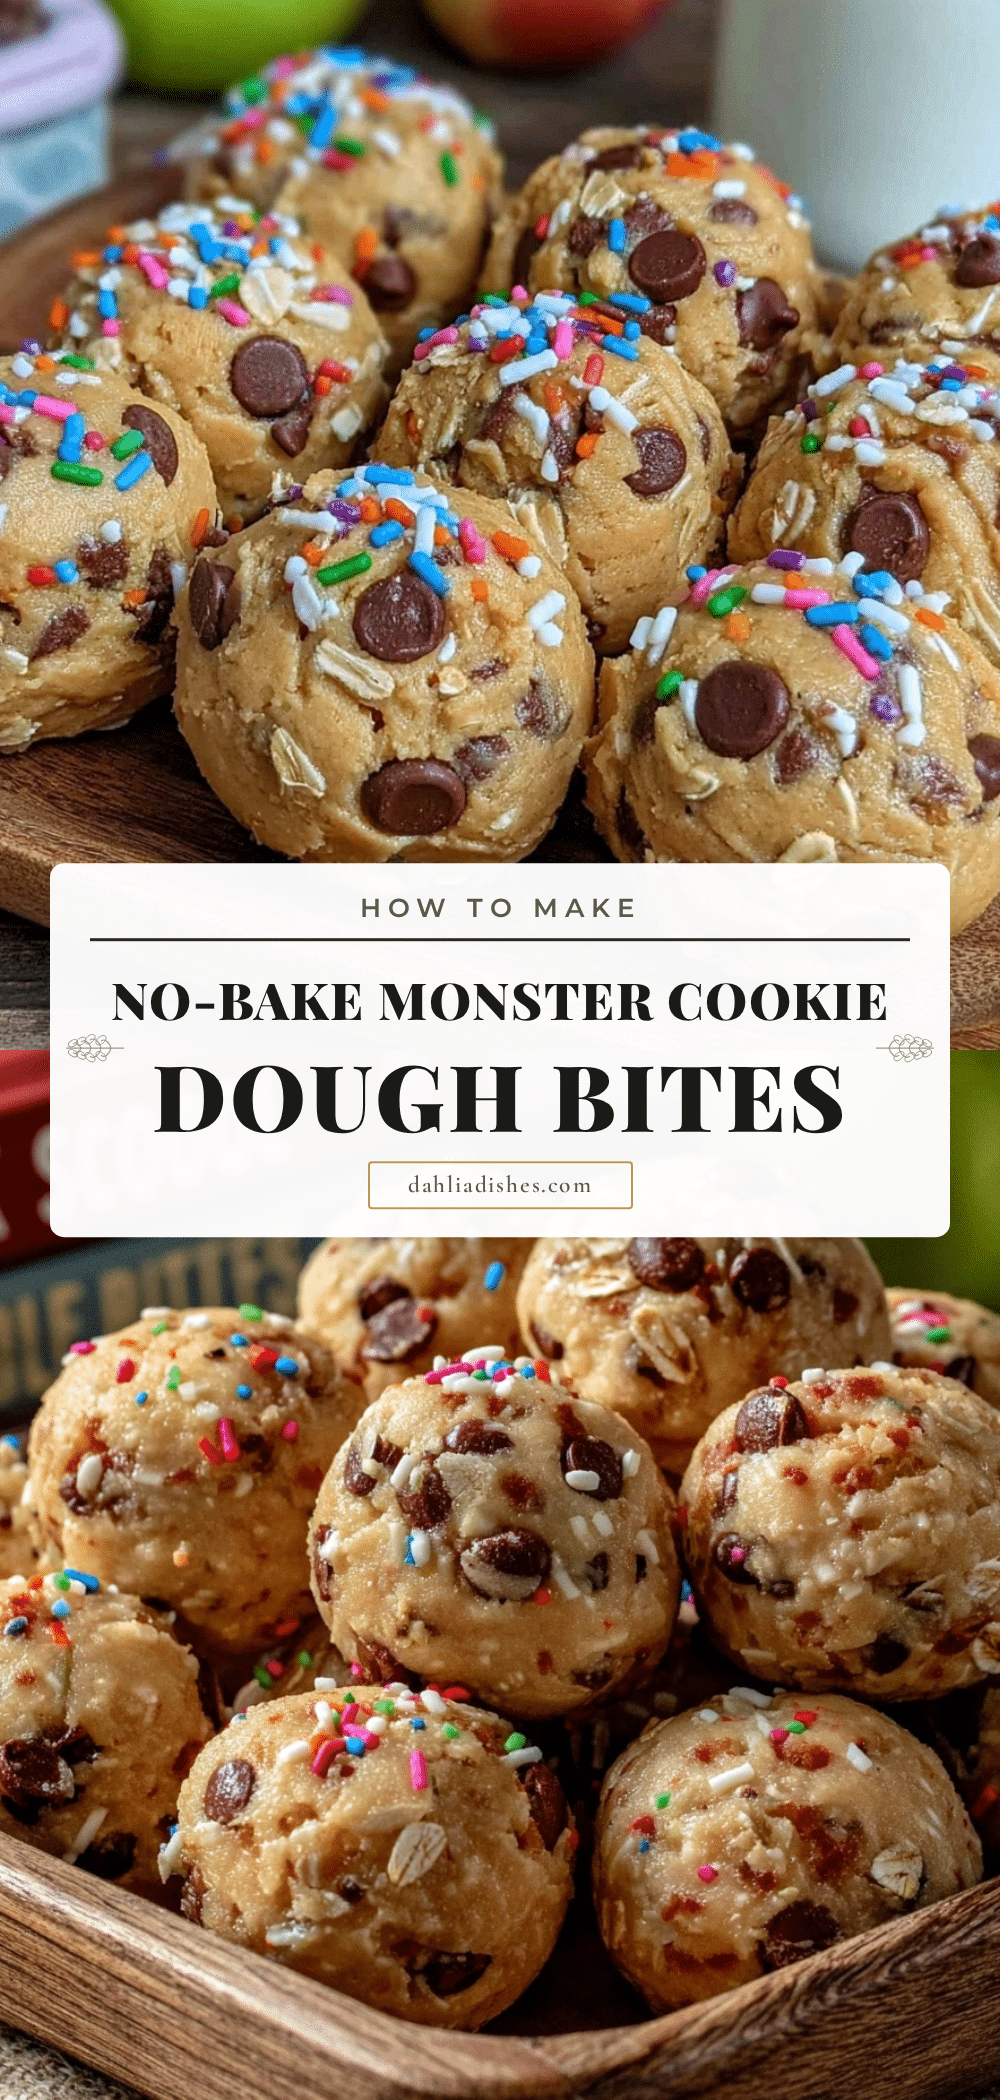
Easy Back to School Monster Cookie Dough Lunchbox Bites Recipe for Kids

These no-bake Monster Cookie Dough Lunchbox Bites are a quick, mess-free, and kid-approved snack perfect for busy school days. Made with wholesome ingredients like oats, peanut butter, and chocolate chips, they offer a chewy texture and colorful fun with mini M&Ms.
- Prep Time: 10 minutes
- Cook Time: 0 minutes
- Total Time: 40 minutes
- Yield: 12 bites 1x
- Category: Snack
- Cuisine: American
Ingredients
- 1 cup (90g) rolled oats
- 1/2 cup (130g) natural peanut butter
- 1/4 cup (85g) honey
- 1 teaspoon (5ml) vanilla extract
- 1/3 cup (60g) mini chocolate chips
- 2 tablespoons (14g) ground flaxseed (optional but recommended)
- Pinch of salt
- Optional mix-ins: mini M&Ms, chopped nuts, shredded coconut
Instructions
- Combine dry ingredients: In a mixing bowl, stir together rolled oats, ground flaxseed, and salt.
- Add wet ingredients: Add natural peanut butter, honey, and vanilla extract. Mix until fully combined. Adjust consistency by adding more honey or peanut butter if too dry, or more oats if too wet.
- Fold in chocolate chips, reserving a few for topping.
- Shape the dough into roughly 1-inch balls using hands or a cookie scoop. Place on a parchment-lined baking sheet.
- Press a couple of mini M&Ms or extra chocolate chips on top of each bite for the ‘monster eyes’.
- Refrigerate for at least 30 minutes to firm up. Alternatively, chill in the freezer for 15 minutes if short on time.
- Pack chilled bites in an airtight container or lunchbox compartment and enjoy.
Notes
Use natural peanut butter with oil separation for best texture. Rolled oats provide the best chewiness; avoid instant oats. Chilling is essential for mess-free bites. Adjust sweetness by tasting dough before shaping. Store in airtight container in fridge up to 1 week or freeze up to 1 month. Thaw before packing if frozen.
Nutrition
- Serving Size: 1 bite (approx. 1 in
- Calories: 110
- Sugar: 6
- Fat: 6
- Carbohydrates: 12
- Fiber: 2
- Protein: 3
Keywords: cookie dough, lunchbox snack, kids snack, no bake, peanut butter, oats, monster cookies, back to school


