Love this? Save it for later!
Share the inspiration with your friends
“You know, I never expected a Fourth of July dessert to come from a last-minute backyard barbecue mishap,” I confessed to my friend Lisa one summer evening. It was July 3rd, and I had completely forgotten to bring a dessert for the neighborhood potluck. With the grill fired up and guests streaming in, I scrambled through my pantry and fridge, hoping for some inspiration.
That’s when I spotted a bag of frozen blueberries, a container of strawberries that were just about to turn, and a carton of heavy cream. Honestly, I wasn’t planning on making a pavlova—never had, really—but a sudden craving for something light and summery hit me. I grabbed some egg whites from the fridge, and in between dodging kids playing tag, I whisked together what would become my Flavorful Patriotic Red White and Blue Layered Berry Pavlova with Whipped Cream.
It wasn’t perfect at first—my meringue cracked a little (whoops!)—and I forgot to chill the cream properly, resulting in a slightly runnier topping than usual. But that first bite? The crisp shell gave way to marshmallow-soft sweetness, layered with fresh berries and fluffy cream. It was like a fireworks show in my mouth, and honestly, it stole the spotlight that night.
Maybe you’ve been there—caught off guard but determined to whip up something memorable. This pavlova stayed with me because it’s more than just a dessert; it’s a celebration on a plate, bursting with red, white, and blue flavors that feel both festive and fresh. Let me tell you, once you try this recipe, you might find yourself making it every summer, too.
Why You’ll Love This Recipe
This Flavorful Patriotic Red White and Blue Layered Berry Pavlova with Whipped Cream has been a favorite in my recipe box ever since that chaotic July night. It’s the kind of dessert that’s easy enough for anyone to make but fancy enough to impress without breaking a sweat.
- Quick & Easy: Comes together in under 90 minutes, including baking and cooling time—perfect for last-minute celebrations or spontaneous gatherings.
- Simple Ingredients: Uses pantry staples and fresh or frozen berries—no need for fancy or hard-to-find items.
- Perfect for Summer Holidays: Great for Independence Day, Memorial Day, or any sunny weekend when you want to add a splash of patriotic color.
- Crowd-Pleaser: Both kids and adults rave about the crisp, light meringue paired with whipped cream and juicy berries.
- Unbelievably Delicious: The balance of textures—crunchy exterior, soft inside, creamy topping, and juicy fruit—makes every bite exciting.
This recipe stands apart because of its layered presentation, which adds a bit of wow factor without extra fuss. The meringue is baked just right to have that signature crisp shell with a soft, marshmallow-like center. Plus, I like to lightly sweeten the whipped cream with a hint of vanilla, which complements the natural tartness of the berries perfectly.
If you’re someone who usually shies away from meringue desserts, this version might just change your mind. It’s approachable, forgiving, and honestly, a little addictive. So, whether you’re planning a holiday feast or just craving a sweet treat that looks as good as it tastes, this pavlova might be the recipe you didn’t know you needed.
What Ingredients You Will Need
This recipe uses simple, wholesome ingredients to deliver bold flavor and satisfying texture without the fuss. Most are pantry staples, with the star players being the fresh berries that bring those vibrant red and blue hues.
- For the Meringue:
- 4 large egg whites (room temperature for better volume)
- 1 cup (200g) granulated sugar (I prefer C&H for consistent sweetness)
- 1 teaspoon white vinegar (helps stabilize the meringue)
- 1 teaspoon cornstarch (adds that marshmallow-soft center)
- 1/2 teaspoon pure vanilla extract (for subtle warmth)
- For the Whipped Cream:
- 1 cup (240ml) heavy whipping cream (cold for best whipping)
- 2 tablespoons powdered sugar (adjust to taste)
- 1/2 teaspoon vanilla extract
- For the Berry Layers:
- 1 cup fresh strawberries, hulled and sliced (or frozen, thawed and drained)
- 1 cup fresh blueberries (you can swap for blackberries if preferred)
- Optional: 1 tablespoon lemon juice (brightens berry flavors)
Ingredient tips: For the best results, use fresh berries when in season, but frozen berries work well if you drain them thoroughly to avoid sogginess. I’ve found that choosing ripe, firm berries really makes a difference in flavor and texture.
If you’re looking for a dairy-free option, swap the heavy cream with coconut cream whipped up until fluffy—just keep in mind it will add a subtle coconut flavor.
Equipment Needed
- Electric mixer or stand mixer (for whipping egg whites and cream)
- Large mixing bowls (glass or metal preferred to avoid fat residue)
- Baking sheet lined with parchment paper or a silicone mat (to prevent sticking)
- Spatula (preferably silicone for folding)
- Measuring cups and spoons (for precise ingredient amounts)
- Wire rack (for cooling the meringue)
If you don’t have an electric mixer, a good old-fashioned balloon whisk will work, but be ready for a bit of an arm workout! Also, a kitchen scale can be handy for accuracy, especially with sugar and egg whites, but measuring cups are perfectly fine.
I recommend cleaning your bowls thoroughly and ensuring they’re free of any oil or grease, as this can prevent the egg whites from whipping properly — trust me, I learned that the hard way once!
Preparation Method
- Preheat your oven to 275°F (135°C). Line a baking sheet with parchment paper. Draw a 9-inch (23cm) circle on the back of the parchment as a guide for shaping your pavlova.
- Whip the egg whites: In a clean, dry bowl, beat 4 large egg whites on medium speed until soft peaks form, about 3-4 minutes.
- Add sugar slowly: Increase speed to high. Add 1 cup (200g) granulated sugar one tablespoon at a time, waiting for each to dissolve before adding the next (about 8-10 minutes total). The mixture should be glossy and hold stiff peaks.
- Fold in stabilizers: Gently fold in 1 teaspoon cornstarch, 1 teaspoon white vinegar, and 1/2 teaspoon vanilla extract using a spatula. This helps create that marshmallowy inside texture and keeps the meringue stable.
- Shape the pavlova: Spoon the meringue onto the parchment inside the circle, shaping it into a slightly raised edge to hold the toppings later. Smooth the sides and center as best you can.
- Bake: Place in the preheated oven and bake for 1 hour 15 minutes, then turn off the oven and leave the pavlova inside for an additional 30 minutes to cool gradually. This prevents cracking—though a few little cracks are charming.
- Cool completely: Remove from oven and cool on a wire rack. It’s crucial that it’s fully cooled before adding cream and berries.
- Prepare the whipped cream: Chill your mixing bowl and beaters for 10 minutes in the fridge. Then beat 1 cup (240ml) heavy cream with 2 tablespoons powdered sugar and 1/2 teaspoon vanilla extract until soft peaks form.
- Assemble the pavlova: Spoon a generous layer of whipped cream onto the meringue base. Top with a layer of sliced strawberries, followed by more whipped cream, then a layer of blueberries. If desired, drizzle with a little lemon juice to brighten flavors.
- Serve immediately: The pavlova is best enjoyed fresh but see storage tips below for keeping leftovers.
Pro tip: If you notice your meringue cracking more than usual, it might be due to rapid cooling or humidity. Leaving it in the oven to cool slowly helps with this.
Also, be patient when adding sugar—rushing this step often leads to grainy meringue that lacks volume.
Cooking Tips & Techniques
Making a perfect pavlova can seem intimidating, but a few cooking tricks make all the difference.
- Use room temperature egg whites: They whip up better and create more volume. Plan ahead and take them out of the fridge about 30 minutes before starting.
- Add sugar slowly: This helps the sugar dissolve fully, preventing a gritty texture in your meringue.
- Don’t skip the vinegar and cornstarch: They stabilize the meringue and keep it from weeping or collapsing.
- Cool gradually: Sudden temperature changes cause cracks. Leaving the meringue in the turned-off oven is a game-changer.
- Whip cream just right: Stop at soft peaks to avoid overbeating, which can turn it grainy or buttery.
- Layer gently: Avoid pressing down on the meringue when adding cream and berries to keep that crisp outer shell intact.
- Humidity matters: Pavlova is best made on dry days—humidity can make the meringue sticky and soft.
Honestly, my first few pavlovas were more chewy than crisp, but after a couple of tries, I figured out these little nuances. You’ll get there too, and I promise the payoff is worth the effort!
Variations & Adaptations
This patriotic pavlova lends itself well to customization, depending on your taste or dietary needs.
- Seasonal berries: Swap strawberries and blueberries with raspberries, blackberries, or even diced kiwi for a tropical twist.
- Flavor infusions: Add a tablespoon of lemon zest to the meringue or a splash of almond extract to the whipped cream for a subtle flavor boost.
- Gluten-free and vegan: The pavlova itself is naturally gluten-free. For a vegan version, try aquafaba (chickpea water) in place of egg whites and coconut cream for the topping—though be prepared for a slightly different texture.
- Chocolate layer: Sprinkle finely chopped dark chocolate or cocoa nibs between layers for a rich surprise.
- Personal favorite: Once, I added a thin layer of blueberry compote between the cream and berries for extra moisture and tang—it was a hit!
Serving & Storage Suggestions
This pavlova is best served chilled but not cold—let it sit at room temperature for about 10 minutes before slicing. The contrast between the cool cream and the crisp meringue is delightful.
Pair it with a light, sparkling wine or a cup of chamomile tea to balance the sweetness.
To store leftovers, cover the pavlova loosely with plastic wrap and keep it in the fridge for up to 24 hours. The meringue may soften over time, so it’s best enjoyed fresh.
If you want to prepare the meringue base ahead, you can store it in an airtight container at room temperature for up to 2 days, then add cream and berries just before serving.
Reheating pavlova isn’t recommended, but if you want to revive some crispness, a few minutes in a low oven (250°F / 120°C) might help, though results can vary.
Nutritional Information & Benefits
Each serving of this layered berry pavlova (about 1/8 of the recipe) contains approximately:
| Calories | 220 |
|---|---|
| Fat | 10g |
| Carbohydrates | 30g |
| Protein | 2g |
| Fiber | 3g |
The fresh berries are packed with antioxidants, vitamin C, and fiber, which support immune health and digestion. Egg whites provide a low-fat source of protein, and the moderate sugar content balances sweetness without going overboard.
This dessert is naturally gluten-free, making it suitable for those with gluten sensitivities. For lower sugar needs, you can reduce the sugar in the meringue slightly, but keep in mind it affects texture.
Conclusion
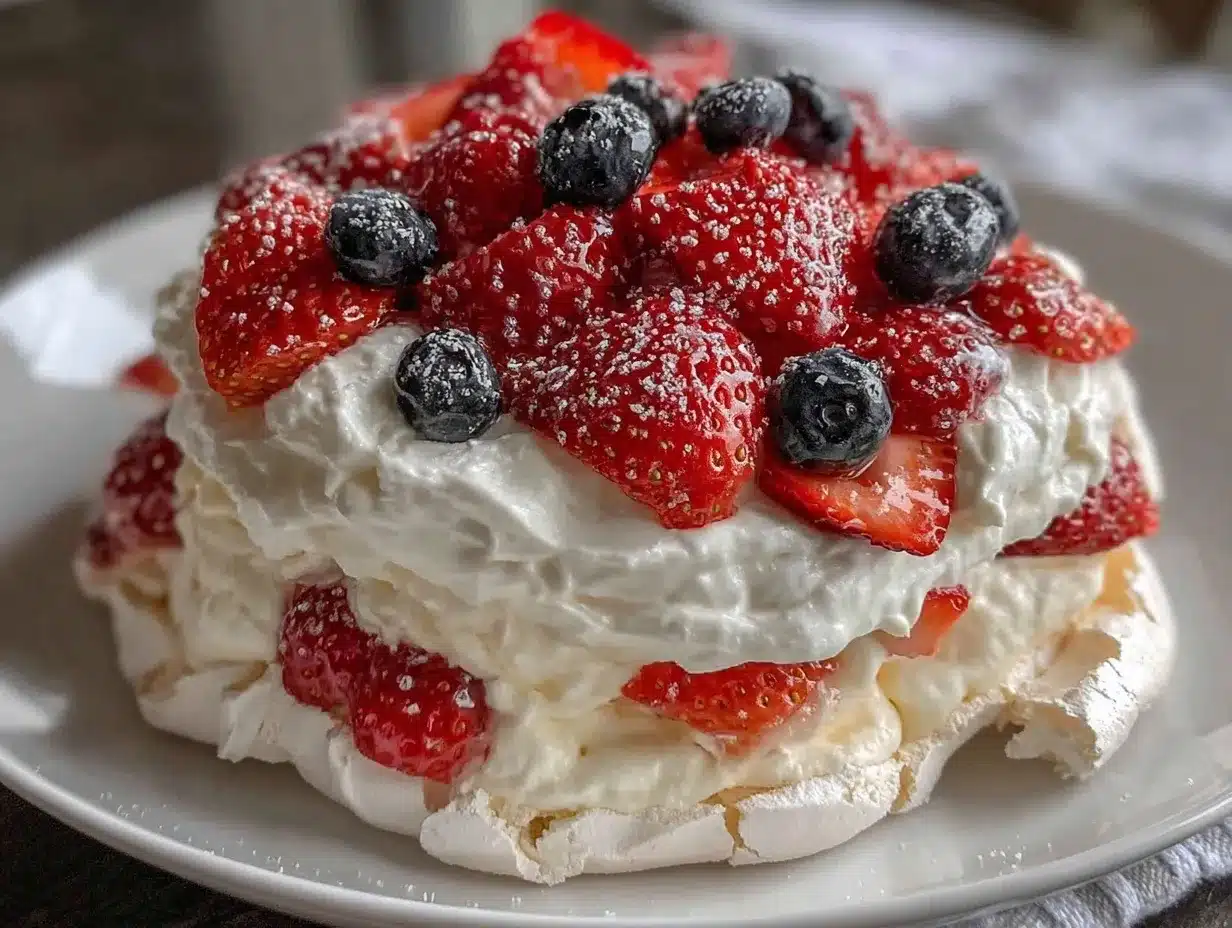
To wrap it up, this Flavorful Patriotic Red White and Blue Layered Berry Pavlova with Whipped Cream is a dazzling yet approachable dessert perfect for any festive occasion. It brings together crispy meringue, fluffy cream, and juicy berries in a way that feels both celebratory and comforting.
Feel free to tweak the layers or berries based on your preferences—this recipe welcomes your personal touch. I keep making it because it’s a crowd-pleaser that never fails to brighten up the table and the mood.
Give it a try, and please come back to share your thoughts or any creative spins you put on it. I’d love to hear how your pavlova turns out!
Happy baking and celebrating!
FAQs about Flavorful Patriotic Red White and Blue Layered Berry Pavlova
- Can I use frozen berries in this pavlova?
Yes! Just be sure to thaw and drain them well to avoid excess moisture that can soften the meringue. - How do I know when the meringue is done baking?
It should be dry to the touch and lift easily off the parchment. The outside will be crisp, while the inside stays marshmallow-soft. - Can I make the pavlova a day ahead?
You can bake the meringue base up to 2 days ahead and store it in an airtight container. Add whipped cream and berries just before serving. - What if my egg whites don’t whip up properly?
Make sure your bowl and beaters are clean and free of grease, and that no yolk gets mixed in. Room temperature egg whites whip better, too. - Is there a vegan option for this pavlova?
Yes, aquafaba can replace egg whites, and coconut cream works as a whipped topping, though texture and flavor will differ slightly.
Pin This Recipe!
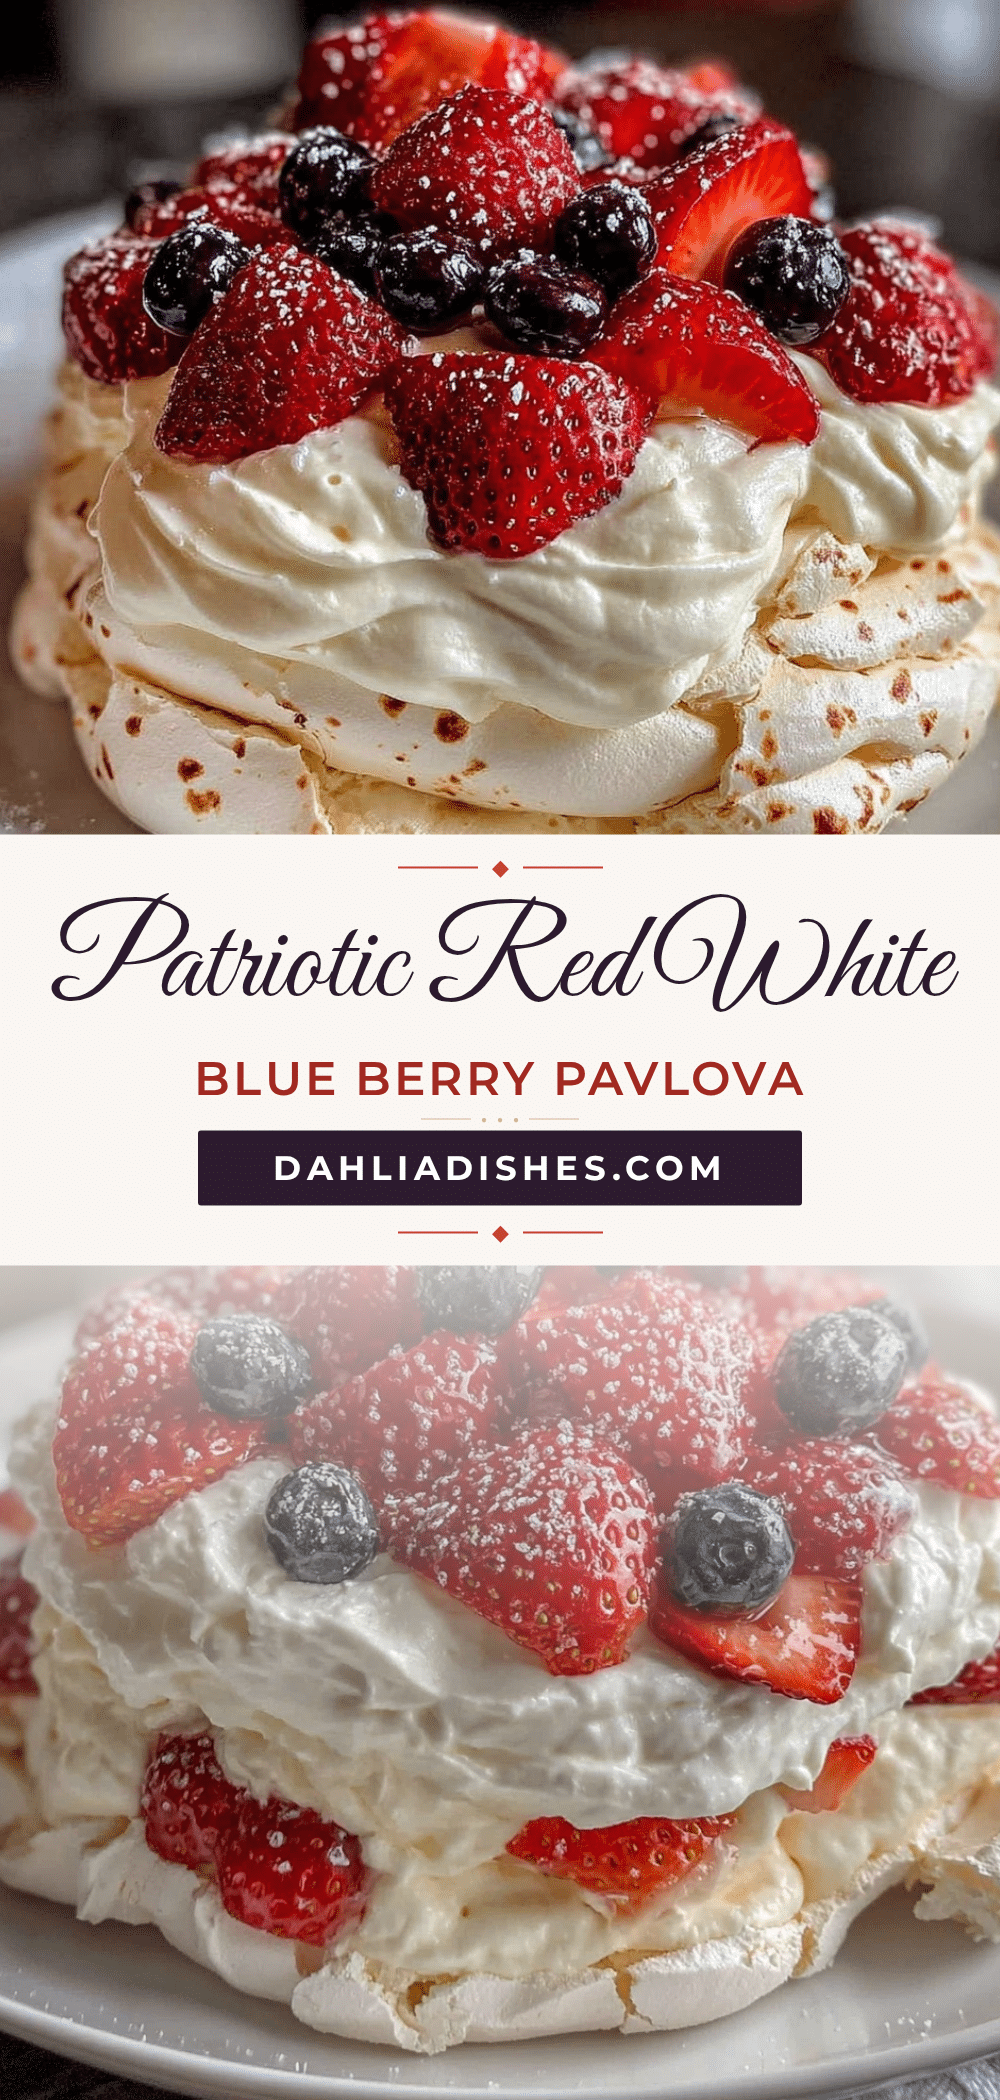
Flavorful Patriotic Red White and Blue Berry Pavlova Recipe
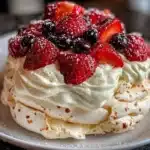
A light and summery pavlova dessert featuring a crisp meringue shell with a marshmallow-soft center, layered with whipped cream and fresh red and blue berries. Perfect for summer holidays and festive occasions.
- Prep Time: 15 minutes
- Cook Time: 1 hour 45 minutes
- Total Time: 2 hours
- Yield: 8 servings 1x
- Category: Dessert
- Cuisine: American
Ingredients
- 4 large egg whites (room temperature)
- 1 cup (200g) granulated sugar
- 1 teaspoon white vinegar
- 1 teaspoon cornstarch
- 1/2 teaspoon pure vanilla extract
- 1 cup (240ml) heavy whipping cream (cold)
- 2 tablespoons powdered sugar
- 1/2 teaspoon vanilla extract
- 1 cup fresh strawberries, hulled and sliced (or frozen, thawed and drained)
- 1 cup fresh blueberries (or blackberries)
- Optional: 1 tablespoon lemon juice
Instructions
- Preheat your oven to 275°F (135°C). Line a baking sheet with parchment paper and draw a 9-inch (23cm) circle on the back as a guide.
- In a clean, dry bowl, beat 4 large egg whites on medium speed until soft peaks form, about 3-4 minutes.
- Increase speed to high and add 1 cup granulated sugar one tablespoon at a time, waiting for each to dissolve before adding the next, about 8-10 minutes total, until glossy and stiff peaks form.
- Gently fold in 1 teaspoon cornstarch, 1 teaspoon white vinegar, and 1/2 teaspoon vanilla extract using a spatula.
- Spoon the meringue onto the parchment inside the circle, shaping it with a slightly raised edge to hold toppings. Smooth sides and center.
- Bake for 1 hour 15 minutes, then turn off the oven and leave the pavlova inside for an additional 30 minutes to cool gradually.
- Remove from oven and cool completely on a wire rack before adding toppings.
- Chill mixing bowl and beaters for 10 minutes. Beat 1 cup heavy cream with 2 tablespoons powdered sugar and 1/2 teaspoon vanilla extract until soft peaks form.
- Assemble by spooning a generous layer of whipped cream onto the meringue base, then a layer of sliced strawberries, more whipped cream, and a layer of blueberries. Drizzle with lemon juice if desired.
- Serve immediately for best texture and flavor.
Notes
Use room temperature egg whites for better volume. Add sugar slowly to avoid grainy texture. Cool pavlova gradually in the oven to prevent cracking. Chill cream and bowl before whipping. Use fresh berries when possible; frozen berries must be thawed and drained well. Pavlova is best served fresh but can be stored in the fridge for up to 24 hours. For a dairy-free option, substitute heavy cream with whipped coconut cream.
Nutrition
- Serving Size: 1/8 of the pavlova
- Calories: 220
- Fat: 10
- Carbohydrates: 30
- Fiber: 3
- Protein: 2
Keywords: pavlova, berry pavlova, Fourth of July dessert, patriotic dessert, meringue dessert, whipped cream, strawberries, blueberries, summer dessert, gluten-free dessert