Love this? Save it for later!
Share the inspiration with your friends
“I wasn’t planning on baking that day,” I confessed to my friend Jessica as we scrambled in her tiny kitchen. It was a random Tuesday afternoon, and honestly, I just wanted something sweet without the fuss. Then she pulled out this plain, humble sheet cake from her pantry—straight from the dollar store. I raised an eyebrow, skeptical, but she smiled and said, ‘Trust me, the magic’s in the buttercream rosettes.’
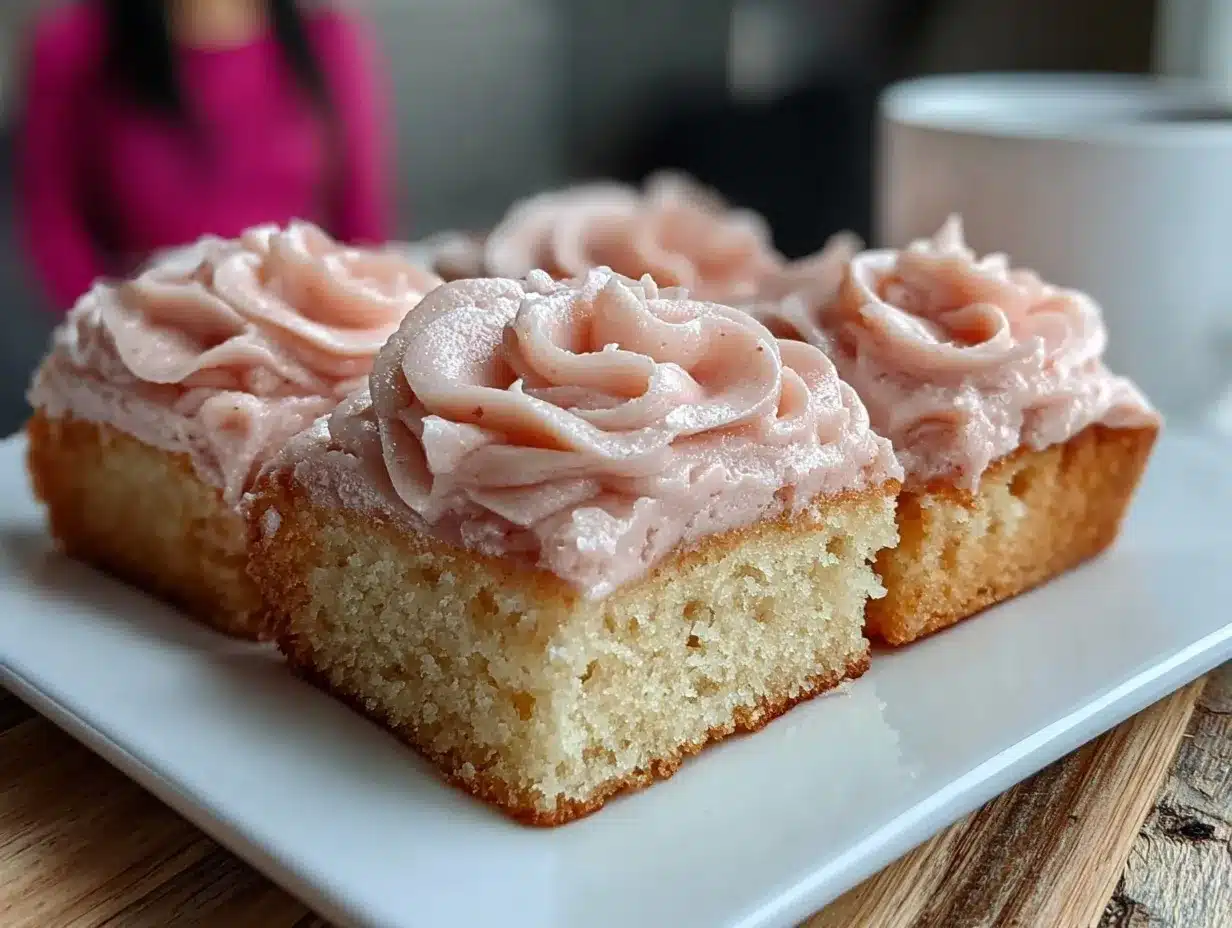
Watching her pipe those delicate buttercream flowers onto a store-bought cake changed how I think about desserts forever. You know that feeling when life gets busy, and you want to impress without the stress? That’s exactly what this easy dollar store sheet cake hack with homemade buttercream rosettes delivers. It’s one of those tricks you keep tucked away for last-minute celebrations or when you want to wow guests without turning on the oven for hours.
Jessica’s kitchen was a mess (I accidentally knocked over the powdered sugar—classic me!), but the end result was stunning. The contrast between the simple cake base and the elegant, homemade buttercream rosettes made the whole thing feel special, like something from a bakery but without the price tag or hours of prep. Maybe you’ve been there—needing a dessert that looks fancy but comes together fast. This recipe stayed with me because it’s the perfect blend of convenience and homemade charm. Let me tell you, once you try this, you’ll want to keep this little hack in your baking arsenal forever.
Why You’ll Love This Recipe
From my many kitchen experiments and after testing this recipe multiple times, I can honestly say it’s a game-changer. Whether you’re a beginner baker or someone who just doesn’t have time for complicated desserts, this easy dollar store sheet cake hack with homemade buttercream rosettes hits all the right notes.
- Quick & Easy: Comes together in under 30 minutes, perfect for sudden cravings or last-minute celebrations.
- Simple Ingredients: Uses a store-bought sheet cake paired with a few pantry staples for the buttercream—no fancy shopping needed.
- Perfect for Any Occasion: Whether it’s a birthday, potluck, or just a cozy night in, this cake fits the bill.
- Crowd-Pleaser: The homemade buttercream rosettes impress every time, making it a hit with both kids and adults.
- Unbelievably Delicious: The creamy, buttery frosting paired with the soft cake base creates a comforting, indulgent combo.
What sets this apart from other dollar store cake hacks? It’s honestly the buttercream frosting. I developed this recipe to get that silky, melt-in-your-mouth texture by whipping the butter just right and adding a splash of heavy cream for richness. Plus, the rosettes are a simple decorating technique anyone can learn, but they add that wow factor that makes a humble cake look like a showstopper.
This recipe isn’t just about convenience; it’s about turning everyday ingredients into something memorable. The kind of dessert that makes you close your eyes after the first bite and think, “Wow, I made this.” It’s comfort food that’s approachable, fun, and has a little homemade soul without the stress.
What Ingredients You Will Need
This recipe uses simple, wholesome ingredients to deliver bold flavor and that satisfying texture without the fuss. The beauty is in the blend of a ready-made cake base with a fresh, homemade buttercream that’s buttery, smooth, and perfect for piping.
- For the cake base:
- 1 store-bought sheet cake (any flavor you like—chocolate or vanilla works best)
- For the homemade buttercream rosettes:
- 1 cup (227g) unsalted butter, softened (I prefer Land O’Lakes for its creamy texture)
- 4 cups (480g) powdered sugar, sifted
- 2 teaspoons pure vanilla extract (quality vanilla makes a big difference!)
- 2–3 tablespoons heavy cream or whole milk (adds richness and smoothness)
- Pinch of salt (balances the sweetness)
- Optional: a few drops of food coloring if you want colored rosettes
Tip: If you want a dairy-free version, swap the butter for vegan butter and use coconut milk instead of heavy cream. Also, in summer, I sometimes add a teaspoon of fresh lemon zest to the buttercream for a bright twist.
Equipment Needed
- Mixing bowl (large, for whipping buttercream)
- Electric mixer or stand mixer (hand mixers work, but a stand mixer is easier for smooth buttercream)
- Offset spatula or butter knife (for smoothing the cake if needed)
- Piping bag fitted with a large star tip (Wilton 1M is my go-to for rosettes)
- Measuring cups and spoons
- Cooling rack (optional, if you want to freshen up the cake before decorating)
If you don’t have a piping bag, you can use a sturdy zip-top bag and snip off a corner. I’ve done it more times than I can count. For budget-friendly options, dollar stores often carry piping bags and tips, which fits nicely with the theme of this recipe!
Preparation Method
- Prepare your cake base: Remove the sheet cake from the packaging and place it on a serving platter or baking sheet. If the cake feels a bit dry or stale, sprinkle a tablespoon or two of simple syrup (equal parts sugar and water, heated until dissolved) over the surface to add moisture. This takes about 5 minutes.
- Soften the butter: Make sure your butter is room temperature—not melted! It should be soft enough to press with your finger but still hold its shape. This usually takes 30–45 minutes out of the fridge. If you forgot, you can soften it gently in the microwave for 10 seconds at a time, but be careful not to melt it.
- Beat the butter: Using an electric mixer, beat the softened butter on medium speed for about 2 minutes until it’s creamy and slightly pale. This step is key for a smooth buttercream.
- Add powdered sugar: Gradually add the sifted powdered sugar, about 1 cup at a time, mixing on low speed to avoid a sugar cloud. After each addition, increase speed to medium and beat well. This should take about 5–7 minutes total.
- Add vanilla, salt, and cream: Pour in the vanilla extract, a pinch of salt, and 2 tablespoons of heavy cream. Beat on medium-high speed for another 3 minutes until the buttercream is light, fluffy, and spreadable. If it’s too stiff, add another tablespoon of cream; if too soft, add a bit more powdered sugar.
- Color the buttercream (optional): Mix in a few drops of food coloring if you want colorful rosettes. Beat until fully combined.
- Fill the piping bag: Spoon the buttercream into your piping bag fitted with a large star tip. Don’t overfill—it’s easier to control with smaller amounts.
- Pipe the rosettes: Starting from the center of the cake, pipe a spiral outward to create each rosette. Work your way across the cake, spacing the flowers closely for full coverage. This part is fun and relaxing—don’t worry if your rosettes aren’t perfect; they still look gorgeous!
- Chill (optional): Pop the decorated cake in the fridge for 15–20 minutes to set the buttercream if your kitchen is warm.
Pro tip: If your buttercream feels grainy or too thick during mixing, beat it longer—it usually smooths out. Also, keep your hands steady while piping; if you get distracted (like I did when the dog barked mid-piping), just pause and reset your wrist.
Cooking Tips & Techniques
One of the secrets to the perfect buttercream rosettes is patience. I learned the hard way that rushing through the butter softening phase leads to clumpy frosting. Let the butter sit out until it’s just soft enough, but not melted.
When piping rosettes, keep the pressure consistent and move your wrist in a smooth spiral. If your rosettes start looking uneven, don’t panic—practice makes perfect, and honestly, a few imperfect ones add charm.
Another tip: use a chilled bowl for your buttercream if your kitchen is warm. It helps keep the butter stable while beating. I once had to rescue a melting buttercream disaster by popping the bowl in the fridge for 10 minutes mid-mix.
For multitasking, you can prepare the buttercream while the cake is resting or freshen the cake with simple syrup. This saves time and keeps things efficient.
Finally, always taste your buttercream before decorating. Sometimes a pinch more salt or vanilla makes a big difference in flavor balance.
Variations & Adaptations
- Flavor Variations: Add 2 tablespoons of cocoa powder to the buttercream for a chocolate twist or swap vanilla for almond extract for a nutty aroma.
- Dietary Adaptations: Use vegan butter and coconut milk instead of dairy to make a dairy-free version. For a lower-sugar option, try a powdered erythritol blend in place of sugar.
- Seasonal Twists: In summer, fold in a few tablespoons of pureed fresh strawberries or raspberries into the buttercream for a fruity punch. In fall, a dash of cinnamon and nutmeg adds warm spice notes.
- Alternative Decorating: Instead of rosettes, try simple swirls or star-shaped dollops if you’re short on time or piping skills.
- Personal Variation: I once added crushed peppermint candies on top during the holidays—delicious and festive! It’s a fun way to customize the cake for different occasions.
Serving & Storage Suggestions
This cake is best served at room temperature so the buttercream rosettes are soft and creamy. I like to let it sit out for about 20 minutes before slicing. It pairs wonderfully with a hot cup of coffee or a cold glass of milk for the kids.
If you’re serving at a party, arrange some fresh berries or edible flowers around the platter for an extra pop of color and freshness.
Store leftover cake covered loosely with plastic wrap or in an airtight container in the fridge for up to 4 days. When you’re ready to enjoy again, bring slices to room temperature or warm gently in the microwave for 10–15 seconds—just enough to soften the buttercream without melting it.
Flavors tend to meld beautifully after a day, so sometimes I like to make the cake a day ahead to let the buttercream set and deepen in flavor.
Nutritional Information & Benefits
This cake is certainly an indulgence, with rich buttercream frosting and a sweet cake base. A typical serving (1/12 of the cake) contains approximately 350–400 calories, with 18–22 grams of fat and 40–45 grams of sugar, depending on the cake base used.
Key benefits come from using real butter, which provides fat-soluble vitamins and a rich flavor that processed substitutes can’t match. You can make smarter choices by selecting a sheet cake with fewer artificial ingredients or opting for a gluten-free cake if needed.
While buttercream is not low-calorie, it’s a treat to be enjoyed in moderation. The recipe can be adapted for lower sugar or dairy-free diets without losing its charm.
Conclusion
This easy dollar store sheet cake hack with homemade buttercream rosettes is proof that you don’t need hours or fancy ingredients to create something beautiful and delicious. It’s the kind of recipe that makes you feel like a pro baker even on your busiest days.
Feel free to tweak the flavors and colors to match your style or occasion. I love that it’s approachable, forgiving, and always brings smiles around the table. Honestly, this cake has saved me more times than I can count when I needed a quick dessert that looked like I’d spent hours on it.
If you give this recipe a try, I’d love to hear how your rosettes turned out or what personal twist you added. Share your results and stories in the comments below—it’s the best part of baking together!
Remember, a simple cake can be extraordinary with a little buttercream magic.
FAQs
Can I use a different store-bought cake flavor?
Absolutely! Chocolate, vanilla, or even funfetti work well. Just pick a cake you enjoy because the buttercream complements any flavor.
How long can I store the decorated cake?
Keep it in the fridge for up to 4 days, covered well to prevent drying out. Bring to room temperature before serving for best texture.
Can I make the buttercream ahead of time?
Yes, you can make the buttercream a day ahead. Store it in an airtight container in the fridge and re-whip briefly before piping.
What if I don’t have a piping bag or tip?
No worries! Use a sturdy zip-top bag and snip a corner to pipe rosettes. It works surprisingly well for beginners.
Is there a way to make this recipe dairy-free?
Yes, swap regular butter for vegan butter and use coconut milk or another dairy-free milk for the cream. The texture may vary slightly but still delicious.
Pin This Recipe!
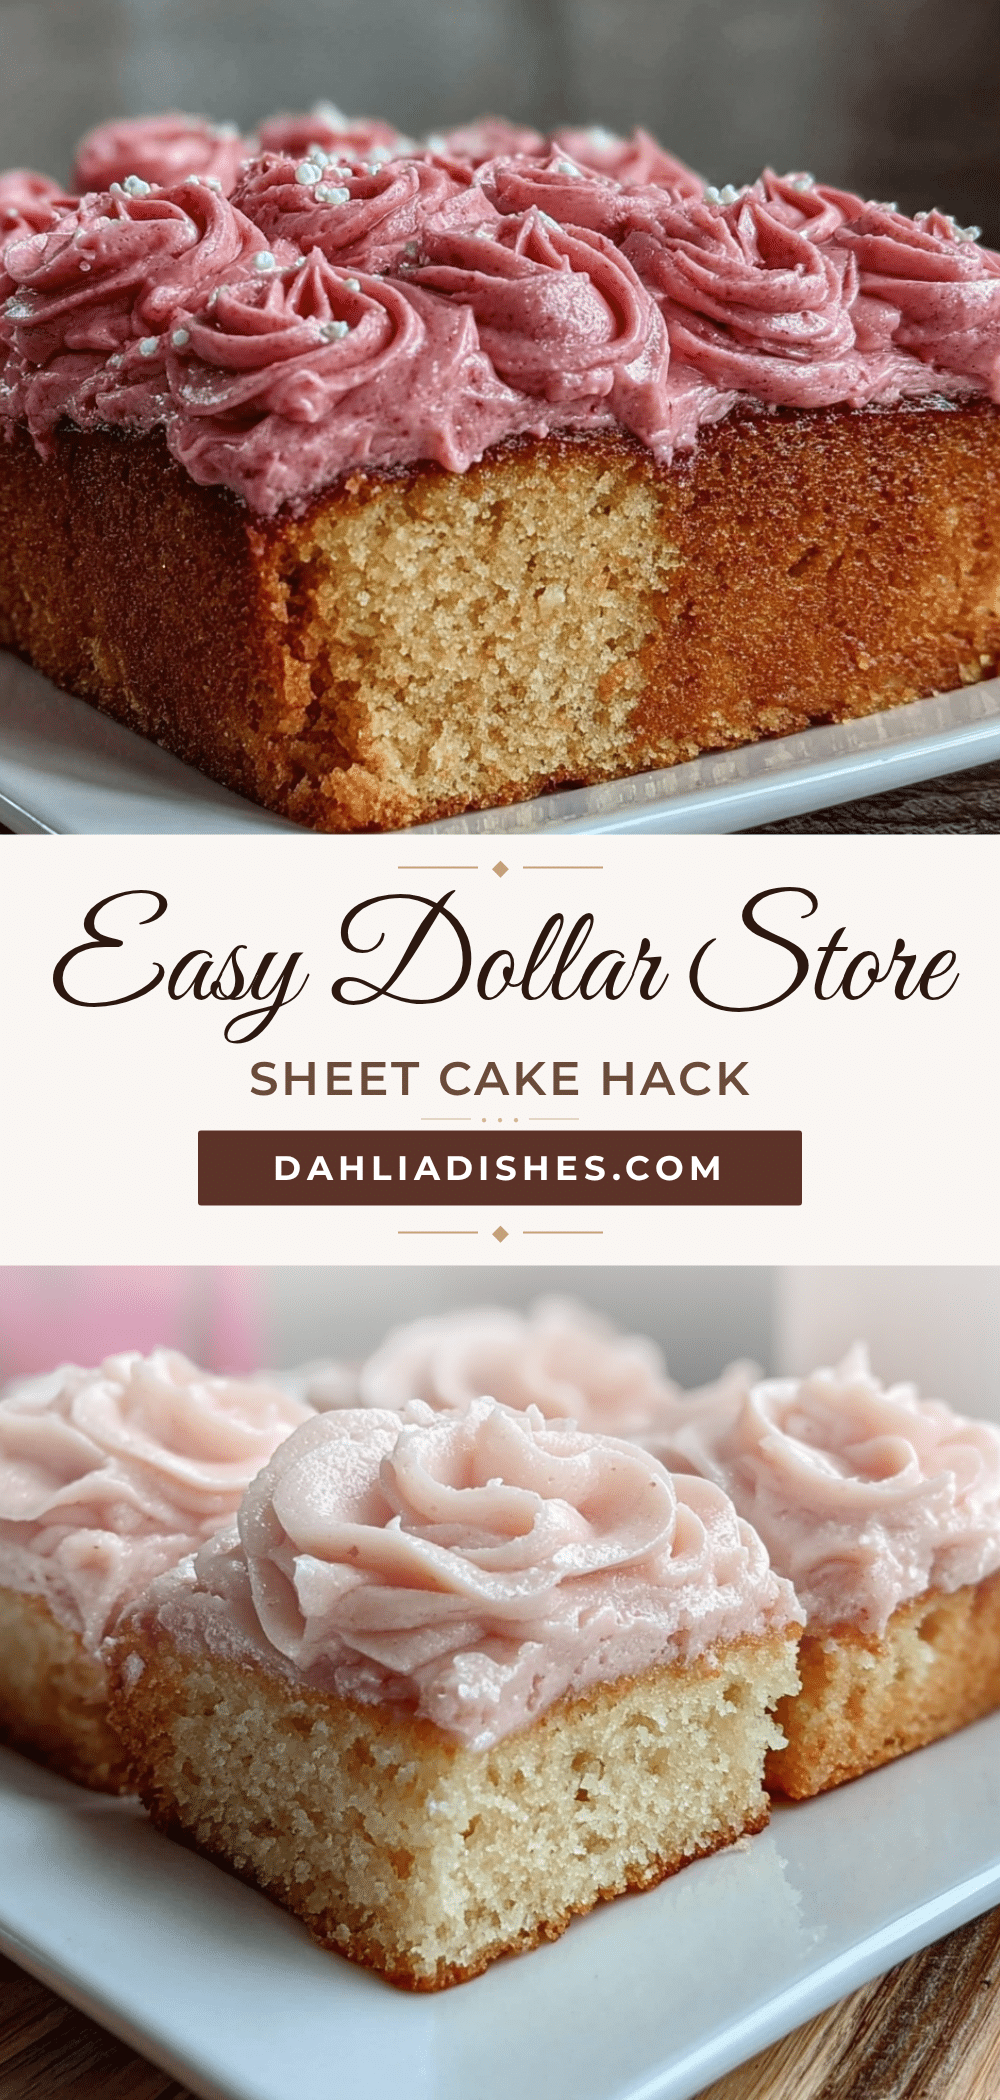
Easy Dollar Store Sheet Cake Hack with Homemade Buttercream Rosettes
A quick and easy dessert hack using a store-bought sheet cake enhanced with homemade buttercream rosettes for a bakery-style look and taste without the fuss.
- Prep Time: 15 minutes
- Cook Time: 0 minutes
- Total Time: 15 minutes
- Yield: 12 servings 1x
- Category: Dessert
- Cuisine: American
Ingredients
- 1 store-bought sheet cake (any flavor, chocolate or vanilla recommended)
- 1 cup (227g) unsalted butter, softened
- 4 cups (480g) powdered sugar, sifted
- 2 teaspoons pure vanilla extract
- 2–3 tablespoons heavy cream or whole milk
- Pinch of salt
- Optional: a few drops of food coloring
Instructions
- Remove the sheet cake from the packaging and place it on a serving platter or baking sheet. If dry, sprinkle 1-2 tablespoons of simple syrup over the surface to add moisture (takes about 5 minutes).
- Soften the butter to room temperature (soft enough to press with a finger but not melted), about 30–45 minutes or gently soften in microwave in 10-second intervals.
- Using an electric mixer, beat the softened butter on medium speed for about 2 minutes until creamy and slightly pale.
- Gradually add sifted powdered sugar, about 1 cup at a time, mixing on low speed to avoid sugar clouds. After each addition, increase speed to medium and beat well, about 5–7 minutes total.
- Add vanilla extract, pinch of salt, and 2 tablespoons heavy cream. Beat on medium-high speed for 3 minutes until buttercream is light, fluffy, and spreadable. Adjust cream or powdered sugar as needed for consistency.
- If desired, mix in a few drops of food coloring until fully combined.
- Fill a piping bag fitted with a large star tip with the buttercream, not overfilling for better control.
- Pipe rosettes starting from the center of the cake, spiraling outward. Cover the cake surface with closely spaced rosettes.
- Optional: Chill the decorated cake in the fridge for 15–20 minutes to set the buttercream if kitchen is warm.
Notes
If buttercream is grainy or too thick, beat longer to smooth it out. Keep butter softened but not melted for best texture. Use a chilled bowl if kitchen is warm. Simple syrup can freshen dry cake. Vegan and dairy-free substitutions available. Practice steady wrist motion when piping rosettes.
Nutrition
- Serving Size: 1 slice (1/12 of cak
- Calories: 350400
- Sugar: 4045
- Sodium: 150200
- Fat: 1822
- Saturated Fat: 1215
- Carbohydrates: 4550
- Fiber: 1
- Protein: 34
Keywords: dollar store cake, sheet cake hack, buttercream rosettes, easy cake recipe, quick dessert, homemade buttercream, last-minute cake, simple cake decoration