Love this? Save it for later!
Share the inspiration with your friends
There used to be a tiny bakery tucked between a laundromat and a vintage shop on the corner of Elm Street that made the most incredible banana bread. When they closed their doors three winters ago, I stood outside staring at the “For Lease” sign like I’d lost a friend. That bakery had this banana bread that was somehow both impossibly moist and perfectly tender, with a crust that crunched just slightly when you bit into it. I spent a solid year trying to recreate that exact experience in my own kitchen.
After seventeen tries—seventeen, I kid you not, including one batch that my neighbor’s dog refused to eat—I finally cracked it. And here’s the thing that surprised me most: the winning version didn’t come from a complicated method or fancy equipment. It came from simplicity itself. This cozy one-bowl banana bread uses no mixer, no special techniques, and honestly, no stress whatsoever. It’s the kind of recipe you make when you’re tired, when the weather outside is miserable, or when you just need something warm and sweet to remind yourself that things will be okay.
Maybe you’ve been there—staring at those sad, spotty bananas on your counter, wondering what to do with them. Let me tell you, this is the answer. I’ve been making this recipe every other week for the past two years, and it never gets old. The smell alone, that warm cinnamon-and-vanilla cloud that fills your kitchen, is worth the effort. And the effort, honestly, is almost nothing. You just need a bowl, a spoon, and about ten minutes of your time.
Why You’ll Love This Recipe
Let me be straight with you—I’ve tested this recipe more times than I care to count, and I’ve shared it with everyone from my picky-eater nephew to my gluten-intolerant yoga instructor. The feedback has been unanimous: this is the banana bread you’ll actually want to make again and again. Here’s why it stands out from every other recipe you’ve seen:
- Quick & Easy: From start to oven in under 10 minutes. No mixer to haul out, no extra bowls to wash, no complicated techniques to master. It’s the definition of low-effort, high-reward baking.
- Simple Ingredients: You probably have everything in your kitchen right now. Butter, sugar, eggs, flour, baking soda, salt, and those sad bananas sitting on your counter. That’s it. No buttermilk, no sour cream, no weird specialty items.
- Perfect for Cozy Evenings: This bread was born for cold weather, rainy afternoons, and those nights when you just want to curl up with something warm and sweet. It’s comfort food in its purest form.
- Crowd-Pleaser: I’ve brought this to potlucks, family gatherings, and office parties. It disappears every single time. Kids love it, adults love it, and people always ask for the recipe.
- Unbelievably Delicious: The texture is what gets me every time—moist without being gummy, tender without being fragile, with that perfect crackly top that makes banana bread so satisfying.
What makes this recipe different from the rest? It’s the technique of mashing the bananas with the melted butter first, which creates an emulsion that keeps the bread incredibly moist without needing extra fat. I figured this out after one particularly dry batch that I almost threw in the trash. The butter and bananas bond together in a way that just works, and the result is a bread that stays fresh for days—if it lasts that long.
This isn’t just another banana bread recipe. It’s the one that makes you close your eyes after the first bite, the one that reminds you why homemade food is always better than store-bought. It’s comfort food reimagined—simpler, faster, but with the same soul-soothing satisfaction that made you fall in love with banana bread in the first place.
What Ingredients You Will Need
This recipe relies on simple, pantry-friendly ingredients that work together to create something truly special. I’ve tested this with various brands and substitutions, and I’ll share what works best so you can nail it on your first try.
For the Banana Bread
- 3 large ripe bananas, mashed (about 1 ½ cups) — The riper the better. You want them spotty and soft, almost to the point of being too mushy to eat. I’ve found that bananas with mostly brown skins give the sweetest, most intense banana flavor. If yours aren’t ripe enough, you can roast them in a 300°F oven for 15 minutes to speed things up.
- ⅓ cup unsalted butter, melted (75g) — I use salted butter in a pinch, but unsalted lets you control the salt level better. Melt it gently in the microwave or on the stovetop—don’t let it boil or brown.
- ¾ cup granulated sugar (150g) — Regular white sugar works perfectly. You can reduce it to ½ cup if your bananas are extremely sweet, but I wouldn’t go lower than that or the texture suffers.
- 1 large egg, room temperature — Cold eggs can seize the butter, so let yours sit out for 30 minutes or place it in a bowl of warm water for 5 minutes.
- 1 teaspoon vanilla extract — Pure vanilla extract makes a difference here. I’ve tried imitation vanilla, and honestly, it works fine in a pinch, but the real stuff adds a warmth that complements the bananas beautifully.
- 1 ½ cups all-purpose flour (190g) — Spoon and level your flour for accurate measuring. Scooping directly from the bag can pack in too much flour and make your bread dry.
- 1 teaspoon baking soda — Make sure your baking soda is fresh. Test it by dropping a bit into vinegar—if it fizzes vigorously, you’re good to go.
- ½ teaspoon salt — Fine sea salt or table salt both work. The salt balances the sweetness and enhances the banana flavor.
- 1 teaspoon ground cinnamon — This is optional but highly recommended. It adds that cozy warmth that makes banana bread feel like a hug.
Optional Add-Ins
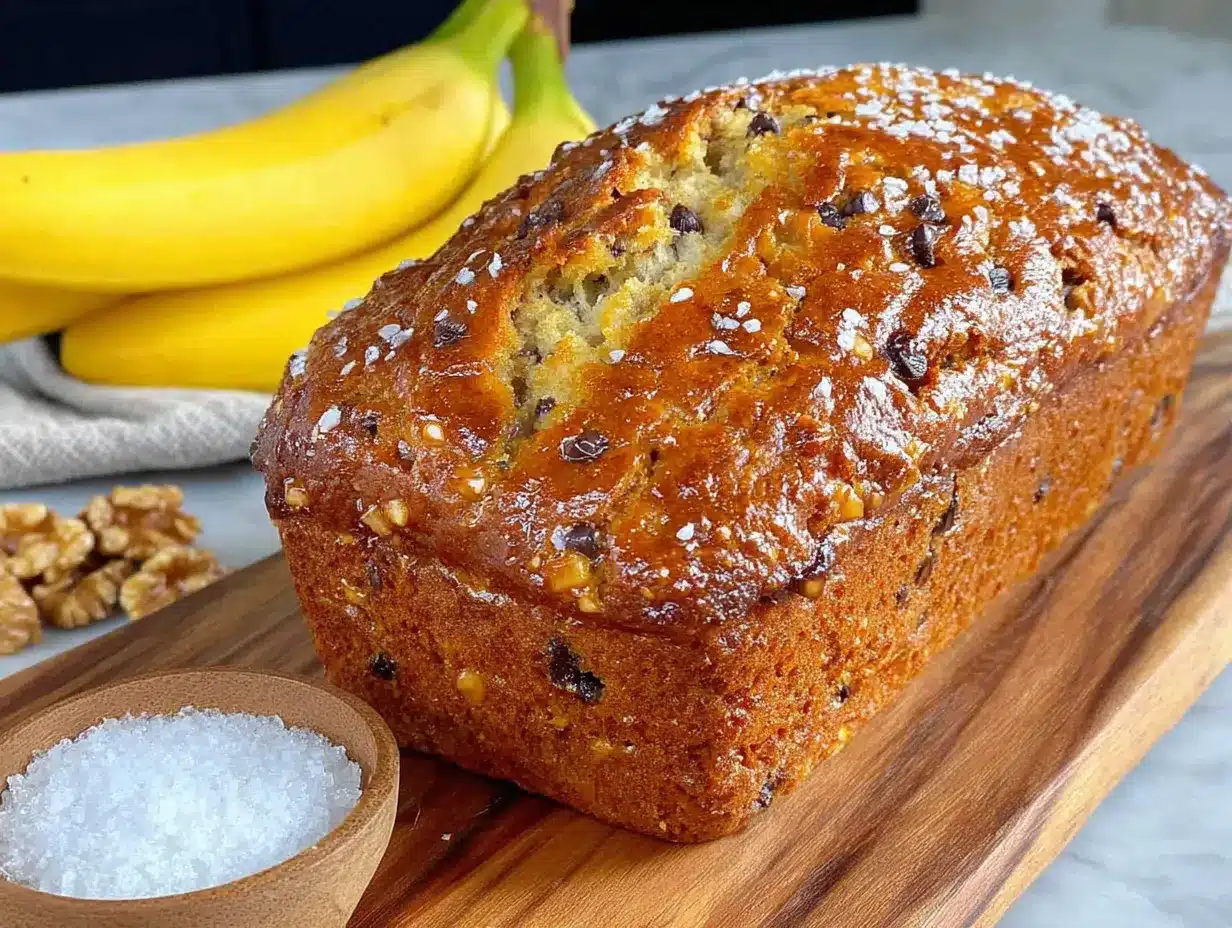
- ½ cup chopped walnuts or pecans (60g) — Toast them first for extra flavor. Spread them on a baking sheet at 350°F for 5-7 minutes.
- ½ cup chocolate chips (90g) — Semi-sweet or dark chocolate chips pair beautifully with banana. I’ve used milk chocolate in a pinch, but it can make the bread overly sweet.
- ¼ cup sour cream or Greek yogurt (60g) — If you want an extra-moist bread, fold this in with the wet ingredients. It adds tenderness without making the bread heavy.
Equipment Needed
The beauty of this recipe is that you probably already own everything you need. No stand mixer, no hand mixer, no food processor—just basic kitchen tools that you use every day.
- Large mixing bowl — Any medium-to-large bowl works. I use a ceramic one because it doesn’t slide around on the counter, but glass or metal are fine too.
- Wooden spoon or rubber spatula — A sturdy spoon for mixing the batter. I prefer a wooden spoon because it gives me more control, but a silicone spatula works beautifully too.
- Fork or potato masher — For mashing the bananas. A fork works great if you don’t mind a few lumps. I actually prefer some texture in my banana bread, so I never mash them completely smooth.
- 9×5-inch loaf pan — This is the standard size for banana bread. If you use an 8×4-inch pan, you’ll need to bake it a bit longer. Glass, metal, or ceramic all work—just adjust the baking time slightly.
- Parchment paper — Not strictly necessary, but it makes removing the bread from the pan so much easier. I cut a strip that hangs over the long sides of the pan for easy lifting.
- Cooling rack — Allows air to circulate around the bread so it cools evenly. If you don’t have one, you can use the inverted loaf pan or just let it cool in the pan for 10 minutes before turning it out.
- Measuring cups and spoons — For accurate measuring. I’ve learned the hard way that eyeballing ingredients leads to inconsistent results.
I’ve made this recipe in a friend’s kitchen that had none of my usual tools—I used a plastic bowl, a fork, and a glass loaf pan—and it still turned out beautifully. Don’t let missing equipment stop you from trying this.
Preparation Method
Let me walk you through this step by step. I’ve included all the little details I wish someone had told me when I first started baking banana bread.
- Preheat your oven to 350°F (175°C). Place the rack in the center position. While the oven heats, line your loaf pan with parchment paper, leaving some overhang on the long sides. Lightly grease the exposed ends with butter or cooking spray.
- Mash the bananas in your mixing bowl. Peel the bananas and drop them into the bowl. Use a fork or potato masher to break them down. I like to leave some small chunks—maybe pea-sized—for texture. If you prefer a completely smooth bread, mash them until no lumps remain. This should take about 1-2 minutes.
- Add the melted butter to the mashed bananas. Pour it in and stir until combined. The mixture will look slightly separated at first, but keep stirring—it will come together into a thick, glossy paste. This step is crucial because the butter and bananas create an emulsion that keeps the bread moist.
- Stir in the sugar, egg, and vanilla. Add the sugar and mix until it’s fully incorporated. Crack the egg into a small bowl first (just in case of shells), then add it to the banana mixture along with the vanilla. Stir until everything is smooth and well combined. The mixture will be thin and slightly bubbly—that’s normal.
- Add the dry ingredients. Sprinkle the flour, baking soda, salt, and cinnamon over the wet mixture. Don’t dump it all in one spot—spread it out so it incorporates more easily. Stir gently with your wooden spoon or spatula, using a folding motion. Stop as soon as you no longer see streaks of flour. Overmixing at this stage develops gluten and makes the bread tough. A few small lumps are perfectly fine.
- Fold in any add-ins. If you’re using nuts, chocolate chips, or other additions, gently fold them in now. Use about 10-15 strokes, just until they’re evenly distributed. Don’t overdo it.
- Pour the batter into the prepared pan. Scrape every last bit out of the bowl—that’s the best part. Spread the batter evenly with your spatula. It will be thick but pourable. Tap the pan gently on the counter a few times to release any air bubbles.
- Bake for 55-65 minutes. Place the pan in the preheated oven and set a timer for 50 minutes. Start checking at 55 minutes by inserting a toothpick or thin knife into the center. If it comes out clean or with just a few moist crumbs, it’s done. If it’s still wet, bake for 5 more minutes and check again. The top should be golden brown and cracked, and the edges should pull away slightly from the pan.
- Cool in the pan for 10 minutes. Set the pan on a cooling rack and let it rest. This allows the bread to firm up so it doesn’t fall apart when you remove it.
- Remove from the pan and cool completely. Use the parchment paper overhang to lift the bread out of the pan. Transfer it to the cooling rack and let it cool completely before slicing—about 1 hour. I know it’s tempting to cut into it warm, but slicing too early can make the bread crumble.
Cooking Tips & Techniques
After making this recipe more times than I can count, I’ve picked up a few tricks that make a real difference. Let me share the ones that saved my banana bread more than once.
Don’t overmix the batter. This is the number one mistake I see people make. When you stir the flour into the wet ingredients, you’re developing gluten—the protein that gives bread its structure. Too much gluten makes banana bread tough and rubbery. Stir just until the flour disappears, even if you see a few small lumps. I promise they’ll bake out.
Check your oven temperature. My oven runs 25 degrees hot, and I learned this the hard way after three batches came out with burnt edges and raw centers. An oven thermometer costs about $10 and is worth every penny. If your bread is browning too quickly on top but still raw inside, tent it loosely with aluminum foil for the last 15 minutes of baking.
Use the right bananas. I cannot stress this enough—your bananas need to be almost black. The brown spots indicate that the starches have converted to sugar, which gives you maximum sweetness and banana flavor. Green or yellow bananas will produce bland, dry bread every time. If you’re in a hurry, you can ripen bananas in the oven: bake them at 300°F for 15-20 minutes until the skins turn black.
Let your egg come to room temperature. I once forgot to take my egg out of the fridge and added it cold to the butter-banana mixture. The butter seized up into little clumps, and I had to start over. Room temperature ingredients blend together smoothly and create a better emulsion. Just set your egg on the counter 30 minutes before you start baking.
Measure flour correctly. Scooping your measuring cup directly into the flour bag can pack in up to 25% more flour than you need. Instead, spoon the flour into your measuring cup, then level it off with a knife. This simple step prevents dry, dense banana bread.
Let it cool completely. I’ve made this mistake more times than I’d like to admit. Cutting into warm banana bread releases steam that carries moisture away, leaving you with a drier loaf. Plus, the texture hasn’t fully set yet, so your slices will be crumbly and uneven. Be patient—it’s worth the wait.
Variations & Adaptations
One of the things I love about this recipe is how flexible it is. I’ve experimented with countless variations over the years, and here are my favorites.
Gluten-Free Version
Swap the all-purpose flour for a 1:1 gluten-free baking blend that contains xanthan gum. I’ve had great results with Bob’s Red Mill and King Arthur brands. Add an extra tablespoon of flour to compensate for the different absorption rate. The texture will be slightly more tender and a bit crumblier, but the flavor is just as good.
Vegan Adaptation
Replace the egg with a flax egg (1 tablespoon ground flaxseed mixed with 3 tablespoons water, let sit for 5 minutes) and use melted coconut oil or vegan butter instead of regular butter. The bread will be a bit denser but still delicious. I’ve also used aquafaba (the liquid from a can of chickpeas) with good results—use 3 tablespoons per egg.
Chocolate Lover’s Version
Reduce the flour to 1 ¼ cups and add ¼ cup unsweetened cocoa powder. Fold in ½ cup chocolate chips along with the cocoa. The chocolate and banana combination is absolutely irresistible—my nephew calls this “brownie bread” and requests it for every birthday.
Spiced Autumn Variation
Add ½ teaspoon ground nutmeg, ¼ teaspoon ground ginger, and a pinch of ground cloves along with the cinnamon. Fold in ½ cup chopped dried cranberries and ¼ cup chopped pecans. This version tastes like fall in a slice and pairs beautifully with a cup of hot apple cider.
Lower Sugar Option
Reduce the sugar to ½ cup and use very ripe bananas (the blacker, the better). You can also replace half the sugar with unsweetened applesauce—use ⅓ cup applesauce and ⅓ cup sugar. The bread will be slightly more moist and less sweet, but still plenty flavorful.
Serving & Storage Suggestions
This banana bread is wonderful in so many ways, and I’ve tried them all. Here’s how to enjoy it at its best.
Serving temperature: I prefer this bread at room temperature or slightly warm. To reheat individual slices, pop them in the toaster for about 2 minutes or microwave for 15 seconds. The warmth brings out the banana flavor and makes the bread extra soft. For a special treat, spread a slice with salted butter and drizzle with honey—it’s heaven.
Pairing suggestions: A slice of this banana bread with a hot cup of coffee is my go-to morning ritual. It also pairs beautifully with chai tea, hot chocolate, or a glass of cold milk. For dessert, serve it warm with a scoop of vanilla ice cream and a drizzle of caramel sauce—trust me on this one.
Storage instructions: Wrap the cooled loaf tightly in plastic wrap or aluminum foil and store at room temperature for up to 4 days. I actually think it tastes better on day two, when the flavors have had time to meld together. If your kitchen is warm, you can store it in the refrigerator, but it will dry out slightly faster.
Freezing instructions: Banana bread freezes beautifully. Wrap the cooled loaf in plastic wrap, then in a layer of aluminum foil, and freeze for up to 3 months. You can also slice the bread before freezing and wrap individual slices—perfect for grabbing one when you need a quick treat. To thaw, leave it at room temperature for about 2 hours or microwave a slice for 30 seconds.
Flavor development: Here’s something interesting—the banana flavor actually intensifies after a day or two. Something about the moisture redistributing and the flavors melding together makes the bread taste even more banana-y. So if you can resist eating it all on day one, you’re in for a treat.
Nutritional Information & Benefits
While I wouldn’t call banana bread a health food, this version is made with wholesome ingredients and real food. Here’s what you’re getting in each slice (based on 10 slices per loaf):
Per slice: Approximately 220 calories, 8g fat (5g saturated), 35g carbohydrates, 2g fiber, 18g sugar, 4g protein, 200mg sodium.
Key benefits: Bananas are packed with potassium, which supports heart health and muscle function. They also contain vitamin B6 and vitamin C. The cinnamon adds antioxidants and may help regulate blood sugar. Using real butter provides vitamin A and healthy fats that help your body absorb fat-soluble nutrients.
Dietary considerations: This recipe is vegetarian and can be made vegan with the substitutions mentioned above. It contains gluten, dairy, and eggs in its standard form. For a nut-free version, simply omit any nut add-ins. The sugar content is moderate, and you can reduce it further with the lower-sugar variation.
I believe in enjoying treats in moderation, and this banana bread fits perfectly into a balanced lifestyle. It’s made with real ingredients, it satisfies your sweet tooth, and it brings a little comfort to your day. That’s something worth making room for.
Conclusion
I still think about that little bakery on Elm Street sometimes, especially when I pull a fresh loaf of this banana bread out of the oven. The smell takes me right back to those cold winter mornings when I’d stop in for a slice and a cup of coffee before work. But here’s the thing—I don’t miss it the way I used to. This recipe has become its own memory, its own tradition, its own source of comfort.
What I love most about this banana bread is how forgiving it is. You can make it when you’re tired, when you’re distracted, when you’re not even sure you have the energy to bake. It doesn’t ask for much—just a bowl, a spoon, and a few minutes of your time. And in return, it gives you something warm and sweet and utterly satisfying.
I hope you’ll try this recipe and make it your own. Add your favorite mix-ins, adjust the sweetness to your taste, serve it however makes you happy. And when you do, I’d love to hear about it. Drop a comment below and tell me how it turned out—what did you add? Who did you share it with? Did it make your kitchen smell as amazing as mine always does?
Here’s to cozy evenings, spotty bananas, and the simple joy of homemade bread. You’ve got this.
Frequently Asked Questions
Can I use frozen bananas for this recipe?
Absolutely! Frozen bananas actually work beautifully in banana bread. Thaw them completely at room temperature, then drain off any excess liquid before mashing. The thawed bananas will be very soft and almost liquid, which actually makes them easier to mash. Just note that frozen bananas can make the batter slightly wetter, so you might need to add an extra tablespoon of flour.
Why did my banana bread sink in the middle?
This usually happens for one of two reasons: either the bread was underbaked, or the oven temperature was too low. A sunken center means the structure didn’t set properly before the bread stopped rising. Make sure your oven is fully preheated to 350°F, and always test with a toothpick before removing the bread from the oven. If the top is browning too quickly, tent it with foil and continue baking until the center is fully cooked.
Can I make this recipe into muffins instead?
Yes, and they’re fantastic! Grease a 12-cup muffin tin or line it with paper liners. Divide the batter evenly among the cups—they’ll be about ¾ full. Bake at 350°F for 18-22 minutes, or until a toothpick inserted into the center comes out clean. Muffins will cool faster than a loaf, so you can enjoy them in about 30 minutes total.
How do I know when my bananas are ripe enough?
You want bananas that are heavily spotted with brown or even mostly black. The skins should feel soft to the touch, and the bananas should smell sweet and fragrant. If your bananas are still yellow with just a few spots, they’re not ready yet. You can speed up ripening by placing them in a paper bag with an apple overnight, or by baking them at 300°F for 15-20 minutes until the skins turn black.
Can I add protein powder to this recipe?
You can, but you’ll need to adjust the liquid ratio. Replace ¼ cup of the flour with your favorite protein powder (vanilla or unflavored works best). You may also need to add an extra tablespoon of milk or yogurt to compensate for the protein powder’s absorbency. Keep in mind that protein powder can make the bread slightly denser and drier, so don’t overbake it.
Pin This Recipe!
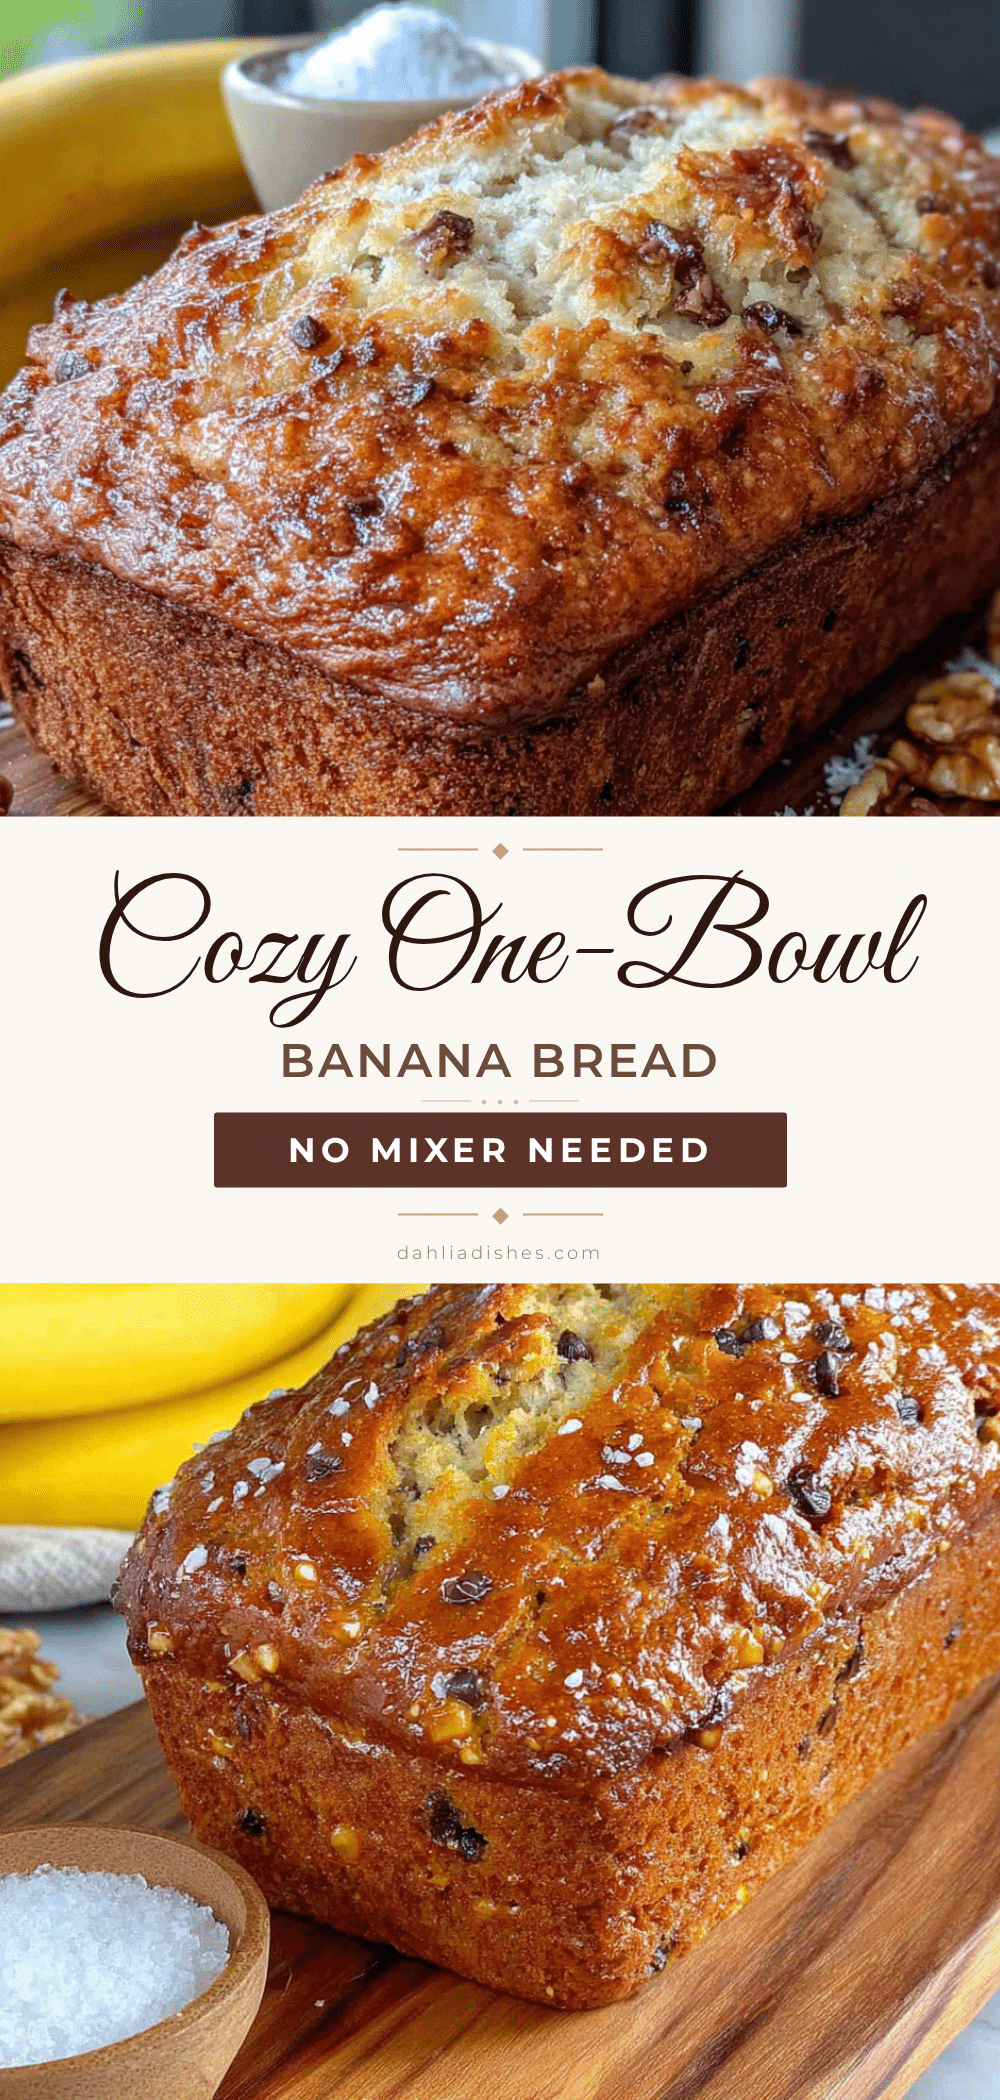
Cozy One-Bowl Banana Bread: The Easiest No-Mixer Recipe
This incredibly moist and tender banana bread requires no mixer and comes together in one bowl. Made with simple pantry ingredients, it’s the perfect comfort food for cozy evenings.
- Prep Time: 10 minutes
- Cook Time: 55-65 minutes
- Total Time: 1 hour 15 minutes
- Yield: 10 servings 1x
- Category: Dessert
- Cuisine: American
Ingredients
- 3 large ripe bananas, mashed (about 1 ½ cups)
- ⅓ cup unsalted butter, melted (75g)
- ¾ cup granulated sugar (150g)
- 1 large egg, room temperature
- 1 teaspoon vanilla extract
- 1 ½ cups all-purpose flour (190g)
- 1 teaspoon baking soda
- ½ teaspoon salt
- 1 teaspoon ground cinnamon
- ½ cup chopped walnuts or pecans (optional, 60g)
- ½ cup chocolate chips (optional, 90g)
- ¼ cup sour cream or Greek yogurt (optional, 60g)
Instructions
- Preheat your oven to 350°F (175°C). Place the rack in the center position. Line your loaf pan with parchment paper, leaving some overhang on the long sides. Lightly grease the exposed ends with butter or cooking spray.
- Mash the bananas in your mixing bowl using a fork or potato masher. Leave some small chunks for texture if desired.
- Add the melted butter to the mashed bananas and stir until combined into a thick, glossy paste.
- Stir in the sugar, egg, and vanilla until smooth and well combined.
- Sprinkle the flour, baking soda, salt, and cinnamon over the wet mixture. Stir gently with a folding motion until just combined—do not overmix.
- Fold in any add-ins (nuts, chocolate chips, or sour cream) if using, with 10-15 strokes.
- Pour the batter into the prepared pan and spread evenly. Tap the pan gently on the counter to release air bubbles.
- Bake for 55-65 minutes, or until a toothpick inserted into the center comes out clean or with a few moist crumbs. The top should be golden brown and cracked.
- Cool in the pan for 10 minutes, then use the parchment paper to lift the bread out and transfer to a cooling rack. Cool completely before slicing (about 1 hour).
Notes
For best results, use very ripe (almost black) bananas. Do not overmix the batter. Let the egg come to room temperature before using. Measure flour by spooning and leveling. For a gluten-free version, use a 1:1 gluten-free baking blend. For a vegan version, replace the egg with a flax egg and use melted coconut oil or vegan butter.
Nutrition
- Serving Size: 1 slice
- Calories: 220
- Sugar: 18
- Sodium: 200
- Fat: 8
- Saturated Fat: 5
- Carbohydrates: 35
- Fiber: 2
- Protein: 4
Keywords: banana bread, easy banana bread, one-bowl banana bread, no-mixer banana bread, moist banana bread, comfort food, quick bread


